


What Is Seam Allowance in Sewing Explained
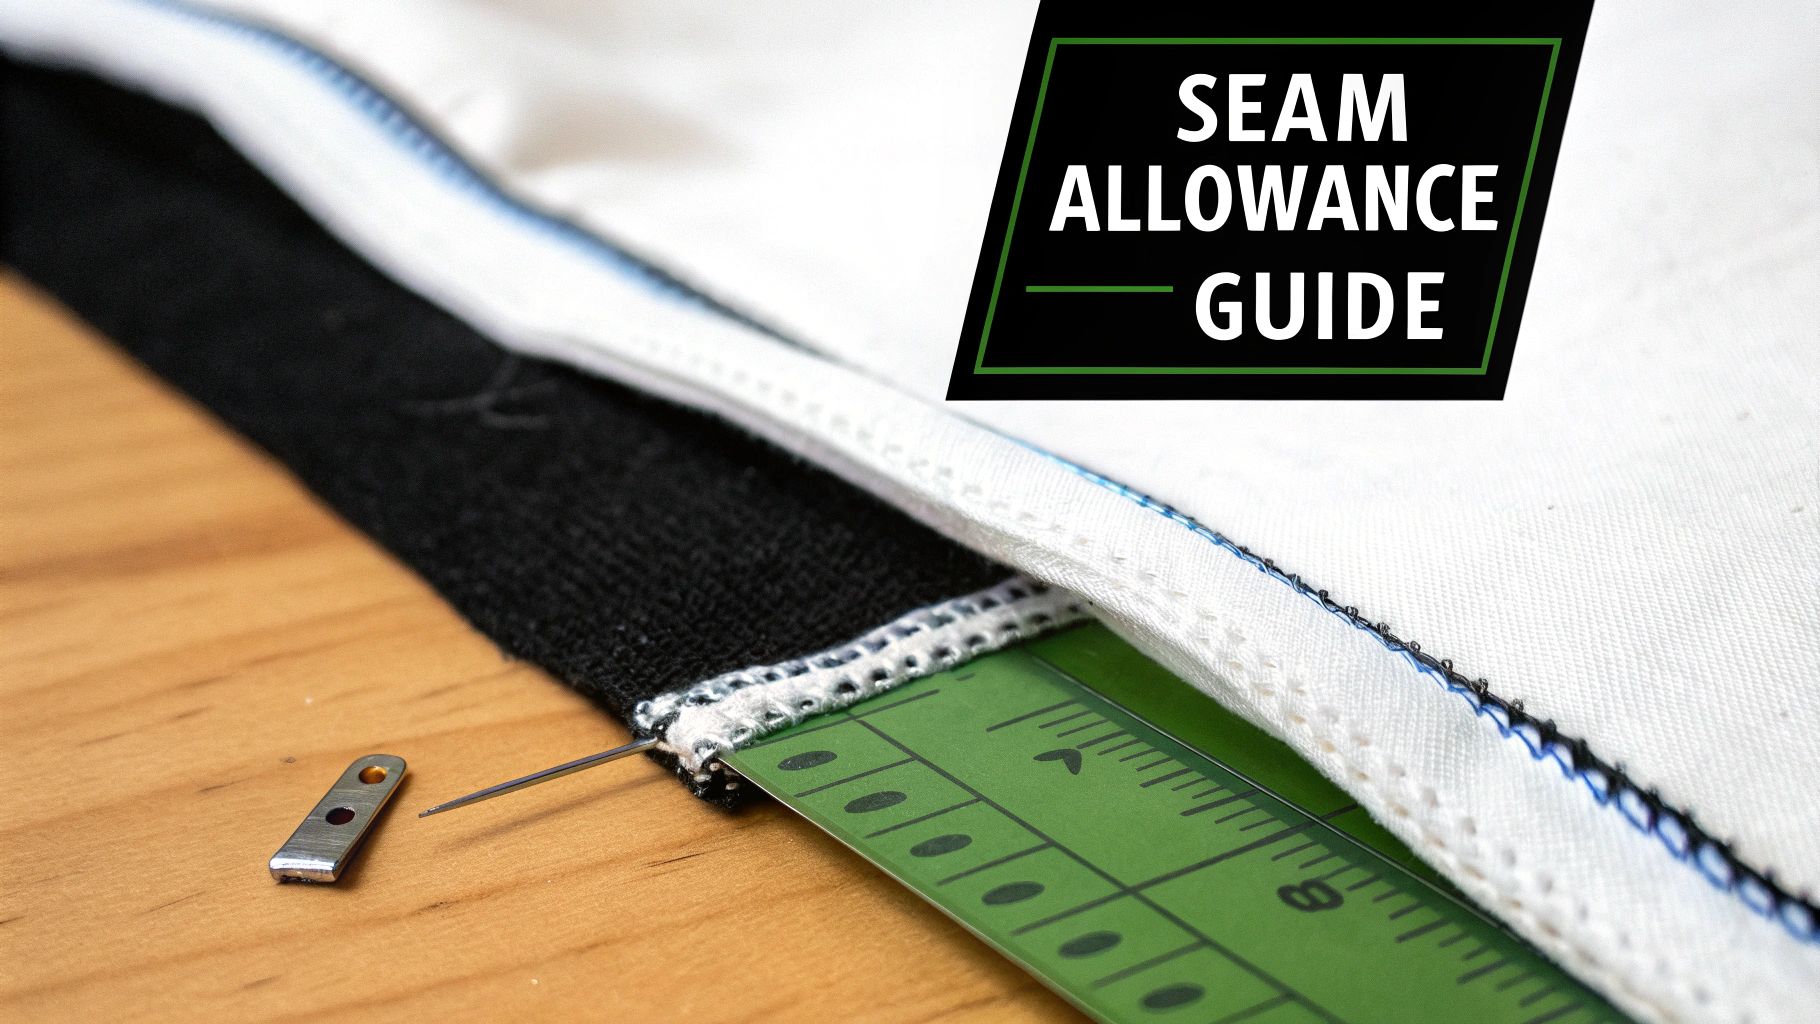
If you've ever looked at a sewing pattern, you've probably noticed that the cut line and the stitch line aren't in the same place. That little bit of extra fabric between where you sew and the raw edge? That's your seam allowance.
Think of it as the unsung hero of your sewing projects—a crucial buffer zone that keeps everything together.
Your Guide to Perfect Seam Allowance
Getting this concept right is one of the biggest leaps you'll make as a sewer. It's the difference between a project that looks homemade and one that looks truly professional. This small margin is what turns flat fabric pieces into a real, three-dimensional garment that fits just right and is built to last.
So, why is this little strip of fabric so important? An accurate and consistent seam allowance is key for a few big reasons:
- Structural Integrity: It gives your stitches enough fabric to grip onto, preventing the edges from fraying and the seams from popping under stress.
- Correct Fit: Patterns are designed with a specific seam allowance in mind. Sticking to it ensures your finished garment will actually match the intended size and shape.
- Professional Finish: It leaves you room for essential finishing techniques, like pressing seams open to reduce bulk or creating beautifully enclosed edges.
Learning to master seam allowance is a game-changer. If you're building your skills from the ground up, our collection of free sewing lessons offers a fantastic starting point for all the basics.
Think of seam allowance as the mortar between bricks. Without the right amount in the right places, the entire structure becomes unstable and won't line up correctly.
To boil it all down, here are the core ideas you need to keep in mind.
Seam Allowance at a Glance
For a quick reference, this table breaks down the most important concepts.
| Concept | Brief Explanation |
|---|---|
| Definition | The area between the stitching line and the raw edge of the fabric. |
| Primary Purpose | Ensures proper fit, provides structural strength, and allows for adjustments. |
| Standard US Width | 5/8 inch (1.5 cm) is the most common allowance in commercial patterns. |
| Key Principle | Width can change based on the fabric, garment type, and seam location. |
Think of these points as your foundation. As you get more experienced, you'll learn when and how to adjust these rules for different projects.
Why Seam Allowance Is Your Project's Blueprint
Think of seam allowance as the unseen framework of your project. Much like the foundation of a house, it’s not the part anyone sees, but it’s absolutely essential for holding everything together. If those measurements are off by even a tiny bit, the whole structure starts to have problems.
That little bit of extra fabric along the edge of your pattern piece isn't just waste material; it's a critical, functional part of whatever you're making. It has a few really important jobs to do to make sure your final piece looks professional and lasts a long time.
The Three Core Jobs of Seam Allowance
First, seam allowance gives your stitches something substantial to grab onto, creating structural integrity. Without enough fabric beyond the stitch line, the raw edges can fray and pull apart under any kind of stress. This is what prevents a seam from popping open the first time you wear or use your creation.
Second, it gives you crucial wiggle room for future alterations. That extra fabric tucked away inside the seams is your insurance policy. If you ever need to let out a skirt or a jacket for a better fit, a decent seam allowance makes it possible. This foresight is one of the hallmarks of high-quality, handmade clothing.
A well-planned seam allowance is the quiet detail that dictates whether a garment fits poorly, fits for now, or can be adapted to fit for a lifetime.
Finally, the width of your seam allowance is what makes different advanced finishing techniques possible. You simply can't create certain seams without having the right amount of fabric to work with.
- French Seams: To get that beautiful, enclosed finish on a sheer blouse, you need a very specific width to fold and stitch correctly.
- Flat-Felled Seams: Think about the ultra-durable seams on your favorite pair of jeans. Those require a wider allowance so the fabric can be folded over and topstitched down securely.
Getting this right starts with a precise cut. For our left-handed makers, having the right tool is a game-changer. Specialized tools like the new left-handed scissors by Famore can make all the difference in achieving that perfect initial cut. After all, if the seam allowance isn't right from the start, pulling off these professional finishes becomes an uphill battle.
What Are the Standard Seam Allowance Measurements?
If you’ve ever opened a sewing pattern from one of the big American brands like Simplicity or McCall's, you've seen it: 5/8 inch (1.5 cm). This is the go-to measurement for commercial garment patterns in the US.
But why that specific number? It's all about finding a sweet spot. A 5/8 inch seam allowance is wide enough for a beginner to handle without the fabric getting chewed up by the machine, and it leaves just enough room for small fitting tweaks later on.
Of course, that’s not the only number you’ll encounter. The world of sewing is wonderfully diverse, and different designers and regions have their own standards.
The Great Seam Allowance Divide
Venture into European patterns or designs from many independent creators, and you'll often find a much narrower 3/8 inch (1 cm) seam allowance. This isn't just a random choice; it reflects a different approach to sewing.
The wider American 5/8 inch standard became popular in the 20th century because it was so practical for home sewers. The narrower 3/8 inch European standard, on the other hand, is more fabric-efficient and perfectly suited for the clean, enclosed finishes you get with a serger. For a deeper dive into how these standards evolved, Clothing Digest has a great explanation.
Knowing this little detail can save you a lot of headaches. It's the key to making sure your project turns out the right size, whether you're working with a classic American pattern or a sleek European design.
Think of seam allowance standards like different dialects. A 5/8 inch and a 3/8 inch seam both get the job done, but they follow slightly different rules and change how you approach the construction.
To keep everything precise, the right tool is non-negotiable. A good, clear ruler is your best friend for marking and checking these measurements before a single stitch is sewn. A high-quality non-slip ruler is perfect for this, giving you the steady hand and clear view needed to mark any seam allowance with total confidence.
When to Adjust Your Seam Allowance Width
While that 5/8 inch standard is a great go-to, truly skilled sewing is all about knowing when to bend the rules. The real art is learning to choose a seam allowance that perfectly suits the fabric you're using, the shape of the seam you're sewing, and the overall structure of your project.
Think of the pattern's suggestion as a starting point, not a strict command. Making smart adjustments is often what takes a garment from looking homemade to looking professionally finished.
Matching Width to Function
So, why would you change it? The most common reasons are to handle tricky curves and get rid of unnecessary bulk.
For tight, fiddly curves—like on a collar stand or an armhole facing—a narrow 1/4 inch (6.4 mm) seam allowance is your best friend. This tiny bit of extra fabric lets the seam lie flat and smooth without you having to clip into it a million times, which prevents that lumpy, bumpy look we all want to avoid.
On the other hand, sometimes you need more fabric to play with. For the side seams or center back seam of a closely fitted dress or jacket, a wider allowance of 1 inch (2.5 cm) or even more can be a lifesaver. It’s like having built-in insurance, giving you plenty of room to let the garment out for a truly custom fit. This is a classic technique in high-end tailoring. To see how different materials come into play, check out this guide on how to make cosplay armor, where construction choices are critical.
Seam allowance isn't a one-size-fits-all rule; it's a dynamic tool. Think of it as adjusting the volume on a speaker—sometimes you need it loud and strong, and other times you need a subtle, quiet touch.
Your chosen seam finish also dictates the width. If you’re just serging an edge, you don't need much. But if you’re creating a sturdy flat-felled seam for a pair of jeans, you’ll need that extra fabric to fold over and topstitch securely. These standards aren't universal, either; you can learn more about the variations in global tailoring practices on Wikipedia, where you'll see everything from tiny allowances on delicate lingerie to generous widths for bespoke suits.
This infographic gives a simple visual guide for when to stick with the standard and when to go smaller.
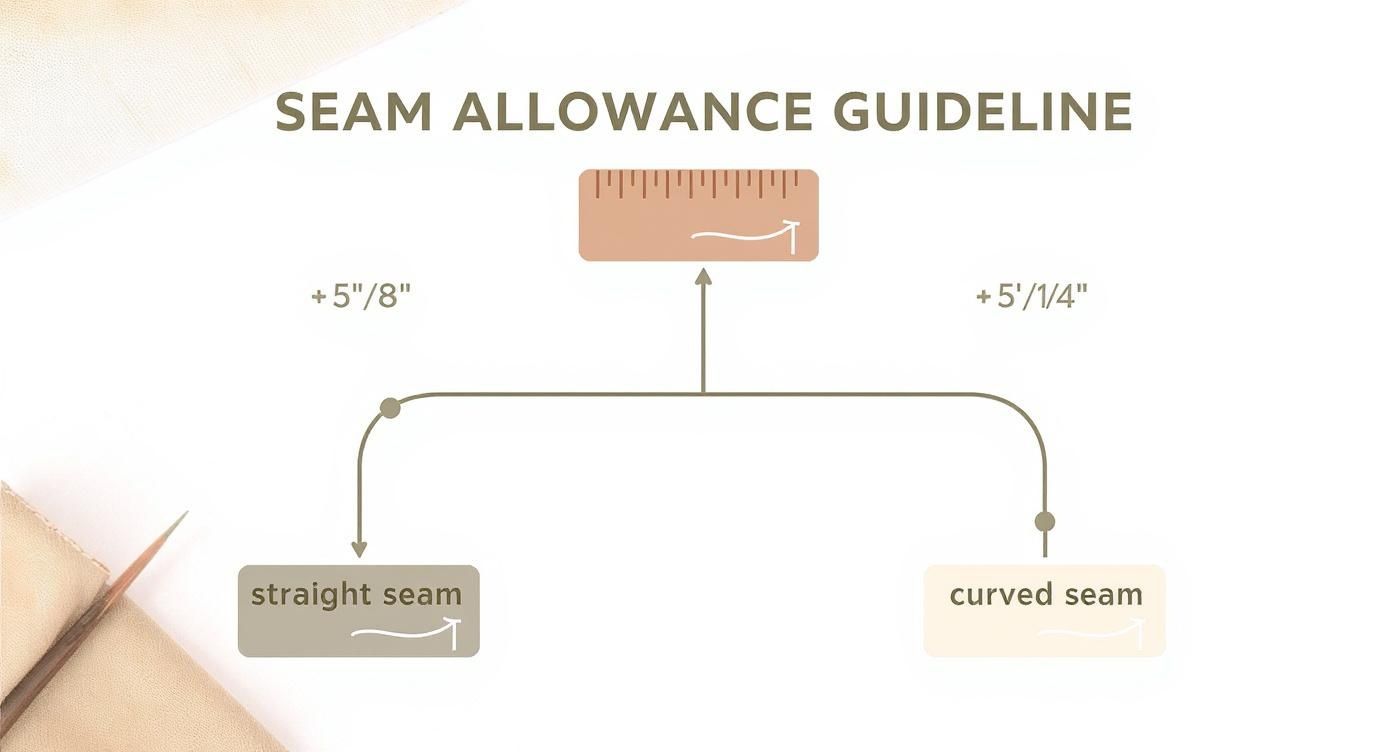
As you can see, for most straight seams, that 5/8 inch allowance is perfect. But the moment you hit a curve, dropping down to 1/4 inch will make your life a whole lot easier.
Choosing the Right Seam Allowance
To make things even clearer, here’s a quick-reference table. It breaks down the most common seam allowance widths and where they shine.
| Width | Common Use Case | Why It Works |
|---|---|---|
| 1/4 inch (6.4 mm) | Tight curves, facings, collars, doll clothes | Reduces bulk and allows the seam to turn smoothly without extensive clipping. |
| 3/8 inch (1 cm) | Children's clothing, lightweight fabrics, serged seams | A good middle-ground that's less bulky than 5/8" but offers more security than 1/4". |
| 1/2 inch (1.3 cm) | Quilting, home decor projects, some indie patterns | Provides a sturdy seam for items that get a lot of wear, like pillows or quilts. |
| 5/8 inch (1.5 cm) | Commercial garment patterns (the standard) | The industry standard that offers a good balance of strength and flexibility. |
| 1 inch (2.5 cm) or more | Bespoke tailoring, fitting seams, couture | Gives you extra fabric to make precise fitting adjustments after the initial construction. |
Ultimately, choosing the right seam allowance comes down to experience and understanding the "why" behind each width. Don't be afraid to deviate from the pattern if you think a different width will give you a better result.
Tools for Sewing Accurate Seam Allowances
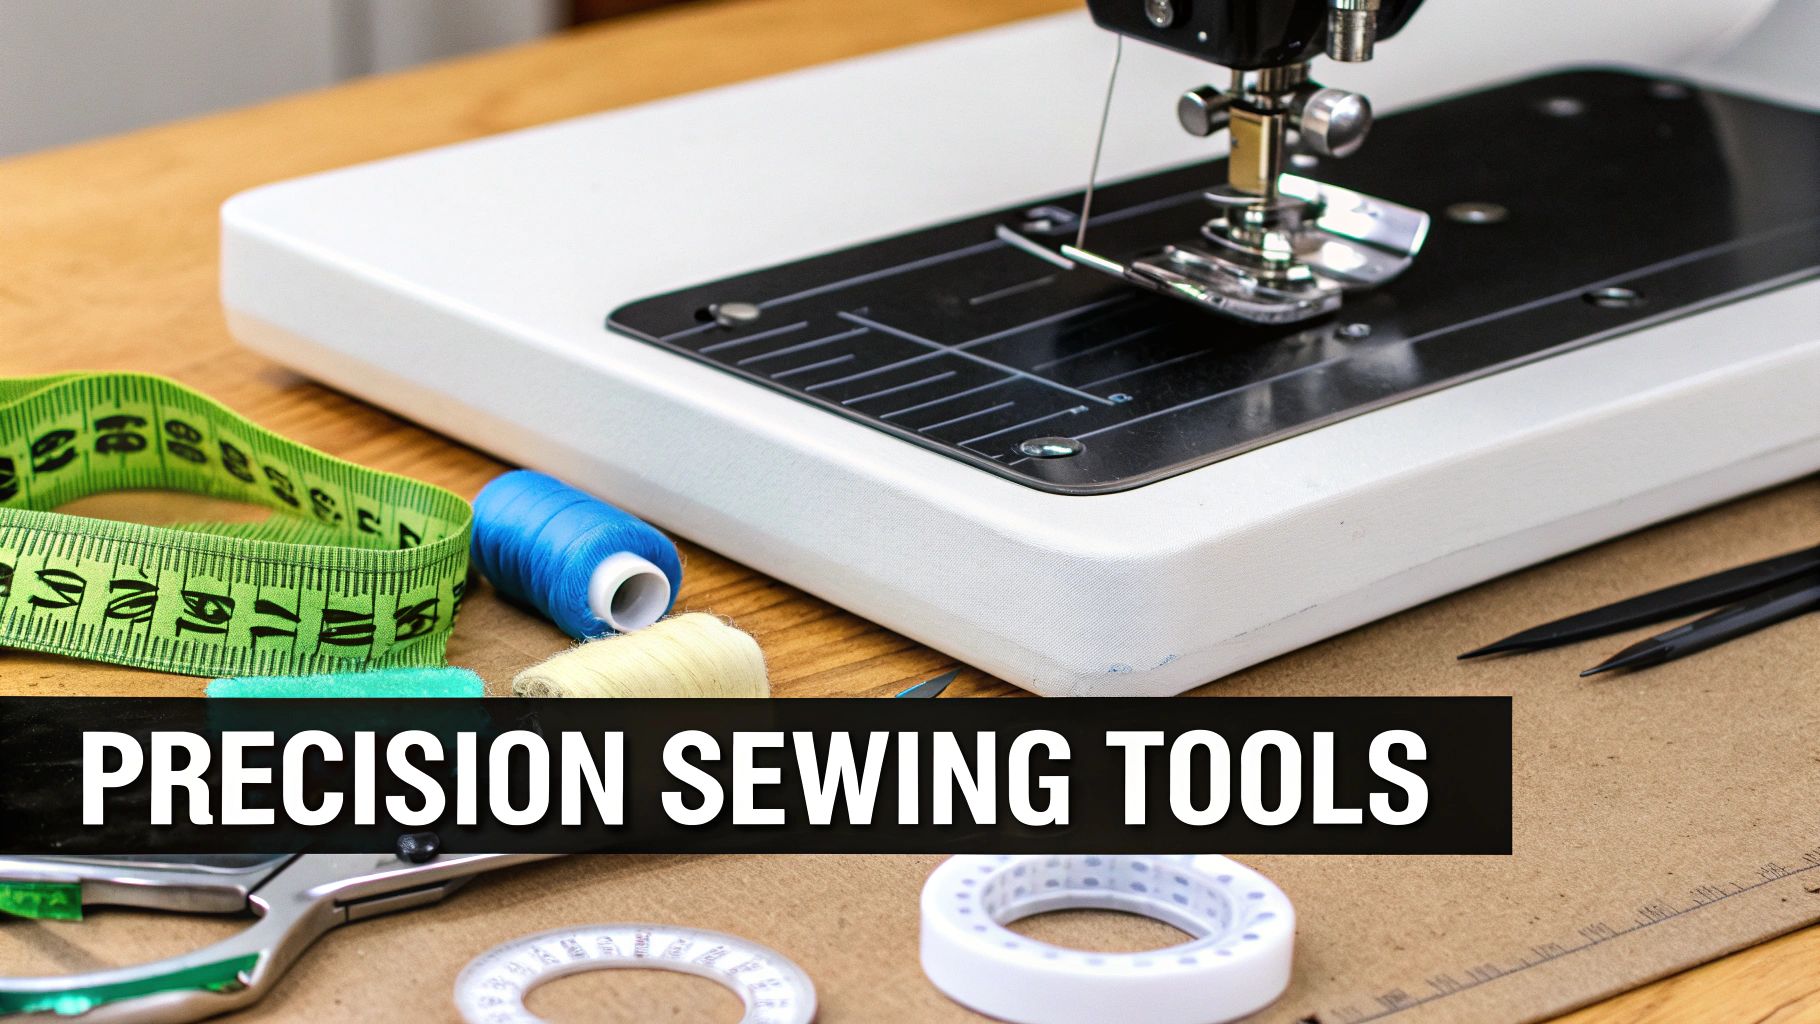
Consistency is what separates homemade-looking projects from professional ones. The good news is, you don’t need guesswork to achieve it. The right tools will guarantee precision from the moment you cut your fabric to the very last stitch.
It all starts before you even power on your machine. Accurately marking your fabric is the first step, creating a clear roadmap for your needle to follow.
- Tailor’s Chalk or a Chalk Wheel: This is a classic for a reason. It creates a clear, temporary line that simply brushes off when you’re done.
- Water-Soluble Pens: These are fantastic for delicate fabrics. They give you a fine, crisp line that vanishes with just a little bit of water, leaving no trace behind.
- Tracing Wheel and Paper: When you need absolute precision, this combo is hard to beat. It transfers every notch and line from your pattern directly onto the fabric.
With your fabric marked and ready, it's time to move to the sewing machine and keep that line perfectly straight.
Guides for Your Sewing Machine
Your machine itself is your best friend when it comes to accuracy. Look at the throat plate (the metal plate your fabric glides over), and you’ll see engraved lines. These correspond to standard seam allowance widths, like 5/8" and 1/2". The trick is to watch the edge of your fabric, not the needle, keeping it aligned with the correct line as you sew.
For a little extra help, a few simple accessories can act as a physical fence to guide your fabric.
A magnetic seam guide is a game-changer. This small but mighty magnet sticks right onto your throat plate, creating a solid wall for your fabric to follow. It makes sewing a wobbly seam nearly impossible.
Other great options include a quilting bar, which attaches to your presser foot, or even a low-tech solution like a strip of painter's tape stuck to your machine. They all do the same job: keeping your fabric perfectly positioned for a consistent seam allowance every single time.
Finally, pressing your seams is the crucial finishing touch, and a great tool like the Oliso M3 Pro Mini Iron can make all the difference in getting those crisp, flat results.
Common Questions About Seam Allowance
Even when you feel like you've got the basics down, a few questions always seem to pop up in the middle of a project. Getting those nagging uncertainties sorted out is the key to building real confidence at your sewing machine.
Let's walk through some of the most common things people ask about seam allowance.
Do I Need to Add Seam Allowance to a Pattern?
Thankfully, for most commercial patterns, the answer is no. Big pattern companies like Simplicity, McCall's, and Butterick build the seam allowance right into the pattern pieces for you.
Your pattern's guide sheet is your best friend here—it will always tell you exactly what the allowance is, which is usually 5/8 inch (1.5 cm).
You really only need to add seam allowance yourself in two specific cases:
- You're drafting a pattern completely from scratch.
- You're using a pattern that’s clearly marked "net" or "no seam allowance included." This is more common with certain European or high-fashion patterns.
Always, always double-check your pattern instructions before you even think about cutting. It’s a classic (and heartbreaking) mistake to assume the allowance is included when it’s not. That’s a surefire way to ruin a project before it even starts.
What Happens If My Seam Allowance Is Inconsistent?
Inconsistent seam allowances are the secret enemy of a good fit. If your seams wander and you sew them too wide, your final garment is going to come out too small. On the flip side, sewing them too narrow will leave you with a piece that’s baggy and oversized.
But it’s not just about size. Wobbly seam allowances make it a nightmare to match up important alignment points. Getting notches to line up or joining intersecting seams at a shoulder or waist becomes a frustrating puzzle. This is what causes puckering, twisting, and a finish that just looks homemade.
Think about setting in a sleeve—if the sleeve seam allowance and the armhole allowance don't match perfectly, you’ll never get it to sit smoothly.
How Should I Press My Seam Allowances?
Pressing isn’t just an optional step; it’s just as critical as the sewing itself. For a professional finish, the first thing you should do is "set the seam." That just means pressing the stitch line flat before you open the seam up. This helps the threads meld right into the fabric, making the seam stronger and smoother.
After setting the seam, the standard practice is to press the seam allowances open. This is a game-changer for medium-to-heavyweight fabrics because it spreads out the bulk and gives you a crisp, flat look on the right side of the garment.
For very lightweight fabrics or along curves, your pattern might tell you to press both allowances to one side instead. And while you're focused on beautiful construction, you might also get curious about adding some flair; understanding What is Embroidery can unlock a whole new world of creative possibilities. Always follow the pattern's lead on pressing—it's usually setting you up for the very next step in the process.
At Famcut.com, we provide the tools and knowledge you need to bring your creative visions to life, from mastering the basics to exploring advanced techniques. Discover our wide range of sewing and cosplay supplies at https://famcut.com.