


How to Use Fusible Interfacing Like a Pro
You've probably seen it countless times without even realizing it. That perfect, crisp collar on a button-down shirt, the sturdy placket that never droops, or the waistband that holds its shape wash after wash. The secret behind these professional-looking details is often fusible interfacing.
It’s the unsung hero of the sewing room, a heat-activated material that adds structure and support right where you need it most.
The Secret to Professional Sewing Projects
Think of interfacing as an inner skeleton for your fabric. It prevents delicate materials from stretching out of shape and gives high-stress areas like cuffs and buttonholes the durability they need to last. The best part? The "fusible" kind has a heat-activated adhesive on one side (it's usually the bumpy or shiny side).
All you have to do is place it on the wrong side of your fabric, cover it with a press cloth, and press with a hot iron for 10-15 seconds. The heat melts the adhesive, bonding it directly to your fabric. No extra sewing required.
This simple material can truly elevate your homemade projects, giving them a polished, high-quality finish that rivals store-bought clothing.
Why Interfacing Matters in Modern Sewing
The impact of fusible interfacing is huge, not just for home sewists but across the entire apparel industry. Its efficiency is why fusible types now make up about 68.4% of the market share in the global garment interlining industry.
Manufacturers love it because it creates a precise, durable bond that speeds up production and ensures consistency. For us at home, it means we can achieve that same level of quality and durability in our own work.
Whether you're just starting out or have been sewing for years, getting comfortable with interfacing is a game-changer. If you're building your core skills, our collection of free sewing lessons can help you get started on the right foot.
Key Takeaway: Fusible interfacing isn't just an optional extra. It's a fundamental tool for creating garments that look and feel professionally made, providing the hidden structure that separates a good project from a great one.
To help you get a quick handle on this essential material, here’s a quick-reference table.
Fusible Interfacing at a Glance
| Concept | What It Means for Your Project |
|---|---|
| Heat-Activated Adhesive | No sewing needed; bonds to fabric with an iron, saving time and creating a smooth finish. |
| Adds Structure & Stability | Prevents stretching and sagging in areas like collars, cuffs, and waistbands. |
| Variety of Weights | Can be matched to any fabric, from sheer silks to heavy wools, without adding bulk. |
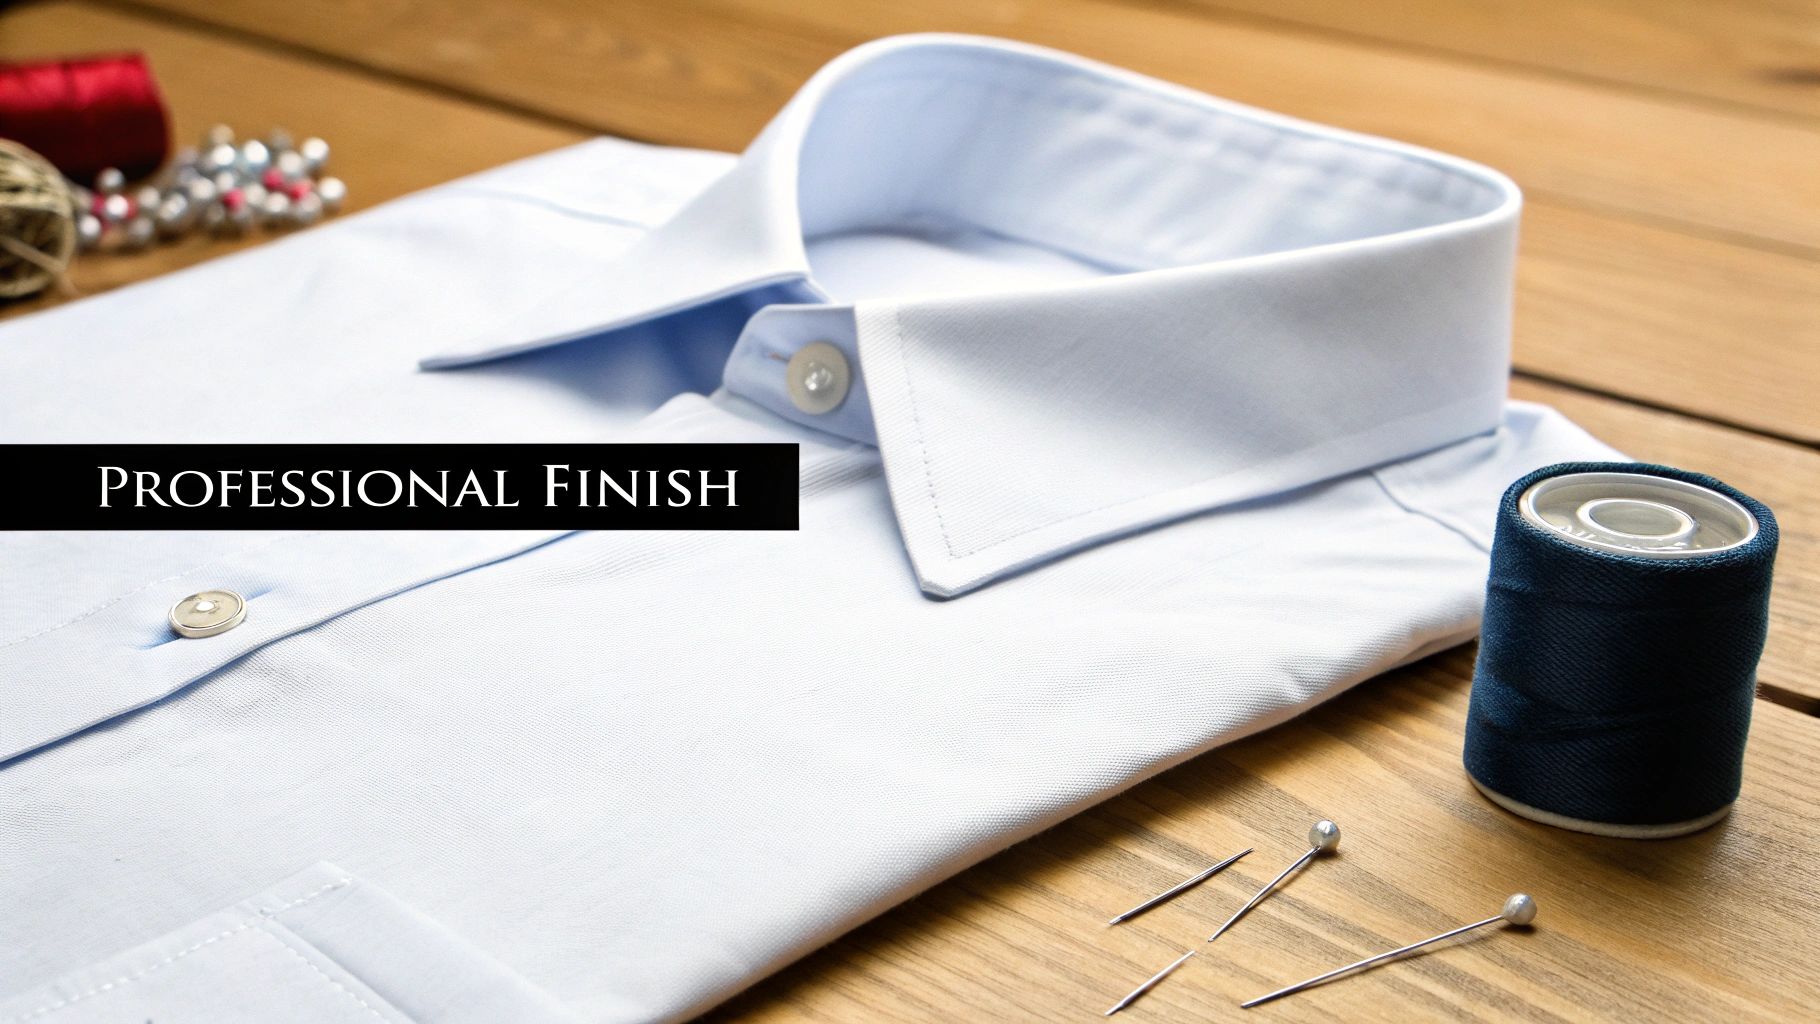
| Professional Finish | Creates crisp edges and a durable structure for a polished, store-bought look. |
In this guide, we'll walk you through everything—from picking the right type for your fabric to the final press—so you can start using it with confidence.
Choosing the Right Interfacing for Your Fabric
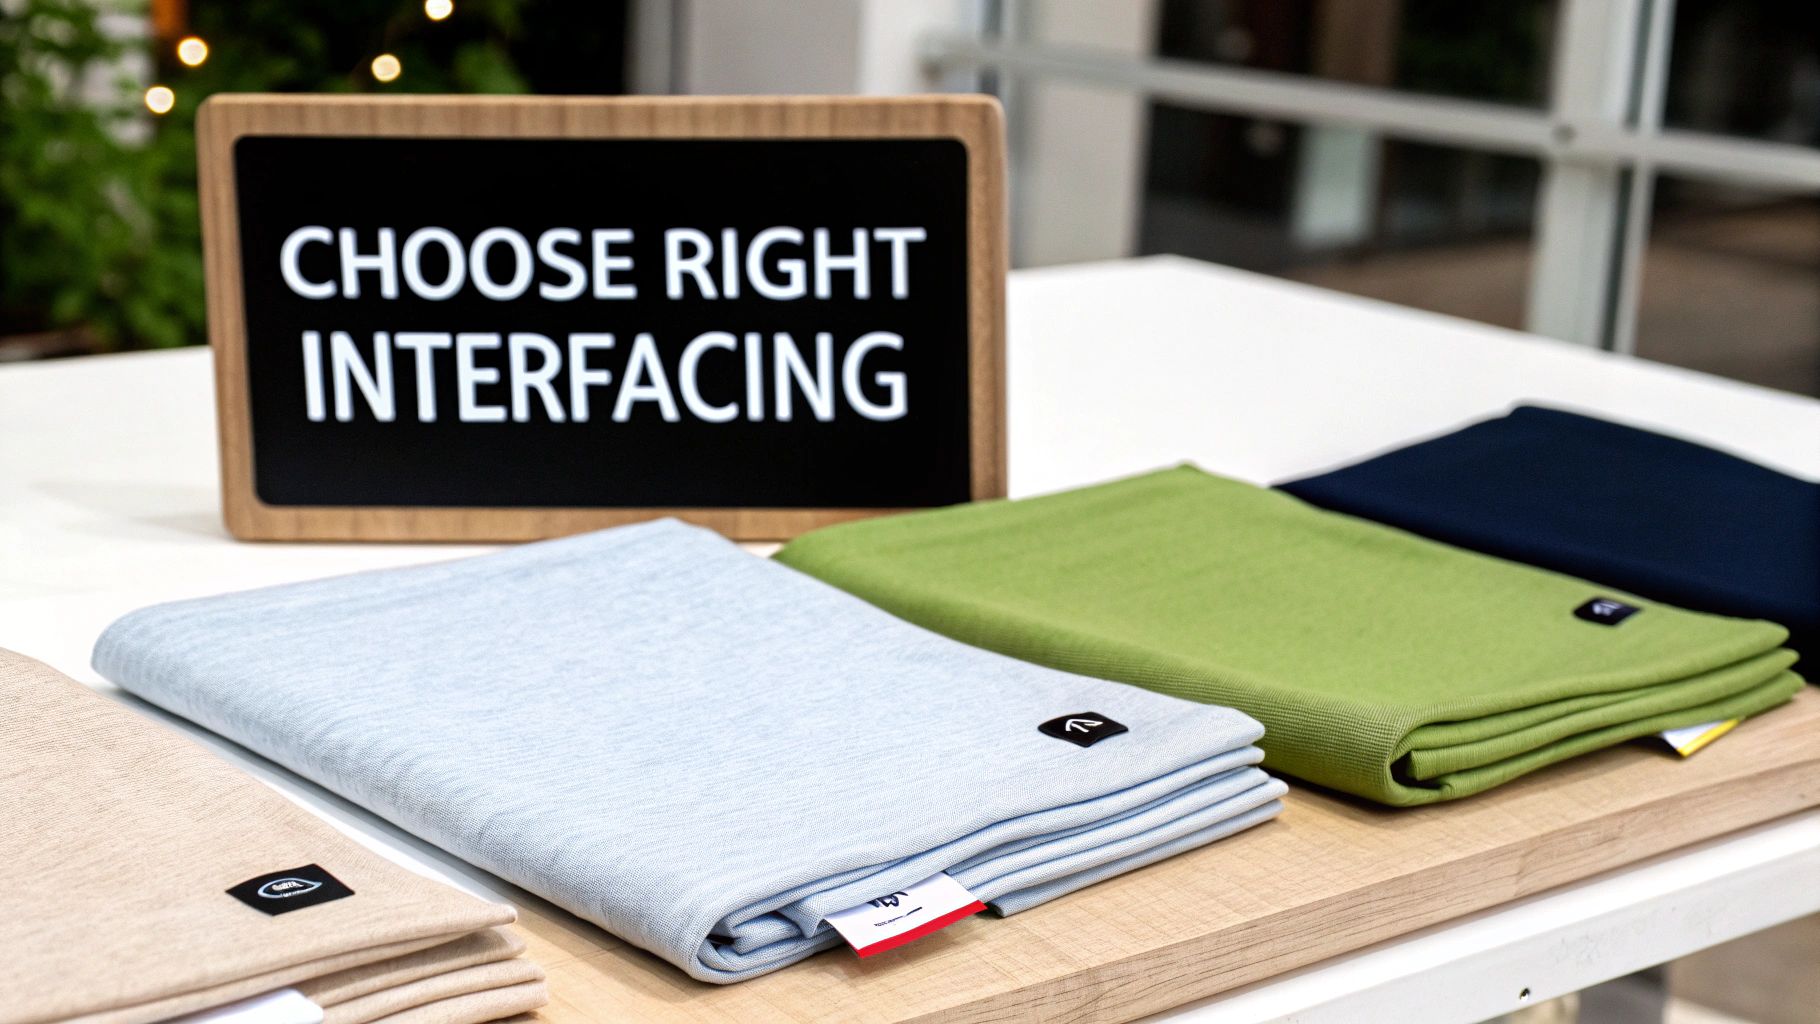
Walking into a fabric store and seeing that giant wall of interfacing options can be intimidating, even for seasoned sewists. But don't worry, there's one simple rule that will guide you every time.
The golden rule is this: your interfacing should always be slightly lighter in weight than your main fabric. That’s it. This one principle ensures the interfacing provides support and structure without turning your project into a stiff, bulky board.
Think about it this way: if you were sewing with a delicate silk charmeuse, adding a heavy, crisp interfacing would completely destroy its beautiful drape. A much better match would be an ultra-lightweight fusible that adds just enough stability without changing the fabric’s character. Conversely, a structured denim jacket needs a much beefier interfacing to give that collar its sharp, defined shape.
Woven, Non-Woven, or Knit?
Beyond weight, you'll find three main types of interfacing, and each one has a distinct personality. Knowing which one to grab is the key to getting that polished, professional finish.
- Woven Interfacing: This type looks and feels just like regular fabric because it has a grainline. You have to match its grain to your fabric's grain to avoid any weird twisting or pulling. It’s my go-to for crisp, tailored projects using cotton or linen—perfect for collars, cuffs, and facings that need to hold their shape.
- Non-Woven Interfacing: This is the most forgiving option, which makes it fantastic for beginners. It has no grainline, so you can cut it in any direction you please. It’s a true workhorse, great for everything from stabilizing button plackets to adding body to tote bags.
- Knit (Tricot) Interfacing: If you’re working with knits like jersey or spandex blends, this is your best friend. It has built-in stretch, so it moves with your fabric. Use it to gently support necklines and hems without restricting the fabric's natural flexibility.
A Quick Tip from Experience: Don't forget about color! Most interfacing comes in white or black. Before you commit, hold your main fabric up to a light with the interfacing behind it. You want to be absolutely sure it won’t show through on the final garment.
The demand for quality materials is huge. The global interlining fabric market was valued at around USD 2.9 billion back in 2022, and there’s a big push toward more sustainable options. As brands focus on making higher-quality clothes, the right interlinings are essential for creating better drape and durability. You can actually read the full report about this market trend on Business Wire.
This concept even extends to larger-scale projects. Quilters, for instance, can streamline their process by using a fusible heirloom batting roll instead of spending hours pinning. It all comes back to picking the right tool for the job.
Matching Interfacing Type to Fabric
To make it even easier, here's a quick cheat sheet I use to pair interfacing with common fabrics and projects.
| Interfacing Type | Best For These Fabrics | Common Project Examples |
|---|---|---|
| Woven | Cotton, linen, chambray, other wovens | Collars, cuffs, button plackets, facings, waistbands |
| Non-Woven | Most woven fabrics, some stable knits | Handbags, craft projects, collars, general reinforcement |
| Knit (Tricot) | Jersey, spandex blends, French terry, knits | T-shirt necklines, stretchy cuffs, stabilizing hems |
Think of this table as a starting point. The best way to learn is to experiment! Don't be afraid to test a small scrap first to see how your fabric and interfacing play together.
Getting Your Fabric and Interfacing Ready to Fuse
Ask any experienced sewist, and they'll tell you that great results come from great prep work. It’s tempting to jump right into a project, but skipping these initial steps is often the reason for puckers and a weak bond down the line. The single most important thing you can do? Pre-wash both your fabric and your interfacing.
This little bit of effort saves you from that gut-wrenching moment when a finished piece shrinks unevenly in the wash. I treat my interfacing like a delicate fabric—a quick soak in warm water followed by air-drying flat does the trick. This way, any shrinking happens before it's permanently attached to your project.
Cutting and Prepping Your Pieces
With everything washed and dried, it's time to figure out which side of the interfacing is which. You're looking for the adhesive side, the one that will bond to your fabric. It usually feels a bit bumpy or has a distinct sheen to it. That's the glue. This side always goes face-down onto the wrong side of your fabric.
My Go-To Trick: If I'm ever unsure about the adhesive side, I just take a tiny corner of the interfacing and press it onto a scrap of fabric with a hot iron. The side that sticks is the one you need.
When it comes to cutting, you've got a couple of options, and the right one really depends on what you're making.
You can cut the interfacing to the exact same size as your pattern piece, seam allowances and all. After you fuse it, you'll simply sew through both the fabric and the interfacing. This method adds a lot of stability right into the seams, which is fantastic for things like structured collars or sturdy bags.
The other approach is to trim the seam allowance off the interfacing piece before you fuse it. This is my preferred method for most garments because it gets rid of extra bulk in the seams, leaving you with a beautifully clean, flat finish. For more techniques like this, feel free to check out the other tips and tricks available on our blog. Neither way is wrong; it's all about choosing what's best for your specific project.
The Perfect Pressing Technique for a Lasting Bond
Getting a strong, permanent bond with fusible interfacing isn’t about just gliding your iron around. It’s a specific dance of heat, time, and pressure. When you nail this part of the process, you’ll see the difference between a bubbly, weak application and a smooth, professional finish that really lasts.
First thing's first: get your pressing station ready. You’ll want a firm, flat surface, so your standard ironing board is perfect. The most critical tool here, and this is non-negotiable, is a press cloth. A scrap piece of cotton, some muslin, or even a dedicated Teflon sheet will do the trick. It creates a vital barrier, preventing that sticky adhesive from melting all over your iron.
Dialing in the Heat and Pressure
The secret to a great bond is what I call the 'press and hold' method. Ditch the back-and-forth sweeping motion you use for ironing shirts. For interfacing, you press down firmly in one spot, hold it still, and then lift the iron completely before moving to the next spot.
This infographic breaks down the essential prep work that sets you up for a perfect press.
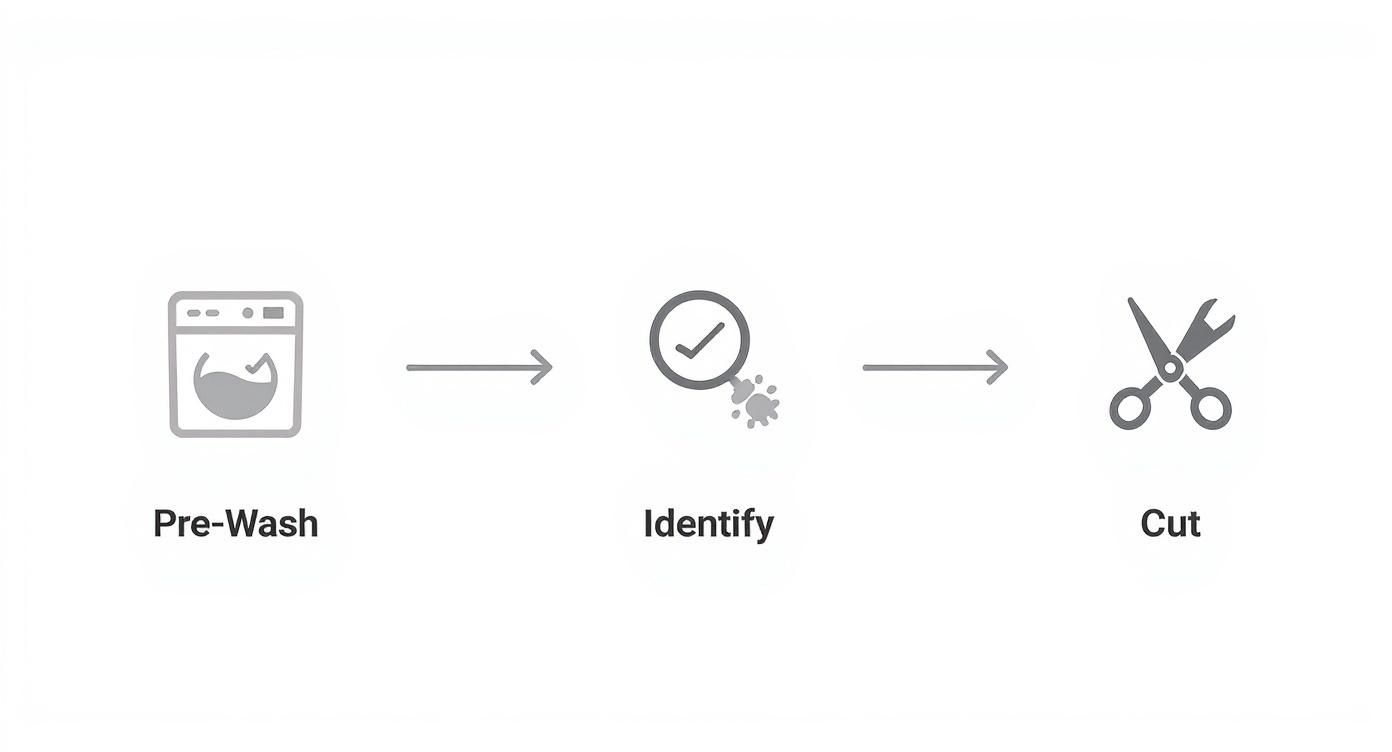
It’s a great reminder of the foundational steps—pre-wash, identify the right sides, and cut—that ensure your materials are truly ready for a strong bond before you even plug in the iron.
Your iron’s temperature setting is everything. You're trying to melt the adhesive resin just enough for it to seep into your fabric's fibers and create a solid lock. Most interfacings bond best somewhere between 140°C and 180°C (284°F to 356°F). On most irons, this will be your wool or cotton setting. Always start with a dry iron unless the manufacturer’s instructions specifically say to use steam.
With your iron heating up, lay your fabric piece wrong-side-up. Place the interfacing on top, making sure the bumpy, adhesive side is facing down against the fabric. Now, cover it all with your press cloth.
Pro Tip: Whatever you do, never touch a hot iron directly to the fusible side of the interfacing. The adhesive will instantly melt onto your iron's soleplate, leaving a sticky, gunky mess that’s a nightmare to clean.
Ready to fuse? Here’s the motion for a flawless application:
- Press and Hold: Set your iron down and apply firm, even pressure. Hold it completely still for about 10 to 15 seconds. No wiggling!
- Lift and Overlap: Lift the iron straight up. Reposition it over the next section, slightly overlapping the area you just pressed. This ensures you don’t miss any spots.
- Repeat: Keep this up until the entire piece is fused. A quality iron that provides consistent, even heat makes a huge difference. An iron like the Oliso TG1600 Pro Plus is fantastic for this kind of precise work.
Once you’ve pressed the whole piece, you’ve reached the final—and maybe most important—step: let it cool. Completely. Don't touch it, don't move it, just let it sit flat for at least a few minutes. This cooling period allows the adhesive to cure and solidify, locking that permanent bond in place. If you move it while it's still warm, you risk weakening the bond and causing it to peel away later on.
Troubleshooting Common Interfacing Problems
Even when you do everything right, fusible interfacing can sometimes have a mind of its own. Don't worry, though. Most issues are pretty simple to fix and are just part of the learning process of working with this stuff.
Probably the most common headache is that dreaded bubbling or blistering on the fabric surface. This almost always points back to an issue with heat or pressure. It means the adhesive didn't melt and spread evenly, usually because the iron was moved around too much or just wasn't hot enough.
Fixing Bubbles and Weak Bonds
To smooth out those bubbles, just lay your press cloth back over the spot and press down firmly with a hot iron. The key is to hold it completely still for a good 15 seconds. This gives the adhesive a proper second chance to melt and grab hold of the fabric fibers.
What if the interfacing won’t stick at all? It usually comes down to one of three culprits: not enough heat, not enough pressure, or not enough time under the iron. Double-check that your iron's temperature is right for both your fabric and the interfacing you're using.
My Quick Fix: Before I even think about starting over, my go-to move is to re-press the area with a bit more muscle and hold the iron in place for a few extra seconds. This simple trick fixes the problem about 90% of the time. It’s a lifesaver for all sorts of projects, from simple shirt collars to more complex builds. In fact, getting a solid bond is crucial when you learn more about building sturdy shapes in our guide on how to make cosplay armor.
And what about that sticky, gunky residue that sometimes gets left on your iron? First things first, let the iron cool down completely. Once it's cool, you can use a commercial hot iron cleaner or even a simple home remedy to gently scrub the adhesive off the soleplate.
Answering Your Fusible Interfacing Questions
Even the most seasoned sewists run into questions when working with interfacing. It's one of those materials where a little bit of know-how can save you a lot of frustration down the road. Let's clear up a few of the most common head-scratchers I hear.
Is Pre-Washing Really Necessary?
Absolutely. I know it feels like an extra, tedious step, but please don't skip this one. Think of it this way: interfacing is often made of cotton or other natural fibers, just like your fashion fabric. And what do those fibers do when they hit water for the first time? They shrink.
If you fuse unwashed interfacing to your unwashed fabric and then toss the finished garment in the laundry, you're in for a world of puckered, distorted seams. Pre-washing both your fabric and your interfacing before you fuse them together ensures all that shrinking happens upfront. A simple hand wash in warm water and a line dry is usually all it takes.
What if I fuse it to the wrong side? It happens! If you catch it right away while the glue is still hot, you can often peel it off gently. But if it has cooled and set, you risk tearing or stretching your fabric by trying to pull it off. In most cases, it's safer (and less heartbreaking) to just cut a new fabric piece.
Steam or No Steam with My Iron?
This is the big one, and the answer is... it depends. My best advice is to always, always check the instructions that came with your specific interfacing.
As a general rule of thumb, I start with a dry iron. Many modern fusibles are designed to bond with just heat and pressure. However, some types, especially older styles or certain woven interfacings, actually need that little blast of steam to activate the adhesive. Using steam when you shouldn't can lead to a bubbly, weak bond. When in doubt? Test it on a scrap first. It’s a two-minute test that can save your entire project.
At Famcut, we're all about helping you build those foundational skills that let your creativity shine. When you're ready to take your projects to the next level, we've got the quality sewing supplies to get you there. See everything we have to offer at https://famcut.com.