


What is stay stitching in sewing? A quick guide
Ever had a neckline that mysteriously grew a couple of inches wider while you were sewing?Ever had a neckline that mysteriously grew a couple of inches wider while you were sewing? Or an armhole that ended up looking wavy and stretched out? The culprit is often a lack of stay stitching, a simple but game-changing technique that every sewist needs to know.
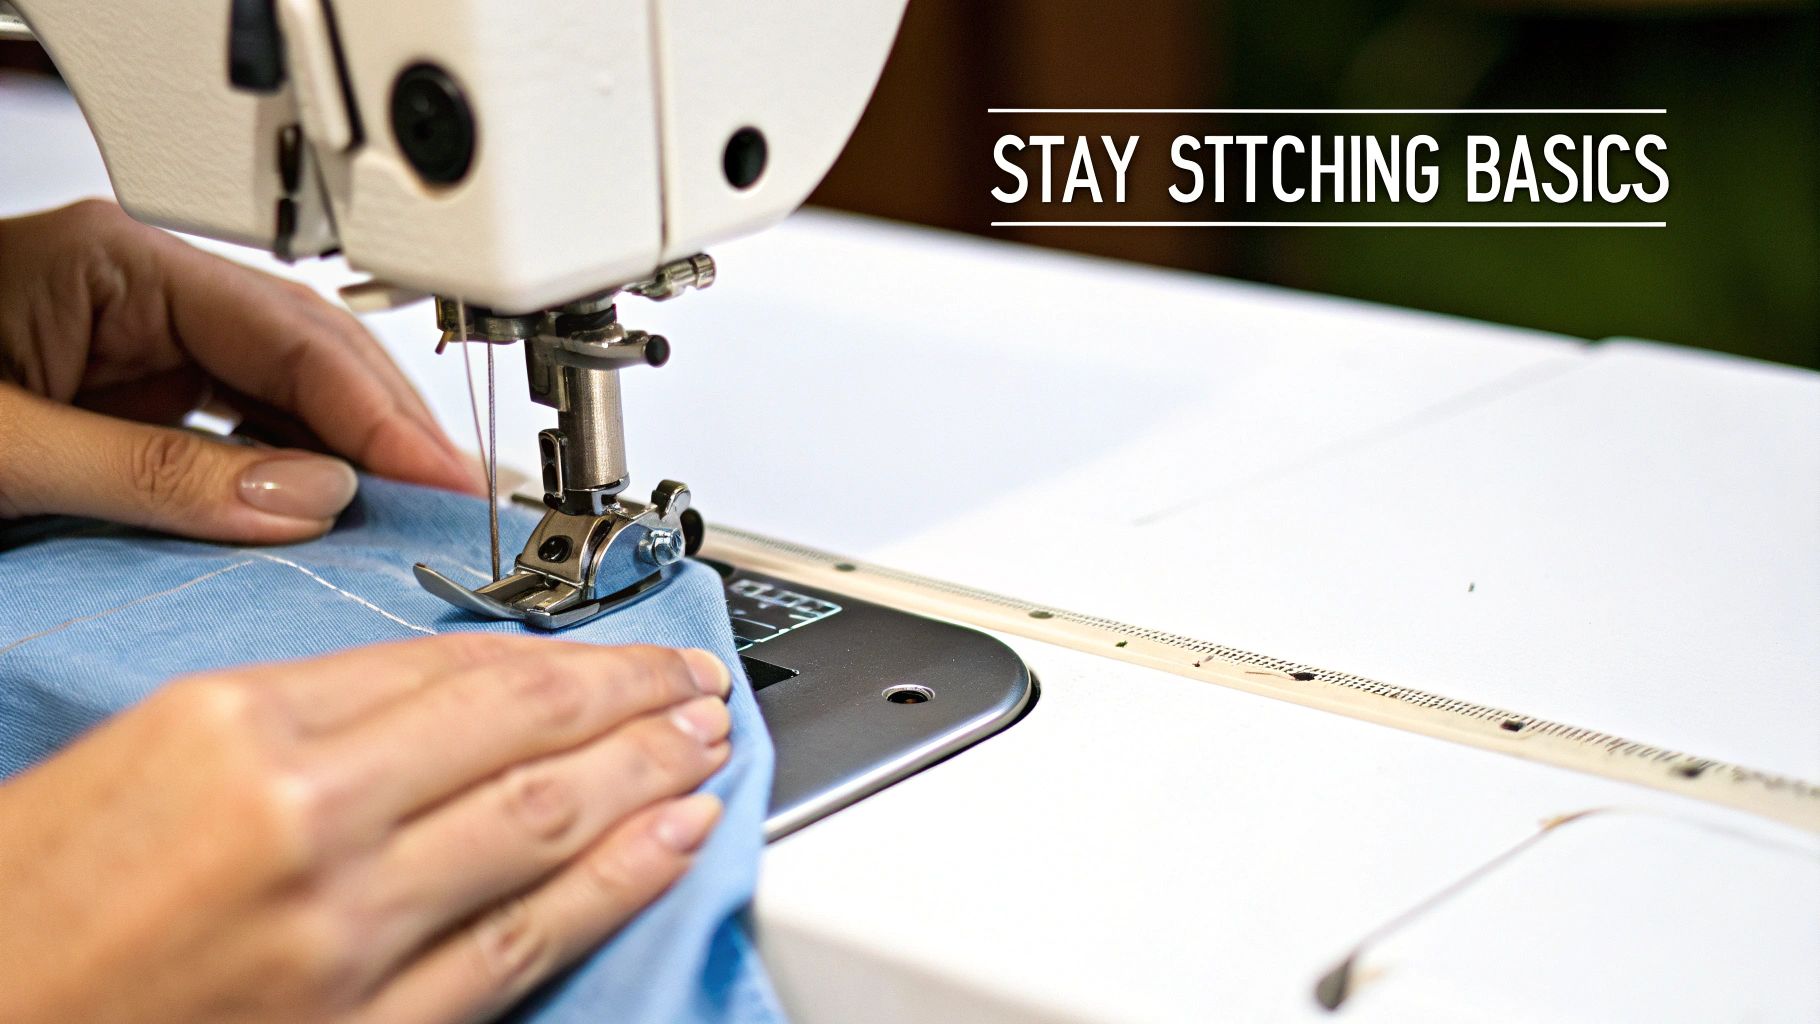
Stay stitching is essentially a single line of stitches sewn just inside the seam allowance on a single layer of fabric. It’s done on any edge that's cut on a curve or a sharp angle—think necklines, armholes, and some V-necks. This little line of thread acts as a guard, preventing these vulnerable areas from stretching out of shape while you're handling the fabric.
The Hidden Strength of a Simple Stitch
Think of your fabric's threads like a woven net. On a straight edge, the net is strong and stable. But when you cut a curve, you expose the threads on the bias, where they have the most give. Without support, just moving the fabric from your cutting table to your sewing machine can cause it to stretch.
Stay stitching locks those threads in place before they have a chance to distort. It’s a proactive step, not a fix-it-later one. You do it right after cutting out your pattern pieces, ensuring that the neckline or armhole you so carefully cut stays that exact size and shape all the way through construction.
Why You Can’t Afford to Skip This Step
So, what is the big deal? Why is this simple stitch so crucial? It’s all about maintaining the integrity of your pattern pieces from start to finish. This stitching, which gets hidden inside the final garment, is what gives your projects a professional, polished look.
To put it simply, here’s a quick breakdown of what stay stitching does for you.
Stay Stitching at a Glance
| Key Aspect | Description |
|---|---|
| Purpose | To prevent curved or angled fabric edges from stretching or distorting during handling. |
| Placement | Sewn on a single layer of fabric, just inside the seam allowance (1/8 inch is common). |
| Timing | Applied immediately after cutting the fabric piece, before any other sewing. |
| Stitch Type | A standard, straight machine stitch, often slightly shorter than a regular seam. |
This small bit of prep work pays off in a big way throughout the rest of the project.
The benefits really shine once you start assembling your garment:
- It Preserves the Shape: A stay-stitched neckline holds its perfect curve, stopping it from turning into a wide, gaping mess.
- It Guarantees a Better Fit: When your pattern pieces don't stretch, the final garment will fit the way the designer intended.
- It Makes Sewing Easier: Attaching a stable, stay-stitched curve to another piece is a breeze. You won't have to fight with and ease in a piece of fabric that has grown out of shape.
Stay stitching is your project’s insurance policy. It's the difference between a garment that looks a little "homemade" and one that looks sharp and store-bought.
Ultimately, getting this technique down is a major step toward elevating your sewing skills. If you're building your sewing foundation, exploring some free sewing lessons can be incredibly helpful for mastering essentials like this one. That tiny bit of time you spend on stay stitching will save you a world of frustration later.
The Unseen History of Keeping Fabric in Shape
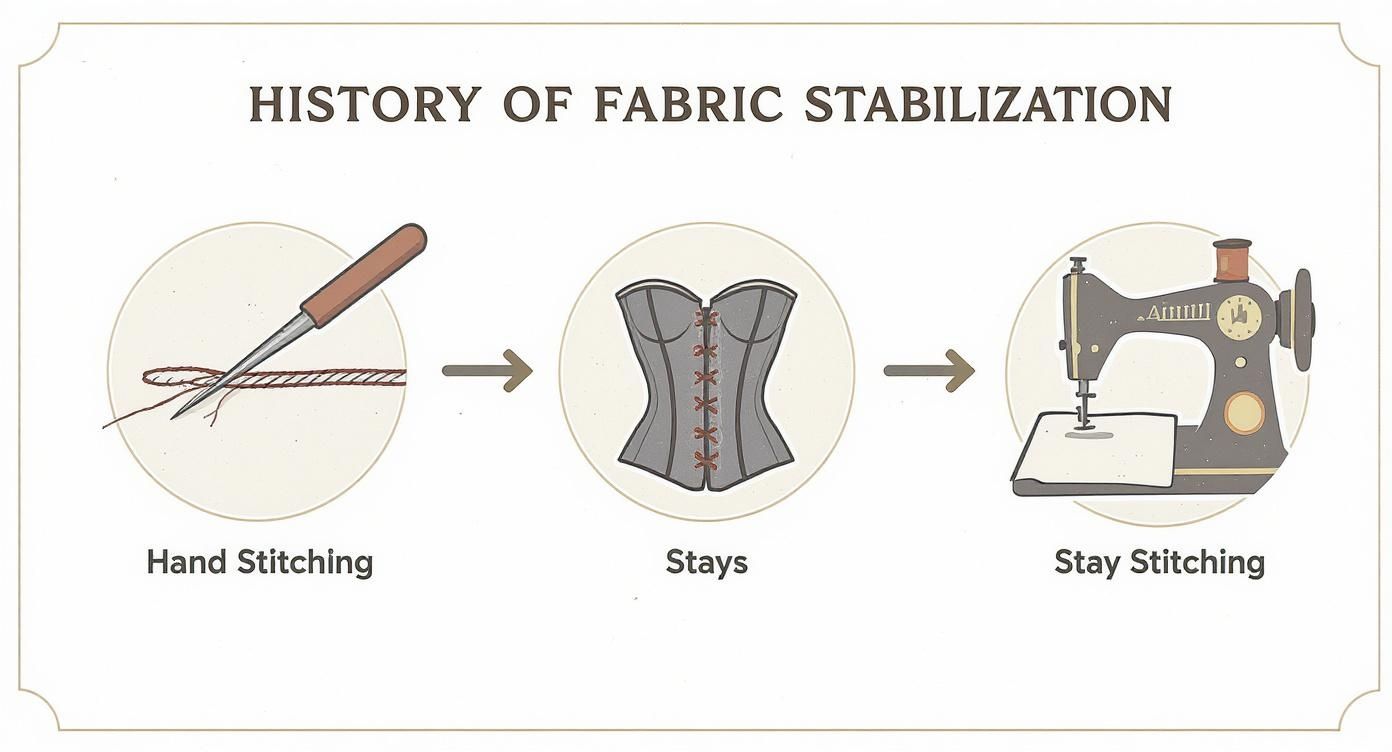
Believe it or not, the idea behind stay stitching isn't some newfangled sewing trick. It’s actually a modern, machine-powered answer to a problem that tailors and dressmakers have been solving for hundreds of years.
Long before sewing machines buzzed in every home, artisans in the 17th and 18th centuries were masters of fabric control. They used painstaking hand stitches to reinforce necklines, armholes, and delicate seams. For the intricate clothing of the era, preventing a piece of fabric from stretching out of shape wasn't just good practice—it was absolutely essential to getting the fit and structure right.
From Hand-Sewn Stays to Machine Stay Stitching
Think about historical garments like corsets or their earlier cousins, "stays." These foundational pieces had to be incredibly strong to shape the body. The very name "stay stitching" is a direct nod to this history.
You can see this connection in action when you look at historical sewing projects. For example, a recreation of 1780s hand-sewn linen stays shows just how vital these reinforcing stitches were. Without them, the linen would have stretched and warped, completely ruining the garment's supportive structure.
This link to the past is what makes stay stitching so cool. It’s not just a step in a pattern; it’s a time-honored technique passed down from generations of sewists who knew that a great finished garment starts with a solid foundation.
Our tools may have changed from a simple needle and thread to a powerful sewing machine, but the goal is exactly the same: keeping our fabric true to the shape we intended.
How to Sew the Perfect Stay Stitch
Alright, you've got the "why" down, so let's get into the "how." Nailing the perfect stay stitch is actually pretty simple once you know the little details that make a big difference. The whole point is to add a line of stitching for support that won't show or get in the way of your final seam. Getting it right comes down to timing, placement, and stitching in the right direction.
The number one rule? Stay stitch immediately after cutting your fabric pieces. I can't stress this enough. Don't pin them, don't move them around, don't even breathe on them too hard. The second a curved or bias-cut edge is free, it wants to stretch. Make stay stitching the very first thing you do when you sit down at your machine.
Interestingly, what we do with our machines today is just the modern version of what sewists have been doing for centuries to stabilize fabric.
From careful hand stitching to the support of structured garments, the goal has always been the same: keep the fabric from distorting.
Setting Up Your Machine
First things first, get your machine ready. You'll just need a standard straight stitch. The stitch length is key here; a shorter-than-usual stitch, somewhere around 1.5 to 2.0 mm, is what you want. A longer stitch might not provide enough support, especially on a tight curve.
You can find more detailed tips on stitch settings in various sewing resources, but this shorter length is a great starting point for most fabrics.
Key Takeaway: Stay stitching is always, always done on a single layer of fabric. You're not joining pieces together yet. This step is all about prepping individual pieces before you start construction.
The Step-by-Step Process
Following a clear method will make sure your stay stitch does its job without ever being seen in your finished project. Here’s how to do it:
- Placement is Everything: Sew your line of stitches just inside the seam allowance. If your pattern has a standard 5/8-inch (1.5 cm) seam allowance, stitch about 1/8-inch (3 mm) away from the raw edge. This places your stay stitch well within the seam allowance, so it will be completely hidden when you sew your final seam.
- Direction Matters: Always stitch from the outer edge in towards the center. On a neckline, for example, you would stitch from the shoulder down to the center front. Then, stop, cut your thread, and do the same for the other side, starting at the other shoulder and stitching down to the center. This prevents you from stretching the curve all in one direction.
- Handle with Care: As you're stitching, let the machine's feed dogs do the work. Don't push or pull the fabric through. Forcing it is a surefire way to create the exact stretching you're trying to prevent. While a machine is fastest, if you're ever reinforcing something by hand, using some quality easy-threading needles can make the process much smoother.
Knowing When and Where to Stay Stitch
https://www.youtube.com/embed/f65S_mRRId4
Figuring out which seams need stay stitching can feel like an insider secret, but the logic is pretty straightforward. You just need to look for any edge on your pattern piece that isn't cut perfectly straight along the fabric's grain.
Think about it: when you cut a curve or a diagonal line, you're slicing across the threads on the bias. This is the fabric's stretchiest direction, and these edges can easily get pulled out of shape just from being handled. Stay stitching is your first line of defense, locking those threads in place before they have a chance to warp.
This isn't a new concept, either. Even as home sewing patterns exploded in popularity, the core principles of quality garment construction held strong. You can actually find some great historical context in this helpful PDF from the American Sewing Guild, which shows how this has always been a non-negotiable step for achieving a great fit.
Key Areas That Always Need Stay Stitching
Stay stitching is like buying insurance for the most vulnerable parts of your project. You'll almost always want to apply it to these areas:
- All Necklines: This is probably the most critical spot. A stretched-out, saggy neckline is impossible to hide and can ruin the look of an entire garment.
- Armholes (Armscyes): Stitching here prevents gaping and makes setting in a sleeve a much smoother process.
- Curved Princess Seams: These seams are designed to curve beautifully over the bust, and stay stitching protects that shape from getting distorted.
- Shoulder Seams: If your shoulder seams are cut at an angle (and most are), they can stretch out and cause your garment to hang poorly.
- Waistlines on Skirts or Bodices: Any curved waistline can "grow" as you work with it, so a quick line of stitching keeps it true to the pattern size.
My personal rule of thumb: If you're even thinking about whether an edge needs it, just go ahead and stay stitch it. There’s absolutely no downside to adding this simple stitch, but skipping it can cause some serious headaches later.
Why Your Fabric Choice Matters
The type of fabric you're using is a huge factor in how important stay stitching is. For some materials, it’s a good habit; for others, it's an absolute must.
Fabrics with a loose weave or a slinky drape—think linen, silk charmeuse, and rayon challis—are incredibly shifty and can stretch just by looking at them. For these, stay stitching is non-negotiable. It’s what stands between you and a sewing disaster.
Even with more stable fabrics like quilting cotton or a crisp twill, it’s still a fantastic best practice. It’s one of those foundational skills, right up there with mastering your machine’s settings, that guarantees a more professional finish every time. Getting these basics down, much like understanding your overlocker with our Essential Serger Reference Tool, elevates your work from homemade to handmade.
To help you decide, here's a quick guide on when to prioritize stay stitching based on what you're sewing.
Stay Stitching Priority Guide for Fabrics and Garments
| Garment Area / Fabric Type | Stay Stitching Priority | Reason |
|---|---|---|
| Linen/Rayon Necklines | Critical | These fabrics have a very loose weave and will distort almost immediately. |
| Silk Charmeuse Curves | Critical | Extremely shifty and prone to stretching on any bias or curved edge. |
| Cotton Lawn Armholes | High | Lightweight cottons can still stretch easily on curves during handling. |
| Twill/Denim Waistlines | Medium | Sturdier, but curved waistlines can still benefit from stabilization. |
| Quilting Cotton Seams | Recommended | While stable, it ensures perfect accuracy, especially for complex patterns. |
| Felt or Non-Wovens | Optional | These materials have no grain or bias and do not stretch, so it's not necessary. |
This table isn't exhaustive, but it gives you a solid framework. The more delicate and unstable the fabric, the more critical stay stitching becomes for preventing stretched-out, wonky seams in your finished project.
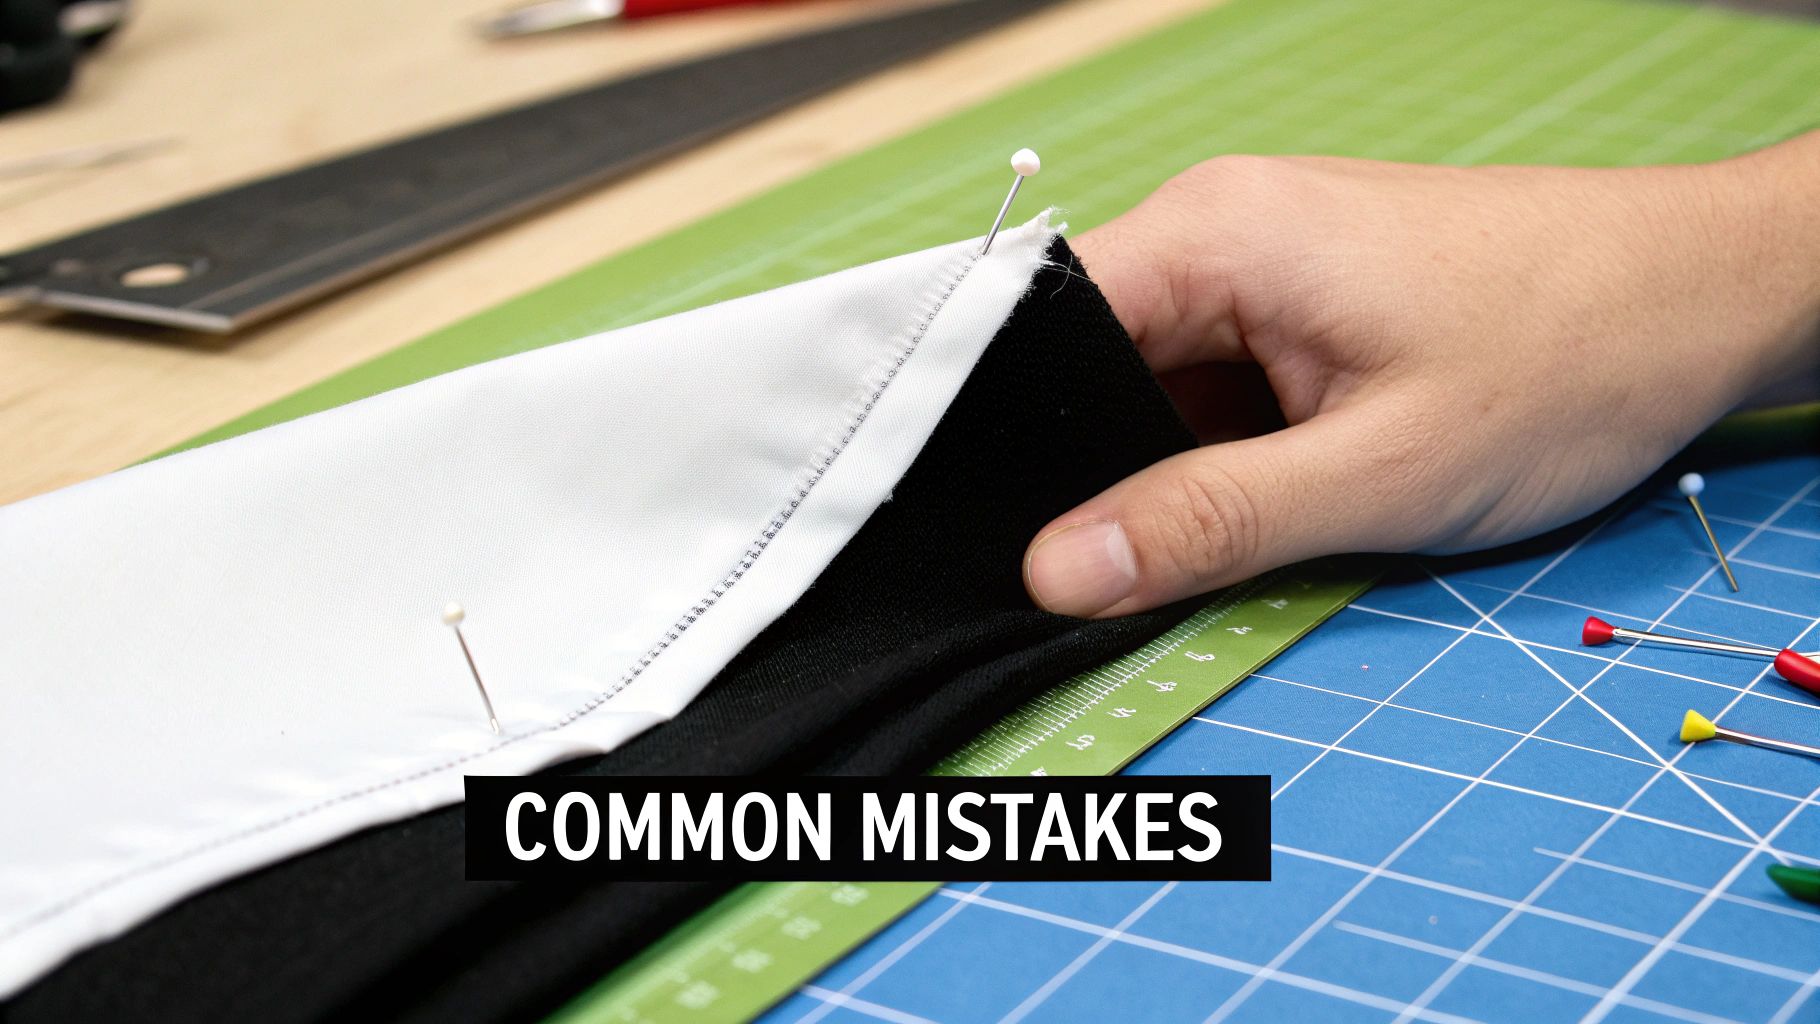
Common Stay Stitching Mistakes and How to Avoid Them
Even seasoned sewists can make a wrong turn with stay stitching. The good news? The most common mistakes are surprisingly easy to sidestep once you know what to watch for. Let's look at the typical slip-ups that can cause headaches and how you can keep your projects looking sharp.
One of the biggest culprits is stitching in the wrong place. If you sew too close to the raw edge, the stitches won’t have enough fabric to hold onto and won't do their job. On the other hand, if you stitch too far into the seam allowance, your stay stitching might peek through on the finished garment.
Another classic mistake is accidentally stretching the fabric as you sew. This is the exact opposite of what you want to achieve! Remember to let the machine do the work. Gently guide the fabric, but never pull it from behind or push it from the front.
A Quick Guide to Fixing Mistakes
Don't panic if you’ve made a mistake—most are simple to fix, especially if you catch them early. Here’s a quick troubleshooting guide.
-
Mistake 1: Stitching in the Wrong Direction Sewing from the center of a neckline out toward the shoulders can easily stretch that delicate curve. It feels natural, but it works against the grain.
- The Fix: Always stitch from the high points (like the shoulder seams) down toward the center low point. This simple change works with the fabric's grain, keeping the curve stable and true.
-
Mistake 2: Using the Wrong Stitch Length A long stitch, like a basting stitch of 3.0 mm or more, is too loose to provide any real stability. But going too short can sometimes pucker or even damage delicate fabrics.
- The Fix: Aim for a stitch length that’s just a bit shorter than your standard seam, usually around 1.5 to 2.0 mm. It's the sweet spot for strength without distortion.
Remember, a slightly crooked line of stay stitching is almost always better than no stay stitching at all. If it's really messy or will be visible on your final piece, then it's worth taking the time to remove it carefully.
When you do need to unpick stitches, having a good tool makes all the difference. Using a quality dual-ended seam ripper helps you remove threads quickly without the risk of accidentally snagging or tearing your precious fabric.
Stay Stitching vs. Other Common Techniques
When you're first learning to sew, it’s easy to get techniques mixed up. Several methods are designed to control fabric, but they all have very different jobs. Let's clear up the confusion so you know exactly when to reach for stay stitching.
Think of stay stitching as your preventative medicine for fabric. It’s a permanent stitch line put in early to stop a single piece of fabric from stretching out of shape before you’ve even had a chance to sew it to anything else. It’s all about locking those threads in place from the get-go.
How Is Stay Stitching Different From Basting?
Basting, on the other hand, is purely temporary. It’s all about holding multiple layers of fabric together for a short time, usually with long stitches that are super easy to pull out later. You might baste a sleeve into an armhole to check the fit or hold a slippery seam in place while you sew it for real.
Stay stitching is like the concrete foundation of a house—it’s poured early and it’s meant to stay forever. Basting is the temporary scaffolding you put up during construction—absolutely essential for a little while, but always designed to be taken down.
You wouldn't use a permanent stitch for a temporary fitting, just as a temporary stitch won't provide the lasting stability a neckline needs. In fact, some sewists even baste tricky seams with specialty products like water-soluble thread, which completely dissolves in the wash, really driving home its temporary nature.
Stay Stitching Versus Interfacing and Stay Tape
This is another common point of confusion. While stay stitching prevents stretching, interfacing and stay tape add structure.
Interfacing is a whole separate layer of material that you fuse or sew to your main fabric to give it more body and stiffness. It’s what makes a shirt collar crisp or a button placket strong. Stay tape is just a very narrow strip of interfacing, perfect for reinforcing a specific area like a shoulder seam to keep it from sagging over time.
Stay stitching, however, doesn't add any extra bulk or stiffness. It simply uses thread to hold the existing fabric grains together. This is why it’s the perfect choice for delicate curves like armholes and necklines, where you need stability without ruining the beautiful drape of your fabric.
Common Questions About Stay Stitching
Even after you get the hang of stay stitching, a few practical questions always seem to pop up. Nailing these little details is often what separates a good project from a great one, so let's clear up some of the most common uncertainties.
Do I Have to Take Stay Stitching Out?
Nope, never! Stay stitching is a permanent part of your garment’s construction and should always be left in.
It's sewn just inside the seam allowance—say, at 1/2 inch when your pattern calls for a 5/8 inch seam allowance. This smart placement means it gets completely tucked away and hidden inside the finished seam. Its job is to provide that crucial, long-term stability, so leaving it in place ensures your neckline or armholes won't warp and stretch out over time.
Uh Oh, I Forgot to Stay Stitch. What Now?
Forgetting this step can lead to some seriously frustrating moments at the sewing machine, especially with fabrics that love to misbehave, like slippery rayons or loosely woven linens. The biggest problem you'll face is the fabric edge stretching out of shape as you handle it.
This stretching is what causes gaping necklines, saggy armholes, and pieces that just won't line up no matter what you do. Sometimes you can use a bit of steam to persuade the fabric back into its original shape, but it's often a losing battle. Stay stitching is that ounce of prevention that saves you a pound of cure later on.
Key Insight: Think of stay stitching as your first line of defense. It locks in the shape of the pattern piece you just cut, guaranteeing it stays that way all through the sewing process. It’s a simple step that preserves the intended fit and gives your work a professional finish.
Should I Use a Different Color Thread?
While using a matching thread works just fine, many sewers (myself included!) actually prefer to use a contrasting color. Why? It makes the stitch line incredibly easy to see.
This visible line then acts as a perfect guide, helping you sew your final construction seam with pinpoint accuracy. Since the stay stitching is hidden inside the seam allowance anyway, the color doesn't matter. The only exception is if you're working with a very sheer or lightweight fabric; in that case, stick with a matching thread just to be safe.