


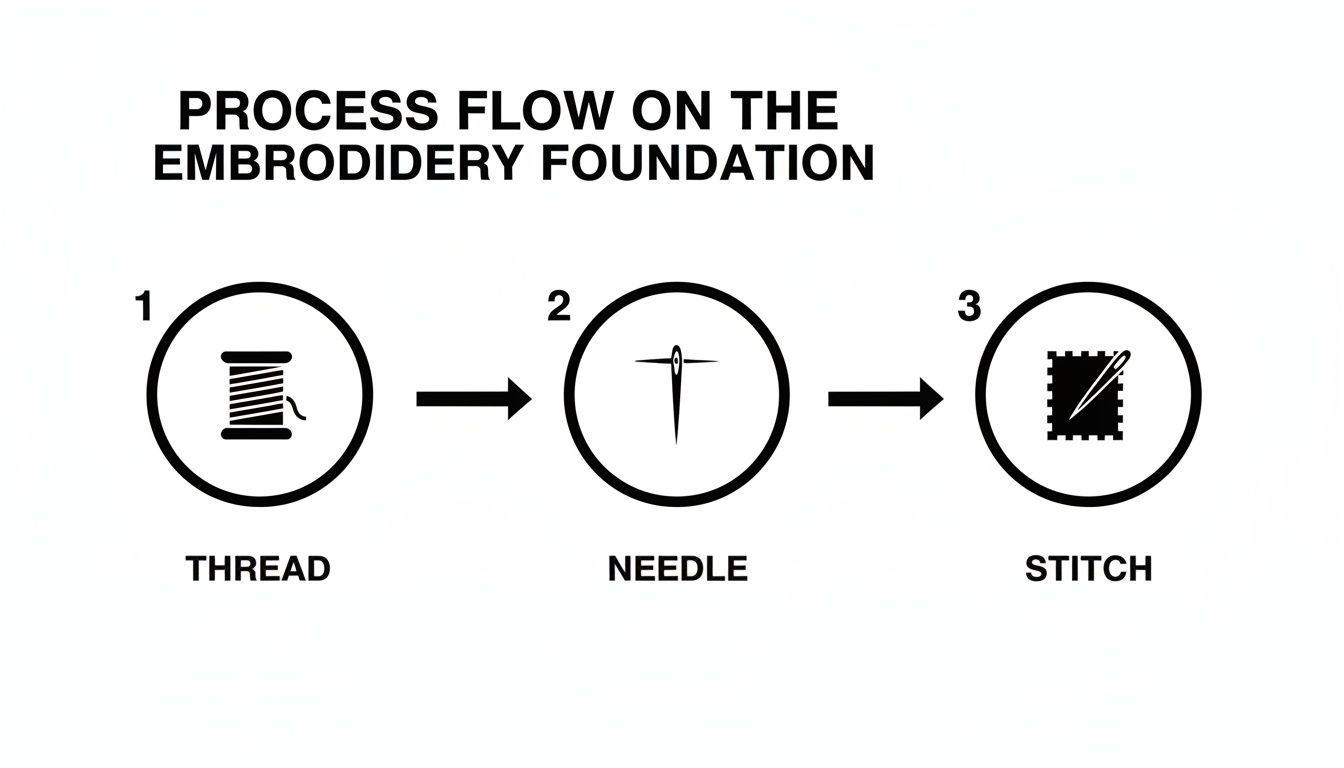
How to Master threading embroidery needle
Every great embroidery project, big or small, starts with the same simple act: threading the needle. It’s a tiny step that makes a huge difference, saving you time and frustration while setting the stage for those beautiful, even stitches we all strive for. Getting this right from the get-go is the secret to flawless work.
The Unsung Skill of Threading a Needle
It’s easy to dismiss threading a needle as just a means to an end, but how you do it genuinely affects your stitch quality and your entire crafting session. A clean, sharp thread end that passes smoothly through the needle's eye is your best defense against snags, fraying, and weak spots in your floss. This isn't just about pushing thread through a hole; it’s about preparing your project for success before you even make the first stitch.
This is one of those foundational skills that often gets glossed over in favor of learning fancy new stitches. But trust me, taking a moment to master the basics builds a kind of quiet confidence and precision that shows in your work. While the embroidery market is booming with cool new gadgets, the simple act of threading a needle is still the universal starting line for everyone.
Developing this ability is essential for anyone who loves to sew. If you're looking to build a solid foundation in all things sewing, you can explore our free sewing lessons for crafters of all levels.
A perfectly threaded needle is the silent partner in every beautiful stitch. It ensures your floss glides smoothly through the fabric, preserving its integrity and color from start to finish.
Mastering the Art of Threading a Needle by Hand
Let's start with the classic way to thread an embroidery needle—no fancy gadgets, just you and your materials. Getting this right is all about good preparation. Honestly, creating a clean, sharp end on your floss is half the battle.
A frayed, fluffy thread end is your worst enemy here; it will split and fight you every step of the way. The easiest fix? Always use a pair of sharp embroidery scissors to get a perfectly crisp cut. I find that trimming the floss at a sharp 45-degree angle creates a fine, stiff point that’s much easier to guide through the needle's eye. A tiny bit of moisture can also work wonders to tame any stray fibers.
Setting Yourself Up for Success
Your workspace can make or break your threading experience. Good lighting is absolutely essential. A bright, well-lit area saves you from squinting and makes that tiny eye much easier to spot.
Here’s another little trick I swear by: use a contrasting background. Just hold a white piece of paper or a scrap of light-colored fabric behind the needle. Suddenly, the dark hole of the eye pops into view, giving you a clear target.
This simple process is the foundation of every single stitch you'll make.
The image above really breaks it down: a properly threaded needle is the crucial link between your floss and your finished piece.
To keep things steady, grip the needle firmly between the thumb and forefinger of your non-dominant hand. I like to brace that hand against the table or even my other hand to stop any wobbling. Now, bring the thread to the needle, not the other way around. This small change gives you so much more control and precision.
My best advice: A steady hand and a sharp thread are your most important tools. Always focus on bringing the thread to a still needle—it minimizes frustration and gets the job done faster.
Even with perfect technique, some needles are just plain difficult. If you find yourself constantly struggling with smaller eyes, you might want to check out specialty needles like the John James Easy Threading Needles, which are designed specifically to make this step a breeze.
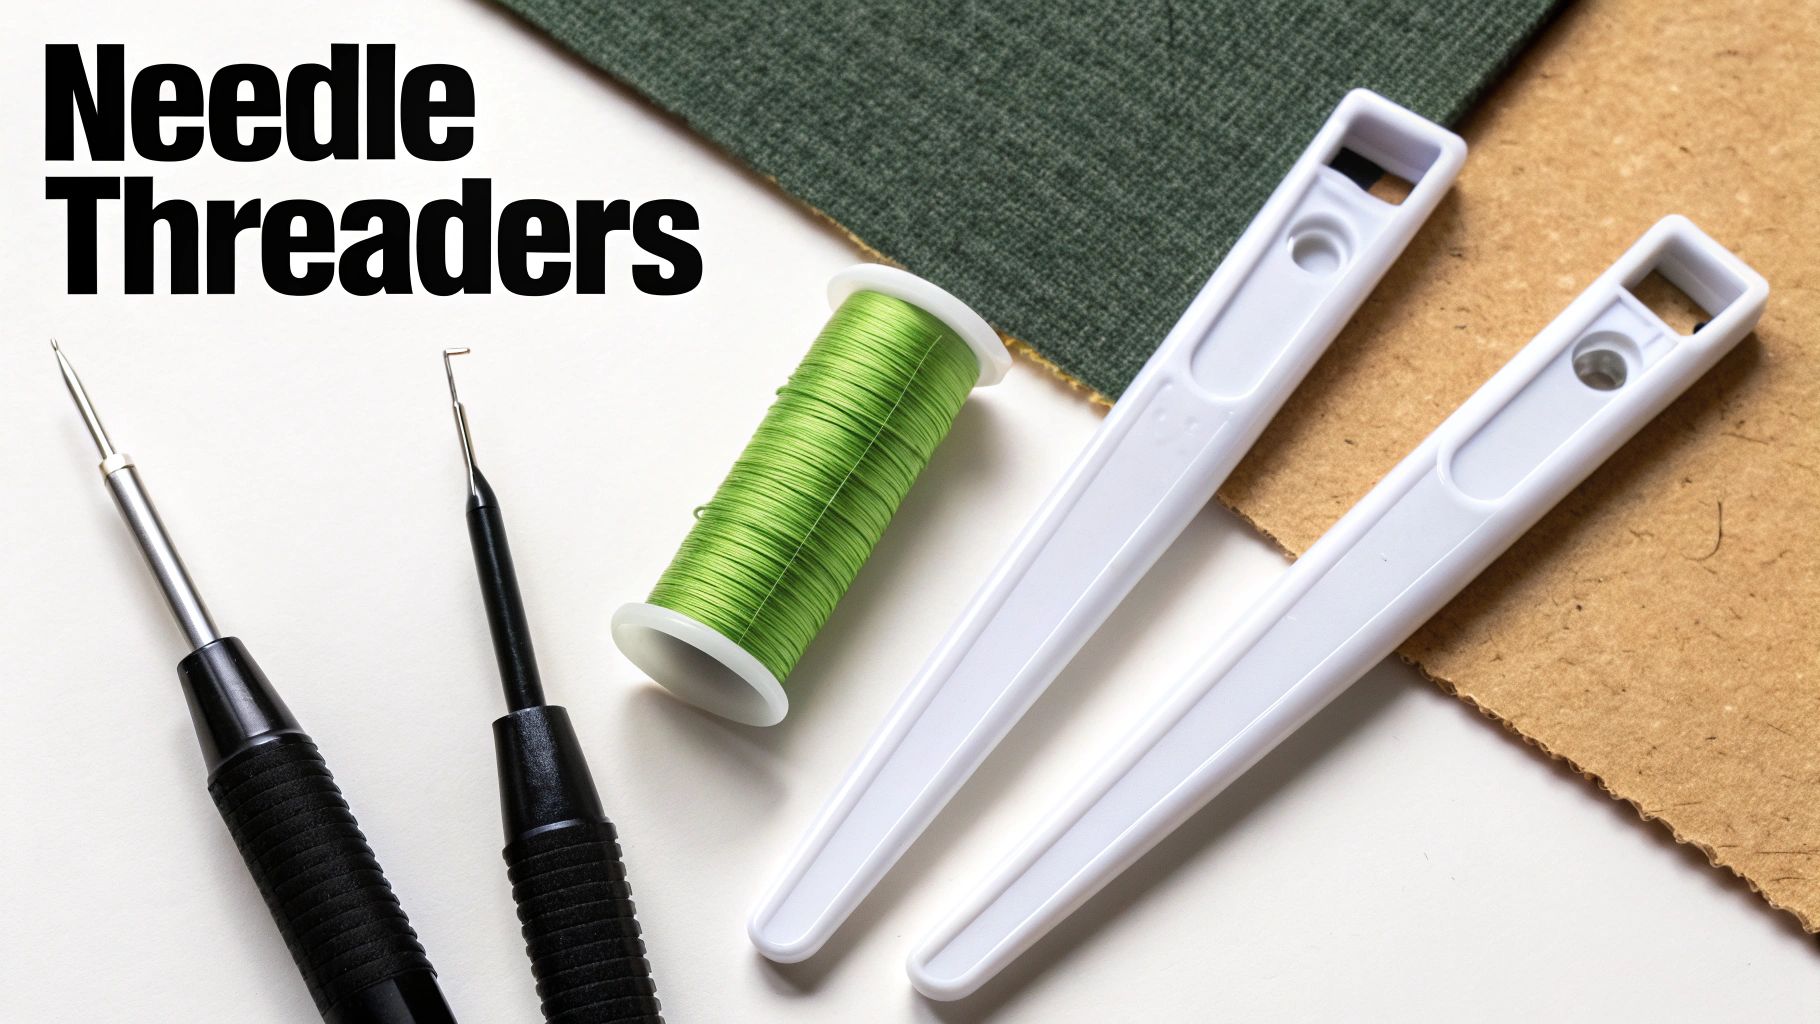
Choosing the Right Needle Threading Tool
Let's be honest—trying to poke a fluffy piece of floss through a tiny needle eye can test the patience of even the most seasoned stitcher. When that simple task starts to feel like a frustrating chore, it's time to bring in a tool. Needle threaders are a game-changer, and not just for those of us with less-than-perfect eyesight. They save precious time, cut down on frayed thread, and just make the whole process smoother.
You'll find a surprising variety of these little gadgets out there, from the classic wire-loop style you might have seen in your grandma's sewing basket to more modern, automatic versions. They all do the same job, but how they do it and what they work best with can vary quite a bit.
Needle Threader Tool Comparison
To help you figure out which one might be right for your sewing kit, here’s a quick breakdown of the most common types. Each has its own strengths and is suited for different kinds of projects and needles.
| Tool Type | Best For | Pros | Cons |
|---|---|---|---|
| Wire Loop | General hand sewing, embroidery, most standard needle sizes. | Inexpensive, portable, versatile, easy to find. | The thin wire can be fragile and break easily, especially with small-eyed needles. |
| Automatic/Desktop | People with vision issues or limited dexterity, threading many needles at once. | Quick, effortless, and very consistent. | More expensive, can be bulky, may not work with very small or very large needles. |
| Built-in (on Machines) | Sewing machine needles specifically. | Extremely convenient and fast for machine sewing. | Only works for the machine it's attached to; not for hand sewing. |
Ultimately, the best choice depends entirely on how you stitch. A simple wire-loop threader is often all you need for casual embroidery, but an automatic one can be a true lifesaver for high-volume work or anyone with shaky hands.
Making the Right Choice for Your Project
So, how do you pick? It really comes down to the materials you use most.
If you’re working with thick sashiko thread or fluffy chenille yarn, a sturdy wire loop threader is going to be your best friend. The delicate little hook on an automatic model might snap or just refuse to grab such a bulky fiber.
On the other hand, if your project involves beading with needles that have impossibly small eyes, an automatic threader can feel like pure magic. It offers a level of precision that's really tough to match by hand. Some crafters who thread dozens of needles before starting a project swear by desktop models like the Quick Desk Needle Threader by Clover, which makes the process almost hands-free.
The best tool is one that fits so seamlessly into your workflow you forget you're even using it. It should eliminate a point of friction, not create a new one.
Think about your primary craft. Are you a quilter, an embroiderer, a bead artist? The answer will point you toward the perfect little gadget to get you stitching faster.
So, you've mastered threading standard cotton floss through a size 7 needle. But what happens when a project throws you a curveball, like a tiny beading needle or some fussy metallic thread? This is a common sticking point for a lot of us. These tricky combinations just require a slightly different bag of tricks.
When you're squinting at the impossibly small eye of a fine needle, magnification and a steady hand are your best assets. I can't tell you how much a simple magnifying lamp has saved my sanity over the years. Suddenly, that tiny hole is a clear, manageable target.
Here’s a great little hack: hold a piece of white paper or cardstock behind the needle. The contrast makes the eye pop, making it so much easier to see what you're doing.

Taming Difficult and Specialty Threads
Let's talk about those problem-child threads. Metallic floss is infamous for fraying and separating at a moment's notice, and fluffy chenille can feel like you're trying to push a cloud through a keyhole. The secret isn't more force; it's about reducing friction and taming those unruly fibers. This is where a good thread conditioner becomes your best friend.
- Beeswax: Don't underestimate this old-school tool. A quick pass through a block of beeswax can transform metallic and synthetic threads. It smooths down the fibers, gives the end a little stiffness, and seriously cuts down on the fraying that happens as you stitch.
- Thread Conditioner: Modern, synthetic conditioners work in a similar way, often coming in a liquid or gel formula. They give the thread a slick coating so it glides right through the fabric. This is a game-changer for delicate silks or fuzzy yarns that love to snag.
A high-quality thread conditioner is a small investment that pays for itself over and over. It saves your thread from breaking, your fabric from snagging, and you from a whole lot of frustration.
If you're a quilter often wrangling with tough threads, a purpose-built product can make a huge difference. You might want to check out a specialized thread lubricant for quilting designed to make everything go a bit smoother.
By pairing the right tools with these simple conditioning tricks, you'll be able to tackle just about any thread-and-needle combination your projects throw at you.
Troubleshooting Common Threading Problems
Even with years of experience, sometimes threading an embroidery needle just doesn't want to cooperate. It can feel like you're trying to solve a tiny, frustrating puzzle. But don't worry—when things go wrong, it's almost always one of a few common culprits. Knowing what to look for is half the battle.
One of the most maddening issues is floss that splits and frays right at the tip. You bring it up to the needle's eye, and it turns into a fluffy, unmanageable mess. More often than not, this is a sign that your scissors are the problem. A dull blade doesn't slice through the fibers; it crushes them, creating that dreaded frayed end. A clean cut from a sharp pair of embroidery scissors makes all the difference.
Another headache I see all the time is thread that just snaps when you pull it through the eye. This can happen for a couple of reasons. Sometimes, the thread is just old and has become brittle over time—it's always smart to give vintage floss a gentle tug to test its strength before you commit it to a project. But usually, the problem is a simple mismatch between your needle and your thread.
Solving Thread and Needle Mismatches
If you find yourself trying to force a thick, 6-strand floss through a needle with a tiny eye, you're setting yourself up for failure. All that friction you're creating as you pull weakens the thread until it eventually shreds or snaps completely.
The fix is surprisingly simple: always pick a needle with an eye that's big enough for your thread to glide through without a fight. You'd be amazed how many "threading problems" disappear the moment you switch to the right needle.
And what about those last few inches of floss on the spool? When you're left with a tail that's too short to grip properly, a specialized tool can be a real project-saver. I've found that using a hemostat-style tool like the Thread-O-Stat thread grabber gives you that extra bit of precision and grip needed to handle those fiddly ends.
Key Takeaway: Most threading issues aren't about skill—they're about the tools. Before you get frustrated, check your needle, thread, and scissors. The solution is often right there in your supplies.
Common Threading Issues and Solutions
To help you get back to stitching faster, I've put together this quick reference table. It covers the most frequent problems I've run into and the fastest way to fix them.
| Problem | Potential Cause | Quick Solution |
|---|---|---|
| Thread Splits at the Tip | Dull scissors or low-quality floss. | Trim the end at a 45-degree angle with sharp scissors. |
| Floss Snaps or Shreds | Needle eye is too small for the thread. | Switch to a needle with a larger eye to reduce friction. |
| Can't See the Needle's Eye | Poor lighting or lack of contrast. | Use a task lamp and place a white card behind the needle. |
Think of this table as your go-to cheat sheet the next time your thread puts up a fight. A quick glance can often solve the issue in seconds.
Tackling Common Needle Threading Questions
Even after you've got the basics down, a few nagging questions can pop up. Let's tackle some of the most common headaches stitchers run into when trying to thread an embroidery needle, so you can get back to the fun part.
My Embroidery Floss Keeps Fraying! What Am I Doing Wrong?
Nothing's more frustrating than a thread end that splits into a fluffy mess. More often than not, the culprit is a dull cut. The first thing I always do is grab my sharpest embroidery scissors and snip the end of the floss at a clean 45-degree angle. This little trick creates a crisp, pointy tip that’s much easier to work with.
If that doesn't solve it, a bit of thread conditioner or even beeswax can be a game-changer. Just a quick pass through one of these will tame those unruly fibers, holding them together so they slide right through the needle's eye.
What's the Trick to Threading Multiple Strands at Once?
Trying to poke several fluffy strands through a tiny eye is a recipe for disaster. This is where the "fold and pinch" method comes in handy—it’s a simple trick I use constantly.
- First, fold your group of strands over the shaft of the needle itself.
- Next, pinch that folded loop very tightly between your thumb and forefinger.
- Finally, just slide the needle out while maintaining that firm pinch.
You're left with a stiff, tiny loop that’s a breeze to push through the eye of the needle. It keeps all the strands perfectly aligned and turns a frustrating task into a two-second job.
The biggest mistake people make is trying to thread each strand one by one. The fold-and-pinch technique bundles them all together, making it surprisingly simple and quick.
Can I Just Use My Regular Sewing Needle Threader?
Maybe, but it depends on the type. That common, flimsy-looking wire-loop threader is surprisingly versatile. Since embroidery needles generally have a longer, larger eye than sewing needles, these simple threaders usually work just fine.
However, if you have a more complex or automatic threader built into a sewing machine, that’s a different story. Those are often designed for very specific needle sizes and types. Your best bet is to stick with a tool designed for hand-sewing needles to avoid bending the wire or damaging your needle.
At Famcut.com, we know that the right tools and a little bit of know-how can completely transform your creative process. Feel free to explore our selection of high-quality sewing and quilting supplies to find exactly what you need for your next masterpiece at https://famcut.com.