


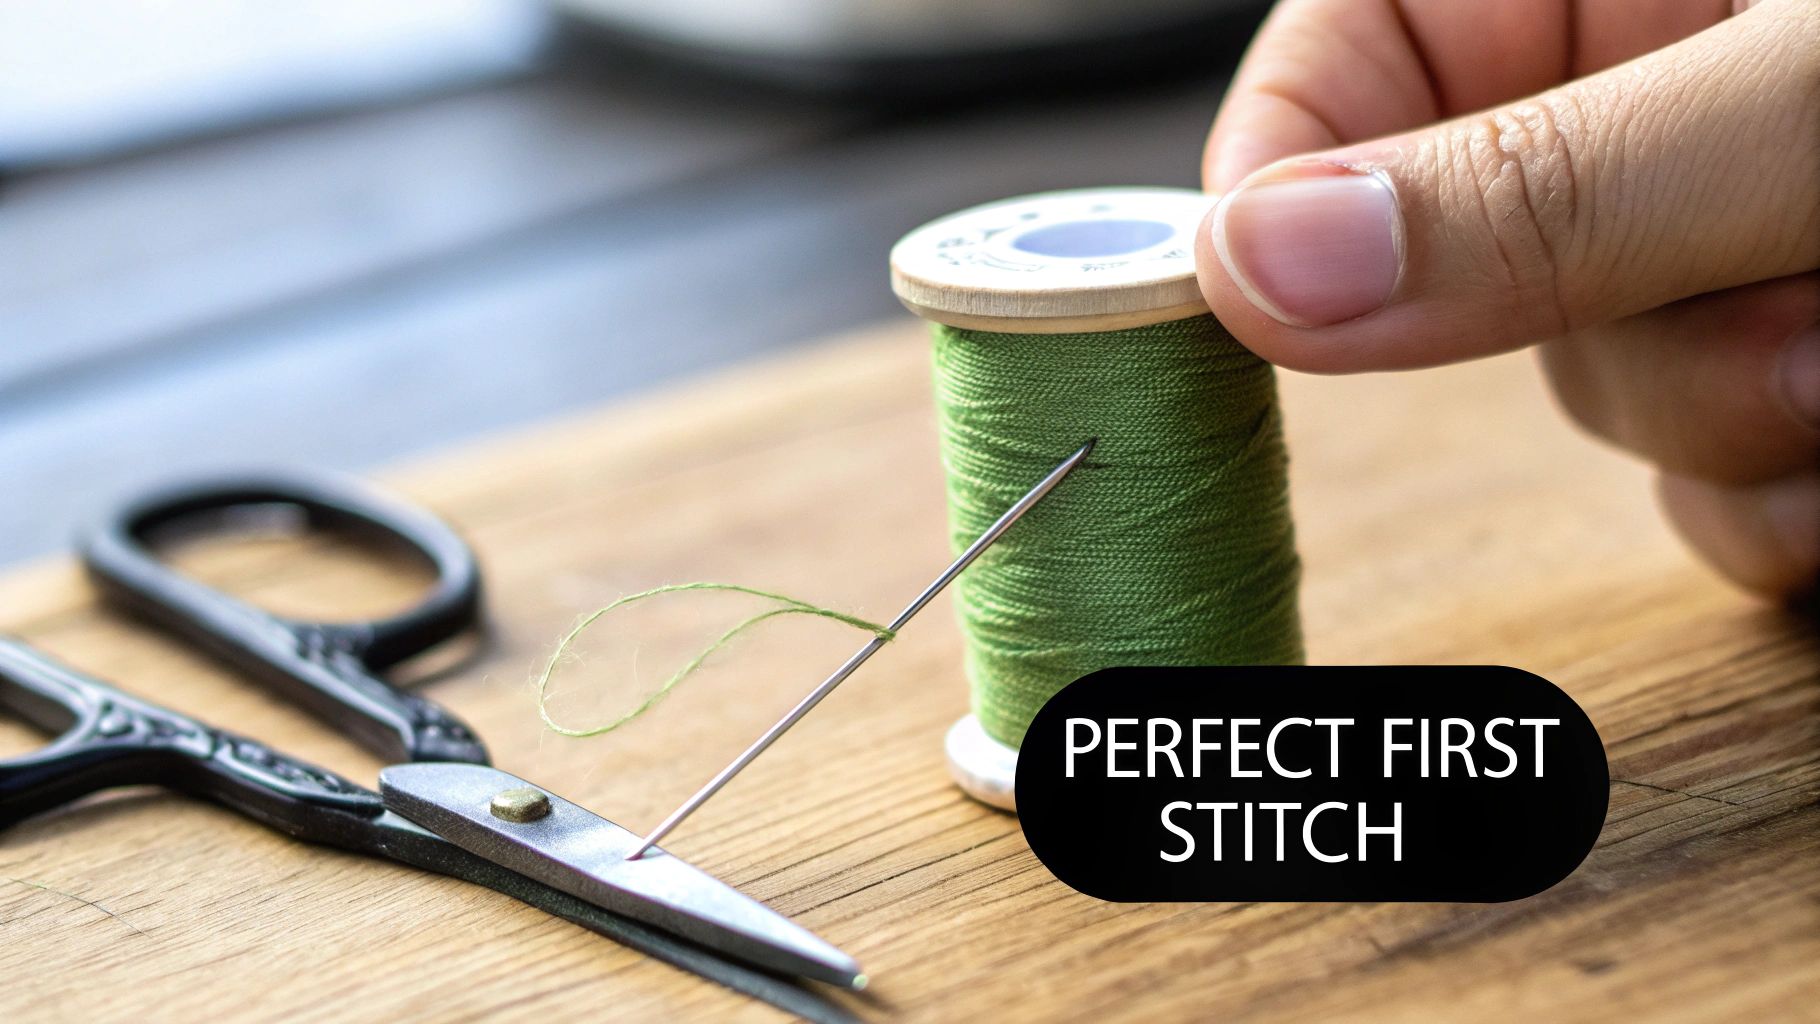
Master threading an embroidery needle: quick tips to avoid frustration
Every stitcher knows the feeling. You have your fabric hooped, your pattern ready, and a beautiful skein of floss waiting... but first, you have to thread that tiny needle. It’s a moment that can either be a seamless start or a frustrating bottleneck.
Let's be honest, it’s the one step we all wish we could skip, but getting it right is the secret to a smooth, enjoyable project from the very first stitch.
The Secret to Starting Every Stitch Perfectly
Whether you're working on a delicate floral pattern or adding detail to a piece of cosplay, it all begins with this one simple action. But threading the needle is more than just a chore; it's the foundation for everything that comes next.
When you get this first step right, you sidestep a ton of common headaches. Trying to force a fluffy, frayed end through the needle’s eye is a recipe for disaster. It weakens the floss right from the start, which often leads to annoying tangles and breaks halfway through a line of stitches. It's a tiny detail, but it makes a huge difference in your finished work.
Why Perfect Threading Matters
I like to think of the needle and thread as a team. For them to work well together, they need a proper introduction. That means starting with a crisp, clean end on your floss and making sure your needle's eye is the right size for the job.
Mastering this skill really just comes down to a few basic ideas:
- Thread Integrity: A sharp, angled cut keeps the individual strands of floss from splitting. This helps it hold up as it passes through the fabric over and over again.
- Reduced Friction: A cleanly threaded needle lets the floss glide through your fabric. This is how you get those beautifully uniform stitches without snagging or puckering the material.
- Creative Focus: Let's face it, when you're not wrestling with your thread, you can actually relax and focus on your design. It brings back the joy and meditative quality of embroidery.
The real goal here is to make threading the needle a quick, automatic action. Once you build that muscle memory, you’ll find your projects flow so much better, letting you get to the fun part without the initial frustration.
Instead of seeing it as a hurdle, try to view it as the very first stitch of a successful project. With the right technique, you'll feel confident tackling any design that comes your way.
Prepare Your Needle and Thread Like a Pro
Getting your thread through the eye of a needle shouldn't be the hardest part of embroidery. The secret to effortless threading actually starts before you even bring the thread and needle together. It’s all in the prep work—those little habits that experienced stitchers swear by to avoid frustration. A few moments spent here will completely change your stitching experience.
First things first, let’s talk needles. Grabbing any old needle is a rookie mistake. You need to match the needle's eye to the thickness of your thread. If you're struggling, don't be afraid to size up to a needle with a slightly larger eye. It’s not cheating, it’s just working smarter. This simple choice prevents your thread from shredding and makes every stitch smoother.
The Perfect Cut and Condition
Now, let's look at your thread. To thread an embroidery needle without a fight, you need a sharp, clean end. Always use dedicated embroidery scissors—the sharper, the better—and snip the thread at a 45-degree angle. This gives you a crisp, pointed tip that’s much easier to aim. A dull cut just smashes the fibers together, and you'll get a frayed mess right away.
The final pro-level move? Conditioning your thread. This is a game-changer, especially for taming unruly threads like metallics or slippery silks. Just pull your thread through a bit of beeswax or a dedicated thread conditioner. This coats the fibers, helping them stick together.
This one simple step drastically cuts down on friction, letting the thread glide through the needle and your fabric. It’s the best way I know to stop tangles before they even think about forming.
In a craft where tiny details make all the difference, this kind of precision is everything. The global embroidery equipment market is already valued at USD 2.4 billion, but the fundamentals haven't changed. With counted thread techniques making up 33% of all decorative embroidery, accuracy is non-negotiable.
Pros know that waxing a thread can slash friction by over 60%, a trick that helps keep surface embroidery, which accounts for 44% of the market, so popular. You can explore more about these industry trends to see just how much these details matter. Taking the time to select, cut, and condition your materials properly really does make all the difference, setting you up for beautiful, even stitches every time.
Find Your Perfect Needle Threading Method
Let's be honest—threading a needle can be the most frustrating part of embroidery. But it doesn't have to be. There isn’t one “right” way to do it; the best method is simply the one that works for you, your eyesight, and the thread you're using. The goal is to make it a quick, almost automatic step so you can get back to the fun part: stitching.
Before we jump into the different techniques, it’s worth remembering that good preparation is half the battle. No matter which method you choose, starting with the right setup makes everything smoother.

As you can see, a few seconds spent selecting the right needle, making a clean cut, and conditioning your thread can save you minutes of frustration down the line.
With your thread prepped, let's explore three popular ways to get it through that tiny eye.
The Classic Method: By Hand
This is the old-school technique most of us learn first. The trick is to pinch the very end of your freshly cut thread between your thumb and forefinger, leaving just a tiny, stiff tip showing.
Instead of trying to poke the wobbly thread through the needle, bring the needle’s eye to the thread. This simple change in motion gives you much more control and stability. It takes a little practice, but once you get the hang of it, it becomes second nature.
The Time-Saver: Using a Needle Threader
If threading by hand feels like an exercise in futility, a needle threader will be your new best friend. This little gadget is a lifesaver, especially for those with vision challenges, unsteady hands, or when working with tiny needle eyes.
The most common type is a simple wire-loop threader. You just push the flexible wire loop through the eye of your needle, feed your thread through the much larger and more forgiving wire loop, and then pull the threader back. It neatly pulls the thread right through the needle’s eye with it.
It’s an incredibly effective tool for a common problem. In professional settings, where efficiency is everything, tools like this are non-negotiable. In fact, 68% of apparel manufacturers rely on embroidery for branding, and getting it done quickly matters. A needle threader can lead to 90% faster success rates, a huge plus when you’re dealing with finicky metallic threads for a cosplay project or a detailed piece. You can discover more about the embroidery market and see just how vital speed and precision are.
The No-Tool Hack: The Folded Thread Trick
Looking for a clever workaround that doesn't require any extra tools? Try folding the thread. Instead of aiming a single, flimsy end, you fold the thread over the tip of your needle to create a tight loop.
Pinch this loop firmly between your thumb and forefinger to hold its shape. Now, push the stiff, folded loop through the needle's eye. Because it's a wider and more rigid target, it's often much easier to guide through than a single strand that wants to fray. Once the loop is on the other side, just pull it until the thread tail comes through.
This technique is a game-changer for threads that fray easily or for needles with slightly larger eyes. It turns the delicate task of aiming a single strand into the much simpler action of pushing a firm loop.
Choosing Your Needle Threading Method
Not sure which technique is right for your current project? This quick comparison breaks down the pros and cons of each to help you decide on the fly.
| Method | Best For | Pros | Cons |
|---|---|---|---|
| By Hand | Quick projects, standard cotton floss, and those with steady hands and good eyesight. | No special tools needed; it's the fastest method once mastered. | Can be frustrating with tiny needle eyes, fray-prone threads, or for those with vision issues. |
| Needle Threader | Tiny needle eyes, metallic or specialty threads, and anyone with unsteady hands or vision challenges. | Extremely reliable and easy; makes threading almost foolproof. | Requires you to keep a small, easily lost tool on hand. |
| Folded Thread | Fray-prone threads (like some silks or metallics) and needles with medium-to-large eyes. | A great no-tool alternative to the classic method; easier to manage than a single strand. | Doesn't work well for very small needle eyes; can be tricky to get a tight fold at first. |
Ultimately, the best method is the one that gets you back to stitching with the least amount of fuss. Don't be afraid to switch between them depending on the needle, thread, and even how tired your eyes are that day
Troubleshooting Common Needle Threading Frustrations
Even with years of experience, we all have those days. You know the ones—where getting a simple piece of thread through a needle’s eye feels like an impossible task. Don't worry, it happens to everyone. The great news is that most of these frustrating little problems have surprisingly simple fixes that will get you back to stitching in no time.
One of the biggest culprits is a frayed thread end that just won't come together. If your thread looks like a tiny, fluffy pom-pom, your scissors are almost certainly to blame. Dull blades don't slice cleanly; they crush and mash the fibers, creating that unmanageable tip. A quick, sharp snip at an angle with a good pair of embroidery scissors makes all the difference.
Dealing With Stubborn Threads
So you've got a crisp, clean-cut thread, but it still refuses to go through the eye. What gives? This is usually a classic case of a mismatch between your needle and your floss. Trying to cram all six strands of cotton floss through a delicate size 10 needle is a battle you just won't win. Always double-check that your needle's eye is big enough for the thickness of the thread you're using.
Another maddening moment is when you finally get the thread through, only to have it slip right back out as you pick up your hoop. The trick here is to pull a short tail of about two or three inches through one side, leaving the much longer working end on the other. This little bit of imbalance is often enough to keep it in place.
If your thread is still trying to escape, just tie a small, simple knot at the very end of the longer tail. It acts as a tiny anchor, stopping the thread from pulling all the way through while you get set up for your first stitch.
It's also worth saying that investing in quality tools really does pay off. The embroidery market has seen huge growth, with North America accounting for 34.09% of the global USD 3.712 billion in revenue as more people discover the joy of the craft. With retail needlepoint sales hitting 2.04 billion units, it’s clear that stitchers value good supplies. Starting with a well-made needle is a small change that can save you a world of frustration. You can discover more about these market insights to see just how much the craft has grown.
Tips for Handling Different Types of Embroidery Thread
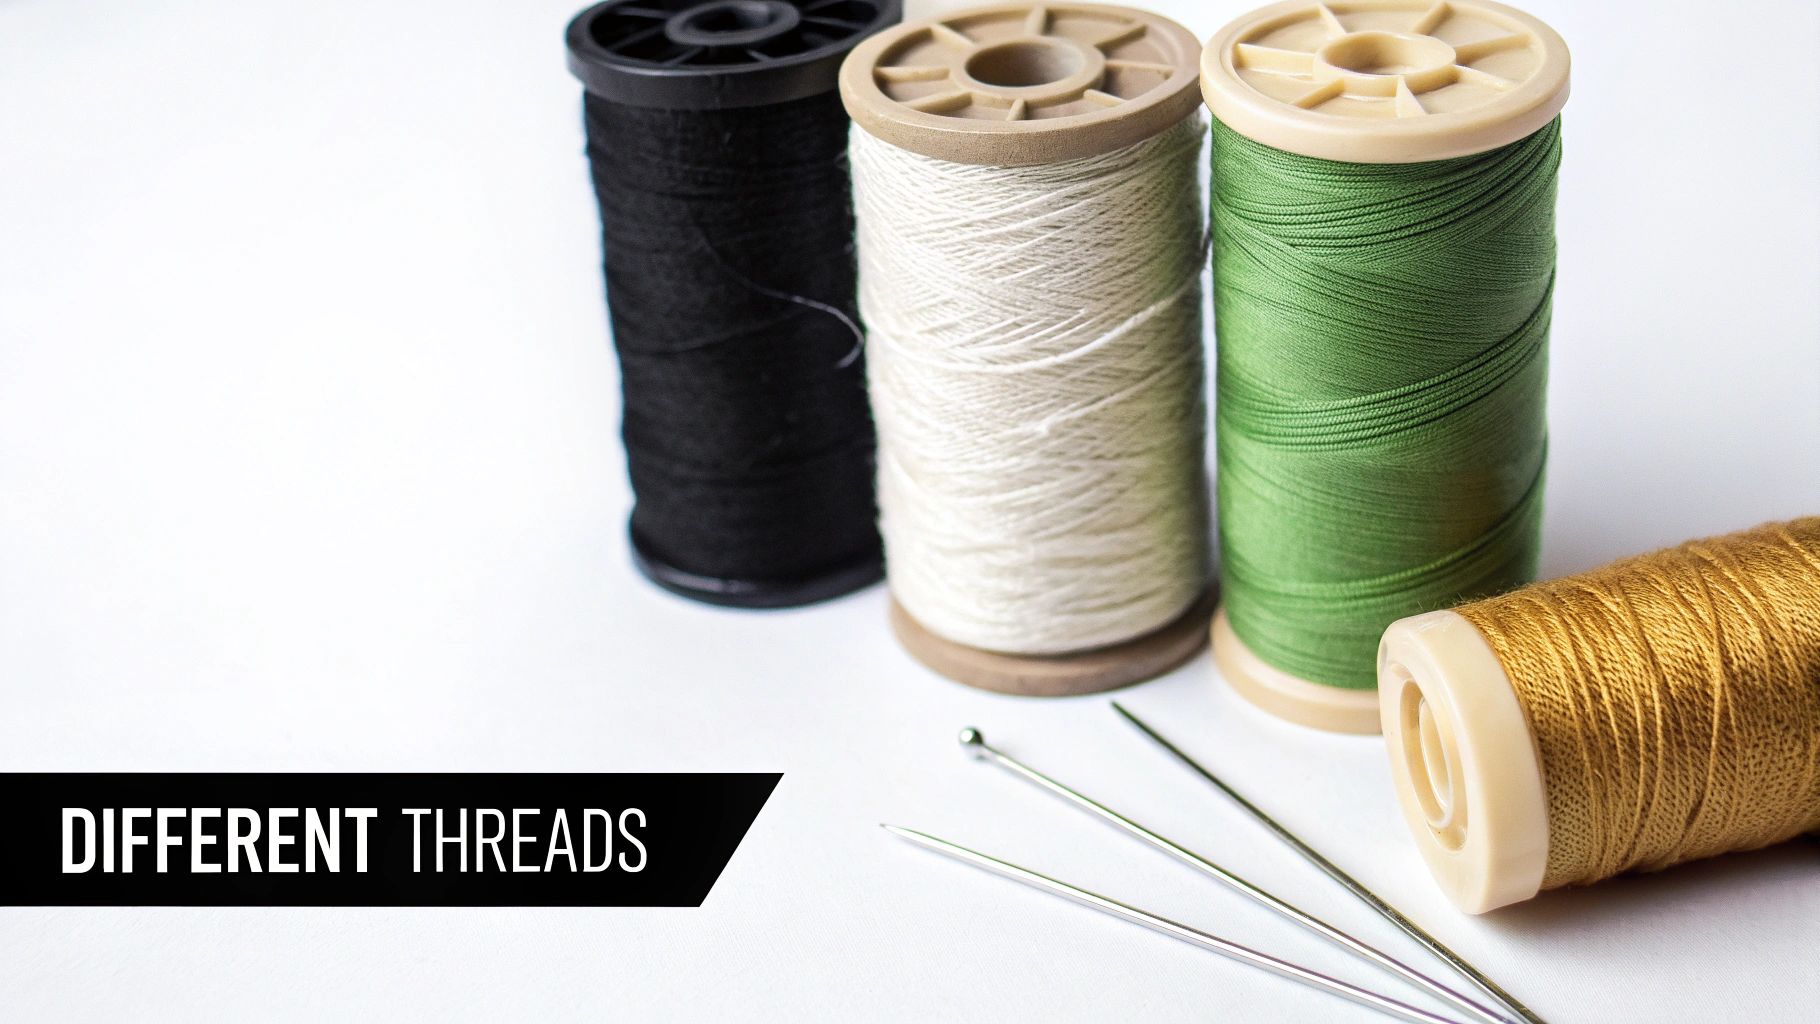
You quickly learn that not all threads behave the same way. The thread you’re using—whether it's classic cotton floss or a finicky metallic—dictates how you should approach threading your needle. A few simple adjustments can save you from a world of frustration and make any project go more smoothly.
Working With Standard Six-Strand Cotton Floss
This is the stuff most of us start with, but it has its quirks. The biggest challenge is often just separating the individual strands without ending up with a tangled bird's nest.
The best way I’ve found is to pinch the entire six-strand piece and gently pull one single thread straight up and out. The rest of the floss will look like it's bunching up, but don't worry—it’ll relax and straighten out as soon as the single strand is free.
For threading, a clean, angled cut is your best bet. If the end still wants to fray, a tiny bit of moisture can help coax those fibers together just long enough to get them through the eye.
Taming Tricky Metallic and Rayon Threads
Ah, the beautiful, frustrating world of metallic and rayon threads. They're slippery, they love to shred, and they can test your patience like nothing else. But their gorgeous shine is worth the effort! Here’s how to manage them.
- Size up your needle: Always grab a needle with a larger eye than you think you need. Reducing friction is the name of the game.
- Work with shorter lengths: Stick to shorter pieces of thread, maybe around 12 inches. The less travel time through the fabric, the less wear and tear on the delicate fibers.
- Use a thread conditioner: Products like Thread Heaven or even simple beeswax are lifesavers. They tame flyaways and give the thread a much-needed protective coating.
Here's a pro tip that has saved me countless times with metallic thread: use the folded thread method. Trying to push a flimsy, fraying end through a needle is a recipe for disaster. Creating a stiff, folded loop is infinitely easier and protects the thread's core from shredding before you even make a single stitch.
Your Questions About Threading Needles Answered
Even when you think you've got it down, a tricky needle or a stubborn piece of floss can throw you for a loop. It happens to all of us. To help you get past those little snags, here are the answers to a few questions I hear all the time.
What Is the Easiest Way to Thread an Embroidery Needle?
Hands down, the simplest method for most people is a basic wire-loop needle threader. Seriously, this little gadget is a lifesaver. It takes all the guesswork and steady-handed precision out of the equation.
You just poke the wire loop through the eye of the needle—it's way bigger and easier to see than the eye itself. Then, you slip your thread through the wire loop and pull the threader back out. It just pulls the thread right through the eye for you. It's a game-changer, especially if you want to save yourself some eye strain and frustration.
Why Does My Floss Keep Fraying at the Tip?
Ah, the dreaded frayed end. This is almost always caused by one of two things: dull scissors or lower-quality floss. If your scissors aren't sharp, they don't cut the fibers cleanly; they chew and crush them. That mashing is what makes the strands separate into a fuzzy, impossible-to-thread mess.
The fix is usually pretty simple. Start with a clean, angled snip from a pair of sharp embroidery scissors. If you're still struggling, try one of these old-school tricks:
- Lightly moisten the tip of the thread with a tiny bit of water or saliva.
- Run the end of the thread across a bit of beeswax or thread conditioner.
Either of these will help bind those fibers together just long enough to get through the needle's eye.
A quick pro-tip: Make sure you're using the right needle in the first place. The thread should glide through the eye without a fight. If you have to yank it through, the eye is too small and it’s going to chew up your floss while you stitch.
For a standard six-strand cotton floss, you'll probably want an embroidery needle somewhere in the size 7-9 range. If you're working with something thicker like pearl cotton or a temperamental metallic thread, you’ll need a needle with a bigger eye, like a chenille or tapestry needle.
At Famcut.com, we believe the right tools can completely transform your creative process. Whether you need top-notch needles or specialty threads for your next cosplay masterpiece, you can find everything to bring your vision to life at https://famcut.com.