


Stretch Fabric: stretch fabric sewing tips for perfect seams
If you want to sew beautiful knit garments, the secret isn't one magic trick. It's really about mastering three simple things: using the right ballpoint needle, picking a stretch stitch, and—this is the big one—never pulling the fabric as it goes through your machine. Get these down, and you'll say goodbye to those frustrating skipped stitches and wavy, stretched-out seams for good.
Why Sewing Stretch Fabric Feels Different
Let’s be honest, if you’ve spent your sewing life with stable wovens like cotton poplin or linen, your first date with a slinky jersey knit can be a shock. Wovens behave. They have a predictable grid of threads and stay put. Knits, on the other hand, are made of tiny interlocking loops that give them that wonderful ability to stretch and move with us. It’s what makes them so comfortable, but it’s also what can make them a beast to sew.
The key is to completely shift your mindset. You can't force a knit to act like a woven. Instead, you have to learn to work with its fluid nature, and that means embracing a few different tools and techniques.
Understanding Stretch And Recovery
Before you even cut into a knit fabric, you need to understand its two most important qualities: stretch percentage and recovery. Stretch tells you how much the fabric can expand, while recovery tells you how well it snaps back into shape. Both are critical for a successful project.
- Two-Way vs. Four-Way Stretch: Some knits only stretch from side to side (selvage to selvage), which we call two-way stretch. Others, especially those for activewear, stretch both horizontally and vertically—that’s four-way stretch, and it’s essential for garments that need to move in every direction.
- Calculating Stretch: It’s easier than it sounds! Just take a 4-inch piece of your fabric and stretch it against a ruler. If it easily reaches 6 inches, you've got 50% stretch (it stretched an extra 2 inches, which is 50% of the original 4 inches). Your pattern will almost always tell you the minimum stretch required.
- The Importance of Recovery: Ever had a pair of leggings get saggy at the knees after one wear? That’s poor recovery. A good knit should bounce right back to its original size when you let it go. Always give it a good stretch and see what happens before you commit.
You’re not imagining it—stretch fabrics are everywhere. The global market was valued at USD 12.5 billion and is expected to hit USD 22.5 billion by 2034. It's a huge shift, proving that we all want clothes that move with us.
If you want to dive deeper, you can learn more by understanding the fabric, fit, and feel of stretch garments. Knowing your material inside and out is truly the first step toward sewing knits with confidence.
Quick Guide to Common Stretch Fabrics
To help you get started, here's a quick rundown of some common knits you'll encounter. Each has its own personality, but they all share that signature stretch.
| Fabric Type | Common Uses | Key Sewing Tip |
|---|---|---|
| Jersey Knit | T-shirts, dresses, leggings | Prone to curling at the edges. Use plenty of pins or clips. |
| Rib Knit | Cuffs, neckbands, fitted tops | Has excellent stretch and recovery, but can be bulky. |
| French Terry | Sweatshirts, joggers, casual wear | The looped back can snag, so handle with care and use a fresh needle. |
| Ponte de Roma | Dresses, pants, blazers | A stable, beefy knit that's a great choice for beginners. |
| Spandex/Lycra | Swimwear, activewear, leggings | Very slippery! A walking foot is your best friend here. |
This is just a starting point, of course. The world of knits is vast and exciting, but knowing these basics will give you a solid foundation for almost any project you want to tackle.
How to Prepare and Cut Knits for a Perfect Start
A beautiful knit garment starts long before you sit down at your machine. Seriously, the time you spend prepping and cutting your fabric is probably the most important part of the whole process. It directly affects the fit, the drape, and whether your seams will hold up over time. If you rush this part, you're setting yourself up for twisted side seams, wavy hems, and pattern pieces that just refuse to match up.
Think of it like building a house—you wouldn't skimp on the foundation, right? Getting this stage right makes everything that comes after it so much easier and more professional.
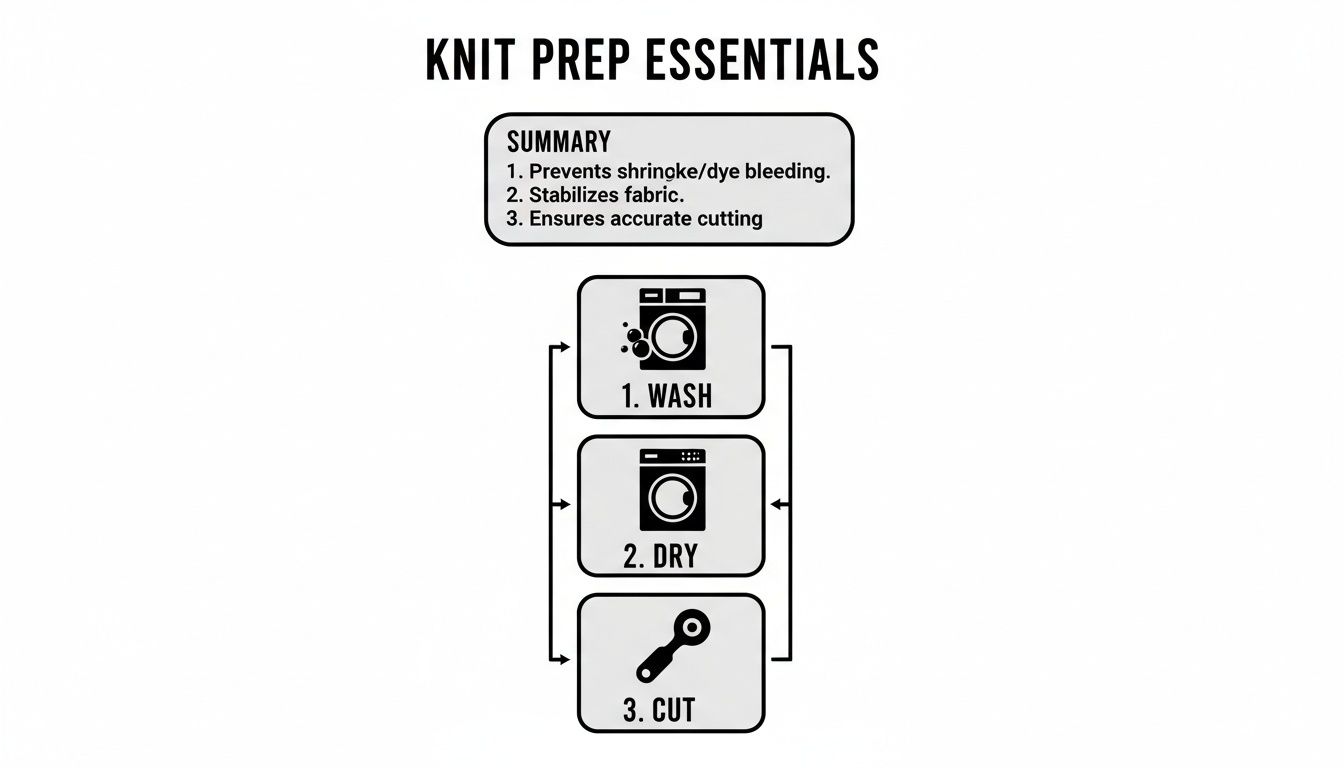
Always, Always Pre-Wash Your Fabric
I can't stress this enough: pre-washing is non-negotiable, especially for knits with natural fibers like cotton, rayon, or bamboo. Knits are notorious for shrinking, and sometimes they can shrink a lot. Skip this step, and that T-shirt you sewed to the perfect length might look more like a crop top after its first trip through the laundry.
The rule is simple: wash and dry your fabric exactly how you plan to care for the finished garment. If that new hoodie is destined for the washer and dryer, then your fabric needs to go through the same ordeal before you cut it. This gets all the shrinkage out of the way upfront, saving you from a world of frustration later.
When it comes to drying, try not to hang heavy or delicate knits. The weight of the water can stretch them out of shape permanently. Your best bet is usually a tumble dryer on low heat. If you'd rather air dry, lay the fabric flat on a clean surface or across a drying rack to keep its shape intact.
The Art of Laying Out and Cutting Knits
Okay, so your fabric is clean, dry, and ready to go. Now for the next challenge: getting it to lie perfectly flat and still for cutting. Knits have a mind of their own—they love to shift around, curl up at the edges, and stretch when you least want them to. This is where your technique (and your tools) really shine.
First things first, you need to find the direction of greatest stretch (DOGS). On most knits, this runs from one finished edge (the selvage) to the other. Look at your pattern pieces; they’ll have a grainline arrow on them. You need to make sure that arrow runs parallel to the direction of greatest stretch so the finished garment stretches comfortably around your body.
My Go-To Tip: Never, ever let your knit fabric hang off the edge of your cutting table. Even a little bit of overhang will pull and distort the material on the table, and your pattern pieces will come out warped. If your table is too small, just prop the extra fabric up on a chair or in a clean laundry basket to keep everything level.
And please, step away from the pins! Traditional sewing pins can easily snag delicate knit fibers, and they tend to create little puckers and bumps that mess up your cutting line. Instead, grab some pattern weights. You don't need fancy ones—I've used everything from canned goods to large washers from the hardware store. Weights hold your pattern down flat without distorting the fabric one bit.
Choosing Your Cutting Tools
While a sharp pair of scissors can work, they often make cutting knits harder than it needs to be. The simple act of lifting the fabric to get the scissor blade underneath can cause the layers to shift, leading to an inaccurate cut. If you want a truly clean, precise edge, a rotary cutter and a self-healing mat are your absolute best friends.
Here’s a quick rundown of why I prefer one over the other for knits:
- Rotary Cutter: This is the winner, hands down. It glides right through the fabric without you ever having to lift it, which means no shifting. For slippery, slinky, or curly-edged knits, a rotary cutter gives you the most accurate cut possible.
- Scissors: They're usable in a pinch, but you have to be careful. Use long, smooth cuts and do your best to keep the fabric flat on the table. If you must use scissors, look for a pair with micro-serrated blades—they do a much better job of gripping the fabric as you cut.
Using a rotary cutter gives you the confidence that your cut pieces are an exact match to your pattern. That precision, right from the very beginning, is the real secret to a project you'll be proud of and a sewing process that's actually enjoyable.
Choosing the Right Needles, Thread, and Stitches
With your fabric all prepped and cut, it's time to head to the sewing machine. This is where the magic really happens, and your choices in needles, thread, and stitches will make or break your project. Honestly, getting these three things right is probably one of the most important lessons you can learn when working with knits.
Using the wrong combination is a fast track to frustration—we’re talking skipped stitches, shredded thread, and seams that pop the second you try on your finished piece. But don't worry, a little bit of know-how is all you need to set your machine up for success every single time.
Why Your Needle Choice is Critical
The single most important tool for sewing knits on a standard sewing machine isn't some fancy foot—it's the needle. A regular universal needle has a sharp point made to pierce woven fabrics. Try that on a knit, and it will tear right through the delicate loops, leaving behind tiny, permanent holes and snags.
That’s exactly why you need a needle designed specifically for knits.
- Ballpoint Needles: These have a slightly rounded tip that gently pushes the fabric fibers aside instead of cutting them. They're a fantastic all-around choice for more stable knits like Ponte de Roma or French terry.
- Stretch Needles: These have an even more rounded tip and a deeper scarf (that's the little groove on the back). This design is a lifesaver for preventing skipped stitches on super stretchy fabrics like spandex blends and swimwear knits. When in doubt, a stretch needle is almost always a safe bet.
And here’s a pro tip: always start a new project with a fresh needle. A dull or bent needle is the number one culprit behind skipped stitches and fabric damage. It's not worth the risk!
A good needle is your first line of defense against frustration. It's an inexpensive tool that makes a massive difference in the quality of your seams, preventing the tiny, permanent holes that can ruin delicate knit fabrics before you've even finished sewing.
This simple prep work is the foundation for everything that comes next.
Starting with properly washed, dried, and accurately cut fabric gives your machine—and your carefully chosen settings—the best possible chance to succeed.
Selecting Thread That Stretches With You
It makes sense that if your fabric needs to stretch, your thread does too. Standard 100% cotton thread has no give and will snap the moment it's put under tension. It's just not built for the job.
Your go-to should be an all-purpose polyester thread. It has just the right amount of strength and slight stretch to move with the fabric, making it the perfect partner for almost any knit project. The textile industry certainly agrees; the global market is projected to hit around USD 4,016.50 billion by 2034, and polyester fabrics are expected to command over 53.2% of that share. If you're curious about industry trends, you can dive deeper with this comprehensive textile market report.
For projects that need serious elasticity—think swimwear or lingerie—you might want to bring in a specialty thread. Woolly nylon used in your serger loopers or even wound onto a bobbin for your sewing machine is a game-changer. It’s a fluffy, textured thread that expands to offer incredible stretch and feels wonderfully soft against the skin.
The Best Stitches for Stretch Fabrics
Finally, you need to choose a stitch that can actually stretch. A standard straight stitch has zero give and will pop as soon as the seam is pulled. Thankfully, most modern sewing machines are already equipped with a few great options for knits.
To make it easier, here's a quick reference guide I've put together based on years of working with these fabrics.
Needle and Stitch Settings for Common Knits
| Fabric Type | Recommended Needle | Best Stitch Type | Ideal Thread |
|---|---|---|---|
| T-Shirt Jersey | Ballpoint, size 75/11 | Narrow Zigzag (0.5W, 2.5L) | All-Purpose Polyester |
| Ponte de Roma | Ballpoint or Stretch, size 80/12 | Narrow Zigzag or Lightning Bolt | All-Purpose Polyester |
| Spandex/Lycra | Stretch, size 75/11 or 90/14 | Lightning Bolt or Triple Stretch Stitch | All-Purpose Polyester |
| French Terry/Sweatshirt Fleece | Ballpoint, size 90/14 | Narrow Zigzag | All-Purpose Polyester |
| Rib Knit | Stretch, size 75/11 | Narrow Zigzag | Polyester or Woolly Nylon |
Remember, these are starting points. The best thing you can do is test your settings on a scrap of your project fabric first. Pull on the test seam—and I mean really pull on it—to make sure it stretches without popping. That quick five-minute test can save you from the headache of re-sewing an entire garment later.
While a serger's overlock stitch is the gold standard for knits, mastering these stitches on your regular machine gives you incredible versatility and confidence.
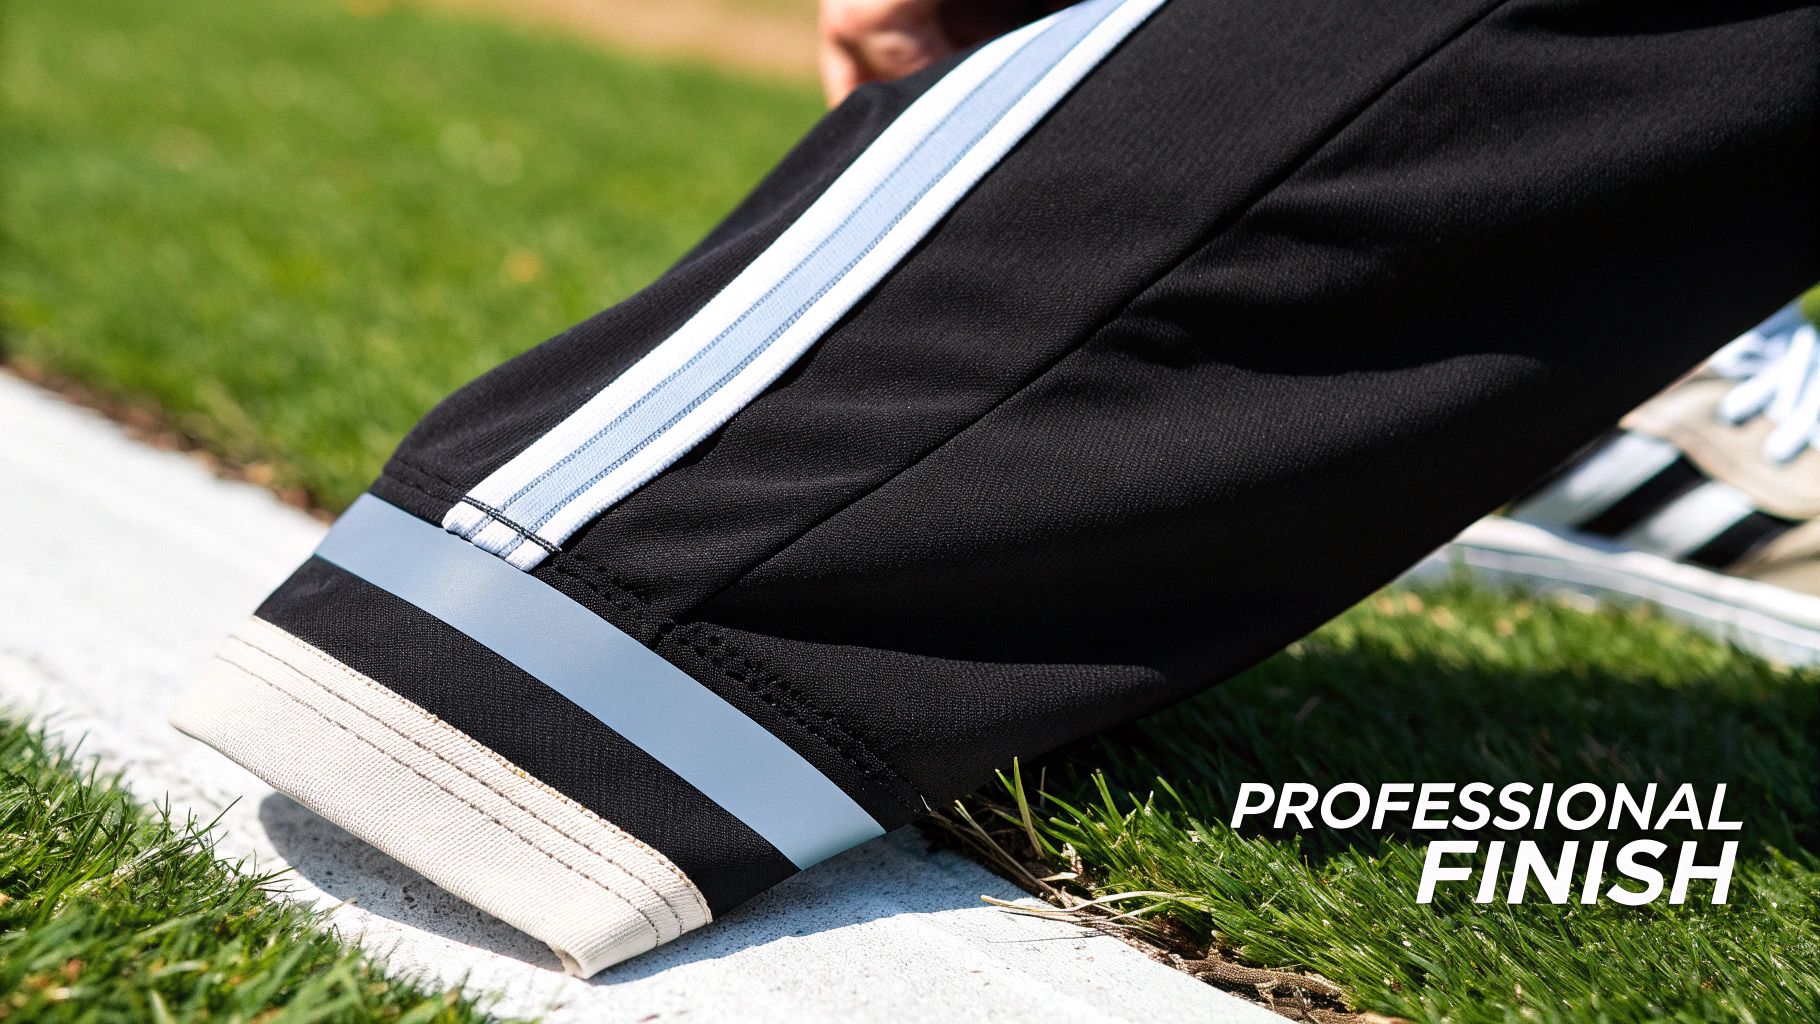
Mastering Seams, Hems, and Professional Finishes
What really separates a homemade garment from a truly handcrafted one? It's all in the finishing touches. Nailing those professional-looking seams and hems is what takes your project to the next level. For stretch fabrics, this is doubly important—your finishes have to look great and move with the garment.
If you remember only one thing during construction, make it this: guide, don't pull. Your machine’s feed dogs are engineered to move the fabric along perfectly. Your only job is to steer it. Fight the urge to pull from behind or push from the front. Resisting that impulse is the single best way to avoid the wavy, stretched-out seams that drive sewists crazy.
Creating Durable and Flexible Seams
For a knit garment, a strong seam is a stretchy seam. If it can't stretch, it'll pop. While using a stretch stitch is your first line of defense, how you physically handle the fabric is just as crucial. Just let the machine do its job, gently guiding the fabric layers under the presser foot without adding any tension.
Some areas, like the crotch seam on leggings or the shoulder seams on a close-fitting top, take a lot of abuse. For these high-stress spots, I love to add reinforcement. A brilliant trick is to stitch a narrow strip of clear elastic right into the seam allowance as you sew. It adds incredible strength and helps the seam snap back into shape, all without any noticeable bulk.
The Art of Hemming Knits
Hemming is often where people get tripped up with knits. A standard folded hem sewn with a straight stitch is a surefire way to hear threads popping the first time you wear it. You need a hem that's both tidy and elastic, and luckily, you have some fantastic options that don't require a fancy machine.
- The Twin Needle Hem: This is the go-to for a store-bought look. A twin needle creates two perfect rows of stitching on the top, while the bobbin thread forms a zigzag underneath. That zigzag is the secret sauce that gives the hem its stretch.
- The Zigzag Hem: Simple, fast, and reliable. Just press your hem allowance up and stitch it down with a narrow zigzag. It provides plenty of give and works well on everything from basic tees to comfy lounge pants.
- The Banded Hem: Think sweatshirts and joggers. Sewing on a separate fabric band (usually a rib knit) is a classic way to finish cuffs and bottom hems. It neatly encloses the raw edge and creates a snug, comfortable finish.
Pro Tip: Stabilize your hems! Fusible stretch hem tape, like Stitch Witchery, is an absolute game-changer. Iron it inside the hem before sewing to completely stop tunneling and waviness, especially when using a twin needle.
Perfecting Neckbands and Cuffs
A beautifully finished neckline or cuff is a true sign of quality. The secret is to cut the band slightly smaller than the opening you're attaching it to. This forces you to gently stretch the band—and only the band—to fit the opening as you sew.
To get a perfectly even result, I always divide both the band and the garment opening into quarters, marking each point with a pin or clip. Match up these quarter points when you pin. As you sew, you’ll gently stretch each section of the band so it lies flat against the garment between the pins. This simple technique is the key to a smooth, pucker-free finish that sits flat against the body.
The same principle applies to waistbands with elastic. You can either sew a casing and feed the elastic through, or you can try a flatter, more modern finish common in activewear. For that, stitch the elastic directly to the wrong side of the fabric, then fold it over and topstitch it down. It provides great stability and a very sleek, professional look. Mastering these details is one of the most satisfying parts of your sewing journey.
Troubleshooting Common Sewing Problems with Knits
Even when you've done everything right, stretch fabrics can still throw you a curveball at the machine. Don’t panic—it happens to everyone! Nearly every common issue has a pretty straightforward fix, and figuring out why it's happening is the first step to solving it for good.
The most frequent frustrations usually boil down to the fabric just being itself. Knits are made to stretch, and they often curl and shift. Sometimes our machines can make those tendencies worse. Instead of fighting the fabric, the real goal is to adjust our tools and techniques to work with it.
The Dreaded Wavy Seam
You’re sewing along, and you look down to see your seam allowance rippling and waving like a piece of lettuce. This is probably the most common complaint when sewing knits, but thankfully, it’s also one of the easiest to fix once you know what's going on.
A wavy or "lettuce-edge" seam is a clear sign that your fabric is getting stretched as it’s fed through the machine. The feed dogs are pulling the bottom layer at one speed while the presser foot is either dragging on the top layer or pushing it forward, causing that annoying distortion.
Here’s how to flatten those waves:
- Reduce Presser Foot Pressure: If your machine has this feature, lowering the pressure is your first and best line of defense. It tells the machine to ease up on the fabric, which often solves the problem instantly.
- Bring in a Walking Foot: A walking foot (or an Integrated Dual Feed system) is a total game-changer for knits. It has its own set of feed dogs that grip the top layer, moving it in perfect time with the bottom layer. No more stretching!
- Guide, Don’t Pull: It's easy to do without realizing it, but make sure you aren’t stretching the fabric as you sew. Your only job is to guide the material straight; let the machine do all the work of pulling it through.
What to Do About Skipped Stitches
Ugh, there's nothing more frustrating than a seam that’s full of gaps. Skipped stitches are basically a cry for help from your machine, telling you that something is stopping the top and bobbin threads from forming a proper loop.
Usually, the culprit is one of three things. Just work your way through this mental checklist.
- Check Your Needle: Is it the right kind? Is it fresh? A dull, damaged, or incorrect needle (like using a universal instead of a ballpoint or stretch needle) is the #1 cause of skipped stitches.
- Rethread Everything: It sounds too simple, but a minor threading error can wreak havoc. Take both the top thread and the bobbin out, and carefully rethread the whole machine from scratch.
- Play with Your Tension: Sometimes, especially with very fine or slippery knits, the tension settings might just be a little off. Test on a scrap piece and make small adjustments until the stitches even out.
Skipped stitches are almost never a sign of a major machine malfunction. More often than not, it’s a simple mismatch between your needle, thread, and fabric. Taking a moment to pop in a new needle will solve the problem 90% of the time.
Taming Twin Needle Tunneling
A twin needle can create a beautiful, professional-looking hem, but it can sometimes cause the fabric between the two stitch lines to pop up into a raised "tunnel." This happens when the two top threads pull too tightly on the single bobbin thread underneath.
This tunneling effect is annoying but completely preventable. Try these tricks to get a perfectly flat finish.
- Stabilize the Hem: This is the most reliable fix. Iron a strip of lightweight fusible stretch interfacing or hem tape inside the hem allowance before you sew. It gives the fabric just enough body to prevent it from puckering under the tension.
- Loosen Bobbin Tension: On some machines, you can slightly reduce the bobbin tension to help the stitches lay flatter. Just be sure to note your original setting so you can easily change it back for your next project.
- Try Woolly Nylon Thread: Winding your bobbin with woolly nylon thread can work wonders. Its natural loft and stretchiness accommodate the pull from the top threads much more forgivingly.
Learning to tackle these little issues is just part of the journey. And as home sewists, our skills evolve right alongside the industry. The rise of automation in textile production, which is projected to grow at a CAGR of 3.2%, is leading to more precise and consistent stretch fabrics coming to market. You can explore emerging textile industry insights to see what's on the horizon. By mastering these simple fixes, you'll be ready to confidently work with any knit fabric that comes your way.
Troubleshooting: Your Top Questions Answered
Even when you do everything right, knits can throw you a curveball. I get these questions all the time, so let's tackle some of the most common head-scratchers you'll run into. This is your quick-and-dirty guide to getting unstuck and back to sewing.
Think of this as the advice I'd give you if we were sitting in a sewing class together. These are the problems every single one of us faces when we start working with stretch fabrics.
Do I Really Need a Serger to Sew Knits?
This is the number one question I hear, and let me put your mind at ease: no, you absolutely do not! While a serger (or overlocker) is a dream machine for knits—sewing, trimming, and finishing the seam in one slick pass—your standard sewing machine can handle them beautifully.
The whole secret is in the stitch. Your home machine has stitches designed specifically for this. Look for a narrow zigzag, a lightning bolt stitch, or a triple stretch stitch. Any of these will build enough flex into the seam to move with the fabric, which means no more popped threads when you pull on your finished garment.
Pair one of those stitches with a ballpoint needle and some good polyester thread, and you'll be creating strong, flexible seams that last. A serger is an amazing tool, but it's a luxury, not a requirement.
How Do I Stop My Fabric from Curling at the Edges?
Ah, the dreaded jersey curl. You lay out your fabric, and it immediately rolls up, turning cutting into a wrestling match. This happens because of the way single-knit fabrics are made; the tension in the knitted loops just naturally pulls the edges in. Luckily, a few simple tricks can tame that curl.
Spray starch is your best friend here. A light mist along the edges, followed by a quick press with your iron, gives the fabric just enough body to lie flat. A temporary spray stabilizer does the same job. This little bit of prep makes your cutting way more accurate.
Also, think about how you're cutting. A rotary cutter and mat let you slice through the fabric without lifting it, which keeps the curling to a minimum. And a general rule of thumb: the less you fuss with the raw edges, the less they’ll roll.
Don't let frustrating fabric derail your project. A couple of minutes spent prepping with starch can save you a massive headache later. It’s a small step that makes a huge difference.
What Is the Best Way to Hem a T-Shirt?
Getting that clean, professional-looking hem on a T-shirt feels like a major win, and it's easier than you think. On a regular sewing machine, the best tool for the job is a twin needle. It creates two perfect, parallel rows of stitching on the top and a zigzag on the underside.
That zigzag on the back is the magic—it lets the hem stretch without snapping the threads. For an even cleaner, pucker-free finish, stabilize the hem before you sew. First, press up your hem allowance. Then, tuck a strip of fusible stretch hem tape inside and iron it in place. This holds everything steady and prevents that weird "tunneling" that can sometimes happen between the two lines of stitching. The result is a gorgeous, durable hem that looks like it came straight from a high-end store.
My Seams Look Wavy. What Am I Doing Wrong?
You know the look—those wavy, stretched-out seams that look a bit like the edge of a lettuce leaf. This is a classic sign that your fabric is being stretched as it goes under the needle. The culprit is almost always too much pressure from your presser foot, or you might be accidentally pulling the fabric from behind the machine as you guide it.
First, check if your machine has an adjustable presser foot pressure. If it does, lightening it up will often fix the problem instantly. If you can't adjust the pressure, a walking foot is one of the best investments you can make. It has its own set of feed dogs on top, which work in sync with the machine's feed dogs to grip and move both layers of fabric together, preventing any stretching. Seriously, this little accessory is a game-changer for sewing knits.
At Famcut.com, we're passionate about helping you succeed in all your creative projects, from cosplay to quilting. Explore our resources and community for more expert advice. Find everything you need at https://famcut.com.