


Essential Sewing Tools for Beginners
Getting started in sewing can feel a little overwhelming with all the gadgets and gizmos out there. But honestly? You don’t need a room full of specialized gear to begin. The secret is to start with a handful of high-quality essentials that will see you through your first projects and beyond.
Think of it like learning to cook. You don't start with a sous-vide machine; you start with a good knife, a cutting board, and some measuring cups. It's the same logic with sewing.
Building Your First Sewing Kit
So, where do you begin? Forget the fancy stuff for now. Let's focus on the absolute must-haves that will form the backbone of your sewing toolkit.
The Foundational Trio of Sewing
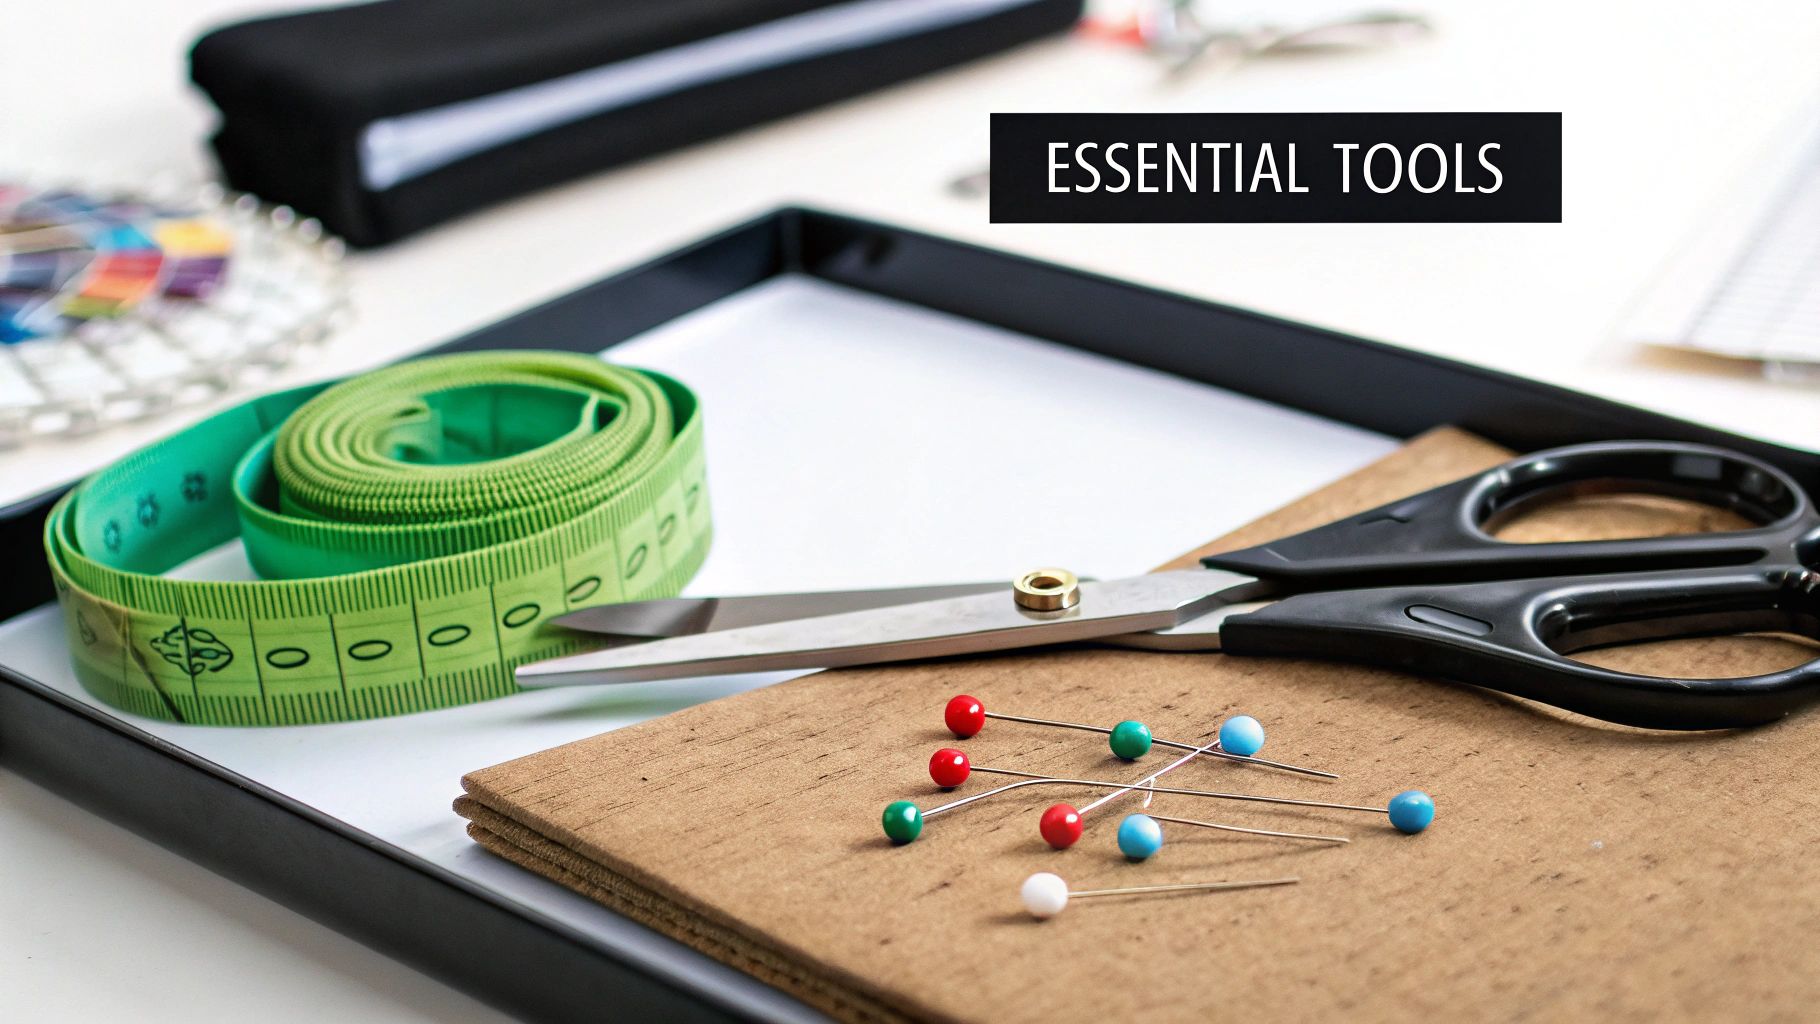
Every single sewing project, whether it's a simple tote bag or an ambitious dress, boils down to three core actions: measuring, cutting, and marking. The tools you use for these steps are your true workhorses. They’re what allow you to take a two-dimensional piece of fabric and shape it into something wearable and wonderful, all with precision. Trying to sew without them is just guesswork.
It’s no surprise that more people are picking up this craft. The global market for sewing supplies is booming, expected to grow from USD 5.24 billion to USD 5.50 billion in just the next year. This isn't just a fleeting trend; it’s a movement towards DIY creativity and making more sustainable fashion choices, all made easier by countless online tutorials. If you're curious about the numbers, you can find more details on the sewing supplies market growth over at 360iResearch.
To cut through the noise, we've outlined the core tools you absolutely need. Start here, and you'll be perfectly equipped for those exciting first projects.
Your Core Sewing Toolkit at a Glance
To make it even simpler, here’s a quick-start table that breaks down the absolute essentials for your first sewing kit. Think of this as your shopping list for success.
| Tool Category | Essential Tool | Primary Function | Beginner's Buying Tip |
|---|---|---|---|
| Measuring | Flexible Tape Measure | Taking body measurements and measuring curves. | Go for a fiberglass one. Unlike plastic, it won’t stretch out and skew your numbers. |
| Cutting | Fabric Shears | Cutting fabric cleanly without fraying or snagging. | Invest in one good pair and make them sacred. Label them "Fabric Only!" |
| Marking | Tailor's Chalk/Fabric Pen | Transferring pattern lines onto your fabric. | Pick a color that shows up on your fabric but disappears easily with heat or water. |
With just these three items, you’re well on your way. They are the non-negotiable foundation upon which all your future sewing skills will be built.
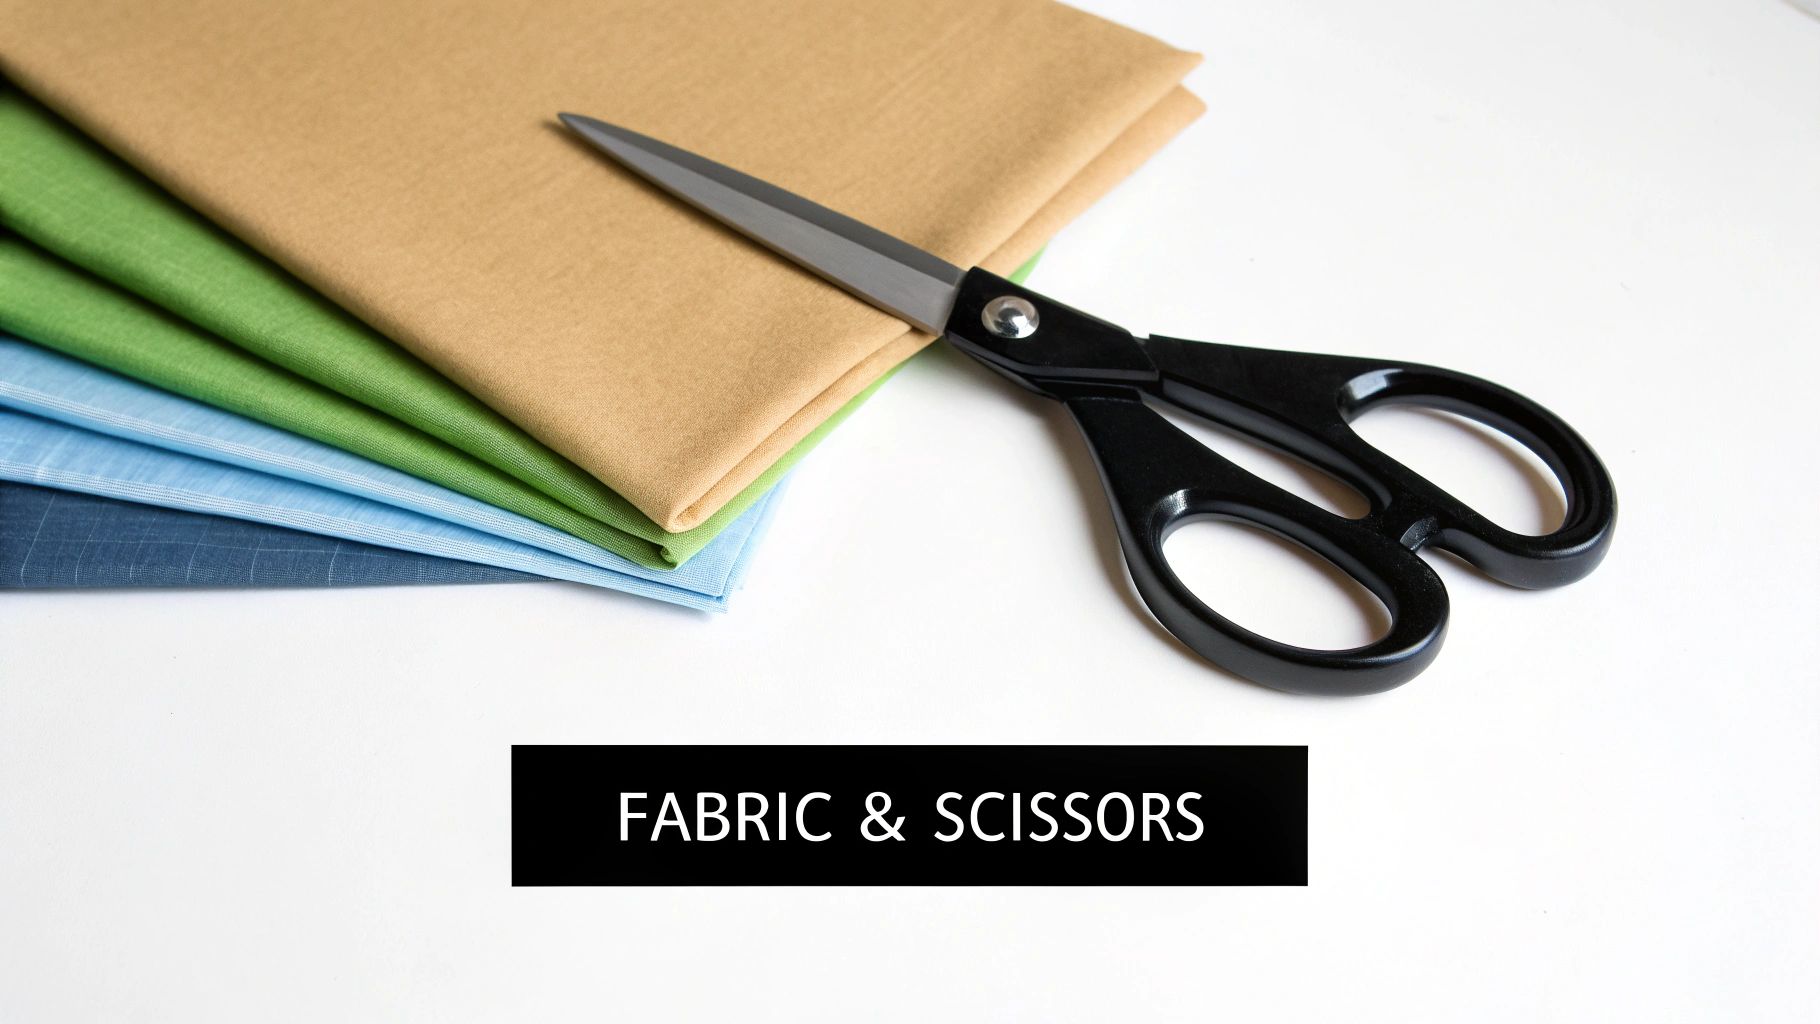
Choosing Your Shears and Cutters
Getting a clean, precise cut is the absolute first step to making something that looks polished and professional. Think of your cutting tools like a surgeon's scalpel—the right instrument, used the right way, changes everything. This is a classic beginner pitfall; you grab any old pair of kitchen scissors and then wonder why your fabric edges are a frayed, jagged mess.
If there's one sacred rule in sewing, it's this: you must have a dedicated pair of fabric shears. These are not just any scissors. They're engineered with razor-sharp, precision-ground blades that glide through fabric without snagging the fibers or shoving the layers around. Using them to cut paper, even just once, will instantly dull the blades and turn your most important tool into your biggest source of frustration.
A sewer’s golden rule is simple: Fabric shears are for fabric only. A time-honored trick is to tie a colorful ribbon around the handle. It's a friendly but firm "hands-off" signal to anyone in the house hunting for a pair of scissors.
Fabric Shears: The Foundation
When you're picking out your first pair of shears, you don't need to break the bank, but you do need to invest in quality. Find a pair with comfortable, ergonomic handles that feel good in your hand, because you'll be holding them a lot. The blades themselves should be made from high-quality steel, which ensures they’ll stay sharp and last for years.
- Blade Length: An 8-inch shear is the perfect all-rounder for most beginners. It's long enough to make beautifully smooth, straight cuts, yet nimble enough to navigate curves without a fight.
- Handle Design: Look for a "bent-handle" design. This clever shape lets the bottom blade rest flat on your cutting table, so you can cut accurately without lifting and distorting the fabric.
A little bit of care goes a long way. Keep your shears clean, dry, and get them professionally sharpened when you notice they aren't cutting as cleanly anymore. A solid investment of $20-$40 will get you a fantastic pair that feels like an extension of your hand.
Expanding Your Cutting Toolkit
While your fabric shears are the undisputed star of the show, a few supporting actors can make certain jobs much, much easier. Think of these as the specialists that step in when your main shears aren't quite right for the task.
1. Rotary Cutters
Picture a pizza cutter, but for fabric. That’s a rotary cutter. This tool has a rolling circular blade that gives you perfectly straight cuts with almost no effort, especially when you use it with a self-healing mat and a clear acrylic ruler. It's a game-changer for quilters or anyone needing to cut through several layers of fabric at once. Safety first, though—always get a model with a blade guard and make it a habit to retract it after every single cut.
:max_bytes(150000):strip_icc():format(webp)/rotary-cutter-for-fabric-5b32943246e0fb0037a86f91.jpg)
2. Thread Snips
These little spring-loaded clippers have one job and they do it perfectly: snipping threads. Keep a pair right next to your sewing machine, and you can quickly trim thread tails as you go. This keeps your workspace clean and your finished project looking neat and professional. Their sharp, fine tips are brilliant for getting right up against the fabric without any risk of accidentally snipping a hole in your project.
Measuring and Marking for Perfect Results
You’ve probably heard the old saying, "measure twice, cut once." Well, in sewing, that’s not just a saying—it’s the golden rule. Before you even think about taking scissors to your fabric, you need to map everything out. This is where your measuring and marking tools come in; they are the blueprint for your entire project.
Think of it like being an architect for your own clothes. You wouldn't start putting up walls without a precise floor plan, right? Your markings on the fabric serve the same purpose. They guide every cut, fold, and stitch, ensuring the final piece fits beautifully and looks like it was made by a pro.
Your Essential Measuring Tools
Getting your measurements right starts with a couple of basic, non-negotiable tools. These aren't flashy, but they are the workhorses that will save you from crooked seams and clothes that just don't fit.
- Flexible Tape Measure: This is your best friend for measuring anything with a curve, like your body or a pattern's armhole. I always recommend getting one made of fiberglass because it won't stretch out and give you wonky measurements down the line.
- Clear Acrylic Ruler: For any and all straight lines, you need a good, sturdy see-through ruler. The 2-inch by 18-inch size is incredibly versatile. Because it's clear, you can see your fabric right through it, which is a lifesaver for marking straight seam allowances or checking that your pattern is aligned with the fabric's grain.
It's kind of like cooking. A chef needs both measuring cups for liquids and measuring spoons for spices. In the same way, a sewer needs both a flexible tape for curves and a rigid ruler for straight lines. Using the right tool for the job prevents a world of frustration.
Making Your Mark (The Right Way)
After you've measured, you need to transfer those guidelines onto your fabric. The trick is to pick a tool that shows up clearly on your fabric but won't stick around forever. What works best will really depend on the color and weave of the material you’re using.
- Tailor’s Chalk: The tried-and-true classic. It comes in different colors and usually brushes right off when you're done. It’s fantastic for tweeds, wools, and other textured fabrics, though it can sometimes be a bit faint on very light-colored materials.
- Disappearing Ink Pens: These are my go-to for really crisp, fine lines. Some pens use ink that fades on its own in 24-48 hours, while others vanish with a spritz of water or the heat from your iron. Just one rule: always, always test it on a scrap of your project fabric first!
- Tracing Wheel & Paper: This old-school combo is perfect for transferring detailed pattern markings. You simply sandwich the special carbon-like paper between the pattern and fabric and trace the lines with the wheel, creating a dotted line. It’s ideal for smooth, medium-weight fabrics.
Picking the right sewing tools for beginners from this list is a huge step toward making your first projects a success. This demand for easy-to-use tools hasn't gone unnoticed; the sewing and craft supply market in the U.S. has swelled to an incredible $5.3 billion. Retailers have seen that new sewists are driving sales, looking for accessories that are simple and effective. You can read more about how beginner preferences are shaping the craft market and changing what's on store shelves.
Selecting Your First Sewing Machine
Let's talk about the big one: the sewing machine. It’s easily your biggest investment and, frankly, the most exciting tool you’ll buy. Choosing your first one can feel a lot like buying a car—the number of models and features can be totally overwhelming. But here's the good news: you don't need a space-age, top-of-the-line model to start making beautiful things.
The real goal is to find a reliable workhorse, not a complicated gadget with a hundred stitches you’ll never actually use. Simplicity and dependability will take you much further than a machine overloaded with bells and whistles.
Mechanical vs Electronic Machines
The first big decision you'll run into is whether to get a mechanical or an electronic machine. The best way to think about it is like the difference between a manual and an automatic car.
A mechanical machine is the manual car of the sewing world. You are in complete control, turning physical dials and knobs to select stitches and settings. They’re often built like tanks, have fewer electronic parts that can fail, and really force you to understand the fundamentals of how a sewing machine operates. They are straightforward and powerful.
An electronic machine is your automatic car. It’s all about ease of use, with push-button controls, little LCD screens, and helpful automated functions like needle threading. These features can be a massive confidence booster for a beginner, taking care of the fiddly bits so you can focus on the actual sewing.
As you start your sewing journey, you'll rely on a few key measuring tools to work alongside your machine. This handy graphic shows the essentials.
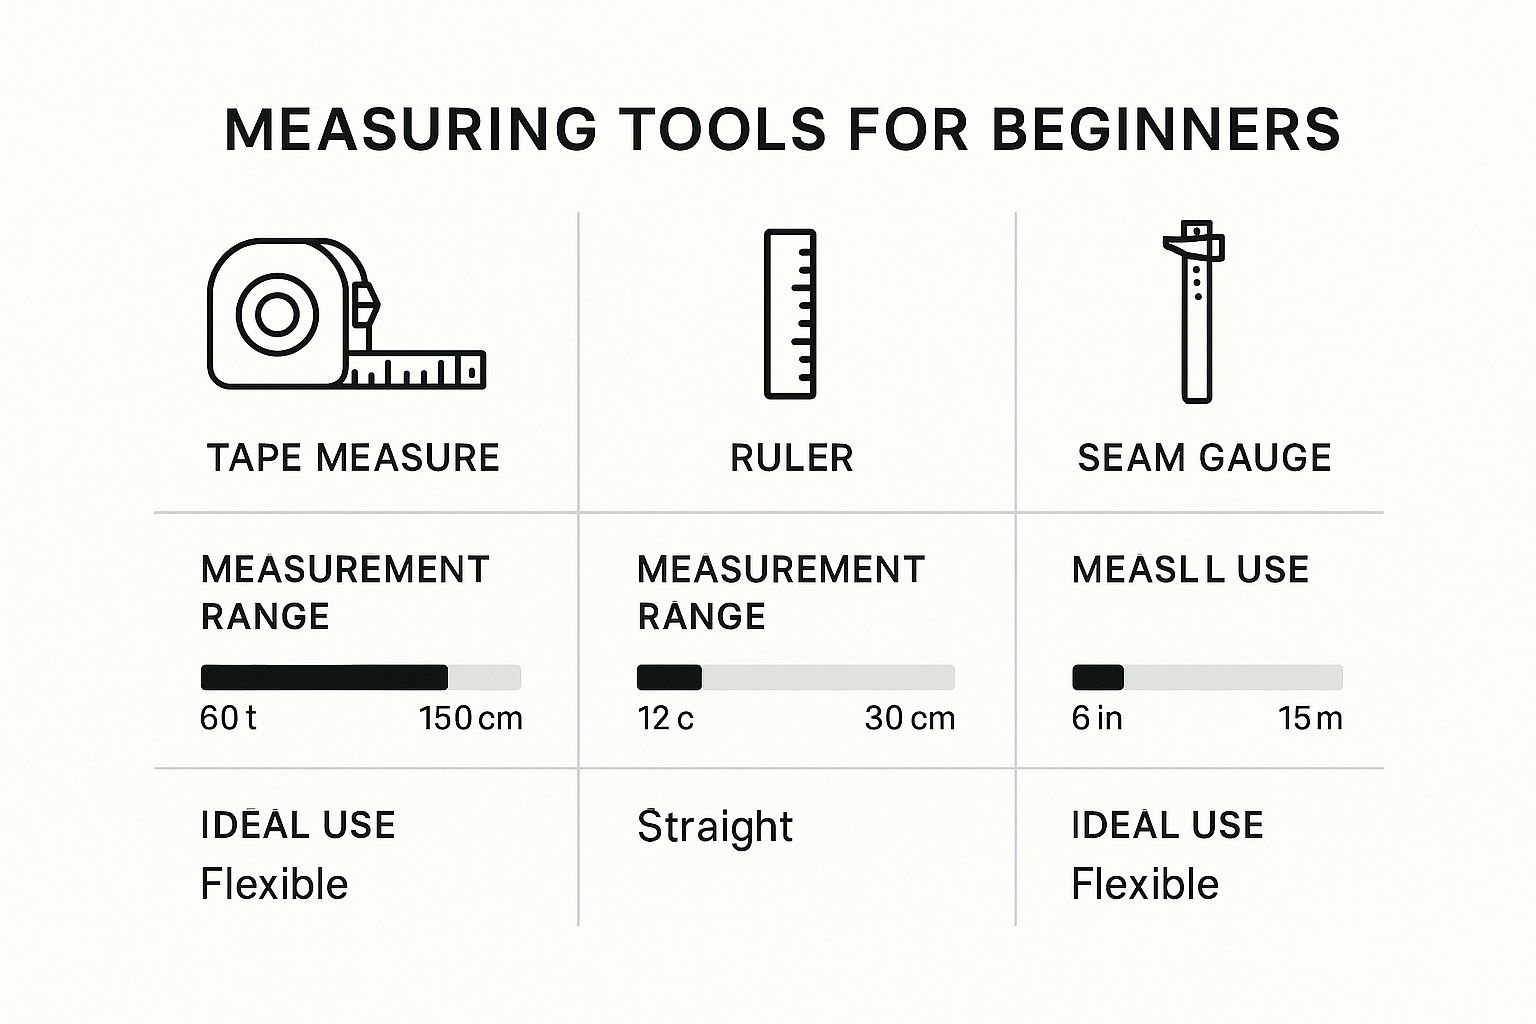
It’s a great visual reminder of how different tools serve different purposes, from the flexible tape measure for curves to the rigid accuracy of a ruler for straight lines.
To help you decide which type of machine is right for you, here’s a quick breakdown of how they stack up.
Mechanical vs Electronic Sewing Machines for Beginners
| Feature | Mechanical Machines | Electronic Machines |
|---|---|---|
| Controls | Manual knobs and dials. Very tactile. | Push buttons and an LCD screen. |
| Stitch Selection | Limited to built-in stitches (usually 10-30). | Wider variety of stitches, often 50+. |
| Ease of Use | Steeper learning curve, requires manual adjustments. | More beginner-friendly with automated features. |
| Durability | Generally very sturdy with fewer complex parts to break. | Reliable, but more electronic components can fail. |
| Cost | Typically more affordable, great for tight budgets. | A bit pricier, but packed with helpful features. |
| Key Features | Basic stitches, manual tension control. | Automatic needle threader, speed control, one-step buttonhole. |
Ultimately, the best choice comes down to your personal preference and budget. You can’t go wrong with either as long as you choose a quality machine. The market itself is leaning heavily toward user-friendly options. The global sewing machine industry was recently valued at USD 6.25 billion, and electronic machines are driving that growth. Their precision and helpful features are a huge draw for new sewists, which is why they’ve become so popular. You can actually learn more about the latest sewing machine market trends and see detailed industry projections if you're curious.
Must-Have Features for a Beginner Machine
When you start looking at machine descriptions, try to ignore the marketing hype about 200+ built-in stitches. As a beginner, you will use the same handful of stitches for almost every single project you make.
Your sewing machine should feel like a reliable partner, not an intimidating piece of technology. Focus on build quality and core functions over a long list of features you may never touch. A simple, sturdy machine is a beginner's best friend.
Instead of a huge stitch count, make sure the machine you choose does these few things exceptionally well:
- Straight Stitch: This is the bread and butter of sewing. You'll use it for seams, topstitching—everything. A machine that produces a consistently straight, even stitch is an absolute must.
- Zigzag Stitch: This is your best friend for finishing raw fabric edges to keep them from fraying. It's also essential for sewing knit or stretch fabrics and can even be used as a decorative touch.
- Buttonhole Function: Trust me on this one—a one-step buttonhole feature is a game-changer. It automates the process of creating perfect buttonholes, saving you a world of time and frustration.
- Adjustable Stitch Length and Width: Being able to change the length and width of your stitches is not a fancy extra; it's a crucial function that gives you control when working with different fabrics and techniques.
One last pro tip: look for a machine with a solid metal frame, even if the outer casing is plastic. These are often marketed as "heavy-duty" models. They’re more stable, vibrate less, and will be ready to handle thicker fabrics like denim once you feel confident enough to tackle them.
Essential Notions and Accessories
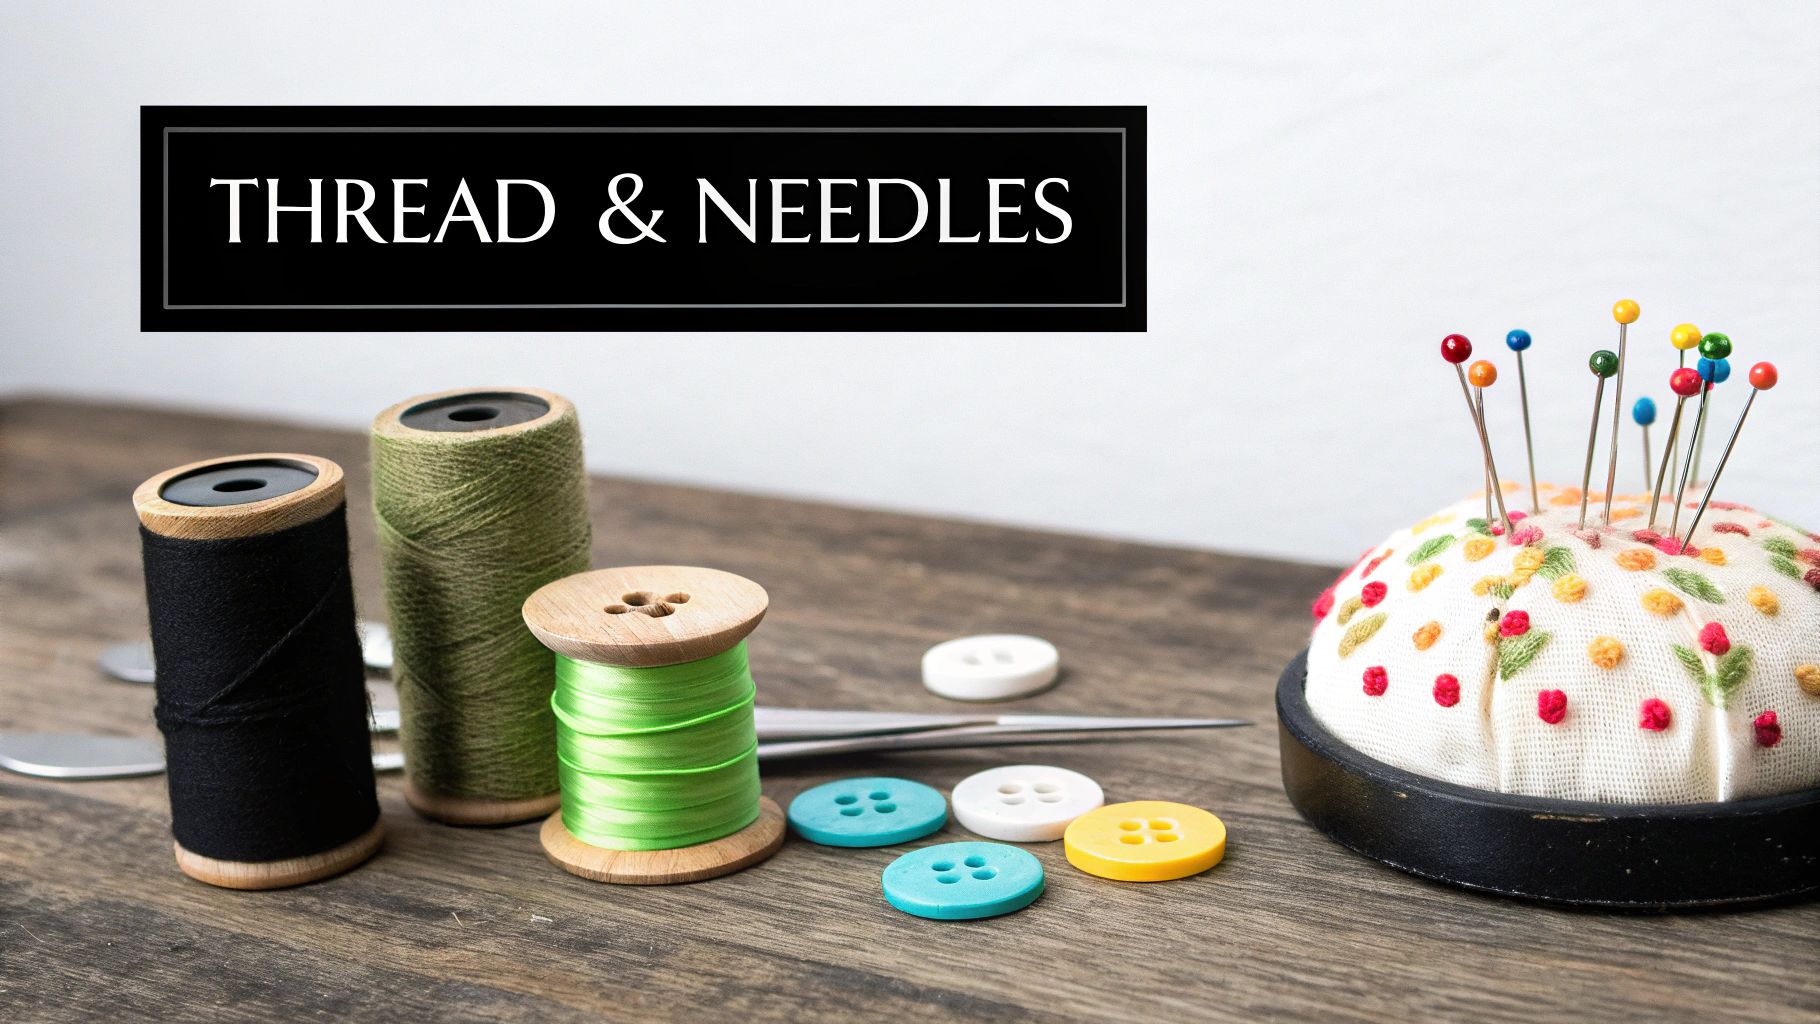
Now that we've covered the big three—measuring, cutting, and stitching—let's get into the supporting cast. These are the notions and accessories, the unsung heroes that make the whole sewing process flow smoothly and accurately.
Think of these tools as the little helpers that handle all the small but crucial jobs. They are what take a project from looking "homemade" to beautifully "handmade."
Tools for Holding and Fixing
First up, you need a way to hold your fabric pieces together before and during sewing. This is where pins and clips come in, acting like a temporary glue to stop anything from shifting out of place.
For most fabrics, a simple set of glass-head pins is your best bet. The glass heads are a lifesaver because they won’t melt if you accidentally hit them with a hot iron.
But what about fabrics that would be permanently scarred by pinholes, like leather, vinyl, or even delicate silks? That's where sewing clips shine. These little clamps grip the edges of your fabric securely without leaving a single mark.
And then there's the tool every single sewer needs, no matter their skill level: a good seam ripper.
Don't think of a seam ripper as a symbol of failure. It's your "undo button." Having one on hand takes away the fear of messing up, which makes the learning process a whole lot more enjoyable.
A sharp, high-quality seam ripper is non-negotiable. We all make mistakes, and this little gadget lets you take out stitches quickly and cleanly without tearing your fabric. It will be your best friend, I promise.
The Power of Pressing
Here’s a secret that separates beginners from seasoned pros: pressing. It’s easily the most overlooked step, but it's the absolute key to getting crisp, professional-looking results.
You should plan to spend almost as much time at your ironing board as you do at your sewing machine. They are partners in crime. A decent steam iron and a solid ironing board are all you need; no fancy, top-of-the-line model is necessary as long as it gets hot and produces steam.
- Why is it so important? Pressing your seams open or to the side after you sew them makes them flat, sharp, and strong. It also makes it infinitely easier to match up the next piece of your project with precision.
- A little analogy: Sewing without pressing is like trying to build with crooked bricks. The foundation will be off, and nothing will line up correctly as you go.
Lastly, tuck a small pack of hand-sewing needles into your kit. Even if your goal is to be a machine-only sewist, you’ll inevitably need one for a quick fix, like sewing on a button or closing up a tiny hole.
Got Questions? Let's Talk Sewing Tools
As you're getting started, you're bound to have questions. It's totally normal! In fact, asking the right questions now will save you a ton of headaches down the road and help you build a beginner's toolkit you'll actually use. Let's dig into some of the things new sewers are always wondering about.
Do I Really Need to Splurge on Expensive Sewing Scissors?
This is probably one of the most common questions, and the answer is a solid "yes and no." You definitely don't need the fanciest, most expensive shears on the shelf, but investing in a decent, dedicated pair of fabric scissors will absolutely change your sewing life.
Cheap, all-purpose scissors just don’t cut it—literally. They chew through fabric, snag threads, and leave you with jagged, frustrating edges. A quality mid-range pair, on the other hand, glides through material, giving you the clean, precise cuts that are the foundation of any good project.
And here's the golden rule every sewer lives by: never use your fabric scissors on paper. Nothing dulls a blade faster. Think of them as a sacred tool meant only for fabric, and they'll serve you well for years.
Can I Get By Without a Sewing Machine at First?
Of course! People were sewing for centuries before the first machine was ever invented. Hand sewing is a wonderful skill in its own right and a fantastic, low-cost way to dip your toes into the craft.
You can tackle all sorts of projects—mending a tear, adding some embroidery to a jacket, or creating small felt toys—with just a good set of needles, a thimble, and some thread. Starting by hand really helps you get a feel for how stitches work. But when you’re ready to make a whole garment, a machine will give you stronger seams and get the job done much, much faster.
The single most underrated tool for a beginner? A good seam ripper. It sounds a little pessimistic to plan for mistakes, but trust me, everyone makes them. Having a great seam ripper on hand takes all the fear out of it.
This little gadget is your official "undo button." It lets you pull out stitches cleanly without shredding your fabric. Trying to unpick a seam with the tip of your scissors is a recipe for disaster and almost always ends with a hole where you don't want one. Embrace the seam ripper; it's your best friend.
For all your cosplay and sewing needs, Famcut.com provides high-quality materials and expert guidance to help you create something amazing. Explore our selection of fabrics, notions, and tools to get started on your next project.
Find your perfect sewing supplies at https://famcut.com