


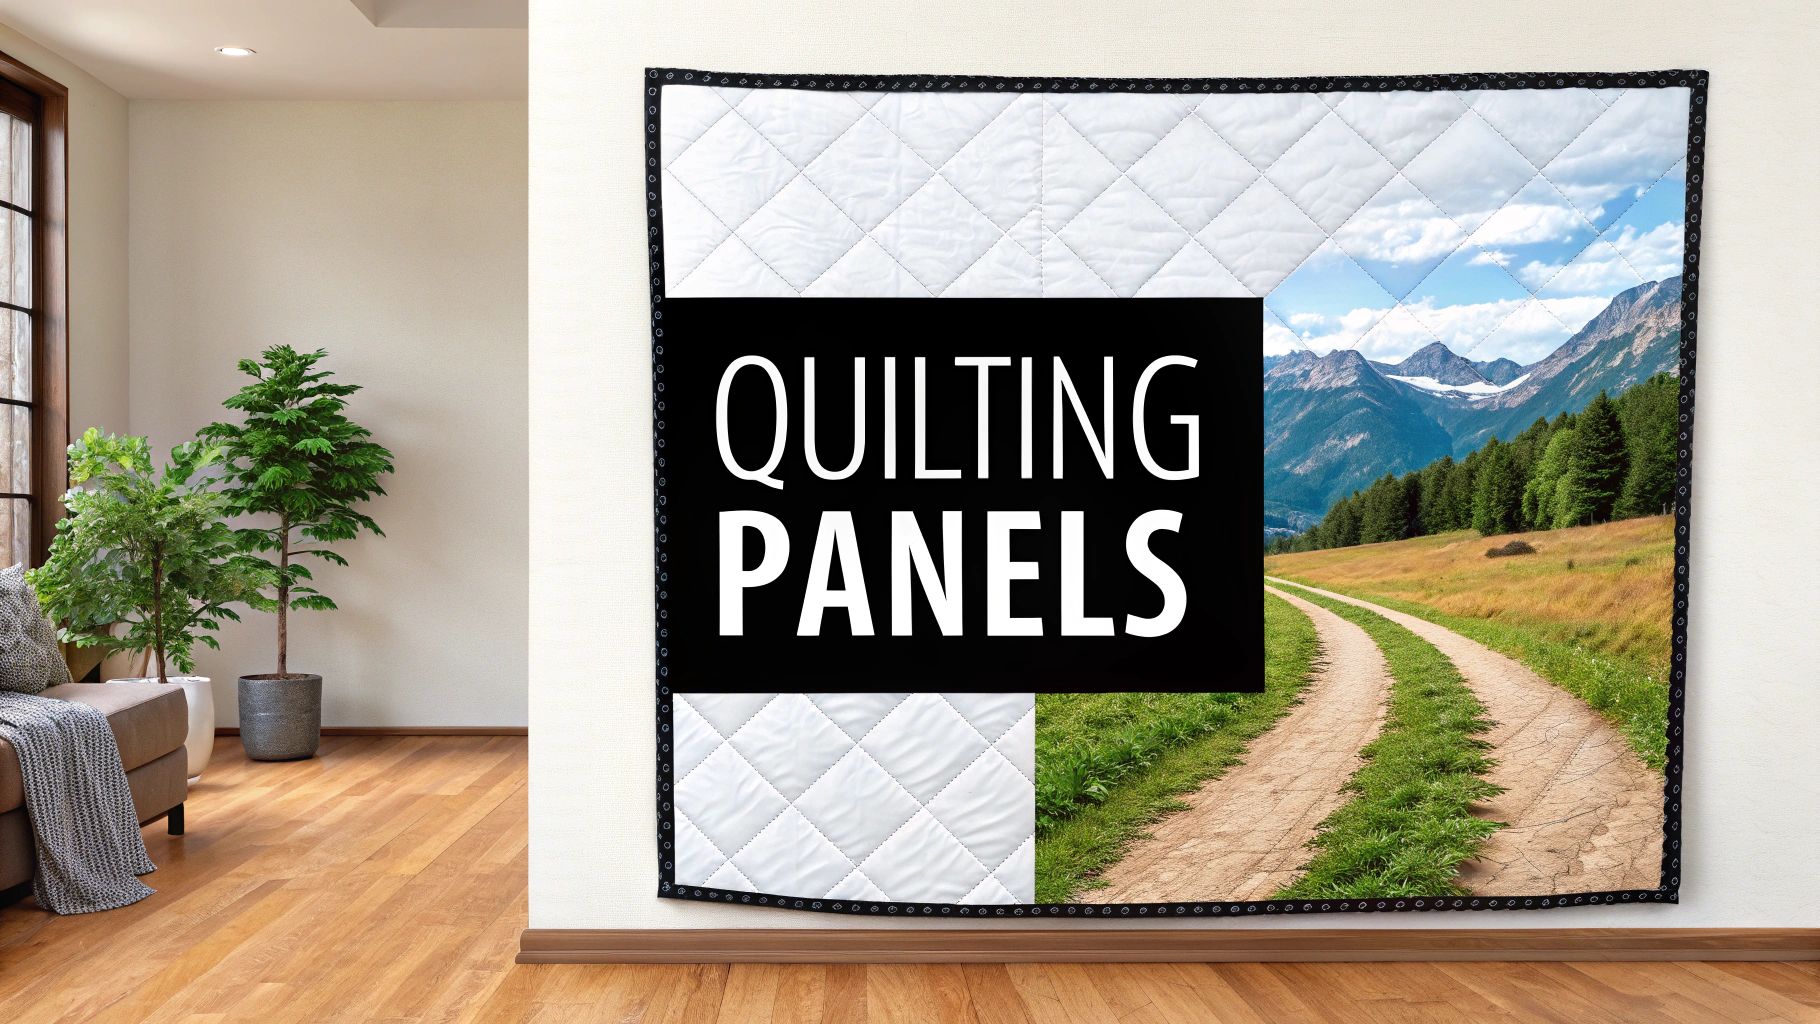
Panels for quilting: Create Beautiful Quilts with Easy Panel Ideas
Quilting panels can feel like a secret weapon for crafters. They let you create absolutely breathtaking quilts without spending weeks (or months!) piecing together tiny bits of fabric. I like to think of them as a creative shortcut—a pre-printed centerpiece that gets you to the fun part faster. This approach doesn't just save time; it opens up the world of quilting to everyone, no matter their skill level.
Unlocking Creativity With Quilting Panels
So, what exactly are panels for quilting? At their core, they're large pieces of fabric with a complete image or a set of related designs already printed on them. Instead of piecing together hundreds of squares to form a picture, the artwork is ready to go. This frees you up to focus on the more expressive side of quilting, like designing beautiful borders or choosing quilting stitches that make the central image pop.
These fabrics are a fantastic starting point when you want a gorgeous result without a huge time commitment. I've seen them used for all sorts of amazing projects:
- Quick Baby Quilts: Grab a panel with cute animals or a sweet nursery theme, add a simple border, and you've got a cherished gift in a weekend.
- Stunning Wall Hangings: A panel featuring a scenic landscape or an artistic floral print can become instant home decor with minimal effort.
- Medallion-Style Quilts: A strong central image is the perfect focal point to build intricate, impressive borders around.
A Quilting Shortcut With a History
Quilting panels first appeared back in the late 1970s. They were designed to make quilting more approachable for beginners and anyone short on time. By the 1990s, they were everywhere, thanks to mail-order catalogs and the big craft stores. Today, they're a huge part of the global quilting fabric market, which grew from $3.5 billion in 2023 and is expected to hit $5.7 billion by 2032.
Quilting panels are not just for beginners. They are a canvas for creativity, inviting experienced quilters to experiment with advanced techniques like thread painting, intricate free-motion quilting, and innovative border designs that elevate the printed image into a unique work of art.
If you've ever been curious about how these fabrics are made or even thought about creating your own, looking into custom fabric printing services is a great next step. It opens up a whole new world of personalization, letting you turn a photo or your own design into a one-of-a-kind heirloom.
Why You Should Consider a Panel for Your Next Project
The benefits go way beyond just saving time. Panels give you a structured yet incredibly flexible foundation to build upon. You can use a single panel whole for a fast finish, or you can get creative and deconstruct it. I love fussy-cutting individual motifs from a panel and using them as the centerpiece for traditional quilt blocks. It’s a wonderful way to mix the speed of a panel with the classic charm of a pieced quilt.
Ultimately, using panels for quilting is about making the craft more enjoyable and less intimidating. Whether it's your very first quilt or your fiftieth, a panel provides a beautiful and reliable start to a project you’ll be proud of.
How to Choose the Perfect Quilting Panel
This is where the real fun begins. Walking into a quilt shop or scrolling through fabric sites can feel like an explosion of color and creativity. It's easy to get overwhelmed! But once you know what to look for, that feeling shifts from overwhelming to an exciting treasure hunt for your next project.
The first thing to think about is the panel's overall vibe. Are you looking for a showstopper—a single, large-scale image that will be the undeniable star of your quilt? Or are you more inspired by a panel with lots of smaller motifs, like a collection of vintage seed packets or charming woodland creatures?
Each of these styles points you in a different direction. That dramatic landscape panel, for instance, is just begging to be the centerpiece of a medallion-style quilt. You can build simple, complementary borders around it to frame the art beautifully. On the other hand, a panel full of smaller, separate images is a perfect candidate for "fussy cutting," where you carefully cut out specific designs to feature in your quilt blocks.
Assess the Design Elements
Before you completely fall in love with a panel, take a step back and really look at its features. Think like an artist composing a piece. The colors, the scale of the images, and the main focal point are all clues that will guide the rest of your fabric choices and quilting decisions.
A fantastic place to start is with the color story. Look closely at the selvedge—that finished edge of the fabric. Many manufacturers print small colored dots there, showing every single ink color used in the design. This is an incredible built-in tool that takes all the guesswork out of finding perfectly matching fabrics and thread.
Next, consider the scale of the main image. A bold, graphic panel might look amazing from across the room, but its impact could be lost if you surround it with overly busy border fabrics. Conversely, a panel with delicate, detailed illustrations needs borders that give it some breathing room, allowing all that fine work to be appreciated up close.
Fabric Quality and Print Clarity
Here's a truth I've learned over the years: not all panels for quilting are created equal. The feel and quality of the fabric are just as important as the beautiful design printed on it. For almost any project, you'll want to stick with a high-quality quilter's cotton. It has a tight, even weave that is stable, sews like a dream, and holds a press beautifully—all non-negotiable qualities for a quilt that’s built to last.
As you're shopping, really inspect the print quality. A well-made panel will have crisp, clear lines and vibrant, saturated colors. Keep an eye out for any blurry edges or misaligned printing; those little flaws will become glaringly obvious in your finished quilt. If you're shopping online, use the zoom feature to get a good look at the details.
The quilting industry has boomed because quilters demand this level of quality. The overall quilt market grew from $4.2 billion in 2020 to an estimated $4.5 billion in 2025, with panels helping to bring new people into the fold. This is part of a bigger picture—the global quilting fabric market is projected to grow from $3.5 billion to $5.7 billion by 2032, driven by quilters who want durable and beautiful materials. You can dig into more quilt market insights in this detailed report.
My go-to tip for online shopping: Always, always check the listed dimensions of the panel. A "panel" can be anything from a small 24x44 inch rectangle to a much larger piece. Knowing the exact size is absolutely critical for planning your layout and borders.
Matching the Panel to Your Project
Finally, think about what you’re actually making. The perfect panel isn't just one that looks pretty; it's one that fits the purpose of your project.
- For Wall Hangings: Look for panels with a clear focal point and strong visual interest that will catch the eye from a distance. Scenic landscapes, artistic abstracts, or seasonal themes are fantastic choices.
- For Baby Quilts: This is where you can have fun with soft colors, charming characters, and playful motifs. Many designers even create "cheater" panels that look like pieced blocks—they’re perfect for whipping up a quick and adorable gift.
- For Bed Quilts: You’ll want to consider larger panels or those with repeating patterns that can be easily expanded into a bigger design. Think about the bedroom's decor—is it modern, traditional, or rustic? Find a panel that complements the space.
By thinking through the design, the fabric quality, and your project's needs, you can confidently choose a quilting panel that will not only inspire you but also set you on the path to a stunning quilt you'll be proud of.
Getting Your Panel and Fabrics Ready for the Spotlight
A beautiful quilt doesn't just happen; it starts with thoughtful preparation. Getting your panel and fabrics ready before you even think about cutting is the secret sauce to a project that comes together smoothly and looks professionally finished. This groundwork makes all the difference.
To Wash or Not to Wash?
This is one of the great debates in quilting, but for me, it's not a debate at all. I pre-wash everything—the panel, the backing, and every piece of coordinating fabric. Why? Because quality quilting cotton can shrink up to 3-5% in its first wash. It's much better to get that shrinkage out of the way before you spend hours piecing. Pre-washing also rinses out any factory chemicals and, crucially, helps prevent vibrant colors like deep reds and blues from bleeding onto lighter fabrics later.
After washing, the next step is a good, thorough press. We're not just ironing out wrinkles here; we're creating a perfectly flat and stable canvas. A crisp, flat panel is a joy to cut and sew.
The Art of a Perfect Press and a Square Start
When you press your panel, use a hot iron with plenty of steam. Start in the middle and work your way out to the edges. Instead of dragging the iron across the fabric—which can easily stretch and distort the design—use a firm up-and-down pressing motion. Let the heat and steam do the heavy lifting.
A little spray starch (or a starch alternative) is your best friend here. It adds body and crispness to the fabric, making it much easier to cut with precision.
Once your panel is perfectly flat, it’s time to square it up. This step is absolutely essential. Panels can get pulled slightly off-grain when they're rolled onto the bolt at the factory. Squaring it up guarantees your borders will lie flat and your finished quilt will hang straight, without any frustrating, wavy edges.
To do this, find a strong horizontal or vertical line within the printed design itself—maybe the edge of a building, a tree trunk, or the horizon line. Line your quilting ruler up with that internal line, not the printed edge of the panel. Make your first cut. From there, rotate the panel and use that freshly cut edge as your guide to cut the remaining three sides at perfect 90-degree angles.
Pro Tip: Never, ever trust the printed border on the panel to be straight. It's almost always slightly off. Your most accurate guide will always be a prominent straight line within the main image.
Choosing Your Supporting Cast
With a beautifully prepped and squared panel, now the fun really begins: picking your coordinating fabrics. This is where you get to play with color and texture to build a palette that makes your panel truly shine. The simplest place to start is by pulling colors directly from the print.
Lay your panel out and start placing potential fabrics next to it. Don't just look up close—step back and see how they interact from a distance. Do they complement the panel, or are they competing for attention?
Here are a few things I keep in mind when choosing coordinates:
- Play with Value: Be sure to grab a mix of light, medium, and dark fabrics that echo colors in the panel. This contrast is what gives a quilt depth and visual interest.
- Vary Your Print Scale: If you have a panel with a big, bold image, balance it with smaller-scale prints, blenders, or even solids in your borders. This lets the panel remain the star of the show.
- Mix in Texture: While quilting cotton is the go-to, don't shy away from incorporating different textures, especially for art quilts or wall hangings. Understanding how different fibers behave is key. For instance, this guide on Linen vs Cotton Sheets offers a great comparison of how natural fibers differ, which can inspire some creative choices in your quilting.
Think of this as an audition. Lay out your top contenders and live with them for a day or two. See how they look in the morning light versus the evening. Taking your time with these decisions will pay off tenfold, leading to a quilt that feels cohesive, intentional, and absolutely stunning.
Creative Ways to Cut and Arrange Your Panel
A quilting panel isn't just one big picture; it's a canvas full of artistic elements just waiting for you to play with. When you start thinking beyond a simple border, you unlock a whole world of design possibilities. This is how you take a pre-printed fabric and turn it into something that’s uniquely yours.
Let's dive into how you can deconstruct and reimagine your panel to create a one-of-a-kind quilt.
First, Isolate the Good Stuff
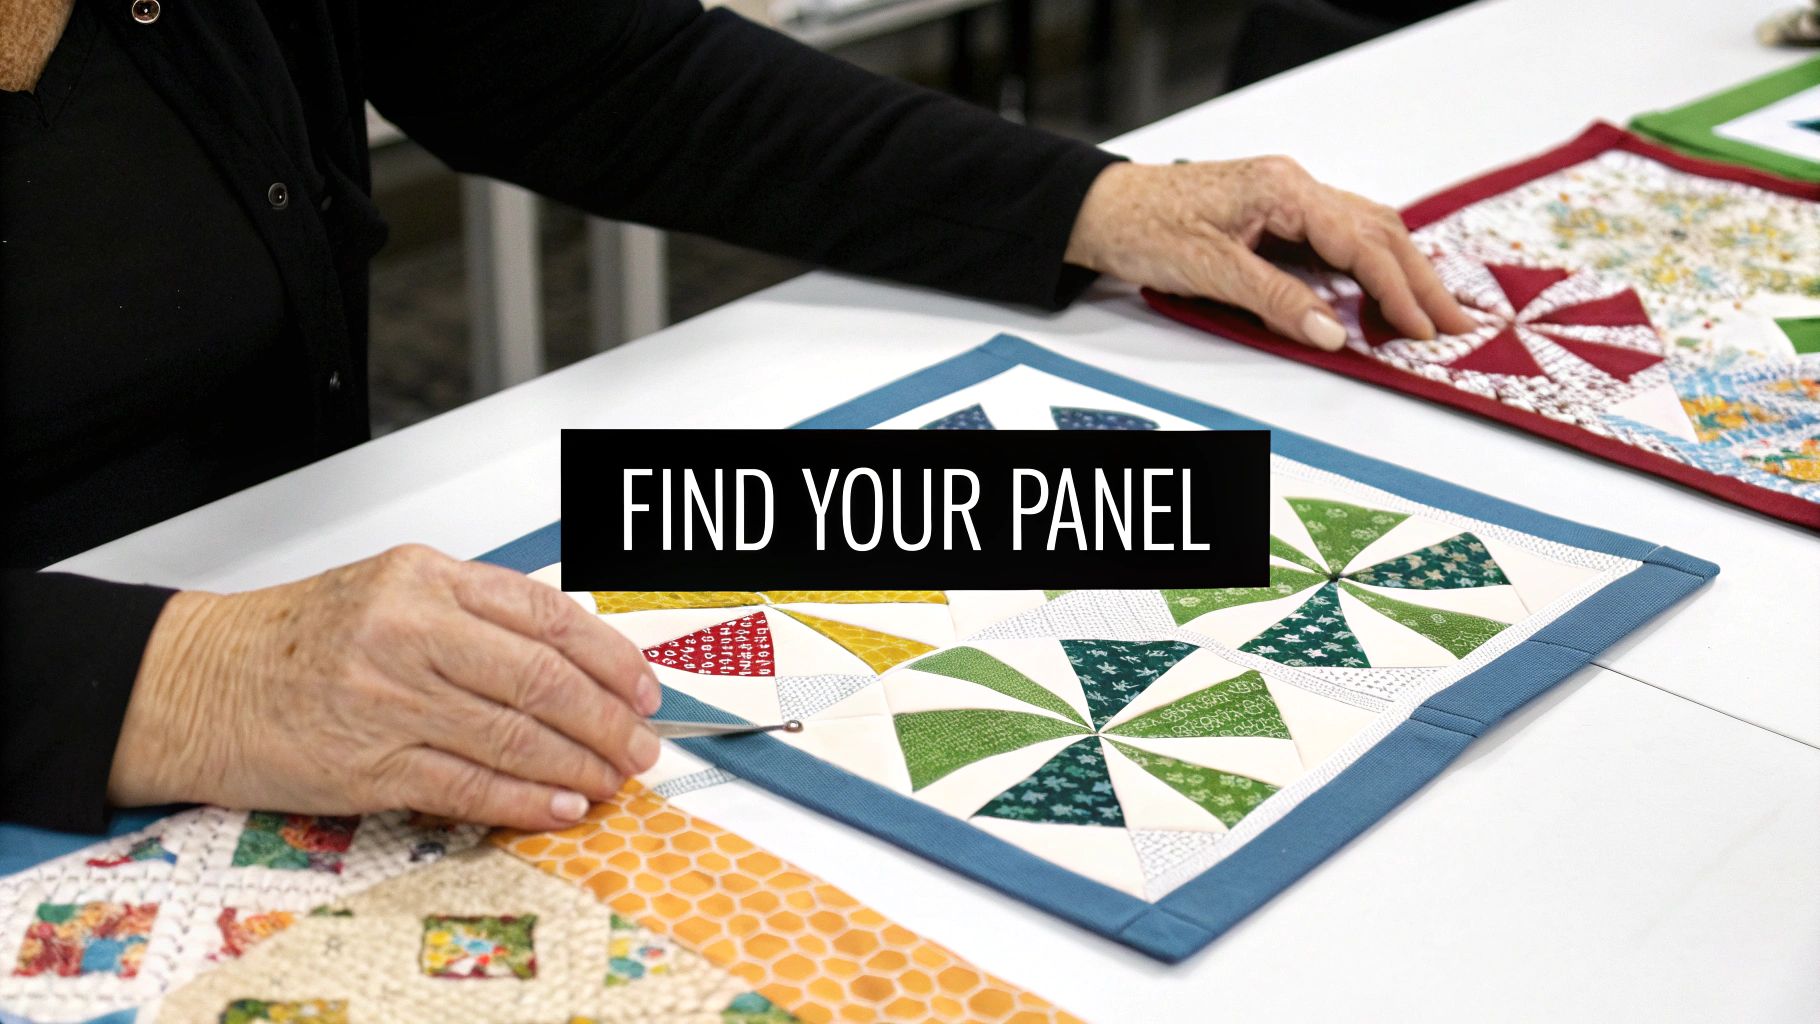
The easiest way to start is by zeroing in on specific parts of the design. We call this fussy cutting, and it’s all about carefully cutting out a particular motif, character, or scenic element. Instead of treating the panel as a single unit, you’re treating it like a treasure chest of individual design components.
Imagine you have a panel covered in gorgeous, distinct floral bouquets. You could fussy cut each one into a perfectly centered square. Those squares could then become the star of classic quilt blocks, like a nine-patch, a star block, or even a simple log cabin. It’s a fantastic way to blend the speed of working with a panel with the timeless charm of traditional piecing.
Deconstructing Your Design for a Bigger Impact
Once you’ve got the hang of fussy cutting, you can get a little more adventurous. This is where you stop seeing the panel as a single image and start seeing it as raw material for a much larger, more intricate composition. It’s your chance to let your inner artist take the lead.
This creative approach has exploded in popularity right alongside the quilting market itself. The U.S. quilting market grew from $1.8 billion in 2000 to an estimated $4.5 billion by 2025. Panels are a huge part of that growth, offering quilters a way to use their fabric stashes creatively while keeping costs in check. You can learn more about the quilting industry's surprising growth on CraftIndustryAlliance.org.
Ready for some ideas? Consider these deconstruction techniques for your next project:
- Triptych Wall Hanging: Take a landscape panel and slice it into three or more vertical strips. Frame each one with thin sashing, quilt them as individual mini-quilts, and hang them side-by-side for a stunning, modern art display.
- I-Spy Quilt: Grab a panel that’s packed with different characters or objects. Fussy cut each little motif and alternate those blocks with simple solid squares. You'll end up with a super fun, interactive quilt that kids absolutely adore.
- Segmented Medallion: Cut the main image of your panel into four equal quadrants. Now, rotate each piece 90 or 180 degrees and sew them back together with sashing in between. This creates a mesmerizing, almost kaleidoscopic version of the original image that really draws you in.
But before you make a single cut, getting your panel prepped is non-negotiable. This simple flow shows you the three crucial steps to get your fabric ready for action.
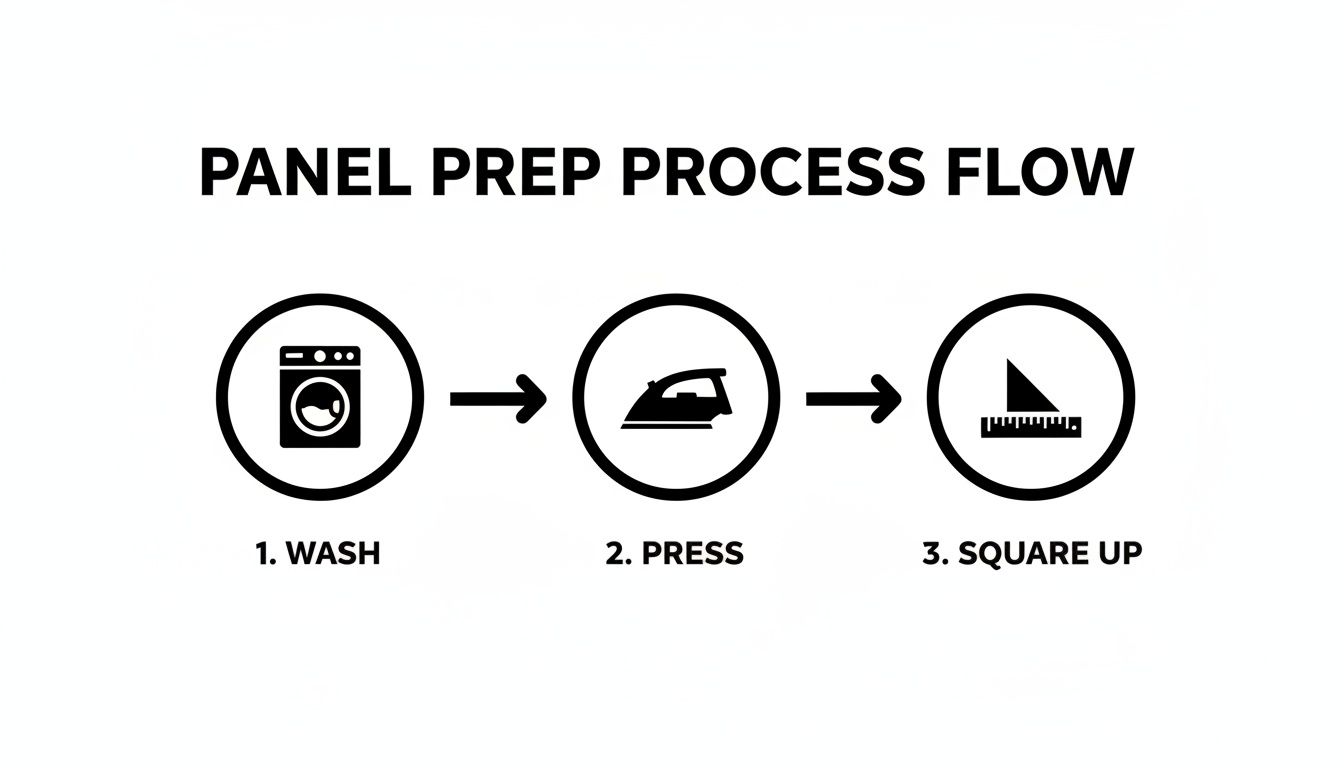
Seriously, don't skip these. Washing, pressing, and squaring up ensures your fabric is stable and your cuts will be perfectly precise—which is absolutely essential when you're trying these more advanced techniques.
Creative Panel Cutting Techniques
There are so many ways to approach cutting your panel. Some techniques are straightforward, while others require a bit more planning but deliver truly spectacular results.
| Technique | Description | Best For | Difficulty Level |
|---|---|---|---|
| Fussy Cutting | Precisely cutting out specific motifs from the panel fabric. | Isolating characters, animals, or floral elements for I-Spy quilts or block centers. | Beginner |
| Stack-and-Whack | Stacking identical panels and cutting them into wedges to create kaleidoscope or pinwheel blocks. | Panels with repeating, symmetrical designs. | Intermediate |
| Attic Window | Using light, medium, and dark fabric strips to create a 3D "window frame" illusion around the panel. | Scenic panels like landscapes, seascapes, or city views to add depth. | Intermediate |
| Deconstruction | Slicing a panel into strips, squares, or quadrants and reassembling with sashing or other blocks. | Large-scale images or geometric designs for a modern, abstract look. | Advanced |
Each method offers a different way to transform your panel from a simple print into a dynamic and personal work of art.
The Breathtaking "Attic Window" Technique
If you're looking to create a quilt with some serious "wow" factor, you have to try the attic window technique. This clever method uses strip piecing to create the illusion that you're looking through a windowpane at the scene depicted on your panel. It adds unbelievable depth and an almost three-dimensional quality to the finished piece.
To get this effect, you’ll frame your panel (or a section of it) with fabric strips that are pieced to mimic the light and shadow of a real window frame. This usually involves a strategic combination of a light, a medium, and a dark fabric for the "frame."
The secret to a convincing attic window is consistency. You must always place your light, medium, and dark strips in the same orientation around each "pane." This creates a realistic sense of a single light source casting consistent shadows.
This technique is absolutely perfect for scenic panels—think rolling landscapes, dramatic seascapes, or bustling cityscapes. It transforms your quilt from a flat surface into a portal to another place entirely, making it an incredible choice for a wall hanging that really commands attention.
Remember, by cutting your panel, you're not destroying it; you're multiplying its creative potential.
Finishing Your Panel Quilt Like a Pro
You’ve done the creative work of designing, prepping, and piecing your quilt top. Now for the magic. This is the part where all those individual pieces finally come together to become a cozy, finished quilt—and it's incredibly satisfying. With just a few key techniques, you can give your panel quilt a polished, professional look that will last for years.
The first step is building what we call the "quilt sandwich." It’s as simple as layering your backing fabric (wrong side up), your batting, and your quilt top (right side up). The goal here is to get all three layers perfectly smooth and wrinkle-free before a single quilting stitch goes in.
Take your time with this part. Any little wrinkle or pucker you leave now will be permanently stitched into your quilt later. I always find a large, flat surface—my living room floor is perfect—and use painter's tape to pull the backing fabric taut, but not so tight that it stretches. After that, I carefully smooth the batting over it, and finally the quilt top, always working from the center out to push any ripples away.
Creating the Perfect Quilt Sandwich
Getting these layers to stick together is critical for a smooth finish. While plenty of quilters use safety pins, I've become a huge fan of temporary basting spray. I find it gives a much more even hold across the entire surface of the quilt, which really cuts down on the fabric shifting and puckering while I’m quilting.
Once your sandwich is basted and secure, you're ready to start the actual quilting. This is where you add the stitches that hold everything together and, more importantly, add incredible texture and dimension to your design. When you’re working with panels for quilting, the trick is to pick a quilting design that enhances the printed image instead of competing with it.
Choosing Quilting Designs That Complement Your Panel
The great thing about a panel quilt is that the main artwork is already there for you. Your job as the quilter is to make it pop. This doesn't mean you need to cover every inch with dense stitching. Instead, think about how your quilting can add depth and guide the eye to the most important parts of the scene.
Here are a few of my go-to quilting approaches for panels:
- Stitch in the Ditch: This is a fantastic technique if you're just starting out. You simply stitch right along the seam lines where your panel meets its borders. It’s a clean, subtle way to secure the layers and define the main panel without distracting from the art.
- Echo Quilting: This involves quilting lines that "echo" or outline the main shapes within the panel. For instance, if you have a big floral motif, you can quilt a line about a quarter-inch from the flower's edge, then another line a quarter-inch from that one. It creates a beautiful, rippling effect.
- Free-Motion Quilting: Here's where you can really let your creativity shine. Try a simple meander or stipple stitch in the background areas, like an open sky or a grassy field. The contrast in texture makes the main, un-quilted elements—like a character or a building—stand out dramatically.
One of my favorite tricks for a landscape panel is to quilt gentle, wavy horizontal lines in the sky and more organic, meandering lines in the grassy areas. This simple texture difference adds a surprising amount of realism and movement to the scene.
The Final Flourish: Binding Your Quilt
After all the quilting is done, you'll trim the extra batting and backing so they're perfectly even with your quilt top. The very last step is adding the binding—that neat fabric frame that encloses all the raw edges. A well-made binding is truly the signature of a high-quality quilt.
Learning to create a clean, durable binding is a skill every quilter should have in their back pocket. I always make a double-fold binding (sometimes called a French-fold binding). I cut 2.5-inch strips of fabric, sew them together end-to-end, and press them in half lengthwise. This process creates a sturdy, two-layer edge that can stand up to years of cuddles and washes.
For the neatest finish, attach the binding by sewing it to the front of the quilt with your machine, then fold it over to the back and hand-stitch it down. Those nearly invisible hand stitches are a beautiful, traditional touch that shows real care and craftsmanship. Taking the time to master these finishing steps will elevate your panels for quilting from fun projects to cherished heirlooms.
Got Questions About Quilting Panels? Let's Talk.
Once you start playing around with quilting panels, you'll inevitably run into a few head-scratchers. It happens to all of us! Navigating these little quirks is just part of the creative journey, and having a few answers ready can keep your project humming along.
I get asked about panels all the time, so I've put together some solutions to the most common questions that pop up.
Do I Really Need to Pre-Wash This Panel?
Ah, the great pre-washing debate! When it comes to panels for quilting, I'm a firm believer in giving them a quick wash first. Panels often have big, bold areas of color—think deep blues, rich reds, and inky blacks—and these are the exact colors that are most likely to bleed. The last thing you want is for that gorgeous design to run all over the beautiful border fabrics you picked out.
There's also the matter of shrinkage. Good quality cotton can shrink a bit, and it's so much better to get that out of the way before you start sewing. Letting the panel and your coordinating fabrics shrink at the same time, before they're pieced together, prevents a puckered, wavy quilt down the road.
Think of pre-washing as project insurance. It's a small bit of effort upfront that protects all your hard work, making sure your quilt looks just as amazing after its first trip through the laundry as it did the moment you finished it.
Help! My Panel Isn't Square.
First off, don't panic. This is completely normal and happens all the time. As fabric is printed and rolled onto the bolt, it can easily get pulled a little askew, meaning the printed image doesn't line up perfectly with the fabric's grain. Those printed lines on the panel's edge? They're almost never a reliable guide for cutting.
The trick is to square up the panel based on the design itself, not the raw edges of the fabric.
- Find Your Anchor: Look for a strong, straight line within the main image. It could be a horizon, the edge of a building, or even a tree trunk. This is your new "true north."
- Align Your Ruler: Lay your quilting ruler down so that one of its lines matches up perfectly with that anchor line in the design.
- Make the First Cut: Using your rotary cutter, trim along the ruler's edge. You now have your first truly straight side.
- Rotate and Repeat: Turn the panel 90 degrees. Line your ruler up with that fresh new edge to square up the next side, and then repeat for the last two.
Following the design ensures your borders will lie flat and your finished quilt will hang straight, without any of those frustrating waves.
How Do I Choose the Right Batting?
The perfect batting really comes down to one thing: what is this quilt going to be used for? Batting is what gives a quilt its warmth, drape, and texture, so you want to match it to the project's purpose.
Here’s a quick rundown of my go-to choices:
- For a Wall Hanging: You’ll want something that hangs nice and flat without adding a lot of bulk. A low-loft batting made from 100% cotton or a versatile 80/20 cotton/poly blend is perfect. They give you stability without puffiness.
- For a Bed Quilt or Lap Quilt: Comfort is key here. For a cozy, warm quilt, a higher-loft batting is the way to go. Polyester gives you lots of puff and warmth, while wool batting is wonderfully warm and has a beautiful, soft drape.
- For a Baby Quilt: I always lean towards lightweight and breathable options like a cotton or bamboo blend batting. These natural fibers are soft, gentle, and comfortable for little ones.
What's the Easiest Way to Quilt a Big Panel Design?
When you have a gorgeous, sprawling image, you want your quilting stitches to complement it, not compete with it. One of the simplest yet most effective ways to make that central design pop is echo quilting.
It’s easier than it sounds. Using your walking foot, just stitch a line about 1/4 to 1/2 inch away from the main subject of your panel, following its outline. Then, stitch another line parallel to that first one. Keep going, creating a ripple effect that radiates outward from the main image. This technique draws the eye right where you want it to go and adds fantastic texture to the background, all without needing any fancy free-motion quilting skills.
Ready to start your next quilting adventure? At Famcut.com, we're passionate about helping you bring your creative visions to life. Explore our selection of high-quality fabrics, sign up for a local class in the Atlanta area, and find all the supplies you need.
Discover your inspiration at https://famcut.com