


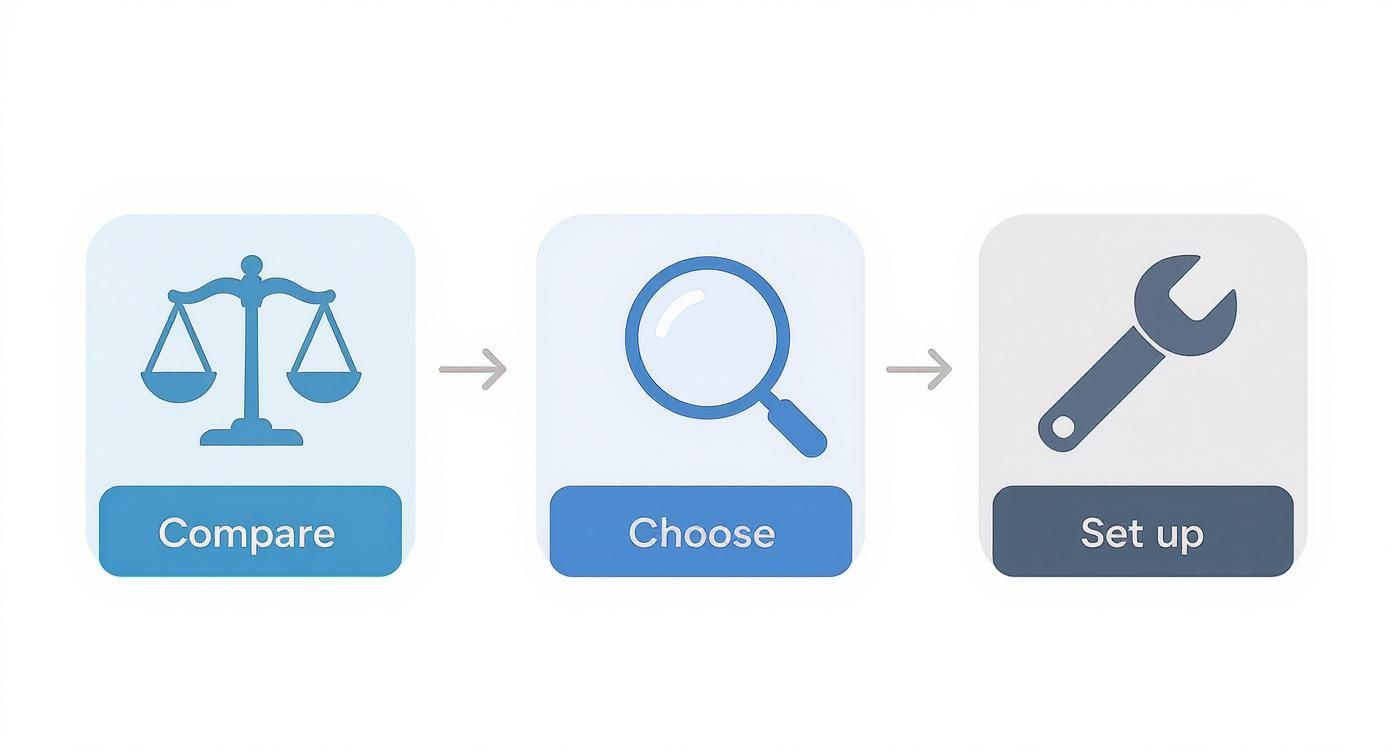
How to Use a Dress Form Like a Pro
Think of a dress form not just as a tool, but as your silent sewing partner. It’s the key to getting that perfect fit without having to constantly try things on yourself. But before you can get to the fun part, you have to pick the right partner and get it set up properly. This first step is crucial—it's what separates a wobbly, frustrating experience from a smooth, professional one.
Finding Your Perfect Sewing Partner
The right dress form can make or break your sewing projects. The choice you make will be with you for years, so it's worth taking a moment to understand what's out there. This isn't just a niche hobbyist tool; the global market for dress forms is valued somewhere between USD 356 million and USD 420 million. That's a lot of sewing! This demand shows just how vital they are, from home sewing rooms to high-fashion studios. You can even learn more about the dress form industry's growth to see how these tools are evolving.
This massive market means you have options, which is great, but it can also be a little overwhelming. Let's break down the main types so you can invest wisely.
Which Dress Form Is Right for You?
Choosing a dress form really comes down to what you sew and for whom. If you're making clothes for yourself and your measurements fluctuate, an adjustable form is a lifesaver. On the other hand, if you're a designer who drapes a lot of heavy fabric or works to industry-standard sizes, a sturdy professional form is a non-negotiable part of your toolkit.
This table gives you a quick-and-dirty comparison to help you narrow down your search.
| Form Type | Best For | Key Feature | Price Range |
|---|---|---|---|
| Fixed Form | Standard sizing, draping | Durable, pinnable surface | $150 - $400 |
| Adjustable Form | Multiple sizes, personal fitting | Dials for bust, waist, hips | $100 - $300 |
| Professional Form | Industry use, heavy draping | Collapsible shoulders, heavy base | $500 - $1,500+ |
Ultimately, the best form is the one that aligns with your specific projects and budget. Don't feel pressured to buy the most expensive model if a simpler one will do the job perfectly for what you need.
Your Initial Dress Form Setup
So, you've brought your new sewing buddy home. Now what? Getting it assembled correctly is the single most important thing you can do for accurate fitting. Most forms arrive with a central pole and a base, usually with three or four legs. Take your time and tighten every single screw. A wobbly form is a useless form.
Pro Tip: I've seen countless adjustable forms get a bit top-heavy, especially when you're working with a heavy coat or gown. An easy fix is to place a few small sandbags or other weights over the legs of the base. Stability is everything.
Once it's built, play with the height adjustment. Can you move it up and down easily? You'll want to position it so you can work on hems and bodices without straining your back.
Finally, give it a good ol' shove test. Seriously, just give it a gentle push. If it rocks or sways, double-check all your connections before you even think about putting fabric on it. A few minutes spent on a stability check now will save you hours of frustration down the road.
Creating a Body Double with Padding and Adjustments
An off-the-shelf dress form is a fantastic starting point, but the real game-changer is turning it into your personal body double. This is hands-down the most crucial step for getting a truly custom fit, and it’s where you’ll translate your unique shape onto the form using its built-in dials and some clever padding.
First things first, you need a detailed set of your own measurements. Don't just stop at the big three: bust, waist, and hips. To really nail the fit, you'll need vertical measurements too, like your back waist length, shoulder width, and the height of your bust apex. Be meticulous here—write everything down. These numbers are the blueprint for your twin.
Translating Measurements to Your Form
With your measurements in hand, it's time to start adjusting the dials on your form. I always recommend starting with the largest circumferences, which are usually the bust and hips, before dialing in the waist. As you turn the dials, don't just trust the numbers printed on them; wrap a measuring tape around the form to verify the circumference. You'll be surprised how often they're slightly off.
But remember, those dials only change the circumference, not the shape. That's where padding comes in to replicate the actual curves and unique asymmetries we all have.
This whole initial phase—comparing your body to the form, choosing the right settings, and getting it all set up—is absolutely foundational.
As you can see, getting your form ready isn't just a one-and-done task. It’s a process of constant comparison and fine-tuning to build an accurate foundation for all your future projects.
The Art of Strategic Padding
Let’s be real: nobody is perfectly symmetrical. Standard dress forms certainly aren't built to account for a full bust, a rounded upper back, or the fact that one of your shoulders might sit a little lower than the other. Padding is how we bridge that gap between the generic form and your real body.
You've got a few options for padding materials, and I've used them all:
- Polyester Batting: This is my go-to for building up larger areas like the tummy or hips. It’s cheap, easy to find, and you can layer it to get the exact volume you need.
- Shoulder Pads: Don't just think of them for shoulders! They are perfect for adding defined shape to the bust, filling out hips, or even adding a bit of curve to the backside.
- Pre-made Padding Kits: If you want a more streamlined approach, these kits are great. They come with contoured foam pads specifically shaped for common adjustment areas, giving you a really smooth, professional finish.
Once you have your padding in place, you need to lock it down. I find a snug-fitting cover or even an old leotard or t-shirt works wonders. This compresses everything, smooths out any lumps, and gives you a firm, pinnable surface that acts more like real flesh.
Getting this precision right is absolutely vital, especially if you're making dresses and skirts—a market segment that generated around USD 106.6 billion worldwide. For anyone serious about pattern making in that massive category, an accurate form isn't a luxury; it's a necessity. You can discover more insights about the global apparel market on Statista.com.
The goal is to pad a form that is slightly smaller than you, building it up to match your shape. You can always add more padding, but you can never make a form smaller. This is the single most important rule when creating your body double.
As you add padding, keep your tape measure handy and check the measurements constantly. A great trick is to try on a garment that you know fits you perfectly. See how it hangs on the form. Does it pull anywhere? Is it sagging? This process requires patience, but an accurate body double is what takes your sewing from just "good" to truly bespoke.
Bringing Your Designs to Life with Draping
Alright, you’ve padded and tweaked your dress form until it’s a perfect stand-in for you or your client. Now for the fun part: draping. This is where we stop thinking in flat patterns and start sculpting with fabric. Draping is the magic of manipulating material right on the form, letting you see exactly how a garment will hang and move in 3D before a single piece of your final fabric is cut. It’s a beautifully fluid process that really closes the gap between a sketch and the real thing.
But hold on. Before you even think about picking up that fabric, you need a roadmap. Grab some narrow twill tape or a good fabric marker, because marking your form with essential guidelines is a non-negotiable first step. It’s what keeps your draped patterns balanced and accurate.
Marking Your Design Blueprint
Think of these lines as the foundational anatomy of your garment. They act as reference points, ensuring everything stays symmetrical and structured as you work. Without them, it's easy to get lost.
Here are the crucial lines you'll want to mark:
- Center Front (CF) and Center Back (CB): These are the dead-center vertical lines running from the neck straight down the form. They are your absolute anchors for keeping the garment from twisting.
- Bust and Apex: Mark a horizontal line across the fullest part of the bust. You’ll also want to place a small "X" or dot right on the very tip of each bust point—we call this the apex.
- Princess Lines: These are the beautiful vertical seams that curve from the shoulder or armhole, over the bust apex, and down to the waist. They’re absolutely vital for creating shape in close-fitting garments.
- Waistline, Hip Line, and Side Seams: Mark the natural waist and the fullest part of the hips. Lastly, find and mark the true side seams, which should drop vertically straight down from the underarm.
Essentially, you're creating a grid on your dress form. This grid is your safety net, preventing you from getting lost in a sea of fabric and allowing you to place darts, seams, and style lines with professional precision.
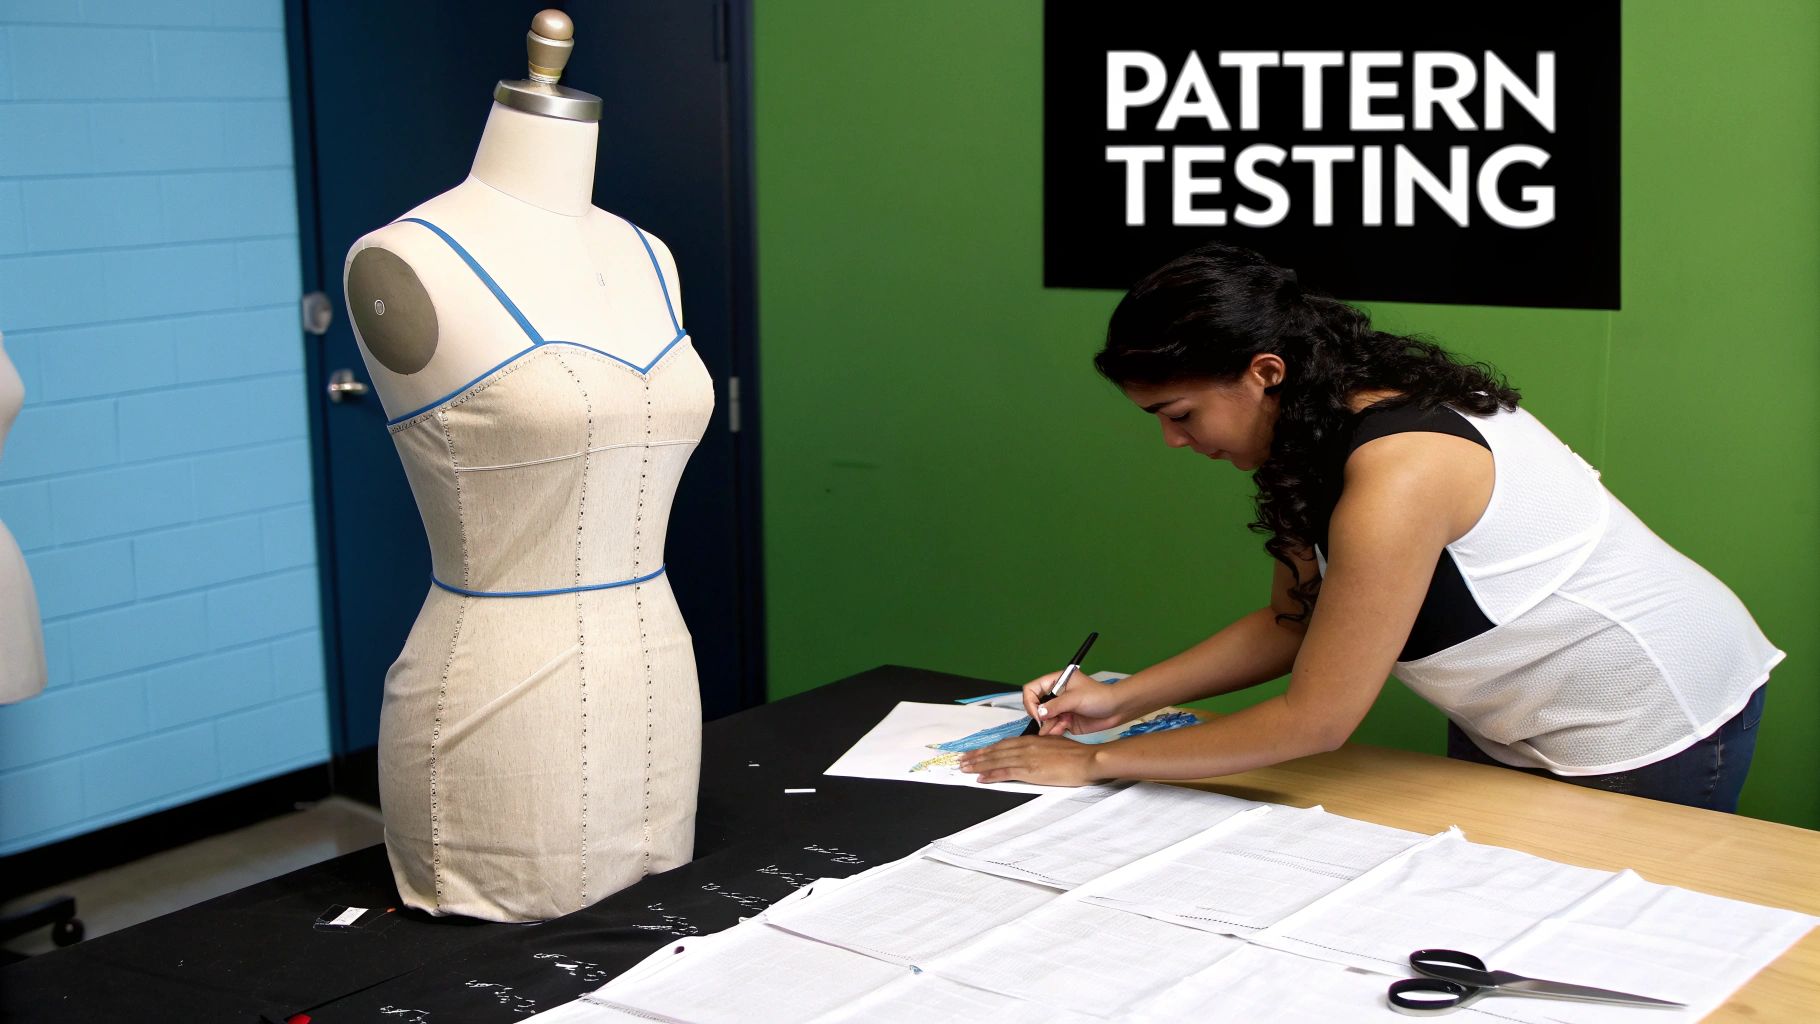
Once your roadmap is in place, you’re ready to drape. If you’re just starting out, a simple bodice is the perfect first project. I always recommend using inexpensive muslin; it behaves a lot like more expensive fabrics but without the heart-stopping fear of making a costly mistake.
This vintage dress form shows how important these lines are—they're practically built into the design.
The clearly defined seams on an adjustable model like this one serve the exact same purpose as the twill tape lines you'll add. They're your visual guide for where pattern pieces begin and end.
Draping a Basic Bodice
First, cut a generous piece of muslin, making sure it’s bigger than the area you plan to cover. The golden rule here is to respect the fabric's grain. Align the lengthwise grain of your muslin perfectly with the center front line you marked and pin it securely in place.
From that starting point, gently smooth the fabric across the bust and toward the side seam. You’ll notice that as the fabric hits curves, it will naturally want to ripple or fold. Don’t fight it! Those little folds are telling you exactly where your darts need to go. Use your pins to carefully shape them into neat, precise darts that point toward the bust apex.
Be careful not to pull the fabric too tight. That’s a classic beginner mistake and it will distort your entire pattern. Let the muslin do the work and show you where it wants to go. Pin along your marked side seams, waistline, and shoulder lines. Once you’ve done the front, just repeat the whole process for the back.
Just like that, you’ve created a three-dimensional pattern right on your form. This hands-on method is truly the best way to understand how to use a dress form to its full potential, turning it from a static mannequin into a dynamic and indispensable design tool.
Taking Your Patterns and Alterations to the Next Level
Once you've finished draping your design, the dress form switches hats. It goes from being a creative partner to a crucial technical instrument. This is where it really shines, helping you turn that three-dimensional muslin masterpiece into a flawless two-dimensional paper pattern. It's also your best friend for troubleshooting commercial patterns and altering existing clothes, saving you countless hours of frustrating try-on sessions.
Having an accurate body double is a game-changer at this stage. You'll carefully unpin your muslin from the form, meticulously mark all your seams and darts, and then lay it flat on paper to trace out the final pattern pieces.
Testing and Refining Commercial Patterns
Never again cut into your precious fashion fabric without a test run. A dress form lets you audition any commercial pattern first, and honestly, it’s one of the biggest time-savers in sewing. You can pin the paper pattern pieces directly onto your form for a quick visual check, or better yet, whip up a quick muslin to test the actual construction and see how the proportions really work.
With the garment on the form, you’ll immediately see fit issues that are hard to spot on a flat table:
- Gaping Necklines or Armholes: You can see exactly where the fabric pulls away from the body. Just pin out the excess fabric to create a new, perfectly contoured seam line.
- Tightness Across the Bust or Shoulders: Strain lines in the fabric become obvious, showing you precisely where you need to add a little more ease.
- Incorrect Dart Placement: Are the darts hitting the right spot? You can check if they align with your form's apex and adjust their position for a smooth, flattering fit.
This proactive approach is especially critical for womenswear, where fit makes or breaks a garment. It’s no surprise that women’s mannequins account for roughly 57% of the market's sales revenue. This just underscores the constant need for precise fitting tools in our industry. You can read the full research on mannequin market trends on grandviewresearch.com for more on that.
Nailing Garment Alterations
A dress form is a powerhouse for alterations. When that new jacket doesn't sit quite right on the shoulders or a thrift-store find needs a total resize, putting it on your padded form instantly highlights the problem areas. No more twisting and turning in front of a mirror trying to see your own back.
The dress form gives you an objective, 360-degree view of a garment's fit. It doesn't slouch or fidget, so you can mark precise, even alterations with total confidence.
Let's say you need to shorten a skirt. Just pop it on the form and use a hem marker to get a perfectly level line all the way around—a task that's nearly impossible to do accurately on yourself. If a shirt feels too boxy, you can pin in new side seams or add darts right on the form, watching the silhouette transform in real-time.
This turns alterations from frustrating guesswork into a repeatable, accurate science. Every pin you place and every line you draw is a confident step toward a perfect fit, which is the heart of learning how to use a dress form well.
Advanced Techniques for Custom Projects
Once you're comfortable with the basics, your dress form can really become your secret weapon for tackling ambitious and unique projects. When you move past everyday garment-making into the world of historical costuming, detailed cosplay, or even just professional-level finishing, a few advanced tricks can make all the difference.
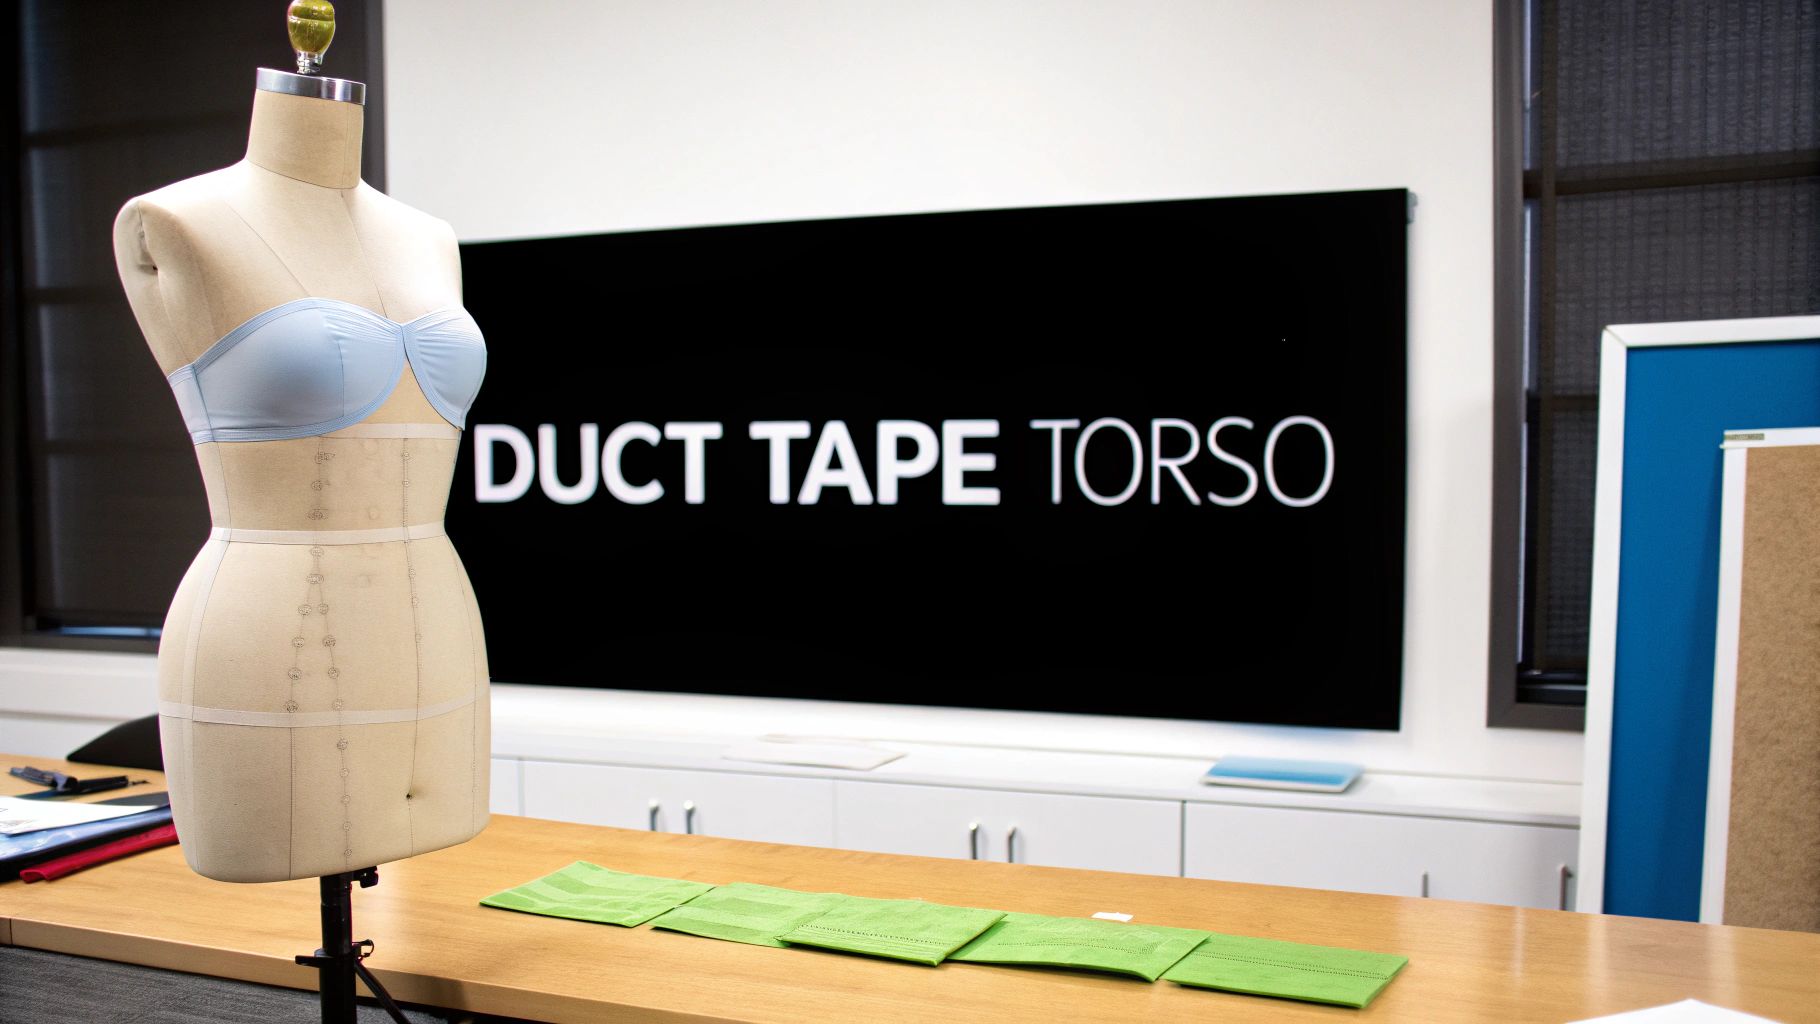
One of the most popular and effective methods for creating a perfect body double is the duct tape form. It’s a classic for a reason! You simply wear an old t-shirt while a friend carefully wraps your torso in a few layers of duct tape. Once it's firm, they'll cut you out of it, and you can stuff the shell to create a custom, pinnable replica of your unique shape. It's an incredibly affordable way to get a hyper-realistic fit.
Specialized Padding for Costumes and Cosplay
For many in our local Atlanta community, especially the incredible cosplayers we see at events supported by Famcut.com, a standard dress form is just the starting point. When you’re building armor or structured historical garments, standard padding just won't cut it. You need to create a whole new silhouette.
This is where you get to be more of a sculptor:
- Building a Corseted Shape: If you're working on a historical piece, you can mimic the rigid shape of a corset by adding firm upholstery foam or even carved styrofoam blocks to the form. This creates that dramatic hourglass figure before you even start draping your fabric.
- Creating Armor Foundations: For cosplay projects, you can build up areas with craft foam to create the base for chest plates, pauldrons, or other armored pieces. This lets you pattern directly onto your new shape, ensuring every piece fits together perfectly.
Think of it this way: these techniques turn your dress form from a fitting tool into a sculptor's armature. You're building the character's body, not just fitting clothes onto your own.
Upgrading Your Dress Form
You don't always have to shell out for a brand-new professional form to get high-end features. A few clever DIY modifications can dramatically improve your existing setup. Adding a set of detachable arms, for instance, is a huge help for understanding how sleeves will truly hang and move.
If you often work with very fitted garments, creating collapsible shoulders is a total game-changer. This involves carefully altering the shoulder area so it can be compressed, which makes wiggling finished pieces on and off so much easier—no more stretched-out necklines!
And remember, your form’s job isn’t over when the sewing is done. It doubles as the perfect model for photographing your finished pieces for a portfolio or online shop. A garment displayed on a well-padded form looks infinitely more professional and shows off the drape and fit in a way a flat photo never could.
Now, let's tackle some of the most common fitting headaches. Seeing a problem on the dress form is the first step, but knowing how to correct it is what really elevates your sewing.
Solving Common Fitting Problems with a Dress Form
The table below breaks down some frequent issues you might spot on your form and gives you a clear path to fixing them.
| Fitting Issue | What You'll See on the Form | How to Fix It |
|---|---|---|
| Gaping Neckline | The neckline pulls away from the "body" at the front or back. | Add darts at the neckline or a center seam to remove excess fabric. For knit fabrics, you can often stabilize the edge with clear elastic. |
| Shoulder Wrinkles | Diagonal wrinkles point from the shoulder towards the bust or back. | The shoulder slope on the pattern is likely too steep or too shallow for the body. Adjust the angle of the pattern's shoulder seam. |
| Bust Drag Lines | Fabric pulls in horizontal lines under the bust or radiates from the bust apex. | This usually means you need more room. A Full Bust Adjustment (FBA) is the classic solution, adding width and length just for the bust area. |
| Swayback Wrinkles | A pouch of excess fabric pools horizontally at the small of the back. | The garment is too long in the back torso. Pinch out the excess fabric horizontally on the form to see how much to remove from your pattern piece (a "swayback adjustment"). |
| Tight Hips | The fabric pulls tightly across the hips, often with vertical strain lines. | You need more room here. Add width to the side seams of your pattern, starting from the waist and blending down over the hip curve. |
Using your dress form to diagnose these problems before you even touch your final fabric is one of the biggest time-savers in sewing. It lets you perfect the pattern first, so your final garment comes out beautifully.
Common Dress Form Questions Answered
Even after you've got your dress form set up, a few questions always seem to pop up. It's totally normal. Diving into the world of draping and fitting can feel like a lot at first, but a few quick answers can clear up those common roadblocks I see sewers face all the time.
And it’s no wonder these questions are common—these tools are more popular than ever. The global mannequin market, which includes our beloved dress forms, was valued at a whopping USD 5.17 billion and is projected to more than double by 2030. That's a lot of new sewists joining the club! You can read more about the mannequin market's growth at Grand View Research if you're curious.
With so many people getting started, let's tackle the questions I hear most often.
Getting the Right Fit and Form
The biggest dilemma I see is whether to buy a form that’s a little too big or a bit too small. My advice is always the same, and it's non-negotiable: always, always start with a form that is slightly smaller than your own measurements.
Think of it like this: you can easily add padding to build up specific areas and perfectly mimic your unique shape—whether that's a fuller bust, a sway back, or rounded hips. But you can't subtract from a form that's too large. Padding up is the secret to creating a true body double that makes custom fitting a dream.
Another classic question is whether to go with an adjustable form or a professional, fixed-size one. Here’s how I break it down for my students:
- Adjustable forms are brilliant if you're sewing for different people or if your own body measurements tend to change over time. They offer great flexibility.
- Professional forms are a serious investment, but they're worth every penny if you primarily sew for one person or a standard industry size. Their durability and firm pinning surface are unmatched for serious work.
Practical Usage and Care Questions
"Can I actually use my dress form to make pants?" I get this one all the time. The answer is yes, absolutely—with a small catch. A standard form is fantastic for nailing the fit around the waist, hips, and that tricky crotch curve.
For fitting the entire leg, you'd technically need a bifurcated (legged) form. But for checking how a waistband sits or ensuring a smooth fit over the hips and seat, your regular dress form is more than up to the task.
Finally, let's talk about protecting your investment. Storing your form correctly is key. I just toss a simple muslin or cotton cover over mine to keep it safe from dust and sunlight, which can cause the fabric to fade over time. Always keep it in a dry room, away from a sunny window.
Here's a pro-tip I always share: try to avoid taking your form apart too often. Even if it's designed for disassembly, repeatedly breaking it down and reassembling it can cause extra wear on the dials and joints. It's best to find a permanent home for it.
Keeping these little things in mind will help you sidestep those common frustrations and truly get the most out of your new sewing partner.
Ready to put that knowledge into practice with some hands-on guidance? Famcut.com offers a whole range of sewing classes right here in the Atlanta, Georgia area, for beginners and seasoned pros alike. Come join our community and take your skills to the next level—check out our class schedule at https://famcut.com.