


How to Square Up Quilt Blocks Perfectly Every Time
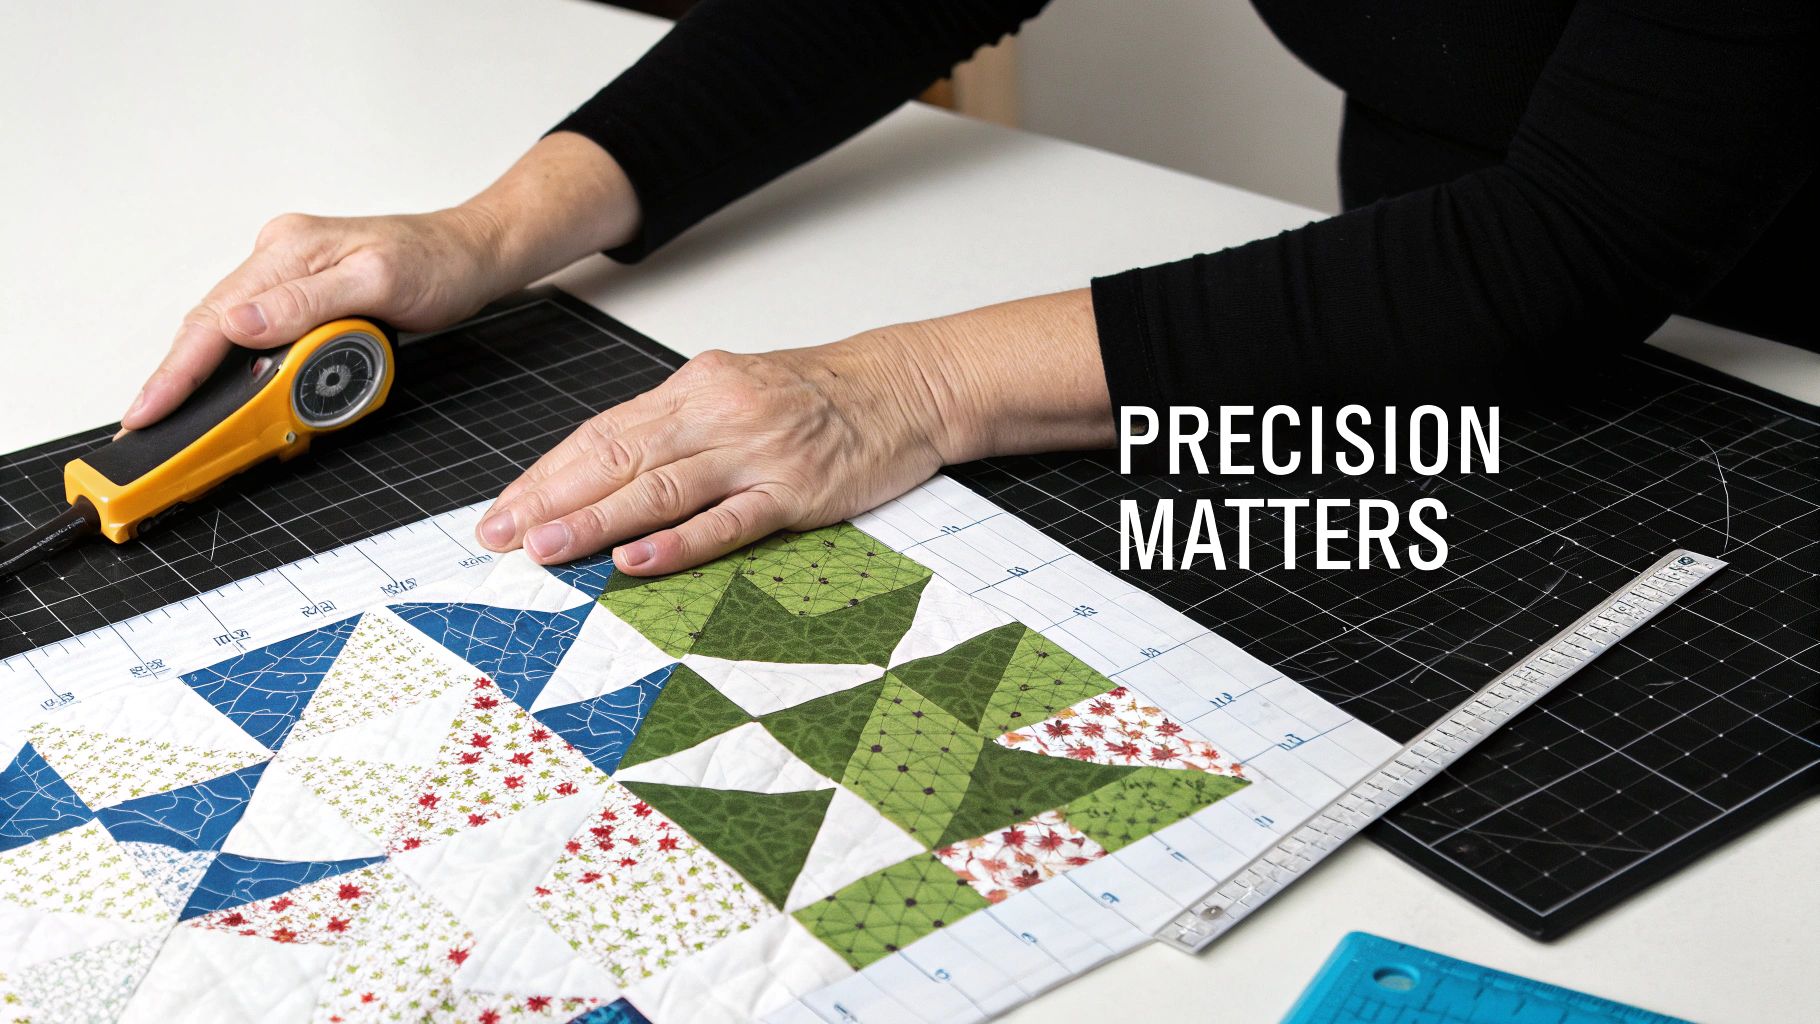
Squaring up quilt blocks is that final, essential tweak where you trim each pieced block down to its precise, intended size. After pressing, you'll lay a square ruler over the block on your cutting mat and carefully trim the excess fabric from all four sides. It’s the step that guarantees every block is a perfect, identical square, making the final quilt assembly a dream.
Why Squaring Up Your Quilt Blocks Is So Important
Let's be honest—the secret to a quilt that looks truly handcrafted, not just homemade, is precision. Squaring up your quilt blocks isn't some fussy, optional step; it's the bedrock for achieving those sharp points, perfectly matched seams, and a quilt top that lays beautifully flat. Think of it as the difference between a frustrating puzzle with pieces that just won't fit and a seamless, professional finish.
Picture this: you've just finished piecing a complex star block. Even a tiny 1/8-inch error can throw off the entire design, leading to skewed points and a lopsided final block. This is exactly where the magic of squaring up saves the day.
Taking the time to square up properly gives you some major advantages:
- Perfectly Matched Seams: When every block is the exact same size, your rows and columns align effortlessly, without any stretching or fudging.
- Sharp, Crisp Points: Squaring ensures your diagonal seams hit the corners right where they should, which is the key to avoiding those dreaded blunted points.
- A Flat, Smooth Quilt Top: Uniform blocks eliminate the waves and puckers that pop up when you try to force mismatched pieces together.
- A Truly Professional Finish: It’s the one step that really elevates your work, making your finished quilt look polished and expertly constructed.
It's amazing how quickly small inaccuracies can compound. In a quilt made of 60 blocks, a tiny deviation of just 1/8 inch per block could throw your final quilt top off by a whopping 7.5 inches, causing major headaches when it comes to matching seams. For more on quilting trends, check out the latest survey results. Trust me, mastering this skill is non-negotiable if you want to take your quilting from good to great.
Choosing the Right Tools for Precision Trimming
Before you make a single cut, let's talk about setting yourself up for success. Getting your tools right can be the difference between a frustrating chore and a process that feels smooth and satisfying. This isn't about buying the most expensive gear, but having the most effective setup. Having the right tools on hand is truly the first step in learning how to square up quilt blocks with confidence.
Your rotary cutter, cutting mat, and a good square ruler are the essential trio for this job. First things first: a sharp, fresh blade in your rotary cutter is non-negotiable. I can't stress this enough. A dull blade will drag and stretch your fabric, leading to wonky cuts and frayed edges you'll have to fight with later.
Your Essential Trimming Toolkit
A self-healing cutting mat is another cornerstone of precision work. It does more than just protect your table; it actually helps preserve the life of your rotary blade. The grid lines printed on the mat are handy for a quick eyeball measurement, but don't rely on them for the final, perfect cut—that's what your ruler is for.
The real game-changer here is your ruler. While a standard rectangular quilting ruler can work in a pinch, a dedicated square-up ruler is an absolute lifesaver, especially for blocks with diagonal seams like half-square triangles or flying geese.
A dedicated square ruler with a clear 45-degree diagonal line is your best friend. It allows you to align it perfectly with your block’s seam, ensuring everything is centered and balanced before you trim. This is how you preserve your points and create a truly symmetrical square.
Think of it this way: the right tool makes the job so much easier. When you need to fussy cut a specific little motif in a block, a clear square ruler lets you see exactly what you’re framing, taking all the guesswork out of it.
To help you put together your toolkit, here’s a quick look at the essentials and what really matters when you're choosing them.
Essential Tools for Squaring Up Quilt Blocks
Here's a breakdown of the primary tools you'll need for precise block trimming, what they do, and the key features that make a real difference in your work.
| Tool | Primary Purpose | Key Feature to Look For |
|---|---|---|
| Square Ruler | Accurately trimming blocks to a specific size. | A clear 45-degree diagonal line for aligning seams, plus markings for common block sizes (e.g., 6.5", 9.5"). |
| Rotary Cutter | Making clean, straight cuts through fabric layers. | A sharp, fresh blade is essential. An ergonomic handle can also reduce hand fatigue during long sessions. |
| Cutting Mat | Providing a safe, gridded surface for cutting. | A "self-healing" surface that won’t dull your blade quickly and has clear, easy-to-read grid lines. |
Ultimately, investing in these three quality tools will pay off in every quilt you make, saving you time and giving you the kind of accuracy that makes final assembly a joy.
The Trim, Turn, Trim Method for Perfect Squares
Alright, let's get down to the nitty-gritty of squaring up a block. This is where the magic happens, and a little rhythm goes a long way. Before you even think about picking up your rotary cutter, though, your first stop is the ironing board.
Give your block a good press, but resist the urge to scrub back and forth with the iron. That’s a surefire way to stretch the fabric, especially on the bias, and distort all your hard work. Instead, just press down gently. That’s all it takes to get it flat and ready.
With your block pressed, lay it out on your cutting mat. The key to a truly square block is all in how you line up your ruler. This one moment sets the stage for the final size and shape.
This visual guide breaks down the essential tools for precision trimming, from the rotary cutter to the square ruler.
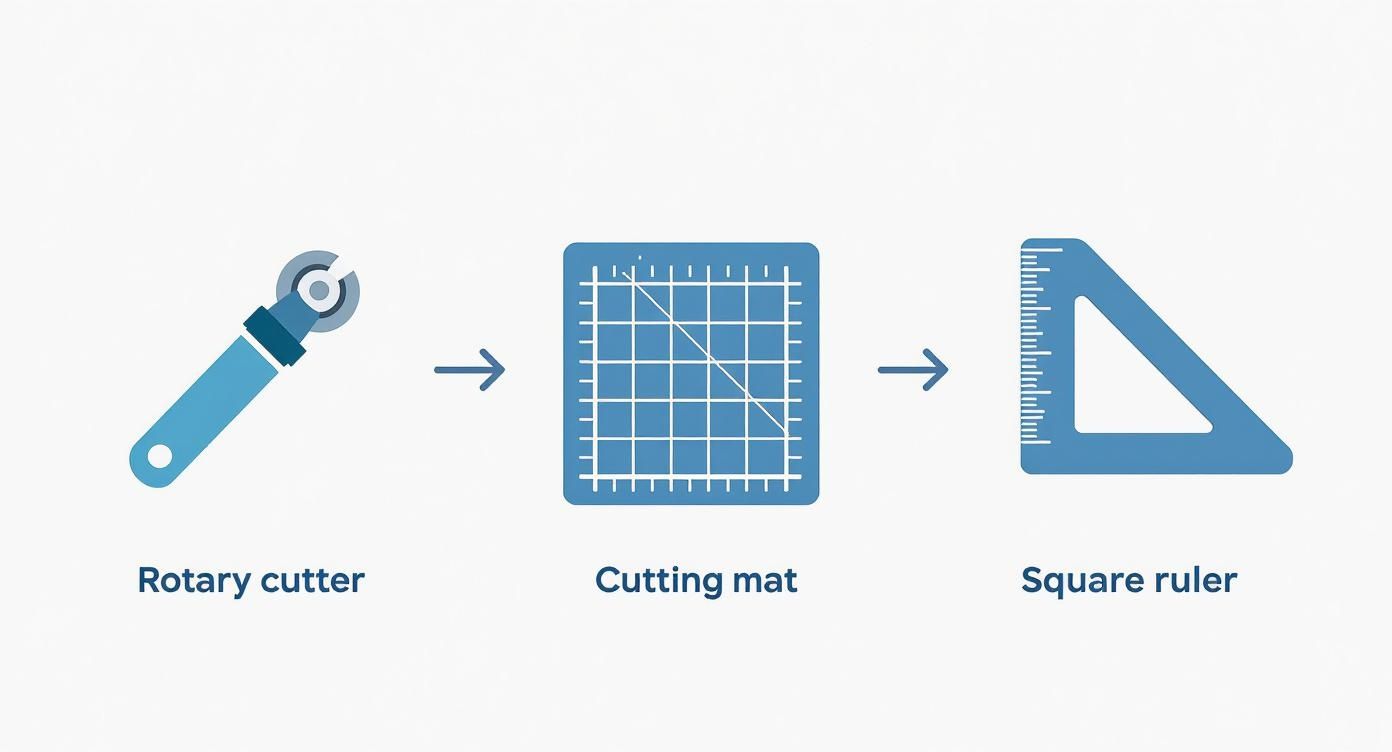
Remember, your cutter, mat, and ruler are a team—each one plays an equally important part in getting that clean, accurate cut.
Aligning Your Ruler for the First Cut
The most important alignment, and the one we all deal with constantly, is for blocks with a diagonal seam, like a half-square triangle (HST).
Lay your square ruler on top of the block. Your goal is to line up the ruler’s 45-degree diagonal line perfectly on top of your seam. This simple move is the secret to centering the design, making sure everything looks balanced before you even slice into the fabric.
What if your block doesn't have a diagonal seam? No problem. Just find a key horizontal or vertical seam near the center and line it up with a corresponding line on your ruler. The idea is always the same: center the design so you can trim a little bit from every side.
Once your ruler is in position, hold it down firmly. I like to do the "starfish hand"—spreading my fingers wide to distribute pressure evenly and keep that ruler from budging. Now, make your first two cuts, trimming the excess fabric along the right and top sides of the ruler. You've just created your first perfect 90-degree corner.
Completing the Final Trims
With the first two sides trimmed, it’s time for the "turn." Simply rotate your block 180 degrees right there on the cutting mat. Your two new, clean-cut edges should now be positioned on the left and bottom.
Now for the final trim, where we lock in the size. Let's say you're aiming for a 6.5-inch square. Place your ruler back on the block, but this time, you'll align those freshly trimmed edges with the 6.5-inch lines on your ruler. This is what guarantees your block will be the exact size you need.
Pro Tip: Double-check that both the horizontal and vertical 6.5-inch lines on your ruler are sitting perfectly on your trimmed edges. This quick check is your insurance against accidentally creating a slightly wonky rectangle instead of a true square.
When you’re happy with the alignment, make your final two cuts along the right and top edges. And that's it! You've just completed the "trim, turn, trim" dance.
This repeatable technique is how you build a whole stack of identical, perfectly squared blocks that will fit together beautifully when it's time to assemble your quilt top.
How to Fix Common Squaring Up Problems
Let's be honest—even with the best tools and intentions, things can go a little sideways. It’s that sinking feeling when you trim a block, step back, and realize it's too small, has gone wavy, or the design is completely lopsided. Don't worry, we've all been there. These are common hiccups, and thankfully, they are all fixable.
https://www.youtube.com/embed/491gz5dKZKI
If you consistently find your blocks are coming up short, the first suspect is usually an inaccurate seam allowance. Take a moment to double-check that your quarter-inch seam is truly a quarter inch. A great habit to get into is making your pieces a little oversized from the start. This gives you some built-in wiggle room, allowing you to trim down to the perfect size without any stress.
Solving Wavy Edges and Off-Center Designs
Wavy, distorted edges almost always trace back to one thing: how the block was pressed. When you iron aggressively back and forth, you can easily stretch the fabric, especially on the bias. The fix? Gently press your blocks instead of ironing them. Also, pay attention to your rotary cutter pressure—a light but firm touch is all it takes.
An off-center design is another classic issue, but it's easily avoided by being more deliberate with your ruler. Before you make a single cut, find the visual center of your block's design. Use the markings on your ruler to make sure everything is perfectly centered before you trim away the excess fabric.
The goal isn't just to make a square; it's to create a balanced square. This is where your ruler's diagonal lines and center markings become your best friends. Aligning them with your block's seams is the secret to getting that professional, balanced look and is the core of squaring up correctly.
It helps to remember that quilters in the past dealt with much bigger inconsistencies. Before modern rotary cutters and rulers, they used scissors and handmade templates, which naturally led to variations. In fact, quilts made before the 1980s often had block size variances of up to an inch! Today, that variance is typically less than 1/8 inch. You can dig deeper into the evolution of quilting tools and their market impact in recent industry studies.
Think of these little challenges not as failures, but as opportunities to fine-tune your technique.
Tackling Specialty Quilt Blocks
Once you start quilting beyond basic squares, you’ll run into all sorts of fun and challenging shapes. Mastering patterns with unique pieces is all about knowing how to square them up properly. These little tricks are what make those intricate designs really come together.

So many complex blocks, from stars to flying geese, are actually built around the simple half-square triangle (HST). There’s one golden rule for squaring up HSTs: always use the 45-degree diagonal line on your square ruler.
You need to line that diagonal mark up perfectly with your seam before you even think about cutting. This is the secret to making sure your diagonal seam travels exactly from one corner to the other, keeping those points sharp and your block true.
Handling Log Cabins and Star Points
Log cabin blocks bring their own little quirks. The main challenge here is preventing that small center square from getting pushed off-kilter as you add the "logs." To fix this, always use the seams of your center square as your guide. When you lay your ruler down to trim, align its horizontal and vertical lines with those center seams. This locks the heart of your block right in the middle where it belongs.
With blocks that have sharp points, like stars, the biggest fear is slicing off the tips. We've all done it.
The key is to always leave a ¼-inch seam allowance just beyond the point where your seams intersect. Before you make that final trim, check that the ¼-inch mark on your ruler lines up perfectly with the very tip of your star point. This is how you preserve the point so it joins beautifully with the next piece.
Getting this precise isn't just about looks; it’s also about efficiency. When you get good at squaring your quilt blocks, you’ll find you waste a lot less fabric. In fact, artisans can reduce their fabric waste by an estimated 10–15% on bigger projects just by being precise. You can dig deeper into the economic side of quilting and see how much material efficiency matters.
And for those times you're fussy cutting a specific motif, a clear square ruler is indispensable. It's like a little window, letting you frame that perfect part of the fabric to turn your block into a miniature piece of art. With these techniques in your back pocket, you’ll be ready to tackle any complex pattern with confidence.
Common Questions About Squaring Up Quilt Blocks
Even after years of quilting, I still see these questions pop up, and for good reason! Perfecting your squaring-up technique is a game-changer. Let's tackle some of the most common hangups so you can get back to your project with confidence.
Do I Really Need to Square Up Every Single Block?
I get it, it feels like an extra, tedious step. But trust me on this one: yes, you absolutely do. Squaring up each block individually is the secret ingredient for a beautifully finished quilt.
This is what guarantees your seams will nest perfectly, your points will meet with satisfying precision, and the final quilt top will lay beautifully flat. Skipping this step is a recipe for puckers, waves, and a whole lot of frustration down the road.
Why Is a Square Ruler Better Than a Standard One?
A dedicated square ruler is hands-down the best tool for this job. Its biggest advantage is that 45-degree diagonal line that runs from corner to corner. That line is your best friend when you're working with anything that has a diagonal seam, like a half-square triangle or an hourglass block. It ensures your seam is perfectly centered.
The real magic of a square ruler is how it lets you center your block’s design before you make a single cut. This is what gives your finished quilt that polished, professional look where everything just flows together.
Can I Just Trim Blocks After Sewing Them Into Rows?
I know it's tempting to try and save time this way, but please don't do it! Squaring up is most accurate and effective when you work with one block at a time.
Trying to trim a full row at once almost always leads to trouble. You can easily stretch the fabric, pull the whole row off-grain, or—worst of all—accidentally slice into your precious seam allowances. That can weaken the whole structure of your quilt. Stick to trimming block by block; your future self will thank you.
For all the essential tools you need for your next project, from rotary cutters to specialty rulers, check out the selection at Famcut.com and find everything you need at https://famcut.com.