


How to Sew Rolled Hem (how to sew rolled hem) for a Flawless Finish
Knowing how to sew a rolled hem means you can create a tiny, durable, and clean finish by neatly turning a fabric edge under twice and stitching it down. It’s a technique I turn to constantly for delicate fabrics.
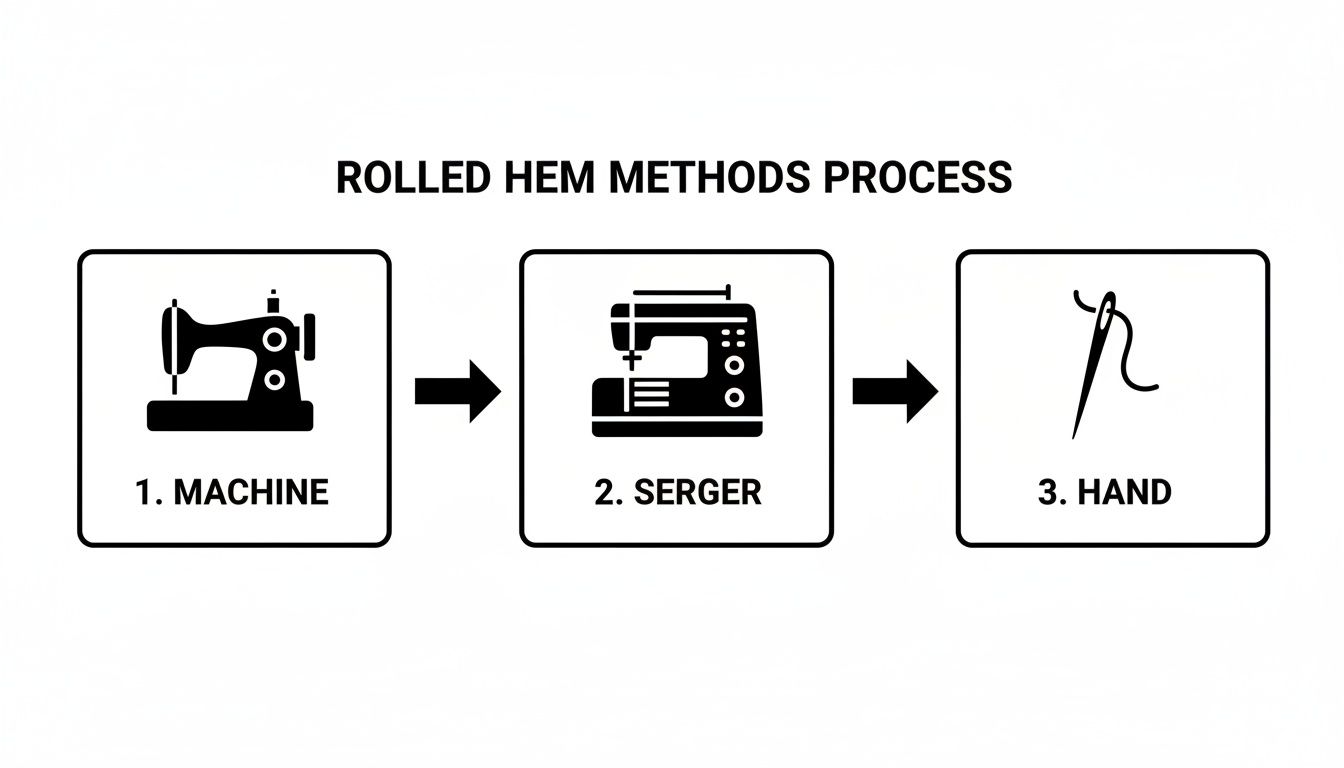
You can tackle this in a few different ways: with a special foot on your sewing machine, a serger for a super-fast finish, or even by hand for that couture-level detail. The best method really just depends on your fabric, your machine, and the look you're going for.
Why a Rolled Hem Is Your Secret Weapon
Ever wonder how a silk scarf or a sheer blouse gets that delicate, almost invisible edge? That's the magic of a rolled hem. It’s my absolute go-to for preventing lightweight fabrics like chiffon, organza, and voile from fraying, and it does it without adding the bulk of a traditional hem.
Learning this one skill can completely elevate your sewing projects, giving them a high-end, polished look that really stands out. It's more than just a technique; it's a mark of quality craftsmanship.
I find it's especially critical for curved edges, like the hem of a circle skirt, where a standard hem would just pucker and refuse to lay flat. A rolled hem, on the other hand, handles those curves beautifully, giving you a smooth, flowing drape every time.
Comparing Rolled Hem Methods
To help you decide which path to take, here’s a quick breakdown of the three main approaches. Each has its own strengths, so choosing the right one is all about matching the method to your specific project.
| Method | Best For | Speed | Difficulty |
|---|---|---|---|
| Machine with Rolled-Hem Foot | Lightweight wovens, straight or gently curved edges | Fast | Moderate |
| Serger Rolled Hem | Knits and wovens, ruffles, napkins, decorative edges | Very Fast | Easy |
| Hand-Rolled Hem | Sheer & delicate fabrics (silk, chiffon), couture garments | Slow | Advanced |
Ultimately, the best technique is the one that gives you the finish you love on the fabric you're using. Don't be afraid to test a few scraps to see which one you prefer!
The Three Main Approaches
There isn't a single "right" way to sew this elegant edge. Let's dig into the three primary methods you can choose from.
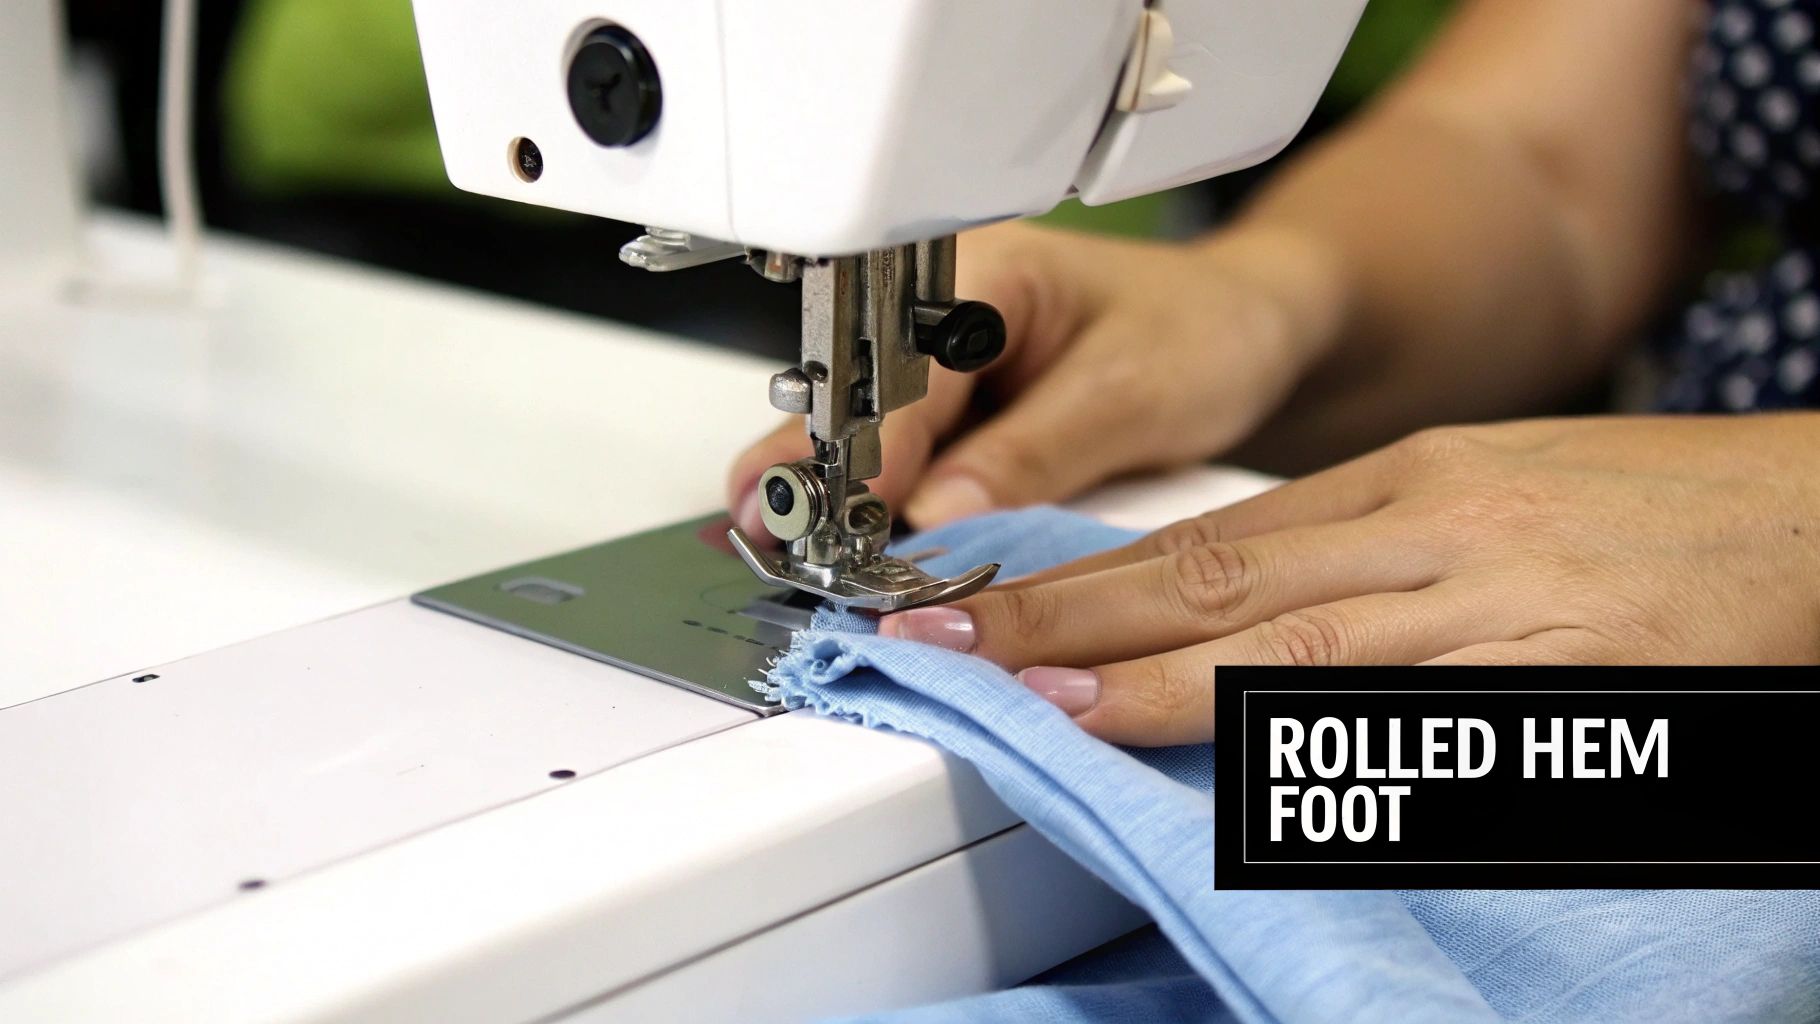
- Sewing Machine with a Rolled Hem Foot: This is probably the most common method for home sewers. The specialized presser foot has a little scroll on the front that automatically folds the fabric edge for you as you stitch. It takes a little practice to get the hang of feeding the fabric in, but the results are fantastic.
- Serger (Overlocker): If you have a serger, you know it's built for speed. A serger creates a rolled hem by tightly wrapping threads around the very edge of the fabric. This is my favorite method for finishing ruffles or cloth napkins because it’s incredibly fast and durable.
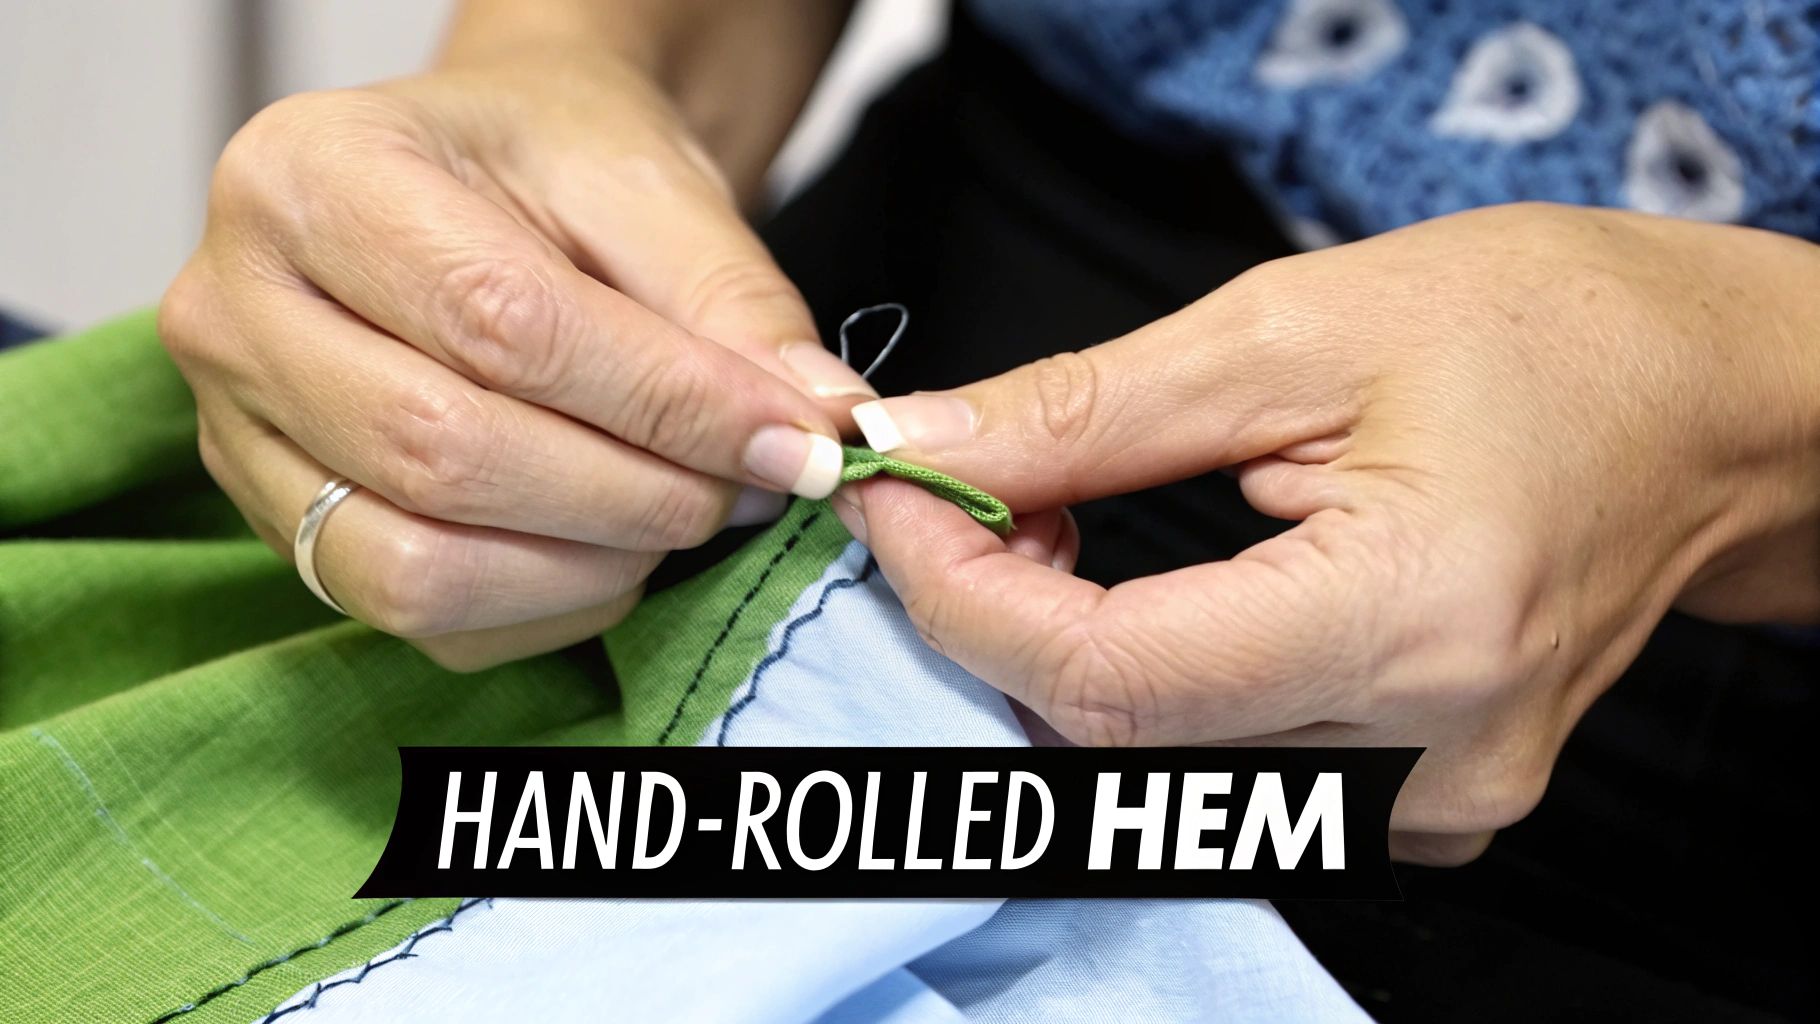
- Hand-Sewn Rolled Hem: For the most delicate and high-end finish, nothing beats sewing by hand. This couture method involves manually rolling the fabric with your fingers and securing it with tiny, almost invisible stitches. It gives you unparalleled control and results in an incredibly soft, supple edge.
A Little Sewing History: The popularity of this hem is tied directly to the evolution of the sewing machine. Those early hemmer attachments were game-changers, reducing finishing time by as much as 90% compared to sewing by hand!
Today, home sewing is a huge part of a market valued at over $3.3 billion, and it's no surprise that tutorials on how to sew a rolled hem get millions of views online. It's a timeless skill, and you can read more about the sewing machine market trends that continue to drive these crafting innovations.
Using a Rolled Hem Foot on Your Sewing Machine
The rolled hem foot is one of those brilliant little sewing machine accessories that looks way more intimidating than it actually is. I get it—that weird little scroll on the front seems complicated, but its job is surprisingly simple: it automatically folds a tiny, perfect hem for you as you stitch. Honestly, once you get the hang of it, this little foot is a total game-changer, especially for finishing lightweight fabrics like cotton lawn, voile, or silk charmeuse.
This small metal attachment is designed to create a very narrow, double-fold hem, usually somewhere between 2mm and 4mm wide. It saves you from the painstaking process of pressing and pinning impossibly small hems, which can be a real headache on slippery or delicate fabrics. The foot does all the folding work, leaving you with a professional, clean edge that stops fraying without adding any bulk.
Setting Up Your Machine for Success
Before you dive in, taking a couple of minutes to set up your machine properly will save you a world of frustration. First things first, attach the rolled hem foot. On most machines, it just snaps on or screws into place like any other presser foot.
With the foot on, you'll need to dial in your stitch settings. A simple straight stitch is what you want, but the length is key. I find that a shorter stitch length, somewhere in the 1.8 to 2.2 range, works beautifully. This keeps the seam secure and helps that tiny hem hold its shape.
- Pick the Right Needle: Always use a sharp, fine needle that matches your fabric. For lightweight wovens, a 70/10 or even a 60/8 needle is perfect.
- Choose Your Thread: Match your thread weight to your fabric. A standard all-purpose thread works for many projects, but if you're working with something really sheer, a finer 60-wt thread will give you a much more delicate finish.
- Check Your Tension: This is non-negotiable! Always run a quick test on a scrap of your project fabric. You might need to slightly lower your upper thread tension to prevent the fabric from puckering or "tunneling," which is a super common issue with rolled hems on fine materials.
Getting the Hem Started Right
The trickiest part of this whole process, without a doubt, is just getting started. The foot needs a little something to grab onto to begin folding the fabric. If you just try to jam the raw edge directly into the scroll, you'll almost always end up with a messy, bunched-up start.
Here’s my foolproof method for a clean beginning every single time:
- First, fold over the first inch or so of your fabric edge by about 1/8 inch and give it a quick press.
- Fold it over one more time to create that narrow double-fold, and press it flat.
- Now, place this pre-folded bit under the presser foot and lower your needle to hold it in place.
- Stitch forward just a few times to anchor the hem.
With the needle still in the fabric, lift the presser foot. This gives you the space to easily guide the raw edge of the fabric right into the scroll of the foot. Lower the foot, and you're ready to go.
My Favorite Trick: To make feeding the fabric even easier, I often create a little thread "tail." Before starting on the fabric, just sew a few stitches off the edge, leaving long thread tails. You can use these tails to gently pull the fabric into the foot's scroll as you begin sewing. It works like a charm.
As you continue sewing, your only job is to guide the fabric—don't push or pull it. Just hold the raw edge with both hands and feed it consistently into the scroll. I keep my eyes on the fabric right in front of the foot, making sure it's feeding in smoothly. Take it slow, especially around any curves, and just let the foot work its magic. Before you know it, you'll have a beautifully consistent, machine-sewn rolled hem.
Creating a Perfect Edge with a Serger
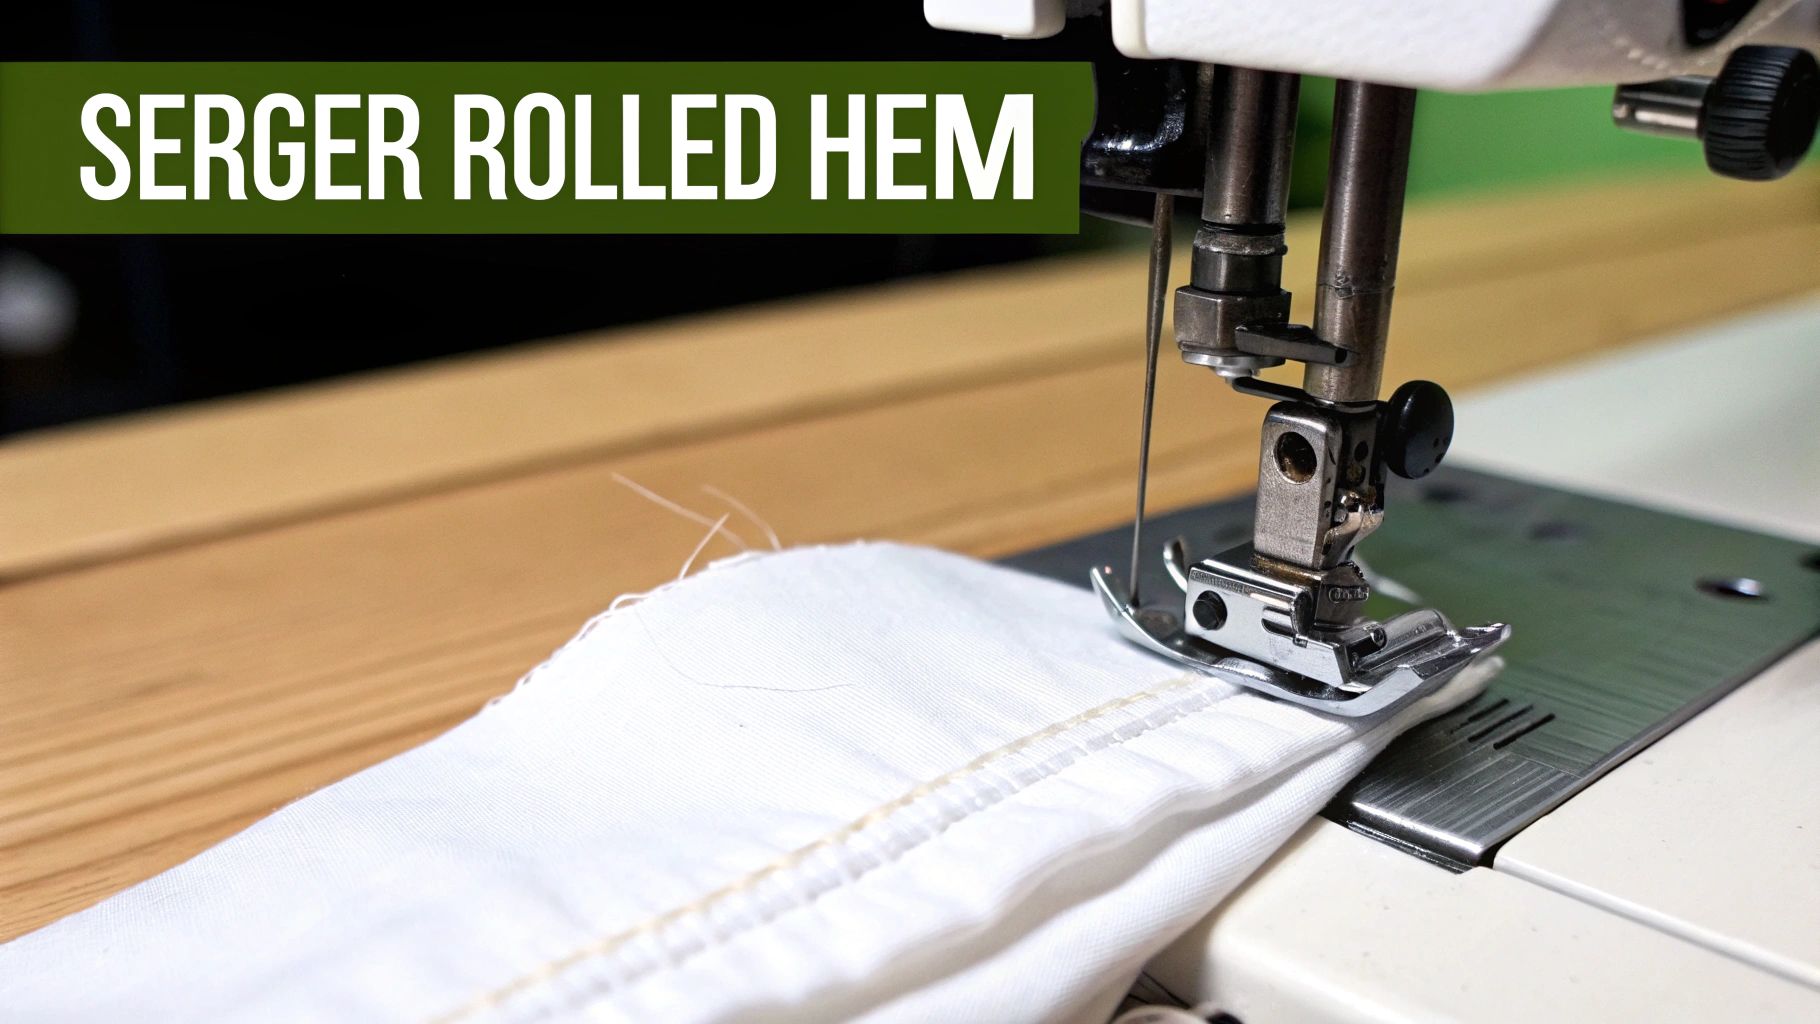
When you need a durable, professional finish—and you need it fast—nothing beats a serger. If you've ever faced a mountain of cloth napkins or the delicate edges of endless ruffles, you know what a lifesaver a serger can be. It creates a gorgeous, tightly-wrapped edge that looks incredibly clean and holds up beautifully to wear and washing.
A serger is fantastic for rolled hems on both knits and wovens, offering a much speedier alternative to a sewing machine foot. The process is all about adjusting a few key settings to switch from a standard overlock stitch to a specialized rolled edge. It might sound a bit technical, but once you know what dials to turn, it's surprisingly simple.
Dialing in Your Serger Settings
The real magic of a serger rolled hem happens with a few specific adjustments. Every machine is a little different, so you should always have your manual handy, but the core principles for creating a 2-thread or 3-thread rolled hem are universal.
Here are the typical changes you’ll need to make:
- Disengage the Stitch Finger: This is the little metal prong that your standard overlock stitches form around. For a rolled hem, you need to either retract or remove it. This allows the fabric edge to curl under itself tightly.
- Adjust Tension: This is the most critical part. You’ll need to crank up the lower looper tension quite a bit. This is what pulls the upper looper thread to the underside, wrapping it around the raw edge to create that signature rolled look. The needle thread tension usually just needs a minor tweak.
- Shorten the Stitch Length: A tiny stitch length packs the threads close together, giving you full coverage over the fabric edge. You'll want to set it to the lowest setting your machine has, which is often marked with an "R" for rolled hem.
Mastering the Technique
Once your machine is set up, the actual sewing is incredibly fast. But before you even think about touching your final project, always, always test on a scrap of the exact same fabric. I can't stress this enough! This is your chance to fine-tune the settings and get the result you want.
On that test scrap, you're looking for a smooth, even roll where the fabric edge is completely hidden by thread. If you see the raw edge peeking through, your cutting width might be a little too wide. If the fabric is tunneling or puckering, try loosening the needle thread tension just a hair.
Curves and corners require a bit of finesse. As you approach a curve, slow down and gently guide the fabric with your hands, letting the machine's feed dogs do all the work. The key is to avoid pulling or stretching it, especially with knits—unless you're going for that decorative "lettuce edge" effect on purpose. For sharp corners, my go-to method is to serge right off the edge, lift the presser foot, pivot the fabric, and start fresh on the new side.
A little pro-tip: a serger rolled hem is fantastic for finishing the raw edges of sheer fabrics before you sew them into French seams. It adds stability and stops any fraying inside the final seam, giving you a truly high-end finish on tricky fabrics like chiffon or organza.
Think about making a tiered skirt with yards and yards of ruffles. A serger is an absolute game-changer. You can finish the bottom edge of every ruffle with a perfect rolled hem in a tiny fraction of the time it would take on a sewing machine. The result is a light, airy finish that won’t weigh down the fabric. It’s the same technique that gives a set of custom linen napkins a beautiful, durable edge.
The Art of the Hand-Sewn Rolled Hem
For those truly special projects—a sheer silk blouse, a delicate organza overlay, or an heirloom christening gown—nothing beats the elegance of a hand-sewn rolled hem. While machines are fantastic for speed, hand-stitching gives you a level of control and a soft, fluid finish that's simply impossible to replicate. It's a classic couture technique, a quiet detail that takes a garment from nicely made to exquisitely crafted.
Learning to sew a rolled hem by hand isn't about rushing. It's about settling into a meditative rhythm and really connecting with the fabric. You'll literally be using your fingertips to gently roll the edge into a tiny, perfect cylinder before securing it with stitches so small they practically disappear.
Preparing for a Couture Finish
A beautiful hand-rolled hem all starts with thoughtful prep. Having the right tools on hand makes all the difference in achieving that delicate, barely-there look.
- Needle Selection: Go for the finest needle you can comfortably work with. A sharps or milliner's needle in a size 10 or 11 is perfect. These slender needles glide through delicate fibers without leaving a mark.
- Thread Choice: You want your thread to be invisible. Silk thread is the gold standard here; it’s strong, incredibly fine, and has a subtle sheen that just melts into fabrics like chiffon and silk charmeuse. A fine cotton thread can also work in a pinch.
Before you even think about stitching, trim the raw edge of your fabric as neatly as you can. A clean, straight edge is your best friend—it makes the rolling process so much smoother. If you enjoy the delicate artistry of this kind of work, you might also love honing your needlework skills with other textile crafts, like with Crewel Work kits for textile artistry.
The Stitching Process
The technique itself is all about finding a rhythm between your fingers and the needle. With the wrong side of the fabric facing up, use the thumb and forefinger of your non-dominant hand to roll the raw edge under twice. You're aiming for a tiny, tight roll that’s no wider than 1/8 inch (about 3mm).
My best advice? Only roll an inch or two at a time. This keeps the fabric from unrolling while you work and helps you maintain a really consistent width all the way around.
Once you have a small section rolled, you’ll secure it with a nearly invisible stitch. The slip stitch (sometimes called a blind hem stitch) is ideal. Just pick up a single thread from the main garment fabric, then slide the needle through the fold of the hem.
Maintaining Even Tension: The real secret to a fluid, drapey hem is keeping a light and consistent tension on your thread. If you pull the stitches too tight, you'll get puckering and a stiff edge. Your stitches should be just firm enough to hold the hem securely, letting the fabric fall and move naturally.
Just keep this process going—roll a little, stitch a little—all the way around your hem. It’s definitely a slow, deliberate process, but the stunning result is a testament to your patience and skill. The finished hem will be incredibly light and flexible, a true mark of a high-quality, handcrafted garment.
Troubleshooting Common Rolled Hem Issues
Even the most seasoned sewist can run into trouble with a rolled hem. One minute you're zipping along, the next you're staring at a wavy edge or a line of frustrating skipped stitches. Don't panic and reach for the seam ripper just yet! These are incredibly common hiccups, and thankfully, most have simple fixes.
Let's walk through how to diagnose and solve the most frequent rolled hem headaches.
The trick is figuring out what's causing the problem. It usually boils down to your machine settings, the needle you're using, or how you're guiding the fabric. A little patient detective work will get that hem looking perfect again.
Fixing Wavy Edges and Puckering
Ah, the dreaded "lettuce edge." It's a lovely decorative touch when you want it, but a total nightmare when you're aiming for a flat, crisp finish. This wavy effect is almost always a sign that your fabric is getting stretched out as it’s being sewn.
Here’s how to get it back under control:
- If you're using a serger: The first thing to check is your differential feed. If it’s set too high, you’re essentially telling the machine to stretch the fabric. Dial it back to a neutral setting (often marked 'N' or '1'). Sometimes, moving it slightly below neutral can help ease the fabric in just enough to counteract stretching.
- On a standard sewing machine: Too much presser foot pressure can be the culprit, especially on delicate fabrics. Try lightening it up. Also, make sure you aren't pulling the fabric from behind the needle—your only job is to guide it gently from the front.
- A universal fix: A light mist of temporary spray stabilizer or a thin strip of wash-away stabilizer along the edge can be a real lifesaver. It gives flimsy fabric just enough body to stop it from stretching out of shape during hemming.
Solving Skipped Stitches
Skipped stitches are the bane of anyone working with fine, slippery materials like silk, chiffon, or organza. Before you start messing with tension dials, look at your needle. It's the most common suspect.
Believe it or not, a quick needle change can solve over 50% of stitch problems. A dull or bent needle is a recipe for disaster. For slinky microfibers and silks, swapping to a microtex needle is my go-to solution; its ultra-sharp point pierces the fine threads cleanly instead of snagging them.
If a new needle doesn't do the trick, then look at your tension. If the upper thread tension is too tight, it can struggle to form a proper stitch, leading to skips. Always, always run a test on a scrap of your project fabric to get your settings just right before touching your final garment.
Ensuring a Consistent Width
There's nothing more telling of a rushed job than a hem that goes from wide to narrow and back again. This is purely a technique issue that comes down to how consistently you feed the fabric into the rolled hem foot's guide (or how you roll it by hand).
The solution is practice and focus. Keep your eye on the fabric right before it enters the foot's scroll, not on the needle itself. Your goal is to keep a perfectly consistent amount of the raw edge curling into that guide.
This is one area where modern machines really shine. The global sewing machine market, currently valued at US$4.62 billion, is increasingly focused on computerized models with advanced feed systems and automatic tension controls. These features can make it significantly easier to achieve professional, consistent results. You can read more about advancements in the sewing machine market to see how technology is making precision sewing more accessible to everyone.
Getting Your Rolled Hems Just Right: A Quick Q&A
Even with a great tutorial, you’re bound to run into a few specific quirks when sewing a rolled hem. It happens to all of us! Here are some of the most common questions I hear and how to troubleshoot them.
Why Is My Fabric Puckering Into a Little Tunnel?
Ah, the dreaded "tunnel." You'll see this as a little ridge forming right along your stitch line, and it's almost always a tension problem. This is especially common on delicate fabrics where the needle thread is simply too tight, pulling the bobbin thread up and causing the fabric to scrunch up.
Your first move should be to reduce the upper thread tension. I usually start by lowering it by one full number and then running a quick test on a scrap. If that doesn't quite do it, try swapping to a finer thread, like a 60-wt, for both the needle and bobbin. That lighter touch often solves the problem on sheers.
What’s the Secret to Clean Corners?
Corners seem intimidating, but the trick is to treat each side as its own separate hem. Don't try to pivot with the needle down like you would on a normal seam—that just creates a bunched-up mess.
Whether you're on a sewing machine or a serger, sew right up to the corner and stitch completely off the fabric. Lift your presser foot, turn the fabric a clean 90 degrees, and feed the new edge in to start the next side. I find it helps to pre-fold the first half-inch or so to guide it into the foot more easily.
A Quick Tip for Perfect Points: If you're aiming for an extra-sharp corner on your sewing machine, here's a little pro-level technique. Stop with the needle down just a stitch or two before the edge. Lift the presser foot, pivot, and carefully tuck the raw edge of the new side into the foot's scroll. Then, lower the foot and continue sewing. It takes a bit of finesse but gives you a beautifully crisp point.
Which Fabrics Are Best for Rolled Hems?
This finish was practically made for lightweight and sheer woven fabrics. These are the materials that tend to fray like crazy and are far too delicate for a chunky, double-fold hem.
- Perfect Pairings: Think chiffon, organza, voile, silk charmeuse, cotton lawn, and georgette.
- Great for Sergers: Lightweight knits are also a fantastic match for a serger rolled hem. This combo often creates that beautiful, rippling lettuce edge you see on high-end garments.
You'll want to avoid this technique for heavier fabrics. Anything like denim, canvas, or thick wool is just too bulky to feed through the tiny guide on a rolled hem foot or to roll neatly for a serger.
At Famcut.com, our passion is helping you build your skills, one stitch at a time. If you're a cosplay creator or a quilter in the Atlanta area, we've got the supplies, classes, and community to help you make amazing things. Come see what we're all about at https://famcut.com.