


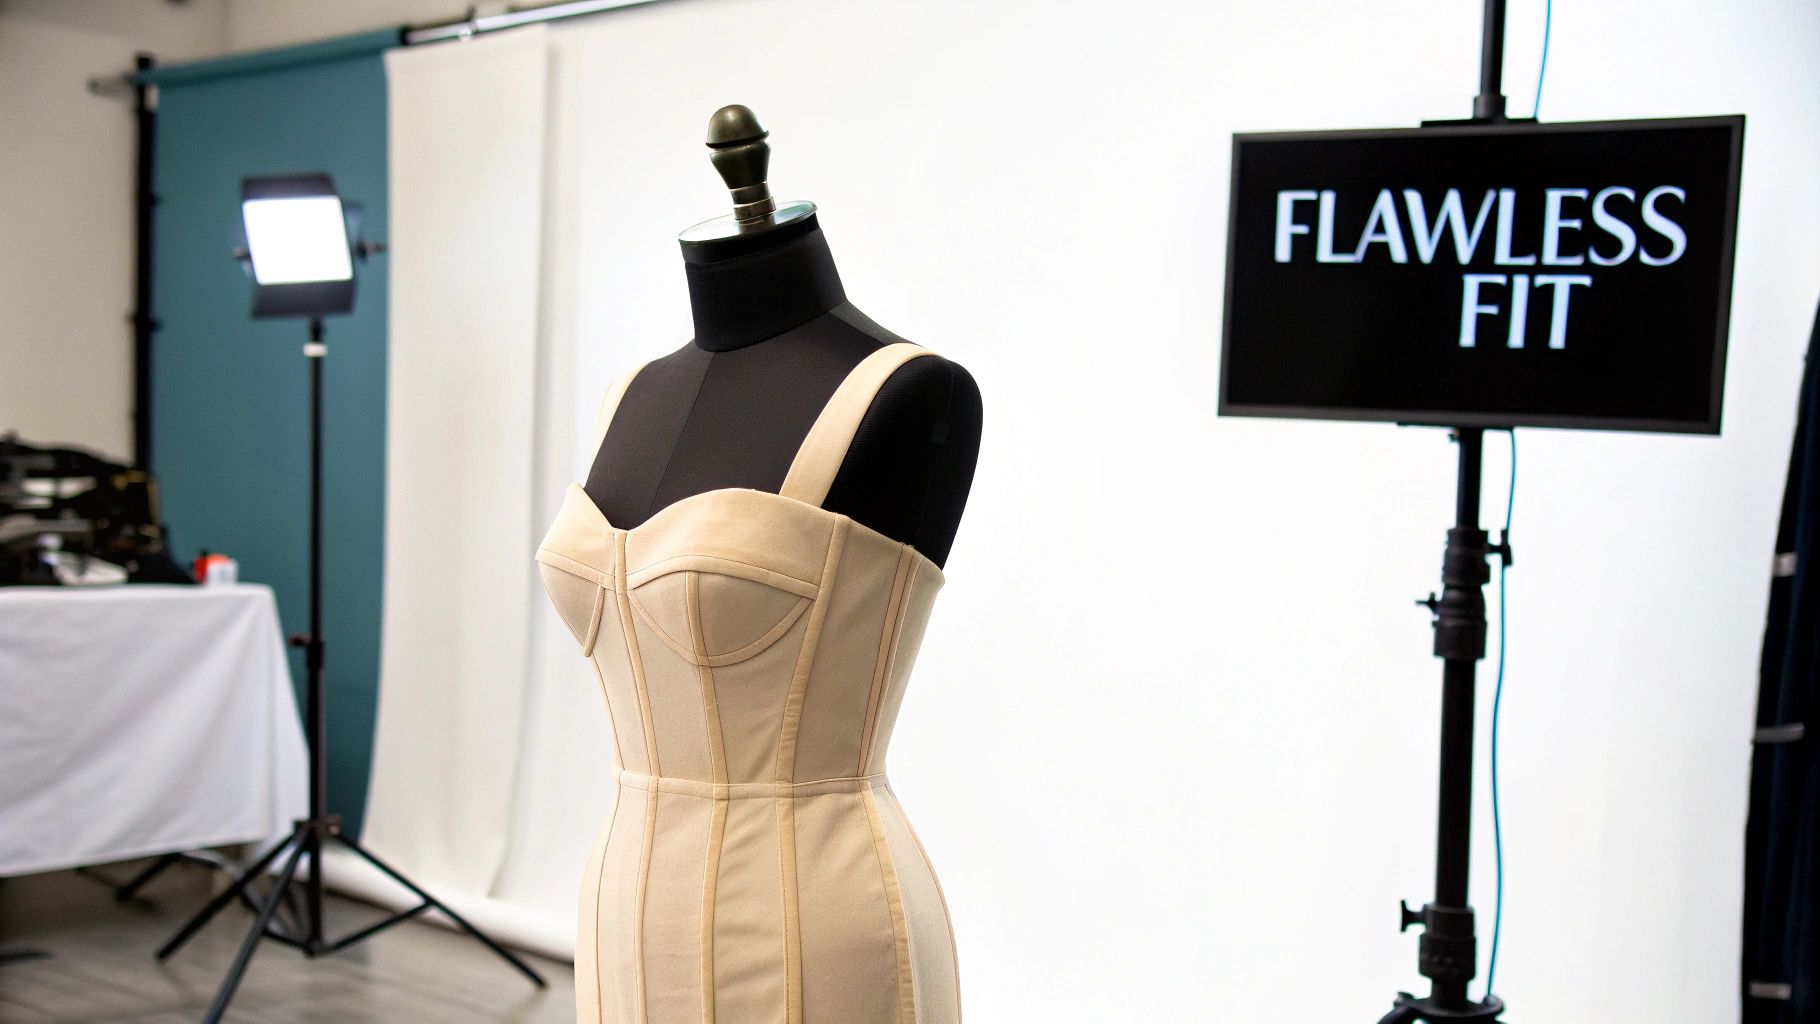
How to Sew Princess Seams for a Perfect Fit
Sewing princess seams is all about joining two uniquely curved pieces of fabric—one that curves outward (convex) and one that curves inward (concave)—to sculpt a garment that hugs the body's contours. The magic lies in carefully aligning the notches and dots your pattern provides, gently easing the curves together without any stretching, and then strategically clipping the seam allowance to let the seam lay flat. This technique masterfully replaces bulky darts with sleek, elegant lines for a truly superior fit.
Why Princess Seams Create a Flawless Fit
Think of princess seams as a dressmaker's secret weapon. They offer a level of shaping and refinement that traditional darts just can't touch. Instead of just pinching fabric at one point, these seams distribute the shaping along a long, graceful curve. This makes them perfect for creating a close-fitting garment that follows your natural shape without adding any extra bulk.
The outcome is a clean, tailored silhouette that looks incredibly polished and professional. This technique is a game-changer for fitting over the bust, waist, and hips, making it a go-to for structured dresses, sharp blouses, and elegant jackets.
The Two Main Styles of Princess Seams
You'll typically run into two main variations of princess seams. Knowing the difference can help you pick the perfect pattern for the look you're going for.
- Armhole Princess Seams: These are the ones you see most often in modern patterns. The seam starts from the middle of the armhole, curves down over the fullest part of the bust, and continues toward the waist or hem. They provide fantastic shaping for the entire torso.
- Shoulder Princess Seams: This more classic style begins at the mid-shoulder point and travels down over the bust. It creates a long, unbroken vertical line that's very elongating, often used in formal wear and vintage-inspired designs.
No matter where they start, their purpose is the same: to give your handmade clothes a custom-fit look that takes them to the next level.
A Note on History: While they feel contemporary, princess seams have been around for centuries. Early versions of these shaping seams popped up as far back as the 15th century! The name, however, became popular in the 1880s, linked to the elegant, seam-defined styles worn by the Princess of Wales.
The Functional and Aesthetic Advantage
To really get why princess seams are so essential for creating flattering silhouettes in women's tops, think about the fitting process. They give you multiple points to make adjustments. If your mock-up is a little too loose or tight, you can easily take in or let out the seam.
This built-in adjustability makes them far better than darts, which are a real headache to alter once they're sewn. Getting this one technique down is a huge step toward making clothes that don't just fit, but truly flatter. For more ways to elevate your sewing, check out our collection of https://www.famcut.com/blogs/tips-and-tricks.
Preparing Your Fabric and Pattern for Success
Great-looking princess seams don't just happen at the sewing machine. The secret to getting a smooth, professional finish actually starts with careful prep work. Trust me, taking a little extra time here will save you a world of frustration later.
Think of it as your insurance policy for a beautiful garment.
The Right Tools for the Job
Before you even touch your fabric, let's talk tools. While your basic sewing kit will get you started, a few specific items are game-changers for sewing curves.
Getting your toolkit right is the first step. Below is a breakdown of what you absolutely need versus what's nice to have for making this process smoother.
Essential vs Recommended Tools for Princess Seams
| Tool | Category | Purpose in Sewing Princess Seams |
|---|---|---|
| Tailor's Ham | Essential | Its rounded shape is critical for pressing the seam and maintaining the garment's 3D curve. |
| Sharp Fabric Scissors or Rotary Cutter | Essential | You need clean, precise cuts. Dull blades will only snag and distort the delicate curves. |
| Fabric Marking Tool (Chalk, etc.) | Essential | For accurately transferring all those crucial notches and dots from the pattern to the fabric. |
| Staystitching Thread | Essential | Prevents the curved, bias-cut edges from stretching out of shape before you sew them. |
| Fine Pins or Wonder Clips | Recommended | Finer pins or clips are less likely to distort the fabric along the curve as you pin. |
Having these items on hand, especially the tailor's ham, makes a noticeable difference in the final quality of your seams.
Prepping Your Pattern Pieces
With your tools ready, it's time to focus on the fabric. The very first thing you should do after cutting your pieces is transfer every single marking from the pattern. I'm talking about all the notches along the curves and any dots that mark the bust apex or other alignment points.
Don't even think about skipping the markings! They are the roadmap for matching a convex curve (the side front) to a concave curve (the center front). They show you exactly where and how much you need to ease the fabric to avoid puckers.
Another non-negotiable step is staystitching. This is simply a line of regular machine stitching sewn just inside the seam allowance on any curved or bias-cut edge. The concave piece of a princess seam is especially vulnerable to stretching out of shape as you handle it.
Staystitching stabilizes that edge, ensuring it keeps its original shape and size. This makes it infinitely easier to match up to its partner piece without any wonky distortion. If you want a refresher on foundational skills like this, our library of free sewing lessons is a great place to start. Getting the prep work right is how you learn to sew princess seams that look store-bought.
Aligning and Pinning Curved Seams Without Puckers
This is where all that careful prep work really starts to shine. Joining a convex curve (that's your side panel) to a concave curve (the center panel) can feel intimidating. It’s often seen as the trickiest part of sewing princess seams, but I promise it's more about patience than anything else. We're simply easing two opposite curves together to create one smooth, pucker-free line.
Your pattern markings are your road map here. Start by laying your center front and side front pieces with the right sides of the fabric facing each other. Don't even think about pinning the whole thing at once! Instead, focus on matching up your key alignment points first. Line up the top edges, the bottom edges, and most importantly, all of the notches along the curve. Pin those anchor points securely in place before you do anything else.
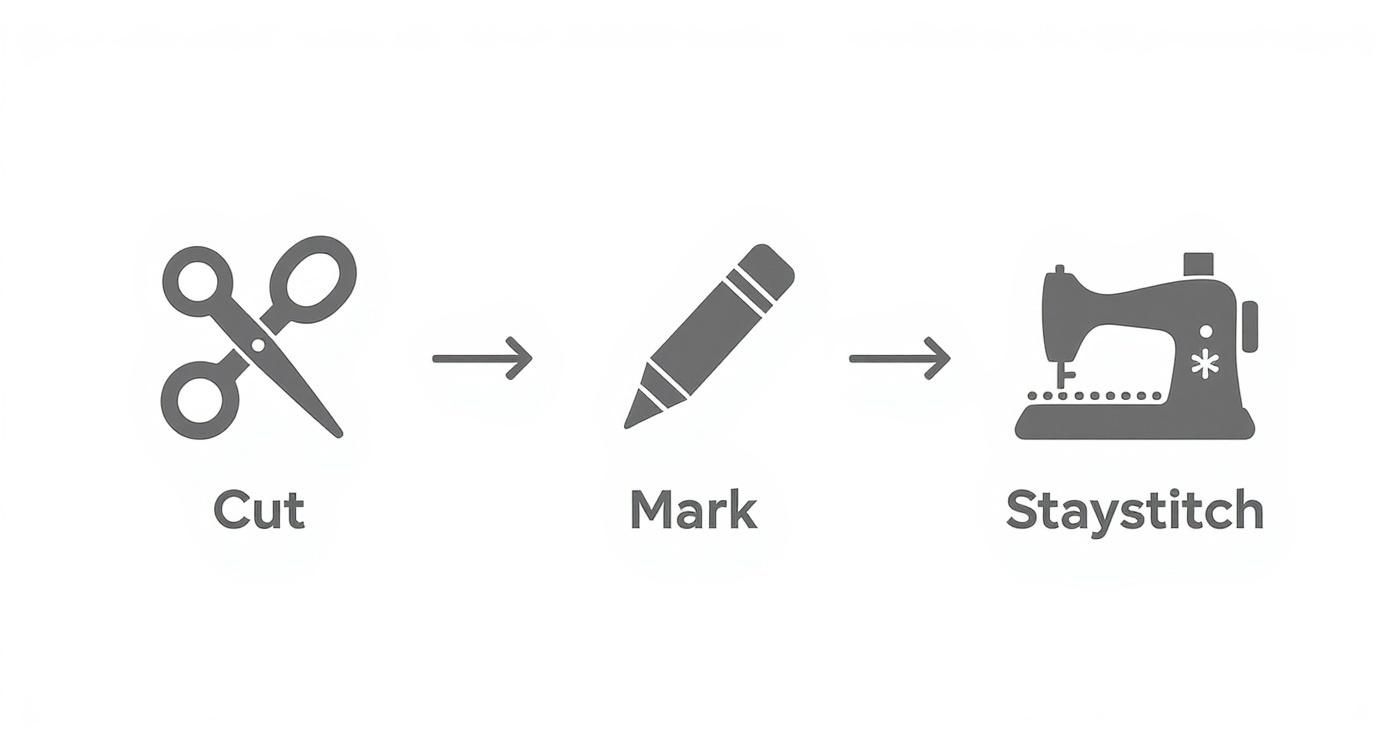
This little workflow visual—from cutting to marking to that all-important staystitching—is a great reminder of why each step matters for getting a smooth pinning experience.
Mastering the Art of Easing Fabric
You'll notice right away that one piece seems to have more fabric between the notches than the other. That’s not a mistake; it's by design. The longer, convex curve needs to be gently "eased" in to fit the shorter, concave curve. This is what magically creates the three-dimensional shape that fits over the bust.
Work between your anchor pins, using your fingertips to gently coax the raw edges to meet. The key is to avoid stretching the shorter curve. Instead, you're slightly compressing the longer one. As you get a small section of the raw edges lined up, pop in a pin perpendicular to the seam line, with the head facing out. This holds everything securely and makes the pins a breeze to pull out as you sew.
Pro Tip: I always recommend pinning with the fuller, convex curve on top. This gives you a much better view and more control for distributing that extra fabric evenly, which is the secret to preventing little puckers and tucks.
Pinning Strategies and Alternatives
For a classic princess seam, you’ll probably use more pins than you're used to—sometimes as close as every half-inch. This close pinning gives you maximum control and stops the fabric layers from shifting around. If you're in the market for some new ones, I'm a big fan of these Easy Grasp Pins by Dritz because they're easy on the hands and don't snag delicate fabrics.
But pins aren't the only game in town. Depending on what you're sewing, there are a couple of other great options.
- Fabric Clips: These are a lifesaver for thicker fabrics like denim or wool. They're also fantastic for delicate materials like silk or vinyl where pins would leave permanent marks. They clamp the layers together without distorting the fabric at all.
- Hand Basting: Honestly, this is my go-to for anything slippery or particularly fussy. A quick, long running stitch done by hand right inside the seam allowance gives you unmatched control. It holds those curves together perfectly, so there are absolutely no surprises once you get to the machine.
Taking your time to align and secure your seams is the single most important thing you can do for a beautiful result. Rushing this step is a one-way ticket to frustration and puckers, so slow down and enjoy the process. You're sculpting with fabric, after all
Stitching and Pressing for a Professional Finish
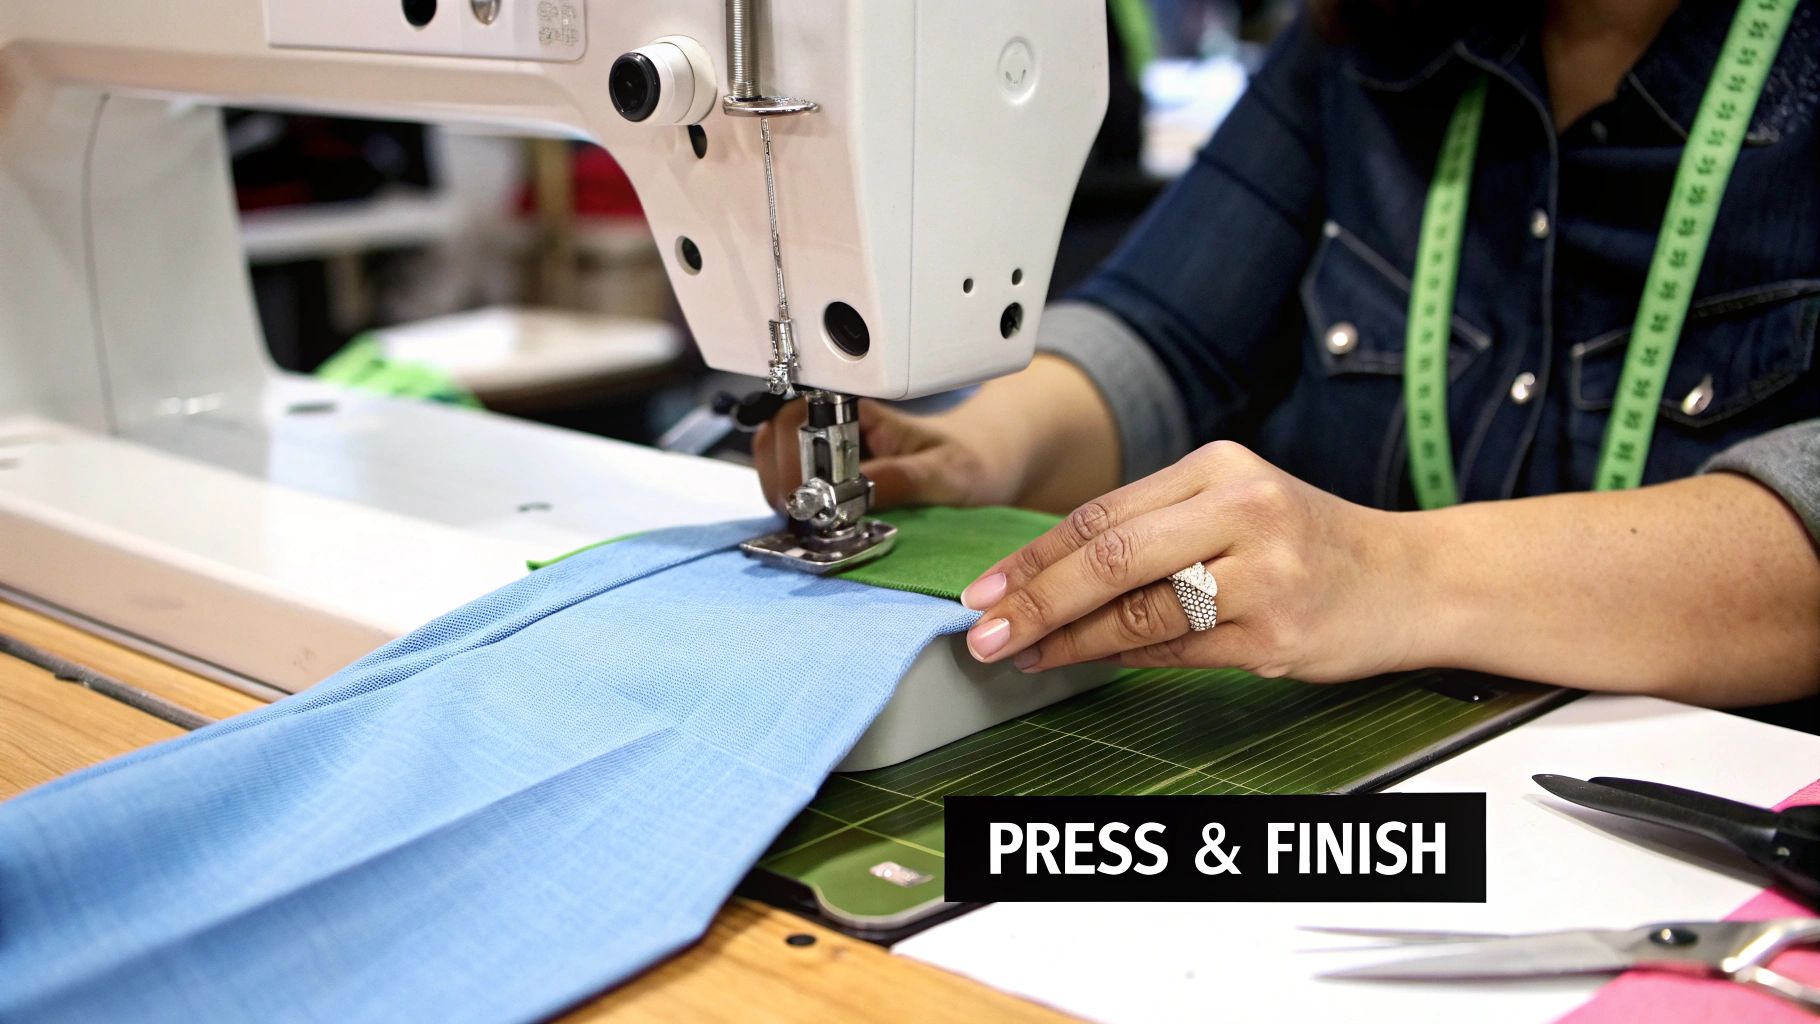
Now that everything is pinned, it's time to head to the machine. The secret to sewing these beautiful curves is to go slow and steady. Let the machine's feed dogs do the work; your job is to simply guide the fabric. If you try to push or pull it through, you'll end up distorting the very curves you worked so hard to match.
For princess seams, I always shorten my stitch length just a bit, usually to around 2.0 to 2.5 mm. This gives you more control and creates a much stronger seam along the curve, which is exactly what you want for a garment that fits well and lasts.
The Sewing Machine Technique
When you place the fabric under the presser foot, make sure the fuller, convex piece (the side panel) is on top. This little trick lets you keep an eye on the eased-in fabric, so you can smooth out any potential puckers before they even form. Sew right up to each pin, then pull it out just before it hits the needle. Don't sew over your pins—it's a recipe for a bent pin or a broken needle.
Your main focus should be on keeping the raw edges of your fabric perfectly aligned with the seam allowance guide on your machine. Don't watch the needle! Watching the guide is what guarantees a consistent seam allowance, and that’s non-negotiable for getting the final fit right. Most patterns call for a standard 1.5 cm (about 5/8 inch) seam allowance, a detail that’s surprisingly important for getting the seam to lie flat later. It's a widely adopted standard; in fact, just a few years ago, over 40% of women's dress patterns sold globally featured princess seams. You can find more details about sewing pattern standards on awilson.co.uk.
The Art of Pressing Curves
Pressing is where the real magic happens. This isn't just about getting wrinkles out; it's about molding the fabric into a three-dimensional shape that follows the body's curves. Never, ever skip this two-part process.
First, press the seam flat, just as you sewed it. This is called setting the seam. It helps the threads relax and meld into the fabric, making the seam stronger and less visible from the right side.
Next, you’ll press the seam allowances open, but not on your flat ironing board. Grab a tailor's ham. Its rounded shape mimics the body, supporting the garment's curve as you press. Use the tip of your iron and plenty of steam to gently open up the seam. A smaller iron makes this much easier; this Oliso M3 Pro Mini Iron is a fantastic tool for getting into tight curves with precision.
Key Takeaway: Pressing a curved seam on a flat surface will flatten and distort the shape you just created. Always use a tailor’s ham or a rolled-up towel to support the curve while you press.
Clipping and Notching for a Smooth Finish
With your seam beautifully pressed, there’s one last step to ensure it lies perfectly flat. You need to release the tension in the seam allowance by clipping and notching. This prevents any pulling or puckering on the outside of your garment.
- Clipping the Concave Curve: This is your inward curve. Make small snips from the raw edge toward your stitching, but don't cut through it! I usually space my clips about a half-inch to an inch apart, putting them closer together on tighter curves.
- Notching the Convex Curve: On the outward curve, you need to remove tiny wedges of fabric, or "notches." This gets rid of the extra bulk that would otherwise bunch up and create lumps when the garment is turned right side out.
This final touch is what allows the seam to truly relax into its intended shape, giving you that flawless, professional finish we’re all after.
Fine-Tuning the Fit
One of the best things about princess seams is how forgiving they are when it comes to getting the fit just right. Unlike a simple dart, you have a long, continuous seam that you can easily tweak. This is where you can take a standard pattern and make it look like it was drafted specifically for you.
Before you even think about the final stitch, baste the garment together for a quick fitting. Just use the longest stitch length on your machine to join the main panels. This simple step lets you try it on and see what’s working without the headache of ripping out tiny, permanent stitches later.
Spotting Common Fitting Problems
Once your garment is basted, put it on and stand in front of a full-length mirror. Knowing what to look for is half the battle.
Here are a few of the most common signs that your fit needs a little work:
- Horizontal Pull Lines: See lines stretching across the bust? That's a classic sign the garment is too tight right there.
- Vertical Wrinkles: If you notice fabric bunching up and down along the seams, it’s usually because it's too loose and needs to be taken in.
- Gaping Armholes or Neckline: This annoying issue often means there's a bit too much fabric in the upper bust area, causing it to pull away from your body.
- A Waistline That Rides Up: If the front hem is creeping up higher than the back, you likely need a full bust adjustment (FBA) to add more length and space over the curve of the bust.
My Go-To Tip: Always try on your basted muslin or garment with the exact bra or undergarments you plan to wear with it. It's amazing how much a different foundation can change your shape and, consequently, the fit of the final piece.
Making Your Adjustments
After you've pinpointed the trouble spots, turn the garment inside out. This is where you'll pin the changes directly onto the seam lines.
- To Make it Tighter: Simply pinch the extra fabric along the princess seam and pin a new, slightly deeper seam line. Try to concentrate the adjustment where you need it most, whether that’s right over the apex of the bust or through the waist.
- To Add More Room: You'll need to carefully unpick the basting stitches in the area that feels snug. A good tool here is a lifesaver; having a sharp dual seam ripper on hand makes quick and clean work of this. Once the seam is open, re-pin it using less seam allowance, which gives your body more space.
If you’re facing a more significant fit challenge, like needing a full bust adjustment, you'll want to go back to your paper pattern pieces. This usually involves a "slash and spread" technique to add the necessary volume to both the center and side front panels exactly where you need it.
Once you’ve made your tweaks, baste it up one more time for a final check. This back-and-forth process of basting, fitting, and adjusting is the real secret to sewing princess seams that hug your curves perfectly.
Working Through Common Princess Seam Problems
Even after you've sewn a few, princess seams can throw a curveball your way. Don't worry, that's completely normal. Let's walk through some of the most common questions and hangups people run into—getting these sorted is what will really elevate your skills.
"Why Are My Princess Seams All Pucker-y?"
Oh, the dreaded pucker. It’s a classic princess seam issue, and almost always, it's one of a few simple things. The first place I always check is the seam allowance. You absolutely have to clip the inward (concave) curve and notch the outward (convex) curve. This little step is non-negotiable; it lets the fabric tension go so the seam can actually lie flat.
If you’ve done that and still see puckers, think back to how you pinned it. Did you ease the fabric evenly? When that longer, fuller curve gets bunched up in one spot instead of being distributed smoothly, you get puckers. The fix? Use more pins! I mean it, place them much closer together than you think you need to. Hand-basting the seam first is another game-changer for getting total control.
And don't forget your machine settings. Sometimes a stitch length that’s too short can cause the feed dogs to slightly gather the fabric as you sew, especially on finer materials.
"Can I Even Do This on Knit Fabrics?"
Yes, you can, and you should! Princess seams are brilliant for adding shaping to knit garments like fitted t-shirts or comfy dresses. You just have to switch up your technique a bit to accommodate the stretch.
Your needle is the most important part. Always swap to a ballpoint or stretch needle. These needles are designed to push between the knit fibers instead of piercing through them, which prevents runs and snags. Next, you'll need a stitch that can stretch with the fabric.
- A narrow zigzag stitch is my go-to. A width of around 0.5 and a length of 2.5 is a great starting point.
- The lightning stitch is another fantastic option if your machine has it. It’s that little jagged stitch icon, and it was literally made for this.
And here’s the best part: no need to clip or notch your seam allowances on knits. The fabric has enough give on its own, which makes finishing them up a breeze.
"How Do I Adjust the Pattern for a Full Bust?"
Learning to do a Full Bust Adjustment (FBA) on a princess-seamed pattern is one of the most empowering skills you can have. It allows you to add room right at the bust apex without making the shoulders, waist, or anything else bigger.
An FBA is a paper pattern alteration, so you’ll do all the work before you even think about cutting your fabric. It involves a "slash and spread" method on both the center front and side front pattern pieces to add extra width and length exactly where your body needs it.
Once you've spread the pattern pieces apart by the amount you need, you'll need to "true" the seam lines. This just means you'll redraw the curves to be smooth and continuous again, making sure the two pieces will still line up and sew together beautifully. Getting an FBA right is the key to finally getting rid of that dreaded pulling and gaping across the chest.
Here at Famcut.com, we live for that "perfect fit" moment. From precision tools to beautiful fabrics and inspiring patterns, we've got everything you need to make your sewing projects a success. Come see what we have in store.