


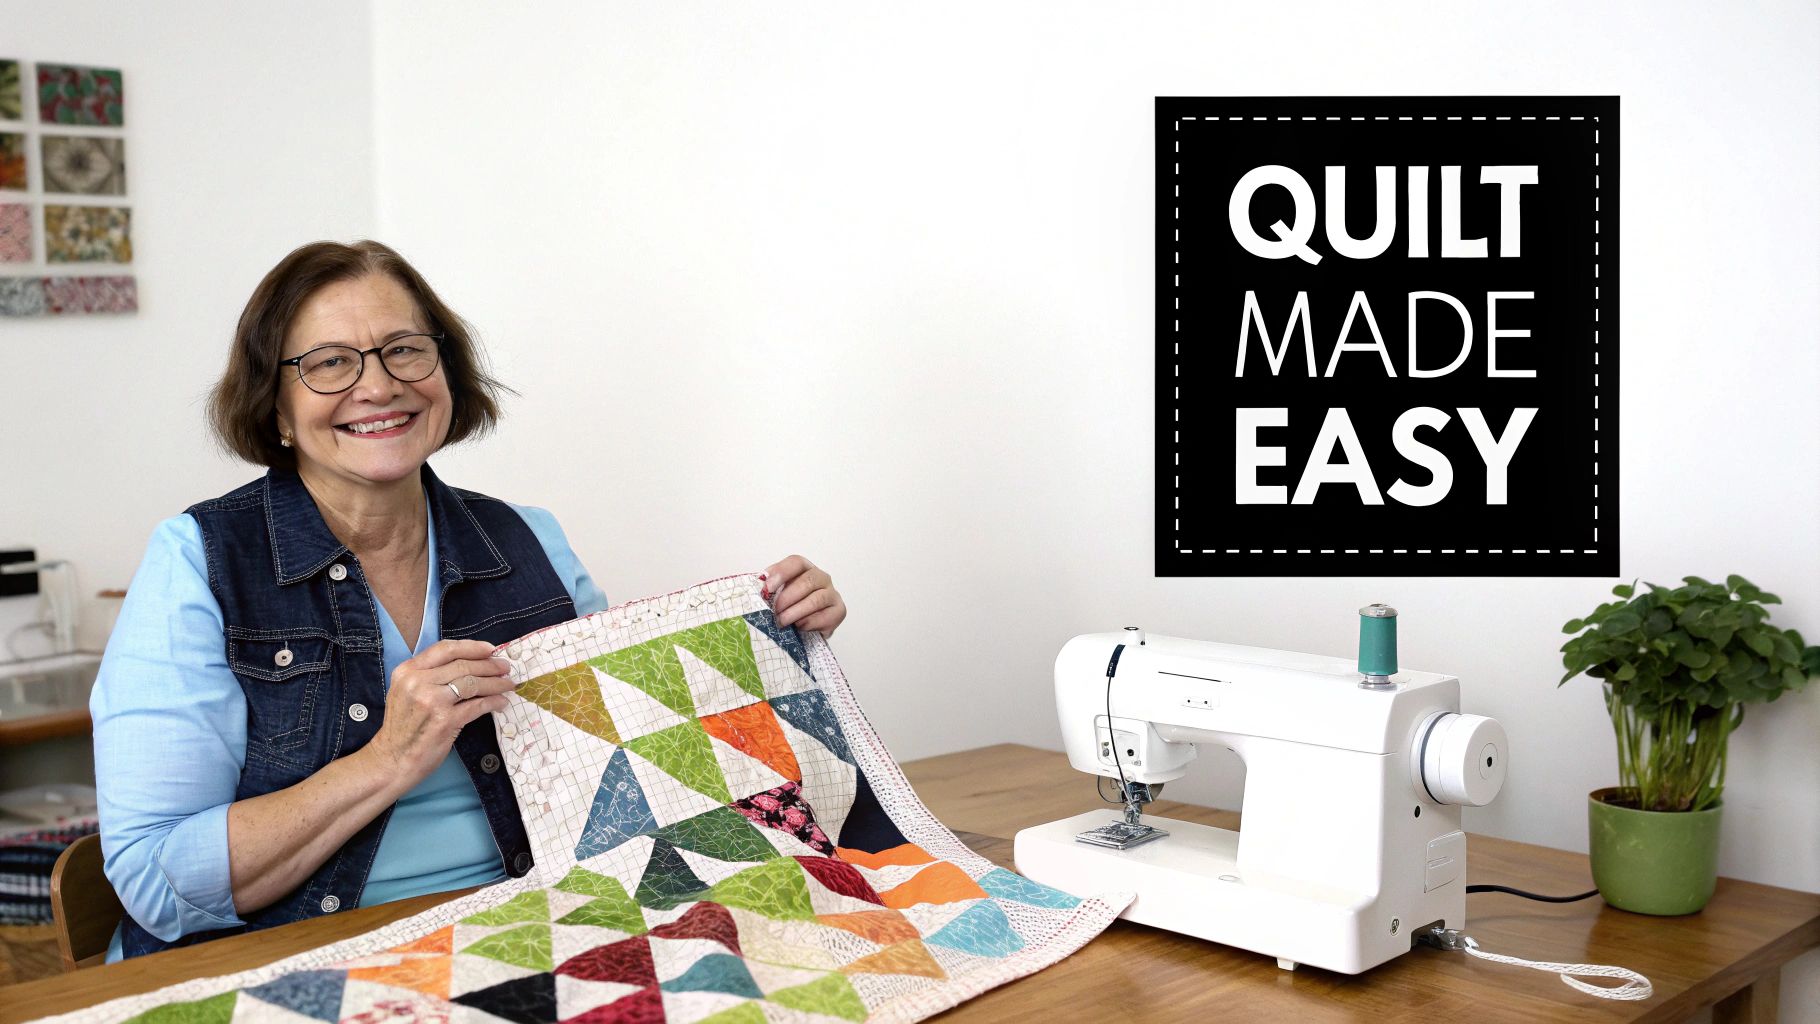
How to Quilt As You Go A Beginner's Practical Guide
Quilt As You Go, or QAYG as it’s often called, is a brilliant technique that completely changes how you approach a large project. You’re essentially flipping the script. Instead of wrestling with a massive quilt sandwich, you quilt individual blocks or strips first and then simply join them together. It's a method that makes big quilts feel small and totally manageable on a standard home sewing machine.
Why Quilt As You Go Is a Game Changer
If the thought of wrangling a king-sized quilt through the small throat of your machine fills you with dread, you're not alone. This is exactly where the Quilt As You Go method comes to the rescue. It takes that one huge, intimidating job and breaks it down into a series of smaller, more satisfying wins.
With QAYG, you finish one block at a time. Each completed square gives you a little burst of accomplishment, which is fantastic for keeping your creative energy high throughout the entire project.
Breaking Down the Benefits
The magic of this technique is about more than just avoiding a bulky quilt sandwich. It brings a ton of practical perks to the table that both new and seasoned quilters absolutely love.
- You'll Get More Accurate Quilting: Working on a small block gives you so much more control. You can really concentrate on getting your stitches just right, whether you're doing straight lines or detailed free-motion work.
- It’s Easier on Your Body: Let’s be honest, pushing a giant quilt around is physically demanding. QAYG saves your back and shoulders from all that strain, making your sewing time more comfortable and fun.
- Total Creative Freedom: Feel like trying a new quilting design? Go for it! You can experiment with different patterns on different blocks all within the same quilt. One block can have pebbles, the next can have waves—it's up to you.
- Any Sewing Machine Will Do: You absolutely do not need a fancy, expensive longarm machine to make a beautiful, large quilt. This method empowers you to get professional-looking results with the machine you already have at home.
This accessibility is a huge reason why QAYG is becoming so popular. There are an estimated 9–11 million active quilters in North America, and many are looking for smarter, more efficient ways to work. One leading quilting magazine recently reported that QAYG patterns now account for nearly 30% of their most-downloaded projects—a huge leap from just 15% five years ago. This isn't just a niche technique anymore; it's a mainstream movement.
Key Takeaway: Quilt As You Go isn't a shortcut; it's a smarter way to quilt. It gives you better control, saves you from physical strain, and opens up new creative avenues, all on your home sewing machine.
By tackling a quilt one piece at a time, you build momentum and turn a marathon into a series of enjoyable sprints. For more great sewing advice, check out our other tips and tricks to help you on your quilting journey. With QAYG, the process of making a quilt becomes just as rewarding as snuggling under the finished product.
Getting Your Space Ready for QAYG
Before you even think about cutting fabric, let’s talk about setting up your space. Getting your workstation organized is one of those behind-the-scenes steps that makes a world of difference. When you have everything you need right where you can find it, you can stay in that creative zone without having to stop and search for a tool. It's the secret to a frustration-free quilt-as-you-go project.
This isn't just about the basics. We're going to dive into the specific gear that really simplifies the QAYG process.
Essential Supplies for Your QAYG Project
To get started on the right foot, it helps to have a checklist of your go-to supplies. Having these tools ready before you begin means a much smoother quilting session from start to finish.
| Item | Why It's Important for QAYG | Pro Tip |
|---|---|---|
| Rotary Cutter | A sharp blade is non-negotiable for clean, precise cuts. | Swap your blade out more often than you think you need to. A fresh blade prevents fabric fraying. |
| Self-Healing Mat | Protects your table and helps your rotary blade last longer. | Choose a mat with clear grid lines; it’s a huge help for squaring up your blocks. |
| Acrylic Rulers | A 6" x 24" ruler is a workhorse, and a square one (12.5" x 12.5") is perfect for blocks. | The transparent markings let you see the fabric underneath, ensuring you cut exactly on the line. |
| 100% Cotton Fabric | It's stable, presses like a dream, and holds its shape beautifully. | Always pre-wash and press your fabric to deal with any shrinkage before you cut. |
| Low-Loft Batting | Crucial for avoiding bulky seams when joining quilted blocks. | Cotton, bamboo, or an 80/20 blend works wonderfully. They give definition without the puffiness. |
| Walking Foot | This is the MVP for QAYG. It feeds all layers evenly, preventing puckering. | If you don't own one, it's worth the investment. It makes quilting through the "sandwich" a breeze. |
| Quilting Needles | A fresh size 80/12 or 90/14 needle handles the layers with ease. | Start every new project with a new needle to avoid skipped stitches and fabric snags. |
This setup is your foundation. Once you have your tools in place, the rest of the process feels much more intuitive.
Nailing the Cut
Accuracy is everything in quilting, but it’s especially true with QAYG. Since you’re building the quilt one block at a time, every cut needs to be spot-on. Even a tiny error can throw things off when it’s time to join everything together.
Your cutting station really just needs those three key items: a sharp rotary cutter, a good self-healing mat, and a couple of clear acrylic rulers. A fresh blade is a must—it glides through fabric without snagging or pulling, which is the leading cause of wobbly cuts.
Making Smart Fabric and Batting Choices
The materials you select will define the look and feel of your finished quilt. For fabric, you really can’t go wrong with 100% quilter’s cotton. It behaves predictably, presses beautifully, and the color options are endless. Don't skip the pre-wash! It’s a simple step that saves you from the headache of puckering down the road.
The most important choice you'll make here is the batting. For Quilt-As-You-Go, you absolutely want a low-loft batting. Because you're joining sections that are already quilted, a thick, puffy batting will create seams that are incredibly bulky and a real pain to sew through.
A nice cotton blend or a bamboo batting is perfect. You'll still get that lovely quilted texture and warmth without creating mountains at your seams.
Setting Up Your Sewing Machine
Your sewing machine is where the magic happens, and a few quick tweaks will set you up for success. Before you start, give your machine a quick clean and pop in a new needle. A quilting needle, either an 80/12 or 90/14, is designed to punch through multiple layers cleanly.
The single best tool for QAYG is a walking foot. Seriously, it's a game-changer. This attachment has its own set of feed dogs that grip the top layer of your quilt sandwich, moving it in perfect sync with the bottom layer. This simple action is what prevents all that shifting and bunching that can ruin a block. You’ll get smooth, flat, professional-looking results every time.
If you're feeling a little rusty on some of these techniques or how to use certain machine feet, that's perfectly okay. Brushing up with some free sewing lessons is a fantastic way to build your confidence before you dive in. Getting your machine set up correctly from the very beginning makes all the difference.
Getting to Know the Core QAYG Methods
Alright, your workspace is set and you're ready to dive in. This is where the real fun begins. Learning quilt-as-you-go is all about understanding the different ways you can approach a project. While quilters have come up with countless variations, most techniques boil down to a few core methods, each with its own feel and flow.
We’re going to walk through three of the most popular approaches. My goal is to give you a clear picture of how each one works on a practical level, so you can decide which one feels right for you and your next quilt.
No matter which path you choose, the fundamental workflow is the same: you'll select your fabrics, cut them with care, and then sew. It's a simple process at its heart.
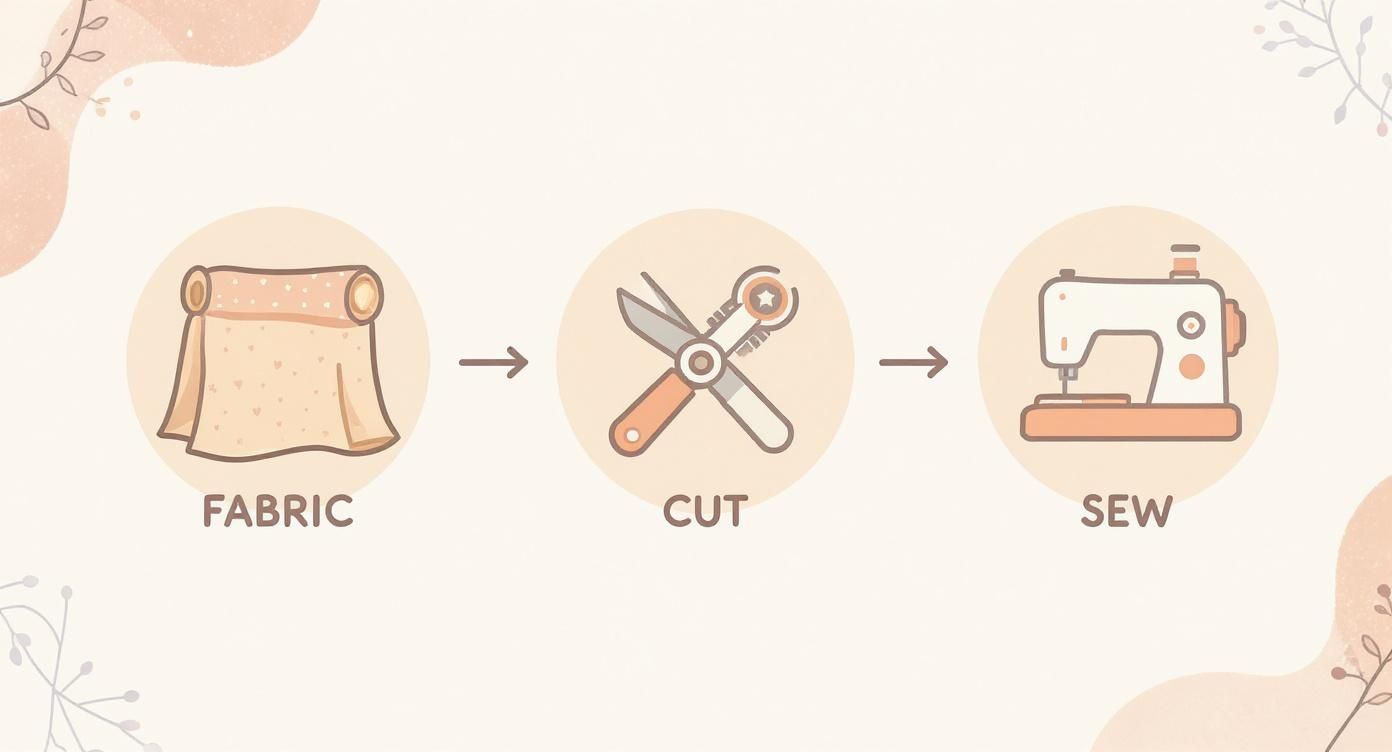
This just shows that whether you're making tiny blocks or long strips, preparing your materials properly is the key to a great result.
The Classic: Block by Block
This is the quintessential QAYG technique, the one most people picture when they hear the term. It’s a wonderfully straightforward and satisfying method that’s absolutely perfect for traditional patchwork quilts built from individual blocks.
The idea couldn't be simpler: you create a complete "mini quilt sandwich" for every single block. That means for each square in your quilt, you'll have a top fabric piece, a slice of batting, and a backing fabric. You baste these three layers together and quilt that one block completely before even thinking about its neighbor.
Think of it like making a dozen beautiful, finished coasters, and then sewing them together to form a placemat. That’s the block-by-block approach in a nutshell.
What I love about this method is the incredible control it gives you. You can quilt a complex design on a small, manageable 12-inch square without wrestling the weight of an entire quilt through your machine. It also opens up a ton of creative freedom—each block can have its own unique quilting pattern if you want!
My Go-To Tip: When cutting your batting and backing for this method, always make them a bit larger than your quilt top. I aim for about one inch bigger on all sides. This little bit of extra fabric is your safety net, giving you room to breathe and ensuring nothing shifts out of place. You’ll trim it all down to size later.
A common headache with this technique can be the bulk that builds up where the blocks join. This is why using a low-loft batting is non-negotiable. A fusible batting, for instance, can be a game-changer here. The heat-activated adhesive holds everything together without pins, and something like the Hobbs Heirloom 80/20 Fusible Batting has that perfect low-profile loft you need for flat, beautiful seams.
The Modern Take: Strip Quilting
If you’re drawn to the clean lines and contemporary look of modern quilts, the strip quilting QAYG method might just be your new best friend. Instead of fussing with individual blocks, you’ll be working with long, quilted panels or rows. It’s an incredibly efficient way to tackle patterns like a Rail Fence or any simple stripe design.
Here’s the breakdown: you piece together all the fabric for an entire row, creating one long strip for your quilt top. Then, you layer that strip with batting and backing of the same size and quilt the whole row from end to end. Once all your rows are quilted, you just have to join them together along the long edges.
This method has some serious perks:
- It's Fast: Quilting a few long rows is often much quicker than quilting dozens of individual blocks.
- It Looks Sharp: The technique is a natural fit for modern designs that emphasize linear patterns.
- Fewer Seams: You only have to deal with joining the long horizontal seams, which really simplifies the final construction phase.
Imagine you're making a baby quilt with 4-inch wide fabric strips. You could sew five strips together to create a 20-inch wide row, quilt it with fun, wavy lines, and then repeat the process a few more times. Joining those finished rows is a breeze, and you end up with a polished quilt in no time.
Putting It All Together: The Sashing Method
Now, the sashing method isn’t a standalone quilting technique, but rather a brilliant way to join the pre-quilted pieces you made using the block-by-block method. It’s so crucial to the process that it really deserves its own spotlight. Sashing is what cleverly conceals the raw edges of your blocks while adding a gorgeous design element to your quilt.
With this approach, you use extra strips of fabric—the "sashing"—to connect your finished blocks. Typically, you’ll place two quilted blocks face down, leaving a small gap, and sew a narrow sashing strip to the back to bridge them. Then, you flip the blocks over and add a wider, decorative sashing strip to the front, topstitching it down to cover the join completely.
This creates a clean, framed look for each block and is a fantastic opportunity to bring in a contrasting or coordinating color. I know many quilters who swear by this method because it results in a completely flat front and back, with no bulky seam allowances showing through.
The Sashing Process, Step-by-Step
- Trim and Square Up: First things first, make sure all your quilted blocks are trimmed to the exact same size. Precision here is everything if you want a flat quilt.
- Join the Back: Use a narrow strip (I usually cut mine about 1 inch wide) to connect the backing fabrics of two blocks.
- Press and Fold: Fold the blocks open so they’re right-side up and press the join nice and flat.
- Add the Front Sashing: Place a wider strip (say, 2 inches wide) over the gap on the front. Press the long edges under and topstitch it down along both sides for a clean finish.
This technique turns a simple join into a real design feature, giving your quilt a highly professional and traditional feel. Ultimately, the best method for you will depend on your pattern, your personal style, and what you enjoy doing most.
Joining Quilted Blocks Seamlessly
This is where the magic really happens. All those perfectly quilted blocks you’ve been working on are about to come together into a finished quilt top. Joining your pieces is the defining moment of the quilt-as-you-go process, and while it might seem intimidating at first, it's really about finding the technique that clicks for you. With a bit of precision, you'll create joins that are strong, lie flat, and look like they were always meant to be there.
The absolute key to a great result is preparation. Before you even think about sewing two blocks together, they need to be trimmed and squared up to the exact same size. Trust me on this—it’s a non-negotiable step if you want a quilt that doesn't have wavy borders or mismatched corners.
Prepping Your Blocks for a Perfect Join
Spending time on accuracy now will save you a world of frustration later. One wonky block can throw off an entire row, creating a ripple effect of misalignment that’s a real pain to fix. So, slow down and enjoy the process.
Grab a good acrylic ruler and a fresh blade in your rotary cutter. Lay the ruler over a quilted block, using the grid lines to line up with the seams in your piecing. This is how you'll trim away the extra batting and backing while making sure the block is perfectly square. A quality non-slip ruler, like the Quilter's Select 2.5" x 18" Non-Slip Ruler, makes this job so much easier and more accurate. Carefully trim all four sides, double-checking that every single block ends up identical in size.
Next up, pressing. The way you press your seams here makes a massive difference in managing bulk. Since you're joining pieces that are already a three-layer sandwich, the seams can get chunky fast. I almost always recommend pressing them open to distribute that thickness as evenly as possible for a much flatter finish.
Exploring Popular Joining Techniques
Once your blocks are beautifully prepped, it's time to connect them. There are a few fantastic ways to join QAYG blocks, each giving a slightly different look and feel. Let’s walk through a couple of my go-to methods.
- The Sashing-From-the-Front Method: This is a classic for a reason—it’s straightforward and strong. You simply place two finished blocks right sides together and sew them with a standard quarter-inch seam allowance. This seam will go through all the layers: top, batting, and backing of both blocks.
- Pressing and Topstitching: After sewing the seam, press the entire seam allowance over to one side. To help it lie flat and add a clean, decorative finish, you can topstitch along the seam from the front of the quilt.
This approach is wonderfully simple. The only thing to watch for is the bulk, and this is where choosing a low-loft batting really pays off.
A Little Tip for Flatter Seams: Because you're sewing through quilted layers, the seam can feel quite thick. After you've stitched the seam but before you press it, some quilters like to carefully trim or grade the batting inside the seam allowance. This little extra step removes some of that internal bulk and helps the join lie incredibly flat.
The Concealed Seam Method
For a completely polished finish on both the front and the back, you can’t beat a method that uses sashing strips to cover the raw edges. This technique involves joining the blocks from the back first, then laying a decorative fabric strip over the seam on the front. It’s a beautifully clean look.
- Join the Backing: First, place two blocks wrong sides together, making sure the edges are perfectly aligned. Sew a seam through the backing and batting layers only, leaving the quilt tops free. Press this seam open on the back.
- Cover the Front: Cut a fabric sashing strip about 1.5 inches wide. Fold the long raw edges in toward the center by a quarter-inch and give it a good press. Center this prepared strip over the seam on the front of your quilt and topstitch it down along both folded edges.
This technique is a quilter’s favorite because it hides every raw edge and gives each block a lovely, framed appearance. It’s a great example of how quilting methods are evolving, especially for those of us working on our home sewing machines.
This shift toward more manageable techniques is part of a bigger picture. The global quilt market was valued at USD 695.84 million and is projected to hit USD 1,156.12 million by 2030, with North America leading the charge. A lot of that growth comes from home-based quilters who love modular approaches like QAYG. This explains why we're seeing so many new patterns and tools designed specifically for these joining methods. You can read more about these market trends and industry insights.
Ultimately, trying different joining styles is part of the fun of QAYG, so don't be afraid to experiment to find the one you enjoy most.
Applying Professional Finishing Touches
Here's where all your hard work comes together. Those last few steps are what transform a collection of quilted blocks into a true heirloom. A beautiful finish isn't just about looks; it adds structure, durability, and that polished, professional feel that says you've really mastered the craft.
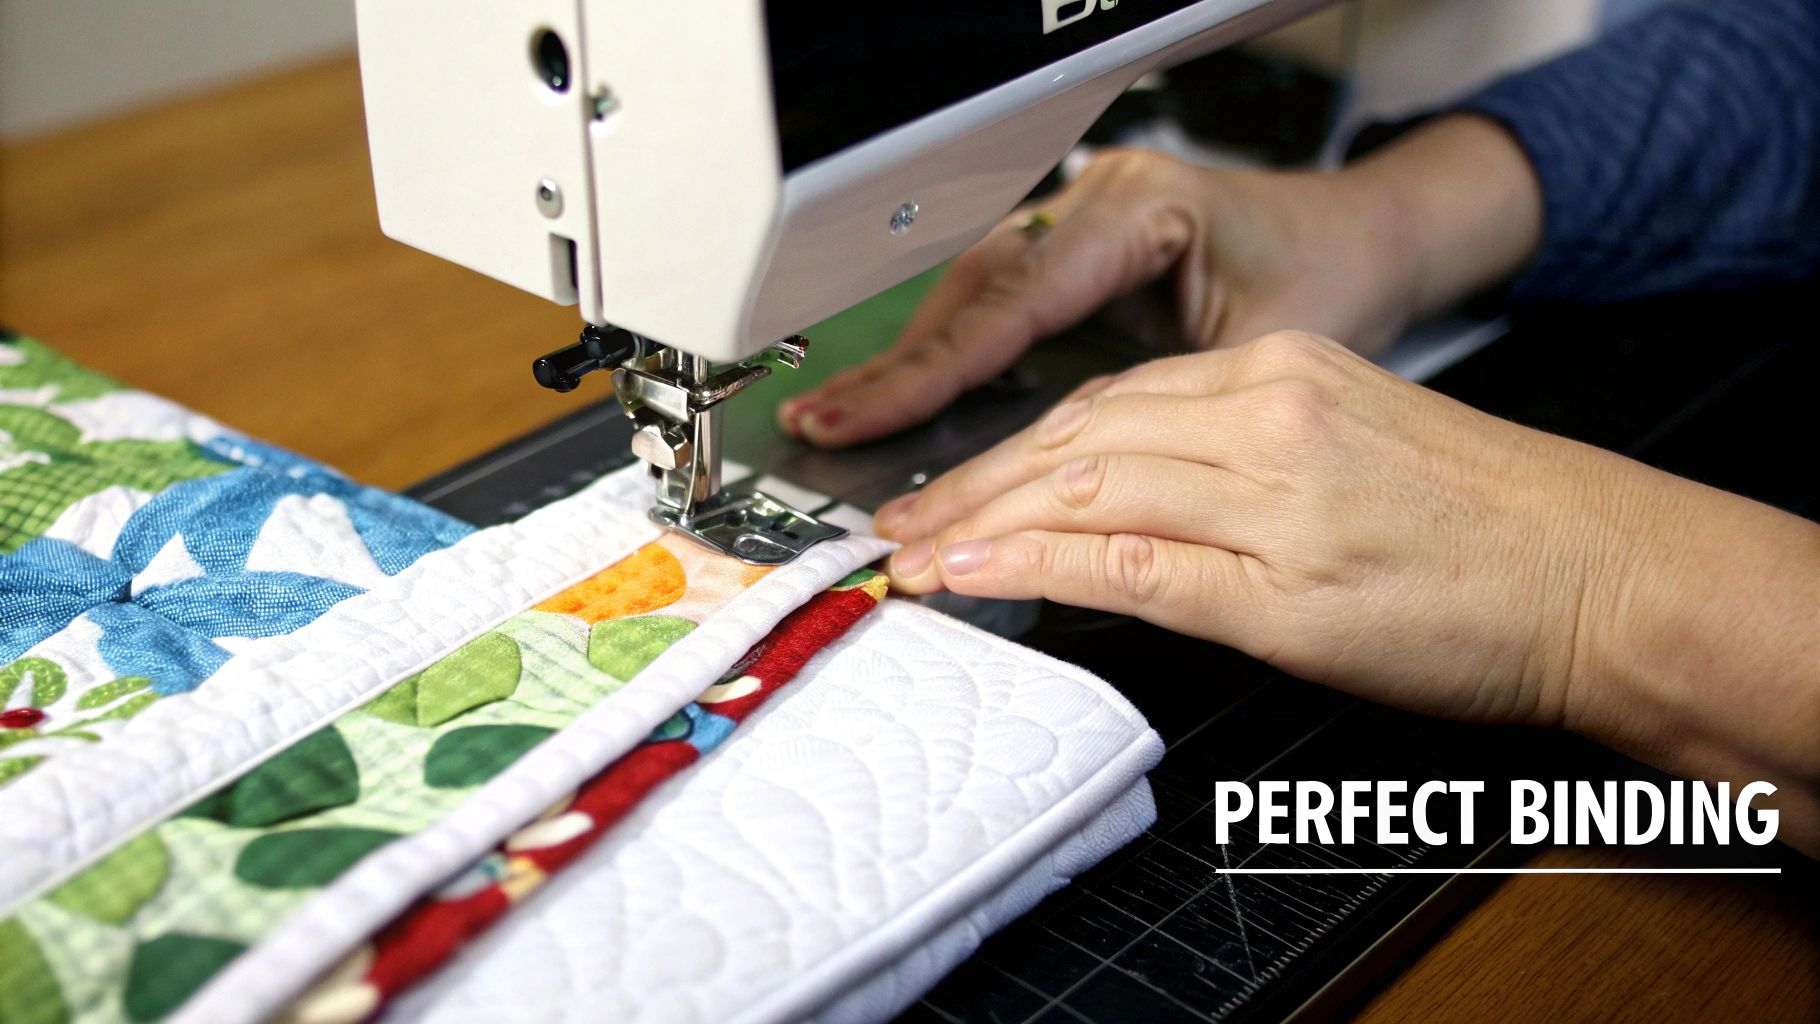
Binding a Quilt-As-You-Go project is a little different from a traditional quilt. The edges are already quilted and have more substance, so your binding needs to be sturdy enough to wrangle all those layers without looking bulky.
Prepping for a Flawless Frame
Before you even touch your binding fabric, you need to make sure your quilt is perfectly square with straight edges. I can't stress this enough—it's a non-negotiable step for a clean result. Even with the most careful joining, the outer edges of your quilt can get a little wavy.
Lay your finished quilt on a large cutting mat. Grab a long acrylic ruler and a sharp rotary cutter, and carefully trim all four sides. Your goal here is to create a clean, straight edge all around and make sure your corners are at a true 90-degree angle. Taking the time to do this one thing will make attaching the binding so much easier and more accurate.
Creating and Attaching Your Binding
Your binding is just a long strip of fabric that neatly wraps around the raw edge of your quilt. For a QAYG project, I've found that cutting binding strips 2.5 inches wide is the sweet spot. It gives you enough fabric to comfortably cover that thicker edge without a fight.
- Cut and Join: First, cut enough 2.5-inch strips to go around the entire quilt, plus an extra 10-12 inches for wiggle room. Sew them together end-to-end on a diagonal (45-degree angle) to reduce the bulk at the seams.
- Press for Perfection: Press those diagonal seams open. Then, fold the entire binding strip in half lengthwise with the wrong sides together and give it a good press. A quality iron is your best friend here for getting a crisp, defined fold. An iron like the Oliso Pro Plus Smart Iron really helps make this process quicker and more precise.
And just like that, you have a beautiful double-fold binding ready to go.
Mastering Mitered Corners
Those sharp, mitered corners are the signature of a beautifully bound quilt. They look complicated, but the technique is surprisingly simple once you get the hang of it.
Start by sewing the binding to the front of your quilt, aligning the raw edges of the binding with the quilt's raw edge. You'll want to use your walking foot and a 1/4-inch seam allowance. The trick is to stop stitching exactly 1/4 inch before you hit the first corner. Backstitch, and cut your threads.
Take the quilt off the machine. Fold the binding strip straight up, which will create a 45-degree angle from that corner. Then, fold it back down along the next side of the quilt, making a neat little pleat at the corner. Begin sewing again right from the top edge, which secures that pleat in place. Just repeat this process for all four corners.
Key Takeaway: The secret to a perfect miter is stopping exactly a seam's width away from the corner. This gives you the precise amount of fabric needed to create that crisp fold without bunching or falling short.
Once the binding is sewn to the front, flip it over to the back. The folded edge should neatly cover your stitch line. Use clips to hold it in place, carefully tucking in the mitered corners as you go. To finish, you can either "stitch in the ditch" from the front with your machine for a quick finish or hand-sew the binding to the back for a completely invisible stitch.
The Final Flourishes
With the binding on, there are just two last touches that can make your quilt extra special. First, think about adding a hanging sleeve to the back. It's a simple fabric tube sewn along the top edge that allows the quilt to be hung perfectly flat on a wall.
And finally, always add a label. It's your signature on your work of art! A good label should include your name, the date you finished it, maybe a name for the quilt, and where you made it. It’s what preserves your story for generations to come.
Got QAYG Questions? I’ve Got Answers
When you first dip your toes into quilt-as-you-go, you're bound to have a few questions. It’s a whole different way of building a quilt, and let's be honest, some of the standard quilting rules just don't apply here.
Let's walk through some of the most common head-scratchers I hear from quilters. Think of this as your personal troubleshooting guide for those "what if" moments that can bring a project to a screeching halt.
Can I Use Just Any Quilt Pattern?
The short answer is... sort of. While you can adapt many traditional patterns for QAYG, it’s a much smoother ride with designs that are already broken into distinct blocks or sections. Trying to convert a pattern where the design flows seamlessly across the quilt top? That’s a tough one, even for seasoned quilters.
If you’re just starting out, do yourself a favor and pick a pattern designed specifically for the quilt-as-you-go method. These patterns have all the construction and joining steps mapped out, so you can focus on the fun part. Once you get a few projects under your belt, you’ll start to see how you can break down classic designs, like a simple nine-patch or a log cabin block, into manageable QAYG pieces.
What's the Best Batting to Use?
This is one of the most critical choices you'll make for your QAYG project, and there’s a clear winner: low-loft batting.
When you join your quilted blocks, you're sewing through quite a few layers. If you use a fluffy, high-loft batting, you’ll end up with seriously bulky seams. Not only are those a nightmare to sew through on a home machine, but they'll also keep your finished quilt from lying flat.
Here are a few of my go-to options:
- Low-loft cotton batting gives you that wonderful, classic quilt feel.
- A cotton-poly blend (like an 80/20) offers great durability and a lovely drape.
- Bamboo batting is a fantastic choice for a beautifully soft and lightweight quilt.
These all give you crisp stitch definition without adding a ton of puff. The golden rule? Use the same kind of batting for every single block. Consistency is key to making sure your finished quilt has a uniform thickness and feel.
My Two Cents: Your main goal here is to fight the bulk. Choosing a low-loft batting from the get-go is the single best thing you can do to ensure flat seams, easier joining, and a quilt that looks professionally finished.
How Do I Stop My Blocks from Warping as I Quilt Them?
Ah, the dreaded block distortion! It’s a common worry, but I promise it's completely preventable with a little prep work. A few careful steps will keep your blocks perfectly square.
First things first: press your fabric well before you even think about cutting. Even tiny wrinkles can create tucks that mess with your accuracy down the line. Next, be meticulous when you baste each mini quilt sandwich. Whether you're a fan of basting spray or a safety-pin purist, the goal is the same: stop those three layers (top, batting, and backing) from shifting.
But the real secret weapon here is a walking foot. This little attachment is non-negotiable for QAYG. It has its own set of feed dogs that grip the top fabric, pulling all three layers through your machine at the exact same speed. This is what prevents the stretching that causes those frustrating puckers and waves.
One last pro-tip: switch up your quilting direction. If you quilt all your lines from top to bottom, you can accidentally pull the fabric out of square. By alternating—sewing one line top-to-bottom and the next bottom-to-top—you counteract that pull and keep your block nice and stable.
Ready to create your next masterpiece? At Famcut, we have all the gorgeous fabrics, low-loft battings, and essential tools you need for quilt-as-you-go success. Come explore our collection and get inspired!