


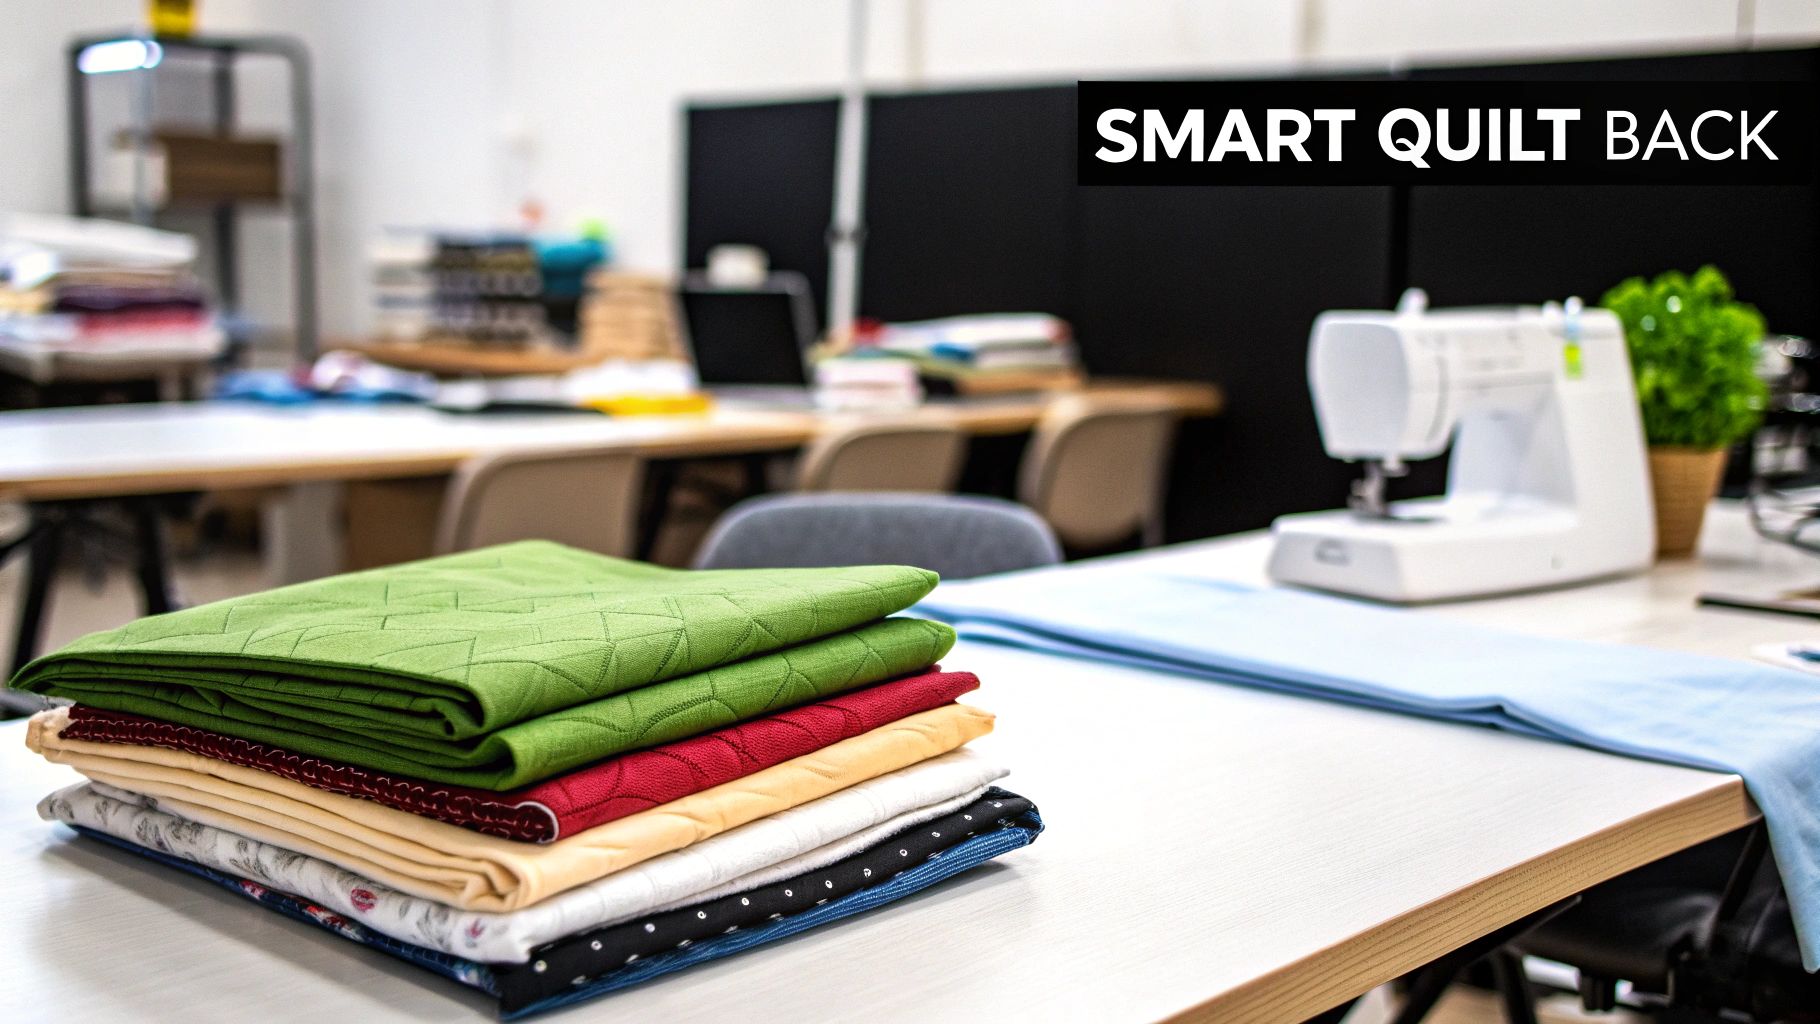
How to Piece a Quilt Back for a Perfect Finish Every Time
When you learn how to piece a quilt back, you're really just sewing together multiple cuts of standard-width fabric to create a backing large enough for your quilt top. It’s a fantastic skill to have in your back pocket. This technique is a great way to save money, reduce waste, and add a creative touch by using up fabrics from your stash instead of buying pricey, specialty wide-back material.
Why Piecing a Quilt Back Is a Game Changer
You’ve just put the last stitch into a beautiful quilt top—now what? The last thing you want is to get bogged down by the backing. For so many quilters I know, piecing a quilt back is more than just another task on the list; it’s a strategic and creative part of the journey. It turns a practical problem (covering a big quilt!) into a real opportunity for artistic expression.
Think of it like this: instead of running out to buy a single, massive piece of fabric, you can "shop" your own stash first. This is an incredibly resourceful way to quilt, letting you use up leftover cuts, coordinating prints from the quilt front, or even those "orphan blocks" that never found a home in another project. It's the ultimate stash-busting activity.
The Smart Economics of a Pieced Back
One of the biggest draws for learning how to piece a quilt back is the cost savings. It’s no secret that specialty wide-back fabrics, while convenient, carry a premium price. Standard 44-inch quilting cotton is much more common and affordable, and piecing it together is a time-honored trick of the trade.
This practice goes way back, born from the simple necessity of working with whatever yardage was on hand. Modern quilters keep this tradition alive, often saving 10–40% on fabric costs by piecing a back instead of buying a wide-back. For larger quilts, swapping a pricey wide-back for two lengths of standard fabric can make a huge difference in your project's budget.
Beyond the wallet, piecing offers other key benefits:
- Waste Reduction: You finally have a use for those fabric remnants that might otherwise gather dust, making your quilting practice a bit more sustainable.
- Creative Freedom: You can design a "second front" for your quilt, adding an unexpected element of surprise and personality that’s all you.
- Problem-Solving: It’s the perfect fix when you just can't find a wide-back fabric that truly complements your quilt top.
A well-pieced back isn’t a compromise; it’s a design choice. It tells a story, uses your resources wisely, and adds another layer of craftsmanship to your finished quilt.
From Necessity to Artistry
A pieced back doesn't have to be just two panels sewn together. It can be a simple stripe of coordinating fabrics, a single large-scale block that echoes the front, or even an improvisational collage of scraps. This creative outlet turns a purely functional part of the quilt into another canvas for your artistic vision.
By steering clear of expensive specialty fabrics like a single piece of natural muslin wideback cotton fabric, you gain total control over the entire aesthetic of your project. The back of your quilt can become just as thoughtful and beautiful as the front, making the whole thing a cohesive work of art. This simple skill is truly a game changer for any quilter looking to maximize their budget, their stash, and their creativity.
Getting the Math Right for Your Quilt Back

Let's be honest—the math is often the least glamorous part of quilting. But getting your backing measurements right from the start saves you from the massive headache of discovering your backing is too small after you’ve already pieced it. It’s a rookie mistake we’ve all made, and it’s completely avoidable.
The goal is simple: your backing needs to be bigger than your quilt top on all four sides.
This extra fabric is called overage, and it’s not optional. Whether you’re sending your quilt to a longarmer or basting it at home, you need that extra margin. Longarmers need it to properly load the quilt onto their frames, and at home, it gives you crucial wiggle room to smooth everything out without the layers shifting.
The rule of thumb is to add at least four inches of overage on every side. This means your final backing must be 8 inches wider and 8 inches longer than your quilt top.
So, for a quilt top that measures 60 inches by 70 inches, you’re aiming for a backing that’s at least 68 inches by 78 inches.
First, Measure Your Quilt Top Like You Mean It
Before you even touch your backing fabric, you need a precise measurement of your quilt top. Don't just trust the size listed in the pattern—tiny differences in your seam allowance can really add up and change the final dimensions.
Lay your pressed quilt top on a flat surface. Using a good measuring tape, measure the width in three spots: across the top, right through the middle, and again at the bottom. Jot down all three numbers and find the average. Do the exact same thing for the length—measure the left side, the center, and the right side, then average them. This little bit of extra work gives you a true, reliable number to work with, evening out any minor stretching or squaring issues.
How to Calculate Your Fabric Needs
Okay, you’ve got your quilt top’s true measurements. Now for the fun part: figuring out how much fabric you actually need to buy. Most quilting cotton comes on a bolt that’s about 44 inches wide.
Let's stick with our example of a 60" x 70" quilt top.
-
Add the Overage:
- Required Width: 60" + 8" = 68"
- Required Length: 70" + 8" = 78"
-
Figure Out How Many Widths to Cut:
- Take your required width and divide it by the usable width of your fabric. I always plan for about 42 inches to be safe, after trimming off the selvedges.
- 68" ÷ 42" = 1.62. Since you can’t use 0.62 of a fabric width, you have to round up. You’ll need two full widths of fabric.
Now you have a choice to make. You can join those two pieces of fabric with a vertical seam or a horizontal one. Believe it or not, this decision can dramatically change how much yardage you need.
Vertical vs. Horizontal Seams: A Quick Comparison
Let's see how seam direction impacts the fabric needed for our 68" x 78" backing.
- Vertical Seams: To run the seam vertically, you'd sew two pieces together along their long edges. Each of these pieces needs to be 78 inches long. So, you'd need two cuts of fabric, both 78 inches long. That’s a total of 156 inches of fabric (78" x 2), which comes out to 4.4 yards.
- Horizontal Seams: Here, you'll sew the two pieces together along their shorter edges. The length of each piece will be your required backing width (68"). You need two of these pieces to get the required length of 78". So, your total fabric length needed is 68" + 68" = 136". You would cut two 68" lengths from your yardage. The math is a bit different here: you need two widths of fabric, each 68 inches wide. But we cut fabric by length. To get a total width of 84" (42" + 42") you need two lengths of 68". Wait, that's not right. Let's rethink that.
Let’s try that again, it can be confusing!
- Vertical Seams: You need two pieces, each 78 inches long. Total length to buy: 78 + 78 = 156 inches. Divide by 36 inches/yard = 4.4 yards. The final piece would be about 84" wide x 78" long before trimming. Perfect.
- Horizontal Seams: You need two pieces, each 68 inches long. Total length to buy: 68 + 68 = 136 inches. Divide by 36 inches/yard = 3.8 yards. This would create a backing that is about 84" long x 68" wide. Also perfect.
In this case, horizontal seams save you over half a yard of fabric! It's always worth doing the math for both orientations. For these long cuts, a good non-slip ruler is a lifesaver. If you're looking for one, you can find a quality quilter’s select non-slip ruler to make the job easier. Getting a handle on standard quilt sizes can also help you plan ahead; this guide on Your Guide to the Size of Quilts in Australia is a fantastic resource.
Quick Calculation Guide
To help you get started, here's a quick reference chart for common quilt sizes using standard 44" wide fabric. This table already includes the standard 4-inch overage on all sides.
| Quilt Backing Fabric Calculation Guide (Using 44" Fabric) | |||
|---|---|---|---|
| Quilt Top Size (Approx.) | Required Backing Size (with Overage) | Number of 44" Widths Needed | Total Yardage Needed |
| Crib (36" x 52") | 44" x 60" | 2 (Horizontal Seams) | 2.5 yards |
| Throw (50" x 65") | 58" x 73" | 2 (Vertical Seams) | 4.1 yards |
| Twin (70" x 90") | 78" x 98" | 2 (Vertical Seams) | 5.5 yards |
| Queen (90" x 108") | 98" x 116" | 3 (Vertical Seams) | 9.7 yards |
| King (110" x 108") | 118" x 116" | 3 (Vertical Seams) | 9.9 yards |
Remember, this is just a guide! Always measure your own quilt top before you head to the fabric store. It’s better to have a little extra fabric than to come up short.
Designing a Quilt Back with Creative Flair
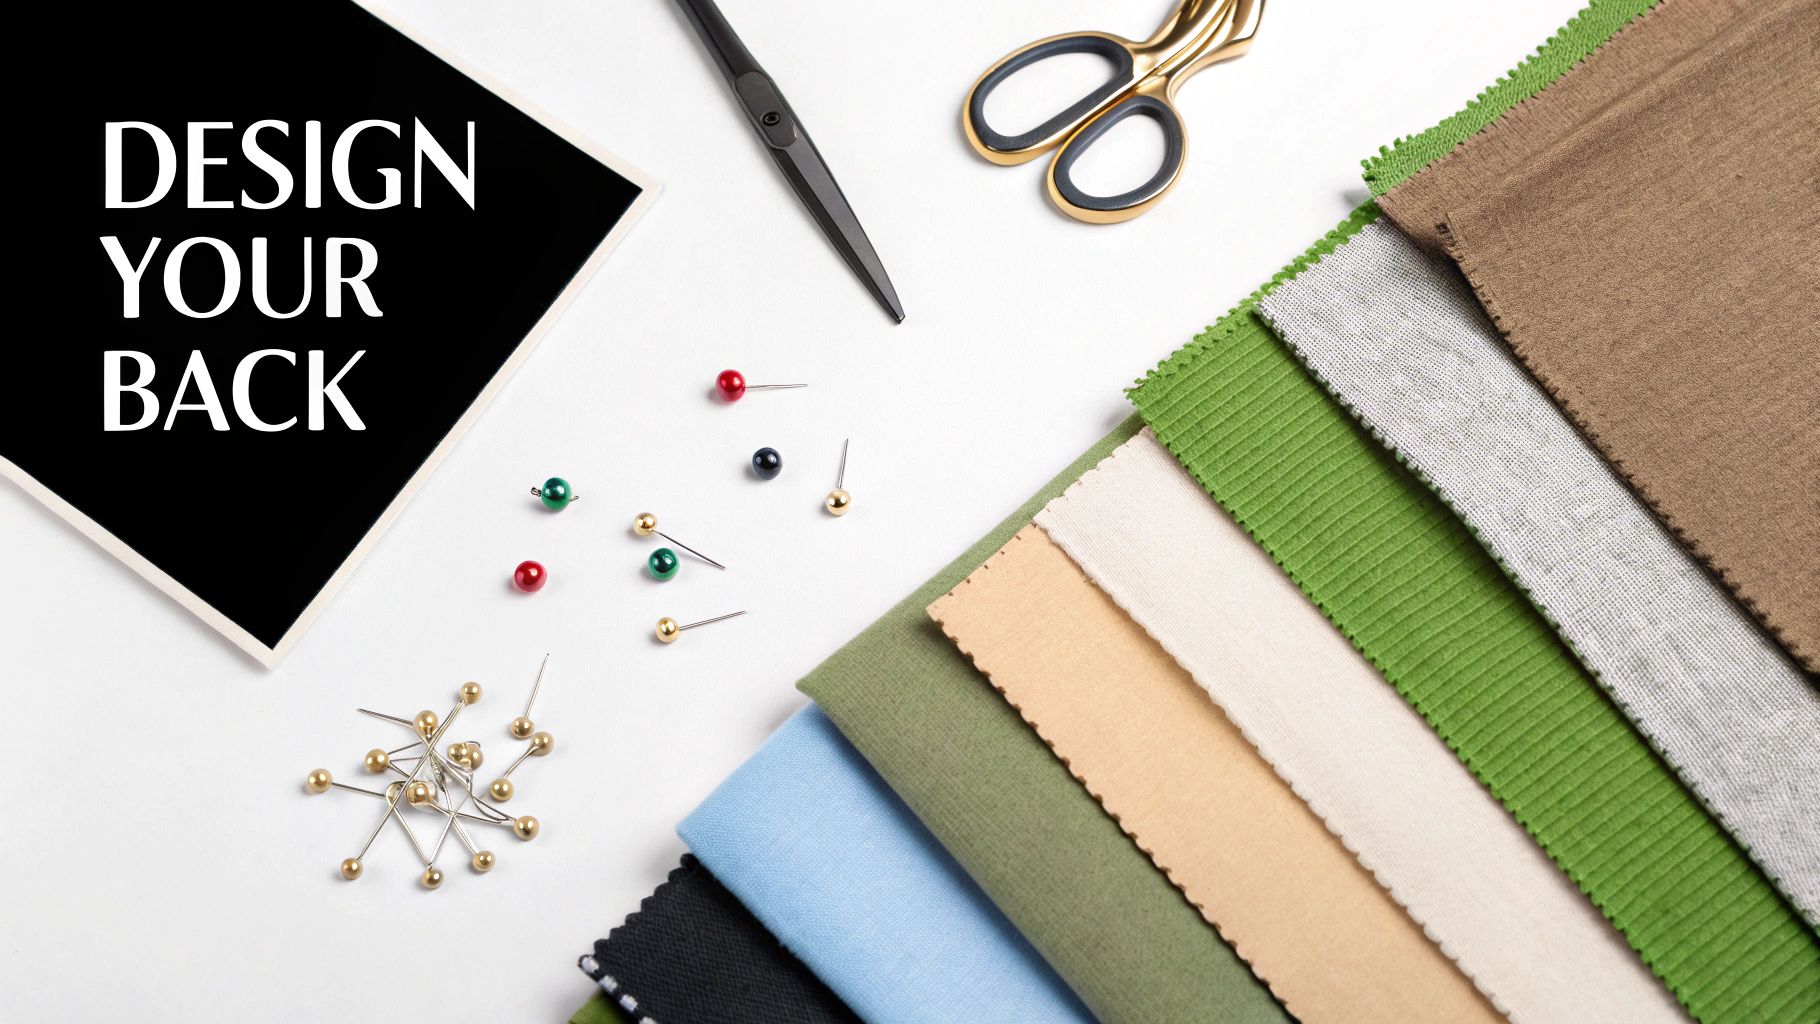
Let's be honest, the back of your quilt doesn't have to be an afterthought. While there's absolutely nothing wrong with a simple two-panel seam, I like to think of the backing as a second canvas. It's a fun surprise, a place to add another layer of personality to your work.
This is your chance to play, experiment, and finally make a dent in that fabric stash. Learning how to piece a quilt back creatively can transform what feels like a chore into a genuine design opportunity, making your quilt interesting from every single angle.
Simple and Classic Piecing Styles
Sometimes, the most straightforward methods are also the most elegant. These two approaches are the foundation for most backing designs and are my go-to when I need a quick, clean finish that still looks professional.
- The Vertical Seam: This is the workhorse of quilt backs. You simply sew two (or more) long panels of fabric together along their longest sides. It creates a clean, vertical line that can run down the center or be offset to one side.
- The Horizontal Seam: Just like it sounds, this involves sewing your panels together along their shorter widths. A lot of longarm quilters prefer this method because the seam rolls onto the quilting frame horizontally, which can help prevent any stretching or tucks along a vertical line.
Choosing between them often comes down to what makes the most sense for your yardage, but don't forget the visual impact. A simple horizontal seam can feel more modern, while a vertical seam can help elongate the design.
Incorporating a Central Decorative Panel
One of my favorite ways to add a splash of excitement to a quilt back is by inserting a central panel. This technique is brilliant for using up leftover blocks, showing off a special large-scale print, or pulling in more coordinating fabrics from the quilt top.
Picture a single strip, maybe 12 to 18 inches wide, running right down the center of your backing. This strip can be made from anything!
- Orphan Blocks: We all have them—those extra blocks you made "just in case."
- Leftover Strips: Sew together those leftover 2.5-inch strips from your jelly rolls or binding.
- "Made Fabric": This is just my term for an improvisational piece you create by sewing random scraps together until you have a section of the right size.
This "strip-down-the-middle" method is a quilter's secret weapon. It breaks up a large expanse of a single fabric, adds a pop of interest, and makes your backing look incredibly intentional—not just like you ran out of fabric.
This approach is also super practical. It lets you use two smaller cuts of your main backing fabric on either side of the decorative strip, which is a lifesaver when your pieces aren't quite wide enough on their own. The key is to choose colors and prints for your panel that tie back to the quilt top. If you need a little help with that, our guide on Color Basics for Makers can get you started.
The Improv or "Crumb" Quilt Back
For the adventurous quilter with a scrap bin that's practically overflowing, an improv back is the ultimate creative playground. A "crumb" back is made by sewing together all those small, irregular scraps of fabric—the "crumbs"—to create a completely unique and scrappy backing.
There are no rules here. You just start stitching small pieces together, pressing as you go, and gradually building larger and larger sections of "made fabric." Once you have enough to cover your quilt, you're done.
This style is perfect for:
- Memory Quilts: You can incorporate scraps from old clothing or other meaningful projects.
- Ultimate Stash-Busting: It uses up even the tiniest pieces that might otherwise get thrown away.
- A Modern Aesthetic: The random, abstract look of a crumb back can be a stunning contrast to a more traditional quilt top.
Some quilters worry that a heavily pieced back will be a nightmare to quilt over. The trick is to press your seams open to reduce bulk and make sure your pieced sections lie as flat as possible before you baste. It definitely takes more time, but the result is a one-of-a-kind piece where the back is just as captivating as the front. Sometimes, I even end up liking the back more.
Getting Hands-On: Cutting and Sewing Your Panels
Alright, with your measurements double-checked and a plan in hand, it’s time to get to the fun part—actually making your quilt back. This is where precision really pays off. A little extra care now will give you a backing that lays perfectly flat, which makes the final quilting process a whole lot easier.
Think of it this way: you’re building the foundation. If your cuts aren't straight or your seams are wavy, everything that follows will be a struggle. But stick with a few key techniques, and you'll get a professional, frustration-free result every single time.
First Things First: Prep Your Fabric
Before your rotary cutter even touches the fabric, you have to prep it properly. I know it's tempting to skip this, but trust me, pre-washing and pressing can save you from a world of headaches later on, especially when you're piecing a backing.
Pre-washing does two critical things: it preshrinks the cotton (so you don't get weird puckering after its first trip through the laundry), and it gets rid of any factory chemicals or sizing. Once it’s washed and dried, give the fabric a good, thorough press with a hot, steamy iron until every last wrinkle is gone. You simply can't get an accurate cut from wrinkled fabric.
How to Cut Long, Straight Panels
Cutting long stretches of fabric can be a bit nerve-wracking. It’s surprisingly easy for the material to shift or for your cutter to wander, leaving you with a wobbly edge that’s a nightmare to sew straight. My go-to method involves a bit of careful folding and a large, reliable cutting mat. For anyone who quilts regularly, a good work surface like a dual-side cutting mat is a game-changer; it protects your table and makes alignment a breeze.
Here’s my foolproof method for getting straight cuts:
- Fold it: After pressing, fold your fabric in half lengthwise, lining up the selvedge edges. Smooth it out so the fold is crisp.
- Fold it again: Now, fold it lengthwise one more time. You should have four layers of fabric with two folded edges and the selvedges all together on the other side.
- Square it up: Lay the folded fabric on your cutting mat and line up one of the folded edges with a horizontal line. Using a large quilting ruler, trim off the raw edge to create a perfectly straight starting point that's perpendicular to your folds.
- Measure and cut: From that freshly trimmed edge, measure the length you need for your panel and make your cut. Slicing through all four layers at once guarantees your panels are identical and your edges are perfectly straight.
A Critical Reminder: Always Remove the Selvedges Before you even think about sewing your panels together, you absolutely must trim off the selvedges—those tightly woven factory edges. They don't have the same stretch or shrinkage rate as the rest of the fabric. If you leave them in your seam, they'll cause puckering and prevent your quilt back from ever lying truly flat. Just slice them off.
Sewing and Pressing for a Flawless Finish
With your panels cut and selvedges gone, you're ready to join them. This is where technique really comes into play if you want that perfectly flat finish.
The biggest change from piecing a quilt top is your seam allowance. We live and die by a 1/4-inch seam for our blocks, but that’s not nearly strong enough for a long backing seam that will be under a lot of tension during quilting.
- Use a Wider Seam Allowance: I always use a 1/2-inch seam allowance for my backings. That extra width provides durability and strength, which helps prevent the seam from pulling apart on the quilting frame.
- Shorten Your Stitch Length: I also shorten my stitch length to around 2.0. This packs more stitches into the seam, adding even more strength.
- Don't Skimp on Pins: Long seams love to stretch and get wavy. Use plenty of pins to hold the layers together securely so nothing shifts while you're sewing.
After sewing comes the final, and arguably most important, step: pressing.
For a quilt back, you must press your seams open. On a quilt top, we often press seams to one side to help with nesting, but on a backing, that creates a thick ridge. By pressing the seam open, you distribute the fabric bulk evenly. This simple step eliminates that ridge, ensuring your quilt back is as flat as possible for smooth, even quilting without any weird texture showing through to the front. Take your time with a hot iron and coax that seam to lay perfectly flat.
Fixing Common Quilt Back Piecing Problems
Let's be honest, even after years of quilting, things can still go sideways when piecing a back. You lay it all out only to find a subtle wave along your seam, a mysterious bow in the middle, or the dreaded realization that it’s just a hair too small. Before you get frustrated, take a deep breath. Most of these issues are totally fixable.
Think of this as your troubleshooting guide. Nine times out of ten, these problems come from tiny inaccuracies in cutting, sewing, or pressing. Catching them early is the key, but even if you don't, there's almost always a way to make it work.
Taming Wavy Seams and Bowed Backings
A wavy seam or a bowed backing is probably the most common headache. It almost always happens when one piece of fabric stretches just a bit more than the other as you sew. The result is a long seam that simply refuses to lie flat.
Your iron is your best friend here. Get the backing on your pressing surface, turn on the steam, and gently coax the fabric back into shape. If you can see one side is longer, you can often "ease" the extra fullness into the shorter piece as you press the seam.
If a good press doesn't solve it, you might have to face the music and unpick the seam. I know, it's a pain. But doing it right will save you bigger headaches when it's time to quilt. A good tool makes all the difference; for a clean removal that won't damage your fabric, a sharp, ergonomic dual seam ripper and thread remover is worth its weight in gold. Once the seam is out, re-pin the panels carefully—use more pins than you think you need!—and sew it again, this time focusing on letting the machine do the work without any pulling.
My Go-To Trick: When sewing long backing seams, I always pin perpendicular to the edge. It holds the layers together so much better than pinning parallel. Plus, you can usually sew right over the pins (go slowly!) without removing them, which stops the fabric from shifting mid-seam.
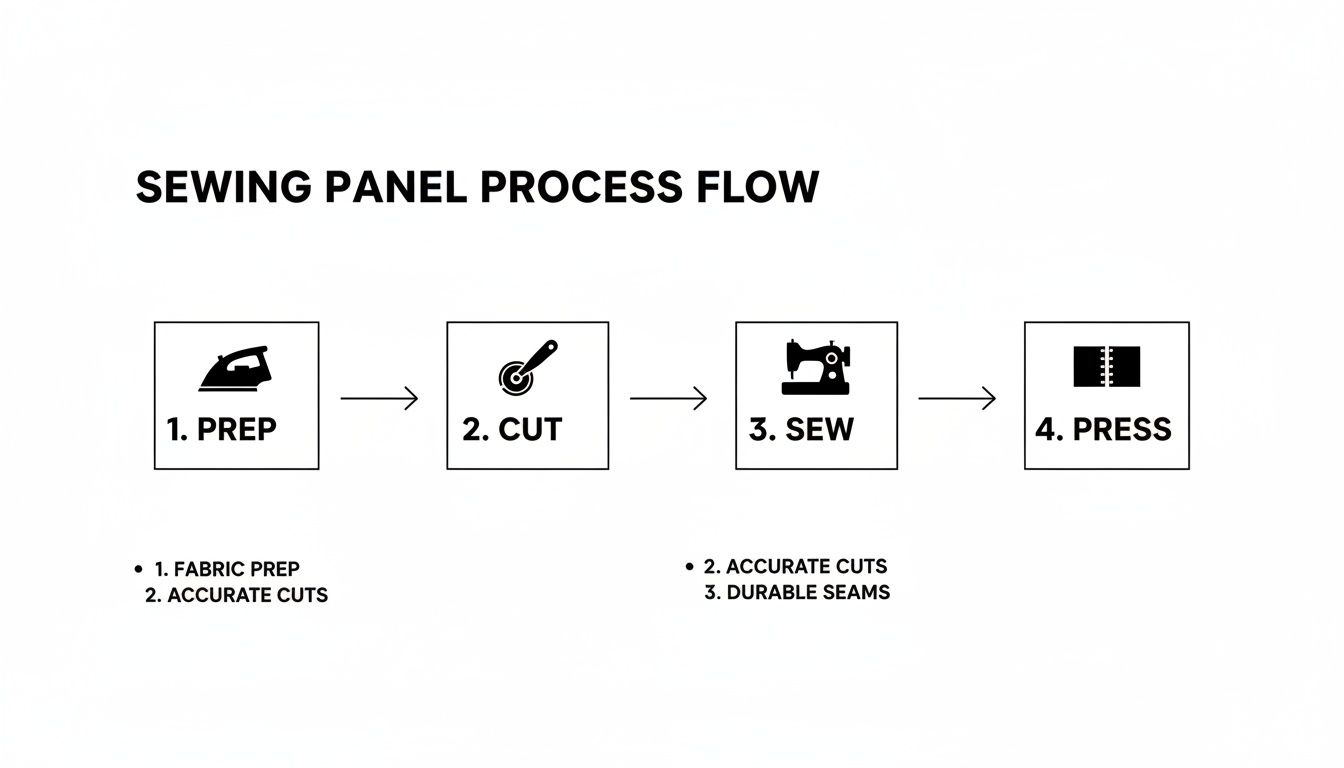
This little workflow—Prep, Cut, Sew, Press—is your best defense. Following these four steps in order will prevent most of these piecing problems before they even start.
When Your Backing Is Just Too Small
There's nothing quite like that sinking feeling when you smooth your quilt top over the backing and realize your calculations were off. Don't throw it in a corner! This is an opportunity to get creative.
- Add a Border: This is the quickest fix. Cut strips of a coordinating fabric—4-6 inches wide is a great starting point—and sew them around the entire backing like a frame. It looks intentional and solves the size issue in one go.
- Insert a Panel: This is my favorite "oops" solution because it adds a real design punch. Just slice your backing in half (either way, horizontally or vertically) and sew in a wide decorative strip of another fabric. It breaks up a large expanse of a single print and adds the inches you need.
Learning to piece and fix a backing is also a great money-saving skill. For a big 96" x 96" quilt, you typically piece three 44" widths of fabric. Sure, a 108" wideback fabric means no seams, but it often costs 20–50% more per yard. By piecing your back, you can easily reduce your fabric costs by a third or more, which makes these troubleshooting skills incredibly valuable.
Common Questions About Making a Quilt Back
Even with the best-laid plans, you're bound to run into a few head-scratchers when piecing a quilt back. It’s that final hurdle before the quilting magic happens, so you want to get it just right. Let’s walk through some of the questions I hear all the time from other quilters, so you can finish strong.
These little details are often what separates a good quilt from a truly great one.
Do I Really Need to Cut Off the Selvedges?
Yes, absolutely. Trimming off the selvedges is a non-negotiable step for a perfectly flat quilt back. Think of the selvedge as the tightly woven, almost rigid edge of your fabric—it just doesn't behave like the rest of the yardage.
Because it’s so dense, it has zero give and often shrinks differently than the rest of the fabric. If you leave it on and sew it into a seam, you'll get a stubborn pucker that no amount of steam or pressing can fix. It's worth taking that extra minute to trim them away for a smooth, stable backing that will last.
Should I Press Seams Open or to One Side?
When it comes to quilt backs, my rule is simple: always press the seams open. The whole point of preparing a quilt back is to make it as flat and unobtrusive as possible, and that means minimizing bulk.
A long, thick seam allowance pressed to one side creates a lumpy ridge you can feel right through the quilt top. That bump can be a real headache during quilting, causing everything from skipped stitches to an uneven texture.
By pressing your seams open, you distribute that extra fabric evenly on both sides of the stitch line. This creates a beautifully flat surface that’s a dream to quilt on, whether you're using a longarm or your home machine.
Can I Mix Different Kinds of Fabric on the Back?
I know it’s tempting, especially when you have a gorgeous pile of scraps you want to use up. But for the back, it’s best to stick with one fabric type—ideally 100% quilting cotton.
Fabrics like flannel, minky, and even chambray all have their own personalities. They stretch, shrink, and wear differently. Mixing them can create a distorted, puckered back after its first trip through the wash.
If you're set on mixing materials for a specific creative vision, you’ll need to take a few precautions:
- Pre-wash everything. This gets most of the initial shrinkage out of the way before you sew.
- Use a walking foot. This is a must for helping mismatched fabric layers feed evenly through your machine.
- Pin like you mean it! Don’t be shy with the pins; they’ll help keep everything aligned while you stitch.
Is It Better to Run My Seams Vertically or Horizontally?
This is a great question, and the answer really depends on your fabric and how you plan to quilt it. There’s no single right way, so you'll have to play detective for each project.
First, pull out your calculator and do the math both ways. As we saw in the planning section, running seams horizontally can sometimes save you a surprising amount of yardage compared to a vertical layout. Always check both options before you cut.
Second, think about the quilting process. Many longarm quilters strongly prefer horizontal seams. When the quilt is rolled on the frame, a horizontal seam rolls up smoothly with the layers. A long vertical seam, on the other hand, can sometimes stretch or cause a tuck as it travels the full length of the frame. If you're quilting it yourself on a domestic machine, this is less of an issue, so you can just focus on what saves the most fabric. If you're sending it out, it never hurts to ask your longarmer what they prefer.
At Famcut.com, we're passionate about providing the tools and knowledge you need for every step of your quilting journey. Explore our wide selection of high-quality fabrics, notions, and supplies to make your next project a masterpiece.