


How to Make Cosplay Weapons Your Complete DIY Guide
Every incredible cosplay weapon you see at a con starts with the same four steps: planning the design, choosing the right materials, building the core structure, and finishing with paint and details. But honestly, your success is pretty much decided before you even pick up a craft knife. It all comes down to the plan.
Your Blueprint for Crafting Epic Cosplay Weapons
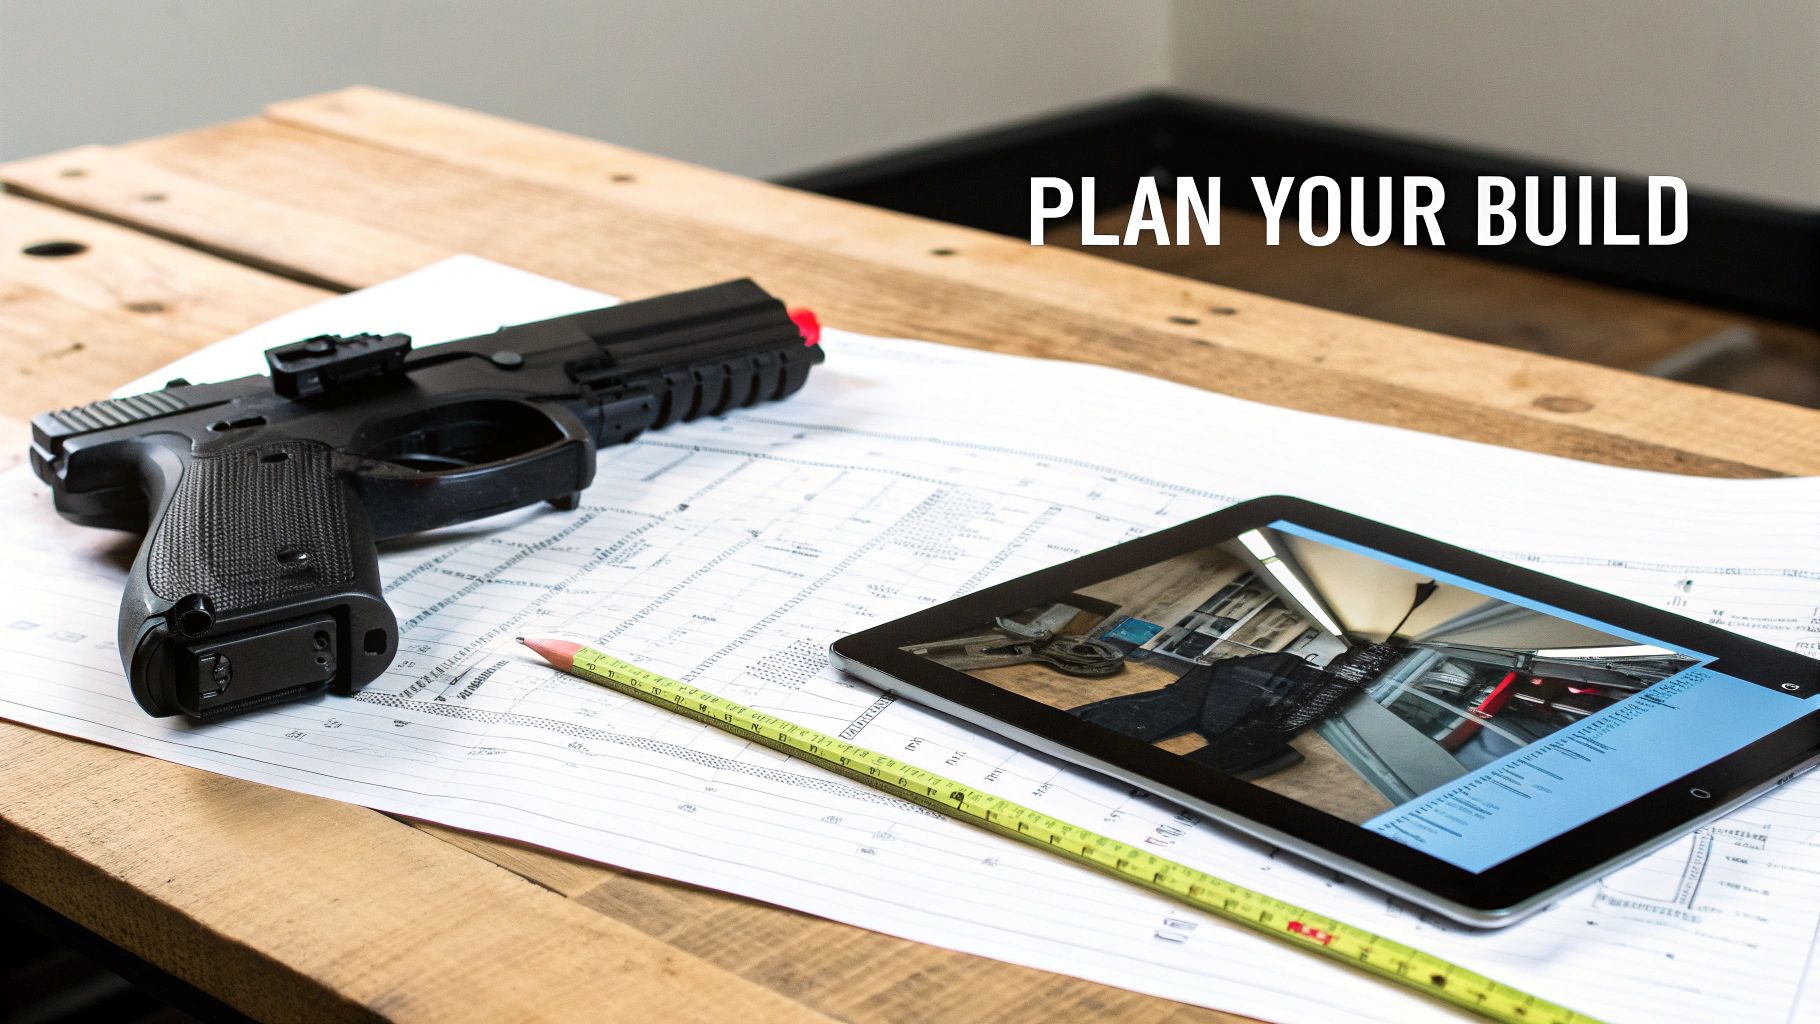 Before you even think about cutting foam, the real work begins. This is the planning phase, and I can't stress this enough: skipping it is the quickest way to end up with a wobbly, inaccurate prop that falls apart before you even get to the con floor. A great build doesn't start with tools; it starts with good references and a solid plan.
First things first, become an expert on your weapon. Don't just grab one cool promo image. You need to go on a digital scavenger hunt for screenshots from every conceivable angle, official concept art, and maybe even fan-made 3D models. This deep dive is what helps you nail the proportions and catch all those tiny details that make a prop look authentic.
Creating Your Personal Blueprint
With a folder full of reference images, it's time to make a full-scale blueprint. Seriously, don't skip this. Grab a big roll of paper and draw the weapon to the exact size you want it to be. This is the only way to truly understand how it will scale with your own body and to get the proportions right.
As you draw, start thinking like an engineer. A complex weapon isn't a single object; it's a bunch of simpler shapes put together. That futuristic rifle? It’s really just a collection of cylinders, boxes, and angled panels. A fantasy sword breaks down into a blade, a crossguard, a grip, and a pommel. Your blueprint is where you identify all these individual components.
Pro Tip: When you're drawing your blueprint, think about how you're going to get this thing to the convention. For huge props like greatswords or scythes, designing them to break down into two or three smaller pieces will save you a world of hurt. A little planning now prevents a lot of travel headaches later.
Identifying Key Components and Materials
Your blueprint isn't just a drawing; it's your shopping list and your assembly guide all in one. As you map out each component, start thinking about what material makes the most sense for it. This is how you budget effectively and make sure you have everything you need before you start.
Think about it this way:
- The Core: Does this sword need a PVC pipe or a wooden dowel running through it to keep it from flopping around? Mark its exact placement on the blueprint.
- The Body: Is the main structure beefy enough to be made from high-density EVA foam floor mats? Or is it a sleeker design that calls for something lighter?
- The Details: Can you use thin 2mm craft foam for all those intricate filigrees? Or would foam clay be better for organic shapes?
This foundational step turns the intimidating task of making a cosplay weapon from pure guesswork into a clear, manageable project. It guarantees every piece fits, the scale is perfect, and you have all your supplies ready to go. You're setting yourself up for a much smoother, and ultimately more successful, build.
Choosing the Right Materials for Your Build
The material you choose is the heart and soul of your prop. It's the foundation that dictates not just the final look, but also the weight, durability, and the entire construction process. Getting this decision right is just as important as having a solid blueprint.
Think about it this way: are you building a massive, two-handed greatsword you'll have to carry all day, or a finely detailed pistol replica? The answer will point you toward very different materials. Let’s break down the most common choices you'll encounter.
EVA Foam: The Versatile Workhorse
For most prop makers, especially when starting out, EVA foam is the answer. It’s cheap, incredibly lightweight, and surprisingly easy to work with. If you've ever seen those interlocking gym floor mats, you've seen high-density EVA foam.
That thick mat foam is perfect for the main body of a sword, axe, or shield. It holds its shape well but is still simple to cut with a craft knife. Hit it with a little heat from a heat gun, and you can bend it into smooth, organic curves. It's a game-changer.
You'll also find thinner sheets of EVA foam (anywhere from 2mm to 10mm) at craft stores. I use these constantly for layering details, like adding filigree to a dagger hilt or creating raised panels on a sci-fi rifle.
A Quick Tip from Experience: Always, and I mean always, use a fresh, sharp blade when cutting EVA foam. A dull blade will tear the foam instead of slicing it, leaving you with ugly, jagged edges that are a nightmare to sand and seal later.
Thermoplastics for Unbeatable Durability
When you need something tough as nails or want to create complex, rounded shapes, thermoplastics are your best friend. Materials like Worbla or Thibra come in sheets that become soft and moldable when you heat them up.
Once heated, you can shape them over a foam core, press them into a mold to capture fine details, or even sculpt them by hand. As they cool, they harden into a rigid plastic shell that can take a serious beating. This is why you see them used so often for armor.
A common technique is to use thermoplastics to "skin" an EVA foam core. This gives you the best of both worlds: the lightweight structure of foam combined with a super-durable, paintable plastic exterior. It's perfect for weapon parts that might get bumped around a lot.
3D Printing for Pinpoint Accuracy
The rise of affordable 3D printing has completely changed the prop-making scene. If you need a weapon to be a perfect, screen-accurate replica, this is the way to go. The level of detail you can achieve is something you just can't match by hand.
PLA is a fantastic, user-friendly filament for printing the large, structural parts of your weapon. For the tiny, intricate bits where you need a flawless finish, resin printing is often the better choice, though the parts can be more brittle. You'll need a 3D model, of course, which you can either design yourself in software like Blender or find on community sites.
This explosion in material options is a direct result of the cosplay community's growth. The global cosplay market is projected to jump from USD 5.39 billion in 2025 to a staggering USD 9.21 billion by 2035. This demand fuels innovation, and you can learn more about this trend by reading insights on the cosplay clothing market.
Cosplay Weapon Material Comparison
Feeling overwhelmed by the options? It really just comes down to your project's needs, your budget, and how comfortable you are with different tools. This table should help clear things up.
| Material | Best For | Difficulty | Cost |
|---|---|---|---|
| EVA Foam | Large swords, shields, beginner-friendly builds, and lightweight props. | Beginner | Low |
| Thermoplastics | Armor, complex curves, durable surfaces, and detailed embellishments. | Intermediate | High |
| 3D Printing (PLA/Resin) | Highly detailed replicas, complex mechanical parts, and screen-accurate props. | Intermediate to Advanced | Medium to High |
| Wood/MDF | Very rigid props, simple shapes like bats or classic sword designs. | Advanced (Requires Power Tools) | Low to Medium |
Remember, the most impressive props are often a mix of different materials. You might start with a wooden dowel for a core, build the blade from EVA foam, add a Worbla-wrapped crossguard, and finish it off with some 3D-printed gems in the pommel. Knowing how to make cosplay weapons is about learning how to combine these materials to play to their strengths.
Building Your Prop From Cutting to Assembly
You’ve got your blueprint laid out and a pile of materials ready to go. Now the real fun begins. This is where your 2D plans finally start to take shape in the real world, transforming from lines on paper into something you can actually hold. It’s all about careful cutting, smart shaping, and solid assembly—this is the heart of building your cosplay weapon.
This flow chart gives you a bird's-eye view of how a project goes from a simple idea to a physical object that's ready for the final detailing.
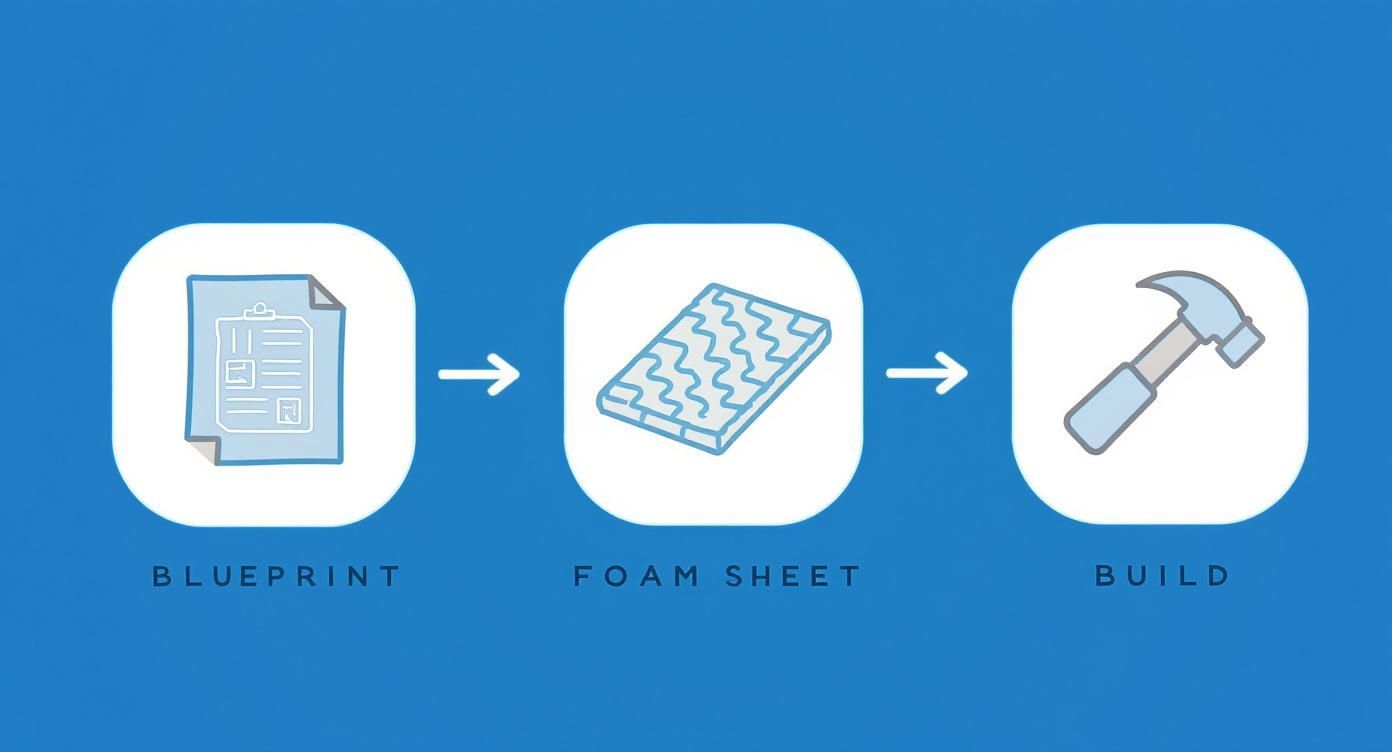
As you can see, each part of the process builds on the last. It really drives home why having a solid plan and the right materials is so crucial before you even think about picking up a knife.
Mastering the Art of the Cut
The first real step in bringing your prop to life is transferring your patterns onto the foam. Trace them out carefully, and when you’re ready to cut, live by this one golden rule: always use a sharp blade.
A brand-new blade in your utility knife will slice through EVA foam like butter, leaving you with a crisp, clean edge. A dull blade, on the other hand, will just tear and snag the material. You'll end up with a fuzzy, chewed-up mess that's a nightmare to clean up later.
When you're dealing with long, straight cuts, like the edge of a greatsword, grab a metal ruler. Use it as a guide to keep your line perfectly true. Don't try to power through the foam in one deep cut; instead, take your time and make several shallow passes. This approach gives you way more control and a much cleaner result.
Shaping and Adding Dimension
Flat foam pieces are just that—flat. To make them look like an actual weapon, you need to give them some dimension. This is where a few key shaping techniques come into play.
- Bevels: That realistic blade edge you want? You get it by cutting a bevel, which is just an angled edge. The simplest way to do this is to hold your knife at a steady 45-degree angle while you cut along the edge of your foam.
- Sanding: A Dremel rotary tool is your best friend for shaping. With a sanding drum attachment, you can smooth out rough spots, refine your bevels, and create perfectly rounded edges. Just remember to always wear a respirator and safety glasses. Foam dust is nasty stuff, and you definitely don't want to be breathing it in.
- Heat Forming: EVA foam has an almost magical quality. When you hit it with a heat gun, it becomes soft and pliable. You can gently bend it over a curved surface (like a piece of PVC pipe or even your own knee) to create things like sword guards or curved daggers. Let it cool, and it will hold that new shape permanently.
A key takeaway for beginners is that you can often hide small mistakes. One time, I accidentally nicked a piece of foam while sanding. Instead of starting over, I worked the imperfection into the design as a bit of battle damage. Sometimes the best details come from happy accidents!
Assembling for Strength and Stability
A well-built prop is a strong prop. How you assemble it will determine whether it survives a full day at a convention or falls apart the minute you walk out the door.
When working with EVA foam, contact cement is the adhesive of choice, hands down. You brush a thin, even layer onto both surfaces you want to join, then let it dry until it’s just tacky to the touch (this usually takes 10-15 minutes). Once you press the pieces together, the bond is instant and permanent, so make sure your alignment is perfect!
So, what's the secret to stopping a long foam sword from flopping around like a wet noodle? An internal core. Before gluing your main foam pieces together, carve out a channel down the center of each half and embed a support rod.
- PVC Pipes: Lightweight, cheap, and perfect for larger swords, axes, or staffs.
- Wooden Dowels: These are great for adding rigidity to smaller or thinner props like daggers.
- Fiberglass Rods: They offer a bit more flex than wood, which can be useful for certain builds that need to withstand a little bending.
Once that core is glued in place and sandwiched between the foam layers, your prop will have the structural integrity it needs to last. From there, you can start layering thinner pieces of foam on top of this base to build up all the intricate details from your blueprint. If you want to practice some basic crafting skills, guides on how to make easy DIY photo booth props can actually teach you a lot about working with similar materials and construction techniques.
Finishing Your Weapon With Paint and Weathered Effects
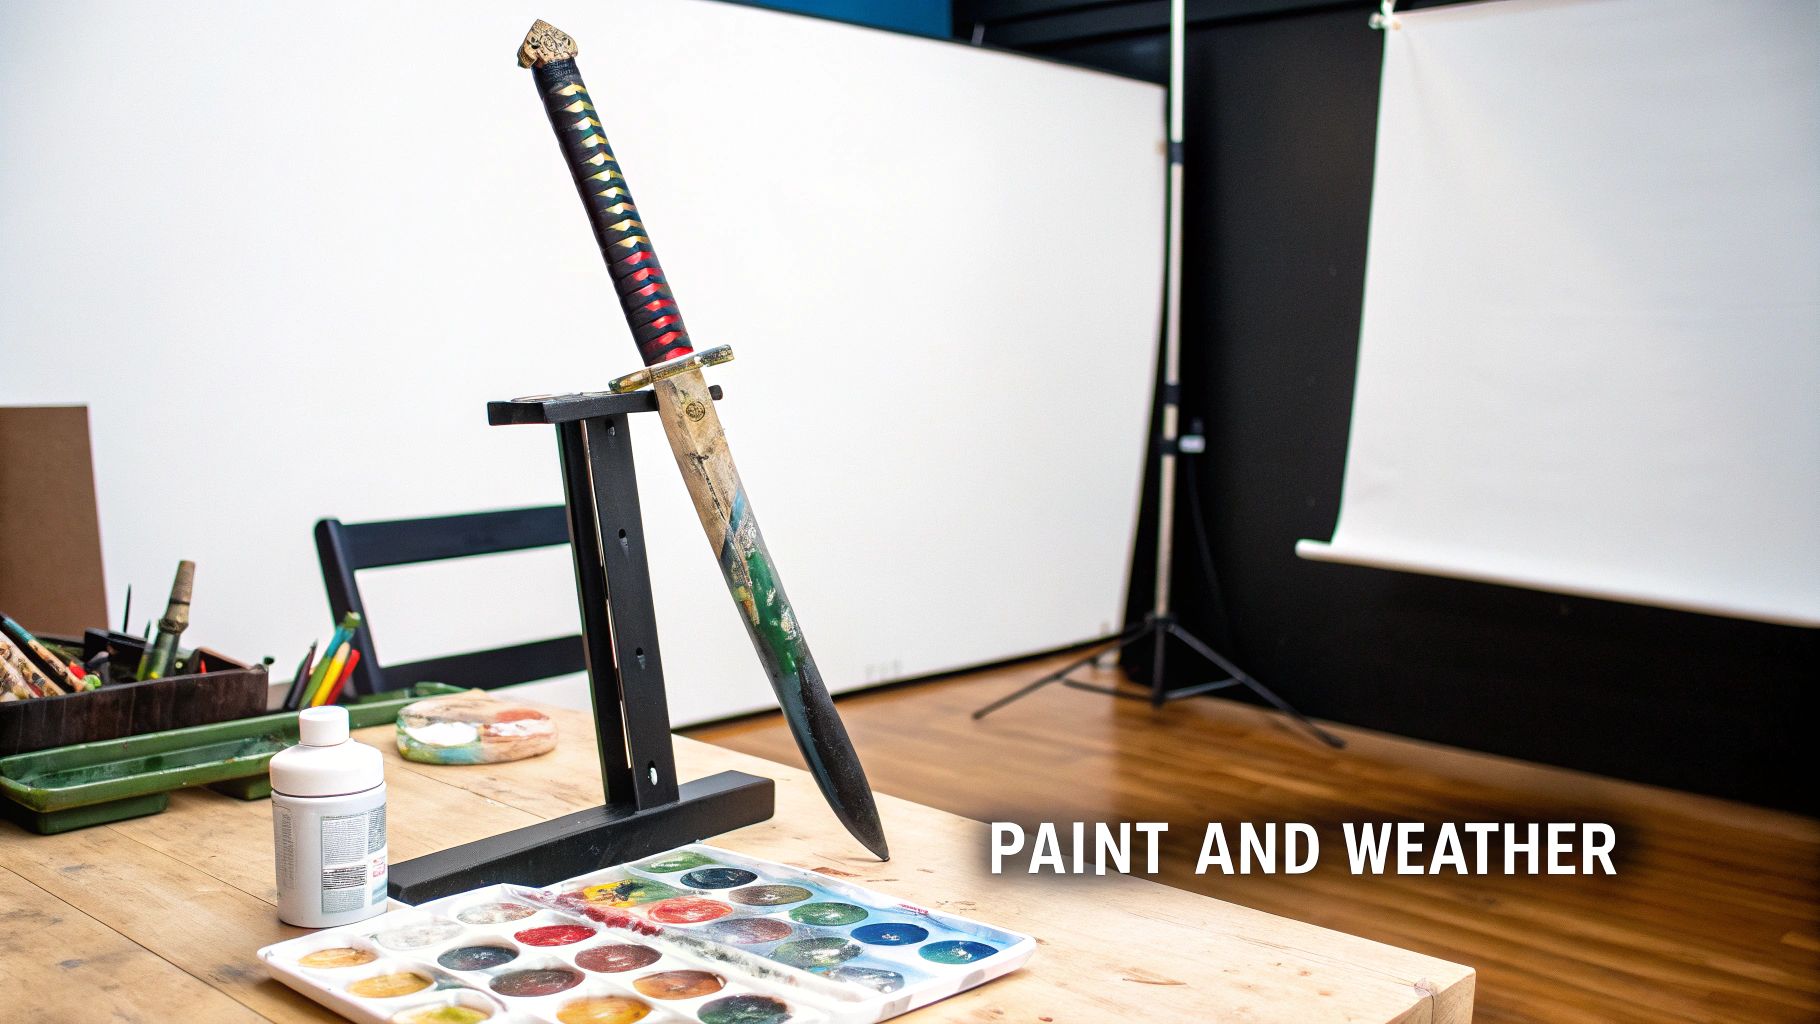
You’ve done the hard part. The cutting, gluing, and sanding are over, and you're holding something that finally looks like a weapon. That's a huge milestone, but what comes next is what sells the whole illusion. A great paint job is the difference between a prop that looks like foam and one that looks like it was yanked right out of your favorite game.
This is where your prop really comes to life. It’s not just about slapping on some color; you’re building layers of texture, history, and realism that will make people do a double-take. From the critical prep work to the final touches of grime, this is where the magic truly happens.
Sealing and Priming Your Prop
Before a single drop of paint touches your weapon, you have to seal it—especially if it's made from EVA foam. Think of foam as a sponge. If you paint directly onto it, the foam will just soak up the paint, leaving you with a splotchy, uneven mess.
Sealing creates a non-porous barrier between the foam and your paint. I've found a few methods that work wonders:
- Heat Sealing: This is the easiest first step. Gently wave a heat gun over the entire foam surface. You’ll see the texture change and get a bit shiny as the pores close up. This isn't a complete seal, but it's a fantastic starting point.
- Mod Podge or Wood Glue: A few thin layers of watered-down Mod Podge or wood glue create a hard, smooth shell. Just be patient and let each coat dry completely before adding the next one.
- Plasti Dip: This stuff is an amazing all-in-one sealer and primer. It's a spray-on rubber coating that stays flexible, so it won’t crack when your prop inevitably bends. A few coats give you a perfect, paint-ready surface.
Once it's sealed, a good primer is your best friend. A grey or black spray primer unifies the surface texture and gives the paint something to really grip onto. It also has a knack for revealing tiny imperfections you might have missed during sanding.
Applying Base Coats and Layering Colors
With your prop sealed and primed, it’s time for the fun part: the base coat. This is the main, dominant color of your weapon—the metallic silver for a sword or the dark gunmetal for a sci-fi rifle. Whether you're using a spray can or brushing on acrylics, apply the color in thin, even coats for the best result.
But don't stop at one flat color. Real-world objects are rarely a single, uniform shade. Create depth by layering slightly different tones. Try adding a slightly darker metallic paint into the recesses and a brighter one on the raised edges. This simple trick immediately makes the prop look more three-dimensional and believable. If you're looking for more guidance, you can find essential tips for painting and weathering models, and you'll find these techniques apply perfectly to prop making.
Key Insight: Always work in a well-ventilated area, especially when using spray paints or sealants like Plasti Dip. A quality respirator mask is a non-negotiable piece of safety equipment for any prop maker. Your lungs will thank you.
The Art of Weathering
Weathering is how you make your prop look used, worn, and battle-hardened. A pristine, factory-new sword just looks wrong in the hands of a seasoned warrior. This is how you add a story to your creation.
Two of my go-to weathering techniques are dry brushing and black washes. They're simple but incredibly effective.
- Dry Brushing: This is perfect for highlighting edges and textures. Dip a flat brush into some metallic paint (silver is a classic), then wipe almost all of it off on a paper towel. Lightly dust this "dry" brush over the raised edges and details. The tiny bit of remaining paint will catch on all the high points, creating an instantly realistic worn-metal look.
- Black Wash: To add grime and depth, just mix black acrylic paint with water until it's thin and inky. Brush this wash over a section of your prop, letting it seep into all the cracks and crevices. Before it dries completely, wipe the excess off the flat surfaces with a paper towel. The black will stay in the recesses, adding instant age and definition.
This level of detail is a huge part of what drives the cosplay community. In fact, the game cosplay costume market, which relies heavily on detailed props, was valued at USD 3.2 billion in 2023 and is projected to hit USD 5.5 billion by 2032. Social media showcases of incredible craftsmanship are constantly inspiring creators to push their finishing skills to the next level.
Getting Your Prop Through the Door: Convention Rules and Safety
You’ve done it. The final coat of paint is dry, the details are perfect, and your new prop weapon looks absolutely epic. But before you can show it off, there's one last, crucial hurdle: getting it past convention security. It’s a heartbreaking feeling to pour weeks of work into a masterpiece only to have it tagged as unsafe and confiscated at the door.
Let's be clear: this isn't about staff trying to ruin your fun. Convention policies are there to make sure everyone has a safe and fantastic time. Think of it as the final step in your build process—making sure your prop is as safe as it is cool.
Know the Rules Before You Build
The best time to learn about a convention's weapon policy is before you even cut your first piece of foam. Seriously. A quick trip to the event's website, usually under the "FAQ" or "Policies" section, can save you a world of pain later.
While every convention has its own unique set of guidelines, most of them follow a few core principles. You can almost always count on seeing these rules:
- No Live Steel: This is the big one. Real metal weapons are a universal no-go, even if they're dull or unsharpened.
- Size and Weight Limits: Conventions are crowded. To keep people from getting clocked in the head, many events limit how big or heavy your prop can be. That awesome 15-pound Buster Sword might be a no-go if it's too cumbersome.
- No Firing Mechanisms: Your prop can't shoot anything. This means no water, no foam darts, not even a harmless string. If it has a trigger, it needs to be disabled.
- The Orange Tip Rule: If you’re making something that looks like a modern firearm, it's going to get a lot of extra attention. Most conventions require a permanently attached, bright orange tip to make it obvious that it's just a prop.
Finding out a con has a six-foot height limit after you've built a seven-foot scythe is a lesson you only want to learn once. Plan ahead!
What to Expect from Peace-Bonding
So, how do conventions actually check all these props? They use a system called peace-bonding.
When you get to the event, you’ll need to take your prop to a specific security checkpoint. A staff member will give it a once-over to make sure it meets all their safety rules. If it passes inspection, they'll attach a brightly colored zip tie or tag to it.
This little tag is your prop’s ticket into the con. It lets all the staff and security know that your weapon has been checked and is considered safe. Whatever you do, do not remove this tag. Taking it off can get you booted from the event entirely.
The whole point of peace-bonding is safety, not punishment. I once saw a cosplayer with an incredible sword get it approved in seconds. Why? Even though it looked razor-sharp, the blade tip was actually soft foam, and they pointed this out to the staff. They appreciated that safety was built right into the design.
Build Smart, Build Safe
The easiest way to fly through the peace-bonding line is to think about safety from the very beginning of your project. A well-designed prop is almost always a rule-compliant one.
Here are a few tips to build into your workflow:
- Dull Everything Down: No sharp edges or pointy tips. Period. Sand down the edges of your foam, wood, or 3D prints until they’re completely smooth and safe to touch.
- Go with a Lightweight Core: Instead of a heavy, solid wood dowel or metal rod, try using a hollow PVC pipe or a thin fiberglass rod as the core for your weapon. It makes the prop lighter and much less of a hazard if you accidentally drop it.
- Embrace the Fantasy: If you're building a prop gun, don't try to make it look too real. Add some glowing LEDs, an exaggerated scope, or paint it in wild, unrealistic colors. The more it looks like something out of a video game, the better.
When you build with safety in mind from the start, you're not just following the rules—you're showing the event staff that you're a responsible maker who cares about the community. That foresight is what makes sure your incredible prop actually gets seen and admired on the convention floor.
Renting vs. Building a Cosplay Weapon
Let's be real: sometimes the perfect weapon for your cosplay is an absolute beast to create. Maybe it’s impossibly intricate, needs expensive tools you don't own, or you're just staring down a convention deadline with not enough time. While there's nothing quite like the pride of building your own prop, it’s not always the smartest move. This is where the world of prop rentals can be a total game-changer.
Renting lets you get your hands on a professionally made, jaw-dropping prop for a tiny fraction of the cost to build or buy it. It's a brilliant solution for a one-off event, a special photoshoot, or when you’re tackling a character whose signature weapon is notoriously complex. Think of those massive, glowing swords or sci-fi rifles with working lights—renting makes those high-level props achievable without the massive headache and investment.
So, When Should You Rent a Prop?
The decision to rent usually boils down to a simple trade-off between time, money, and your current skill set. If you're just starting out in prop making, renting lets you put all your energy into the costume itself while still carrying a weapon that looks incredible. Even for us seasoned makers, it can be a lifesaver when a con sneaks up on you or you just don't want to buy a whole new set of tools for a single project.
Think about these situations:
- The Con Crunch is Real: You’ve got two weeks until the convention and your cosplay needs a giant, detailed cannon. Renting is your hero.
- The One-and-Done Cosplay: You adore a character but know you’ll probably only wear the costume once. Renting saves you from having a huge prop collecting dust in your closet forever.
- The Skill Hurdle: The weapon requires skills you haven't quite mastered yet, like wiring LEDs or casting with resin. A rental guarantees a flawless, professional finish.
The demand for these kinds of services is definitely growing. The global market for cosplay costume rentals (which includes props) was valued at USD 321 million and is expected to hit USD 513 million by 2032. It just goes to show how many of us are looking for high-quality, accessible options. You can read more about this trend over at IntelMarketResearch.com.
How to Find and Work with Rental Services
Finding a good prop rental service is crucial. Your best bet is to start digging around on platforms like Etsy, browsing specialized prop-making forums, or asking for recommendations in cosplay-focused social media groups. Always look for sellers with a solid track record—that means clear photos of their work, detailed descriptions, and glowing reviews from fellow cosplayers.
Before you pull the trigger, read the rental agreement cover to cover. Seriously. Pay close attention to the rental period, shipping costs (to you and back again), the security deposit, and their policy on accidental damage. Any reputable service will have these terms spelled out clearly.
Once that beautiful prop arrives, treat it like it’s your own masterpiece. Be gentle with it, find a safe spot for it when you’re not posing, and be super aware of your surroundings in crowded convention halls. Taking good care of the prop not only ensures you get your security deposit back but also helps keep a fantastic resource available for the whole cosplay community.
Got Questions About Prop Making? We've Got Answers
Even the most seasoned prop-makers run into questions mid-build. It's just part of the process! Here are some of the most common things people ask when they're getting started.
What’s the Best Material for a Total Beginner?
If you're just dipping your toes into making cosplay weapons, go with EVA foam. I can't recommend it enough. It's cheap, super light, and doesn't hold a grudge if you mess up a cut. All you really need is a craft knife to cut it and a basic heat gun to give it some shape.
Honestly, it’s the perfect material to learn the ropes. You can knock out a first sword or shield and get a feel for the core skills—cutting, layering, sealing—without dropping a ton of cash on fancy tools.
How Can I Stop My Foam Sword from Being So Floppy?
Ah, the dreaded foam flop. Any long prop made entirely of foam will bend under its own weight unless you give it a backbone. We call this an internal support structure, or a core. This is the secret sauce for a sturdy weapon that's still safe for conventions.
Here’s the basic rundown of how to add one:
- Pick your poison: A thin PVC pipe, a simple wooden dowel, or a fiberglass rod are all great options for a core.
- Carve it out: Before you glue your main foam pieces together, carefully cut a channel right down the middle of each half. Make it just deep enough for your rod to sit flush.
- Lock it in: Run a bead of adhesive in the channel, press your rod into it, and then sandwich the whole thing between your foam layers. This simple trick adds all the rigidity you need for bigger props like greatswords or staves.
A solid core is absolutely non-negotiable for anything longer than a dagger. Seriously, it's the difference between a prop you can be proud of for years and one that snaps in half at its first con. Don't skip this!
Are 3D Printed Props Okay to Bring to a Con?
For the most part, yes! Conventions are usually fine with 3D printed props, as long as they stick to the same safety guidelines as everything else. That means they should be made from plastics like PLA, have no pointy bits, and obviously, can't actually fire anything.
The real scrutiny comes when you make something that looks like a real-world firearm. Those almost always need a bright, permanently-attached orange tip. But policies can vary wildly from one event to another, so always, always check the specific convention's weapon policy on their website before you pack your car.
At Famcut.com, we get it. We know the passion that goes into every single stitch and every carefully crafted prop. Whether you're putting together a masterpiece costume or just hunting for the right materials, we’re here to help you on your creative journey. Check out our wide range of sewing supplies and classes at https://famcut.com.