


How to Make a Tee Shirt Blanket The Easy Way
So, you’ve got a mountain of old t-shirts just sitting there, packed with memories you can't bear to toss. What if you could turn that pile of nostalgia into something warm and wonderful? That's exactly what a t-shirt blanket does—it takes the best parts of your old tees and stitches them together into a cozy quilt that tells your story.
This guide will walk you through transforming those shirts from closet clutter into a treasured keepsake.
Why A T-Shirt Blanket Is The Perfect Keepsake Project
Every one of those t-shirts—from that 5K you ran years ago to your favorite concert—holds a piece of your history. Instead of letting them languish in a box, making a blanket gives them a vibrant new purpose. It’s a genuinely satisfying project that turns meaningful fabric into something you can actually use every day.
The best part? You don't have to be a master quilter to get a fantastic result. We'll cover two different approaches here: a super simple no-sew method for a quick, snuggly blanket and the classic sewn quilt for a more traditional, heirloom-quality finish. Both are amazing ways to showcase your memories.
Choosing Your Method
Your biggest decision right at the start is how you want to put this all together. Are you looking for a fun weekend project, or are you ready to settle in with a sewing machine for a more detailed creation? The no-sew approach is fast and forgiving, while the sewn quilt is a bit more of an undertaking but creates a beautifully polished piece.
To help you figure out which path is right for you, let's break down the key differences.
T-Shirt Blanket Method At-a-Glance Comparison
Here’s a quick look at the two main methods to help you choose the right project for your skill level and available time.
| Feature | No-Sew Fleece Tie Blanket | Traditional Sewn Quilt |
|---|---|---|
| Skill Level | Beginner-friendly | Intermediate (basic sewing skills) |
| Time to Complete | 4-6 hours | 12-20+ hours |
| Required Tools | Scissors, ruler | Sewing machine, rotary cutter, mat |
| Finished Feel | Thick, plush, and very casual | Polished, flat, and durable |
| Durability | Good for gentle use | Excellent, built to last generations |
Ultimately, both methods lead to a fantastic, memory-filled blanket. It just comes down to the process and final look you prefer.
This kind of upcycling project is part of a much bigger trend. People are increasingly looking for personalized, sustainable ways to decorate their homes. In fact, the global blanket market was valued at USD 8.44 billion and continues to grow, partly because we all want products that feel meaningful and are kinder to the planet. By making your own blanket, you’re not just crafting; you’re creating something with a story.
Key Takeaway: The most important step is choosing the method that fits your comfort level and vision. Both techniques result in a wonderful keepsake, so pick the one that excites you the most.
Once you’ve mastered making your own memory blanket, you might get hooked on all things cozy! Feel free to explore other types of cozy plush blankets to add even more warmth to your space. And for more great project ideas, check out our collection of sewing tips and tricks.
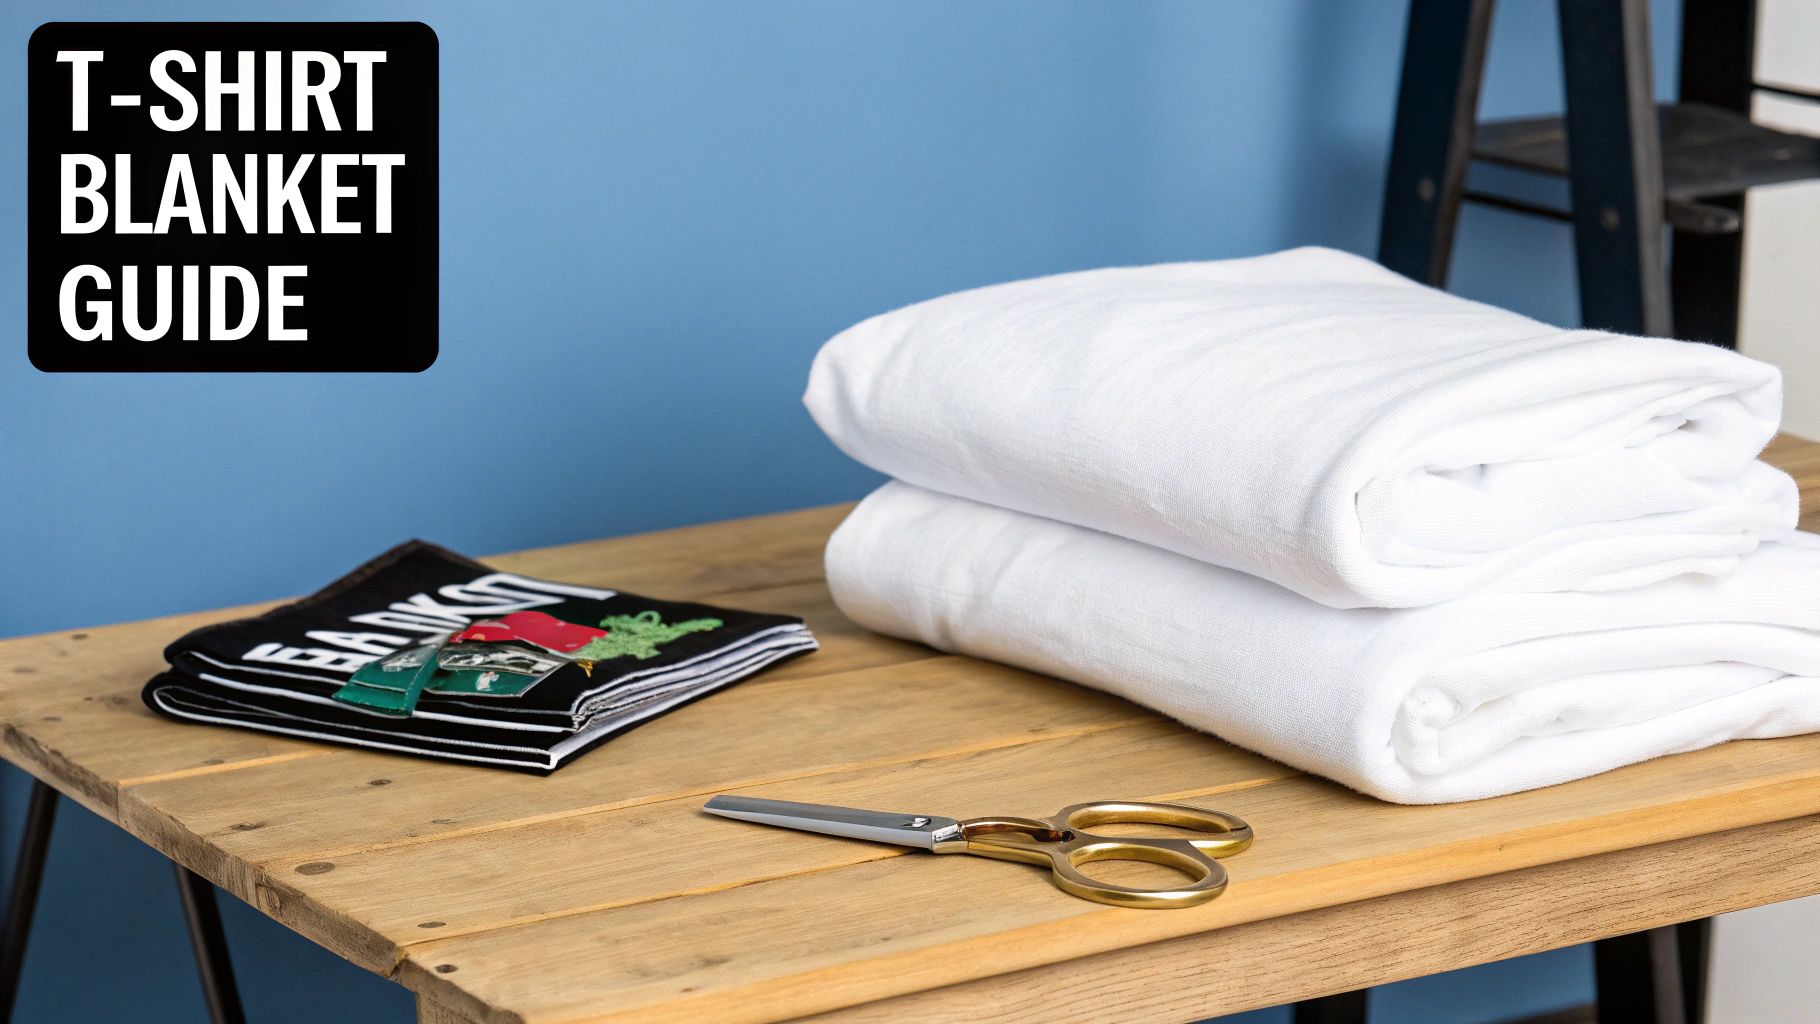
Getting Your Shirts and Supplies Ready
Any great T-shirt blanket project starts well before you ever pick up a pair of scissors. Honestly, the secret to a fantastic result is all in the prep work. If you take a little extra time now to choose your shirts wisely and gather the right gear, the whole process will be a lot more fun and you'll end up with a keepsake that looks professional and lasts for years.
Choosing and Prepping Your T-Shirts
First things first, let's round up those T-shirts. While you're picking them for the memories, give a little thought to the fabric. If you can, try to stick with shirts that have a similar weight and feel. Mixing a super-thin vintage tee with a bulky, heavy sweatshirt can be done, but it definitely adds a layer of difficulty, especially if you're just starting out.
Once you’ve got your stack, the single most important thing you can do is wash and dry every single one. This gets all the shrinking out of the way before you sew, which prevents your final blanket from getting all warped and puckered after you wash it. Getting them clean and ready is key, so it's a good idea to know how to properly wash and care for graphic tees to keep those memories looking sharp.
Here's a little tip I've learned the hard way: skip the fabric softener. It can leave behind a film that stops the fusible interfacing from sticking properly, which is a crucial step we'll get to next.
Your Must-Have Tools and Materials
Having the right tools on hand really does make all the difference. You don't need a high-end sewing studio, but grabbing these key items will make your life so much easier and give you those crisp, clean results you’re after.
- Rotary Cutter, Mat, and Ruler: This is my non-negotiable trio for getting perfectly straight cuts. A sharp 45mm or 60mm rotary cutter will feel like a dream to work with.
- Fusible Interfacing: This is the magic ingredient! Look for a lightweight woven interfacing, something like Pellon SF101. It stabilizes that stretchy t-shirt material so it behaves like easy-to-sew cotton.
- Sharp Scissors: A good pair is essential for snipping threads and handling any detailed cuts.
- Iron and Ironing Board: You'll need a decent steam iron to get that interfacing to bond correctly.
- Sewing Machine: Make sure your machine is running smoothly. I always recommend putting in a fresh needle before starting a big project like this—it solves so many potential problems before they start.
- Ballpoint or Jersey Needle: These are designed specifically for knits. Instead of piercing the fabric, they slide between the fibers, which prevents holes and those annoying skipped stitches. A size 80/12 or 90/14 is usually perfect.
The Right Way to Apply Fusible Interfacing
If you’re sewing your blanket (not doing a no-sew version), this is probably the most critical part of the whole process. Interfacing takes the stretch out of the fabric, which is what makes t-shirts so tricky to sew. If you skip this, I can almost guarantee you’ll end up with wavy, stretched-out seams.
Start by cutting a piece of interfacing that’s a little bigger than the shirt's graphic. Lay the t-shirt face down on your ironing board. Now, place the interfacing on top of the shirt’s back, making sure the bumpy, glue-dotted side is the one touching the fabric.
Pro Tip: Always start ironing from the center of the graphic and press your way out toward the edges. This little trick pushes any air bubbles or wrinkles out instead of trapping them in the middle, giving you a perfect, flat bond.
Check the instructions that came with your interfacing for the best heat setting, but it’s usually a medium-hot iron with some steam. Don't slide the iron around like you're ironing a dress shirt. Instead, press it down firmly in one spot for 10-15 seconds, then lift it and press down on an overlapping spot. Once a section is done, let it cool down completely before you move it. This gives the adhesive time to cure and create a strong bond.
Getting these basics down is what separates a good project from a great one. If you're feeling a little new to all this and want to brush up on your skills, checking out some free sewing lessons can be a huge confidence booster. With your shirts properly stabilized, you're all set for the really fun part: cutting them up and planning your design
Cutting and Designing Your Blanket Layout
Okay, your shirts are all stabilized and ready to go. Now comes the fun part—the creative stage where you turn that pile of memories into a beautiful, cohesive blanket. This is where precision and a little bit of artistry come together.
To get those perfectly clean, uniform squares, you'll need the right tools. I can't stress this enough: a rotary cutter, a clear quilting ruler, and a self-healing cutting mat are non-negotiable. Trying to use scissors will almost certainly result in wavy edges and squares that don't quite match up, which becomes a real nightmare when you start piecing everything together. For a project this size, a larger mat like a dual-sided cutting mat can be a lifesaver, giving you plenty of room to work without constantly shifting things around.
Achieving the Perfect Cut
The first big decision is what size to make your squares. Most people go with either 12.5 x 12.5 inches or 14.5 x 14.5 inches. That extra half-inch is crucial—it builds in a quarter-inch seam allowance on all sides. So, a 12.5-inch square will shrink down to a finished 12-inch block in your final blanket.
Once you’ve decided on a size, lay one of your stabilized shirts flat on the cutting mat. Place your ruler on top of the shirt, moving it around until the main graphic is perfectly centered. Now, plant your non-dominant hand firmly on the ruler to keep it from slipping. With your rotary cutter, make a clean, confident slice along all four edges of the ruler.
Pro Tip: For your own safety, always cut away from your body. A fresh blade in your rotary cutter makes a world of difference, allowing you to slice through the fabric in one smooth motion without any snags.
This visual gives a quick recap of the prep work that gets you to this point.
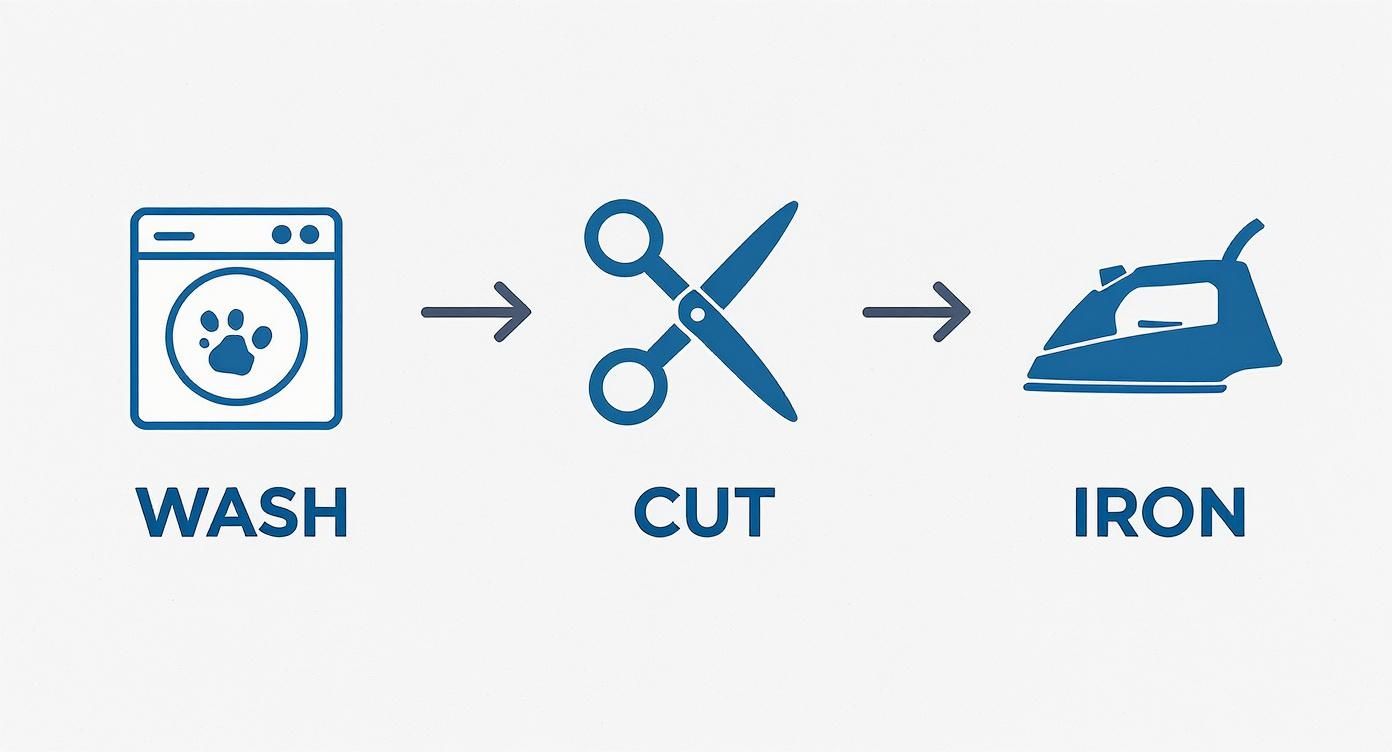
As you can see, getting the washing, cutting, and ironing right from the start is what sets you up for a great-looking finished project.
Strategies for Your Blanket Layout
With a neat stack of perfectly cut squares, it's time to play designer. Honestly, this might be my favorite step. Don’t rush through it! The way you arrange these squares will define the entire personality of your blanket.
The best way to figure this out is to clear a big space on the floor and lay out all your squares. This gives you a bird's-eye view, making it easy to swap pieces around until you land on an arrangement that just feels right.
Here are a few layout ideas I’ve used over the years:
- Balance the Colors: Try to scatter the light, dark, and bright colors evenly across the blanket. You want to avoid clumping all the black shirts in one corner, which can make the whole thing look lopsided. Think of it like a checkerboard.
- Tell a Story: Do your shirts follow a theme, like all your college tees or concert memorabilia? You could group them together in rows or sections to create a visual timeline or story.
- Create a Centerpiece: If you have one shirt that's your absolute favorite or has the boldest design, why not place it right in the middle? It can act as a powerful focal point for the entire blanket.
Once you have a layout you love, pull out your phone and snap a quick picture. This simple step is a total game-changer. It acts as your blueprint so you don't have to second-guess the order when you start sewing.
Introducing Sashing for a Polished Look
If you want to give your blanket a truly professional, quilt-shop finish, think about adding sashing. Sashing is just a fancy word for the strips of fabric you sew between the t-shirt squares, creating a grid that frames each design.
It might seem like extra work, but sashing does a few important things:
- It makes the graphics pop. The fabric strips create a bit of visual breathing room, so each shirt stands out on its own.
- It adds size. Sashing is an easy way to make your blanket bigger without needing more t-shirts.
- It can make sewing easier. Sometimes, sewing a stable cotton sashing strip to a t-shirt block is less fussy than sewing two stretchy t-shirt blocks directly to each other.
For a classic look, cut 2.5-inch wide strips of a coordinating cotton fabric. After sewing, this will create a nice 2-inch finished border between your blocks. A solid neutral color like black, gray, or one that matches your backing fabric usually works best because it won't clash with your busy shirt designs. Planning for sashing right from the start will elevate your project from a simple blanket to a classic quilt.
Putting It All Together: Assembling Your T-Shirt Quilt Top
Alright, your squares are cut, your layout is perfect, and now it's time for the real fun to begin. This is where all those individual t-shirts—each with its own story—start coming together to create one big, beautiful memory quilt.
We'll cover two main paths to get this done. If you've got a sewing machine, we'll dive into piecing a traditional quilt top. But if sewing isn't your thing, don't worry—the no-sew fleece tie method is just as rewarding and creates an incredibly cozy blanket.
For the Sewers: Assembling the Quilt Top
Sewing your quilt top is all about taking it one step at a time. The secret is to work in smaller, manageable pieces. You'll build your quilt row by row, then join those rows together. This way, you're not wrestling with a giant, unwieldy project until the very end.
The golden rule here is a consistent quarter-inch (1/4") seam allowance. I can't stress this enough! Keeping that seam allowance precise is what makes all your corners and points line up beautifully. Most sewing machine feet have a built-in guide for this, but a magnetic seam guide can be a lifesaver.
Grab the first two squares from your top row and place them right sides together, making sure the edges are perfectly aligned. Pin them in place to stop the fabric from shifting. I've also become a huge fan of using sewing clips, as they're quick, easy, and don't leave any pesky pinholes. Many experienced quilters swear by good sewing clips for holding thicker layers together.
Now, stitch along one edge using that quarter-inch seam. Keep adding one square at a time, just like that, until you've finished your first row. Repeat this for all the other rows you have planned out.
Pressing and Joining the Rows
Once you've sewn a full row, it's time to head to the ironing board. But remember, we're pressing, not ironing. Instead of gliding the iron back and forth, you gently press it down on the seam to set your stitches. Then, carefully open the seam allowances with your fingers and press them flat.
A Pro Tip: Press Your Seams Open For t-shirt quilts, pressing the seams open is a game-changer. Unlike pressing them to one side, this technique distributes the bulk from the t-shirt fabric and interfacing much more evenly. The result is a flatter, more professional-looking quilt top without those lumpy seam ridges.
With all your rows sewn and pressed, it’s time to join them. Lay your first two rows right sides together. This is where "nesting" your seams comes into play. You’ll want to align the seams where the corners of the squares meet, making sure the pressed-open seams from each row butt up against each other perfectly. Pin generously right at these intersections to lock them in place.
Sew the rows together with your trusty quarter-inch seam, pulling the pins out just before your needle gets to them. Continue adding one row at a time until your quilt top is complete. Give the whole thing one last, careful press, then step back and admire what you've created!
For the No-Sew Crew: Creating a Tie Blanket
The no-sew method is wonderfully simple and gives you a plush, super-snuggly blanket. For this, you’ll need a big piece of fleece for the backing—make sure it’s at least 4-5 inches larger on every side than your finished t-shirt layout.
Start by laying the fleece out flat on the floor, wrong side up. Arrange your stabilized t-shirt squares on top of it, right side up, following your layout. Since you don't need a seam allowance here, you can just butt the edges of the squares right up against each other.
To connect the squares into a single top, you've got a couple of choices:
- Machine-Stitch: If you have a sewing machine, you can quickly join the squares with a wide zigzag stitch. This is the most durable option.
- Use Fusible Tape: For a genuinely no-sew approach, a product like Stitch Witchery is fantastic. Just place a strip of it under the seam between two squares and use a hot iron to fuse them together.
Once your t-shirt top is one piece, center it on your fleece backing and smooth out any wrinkles. Trim the fleece so you have an even border all the way around the t-shirt top.
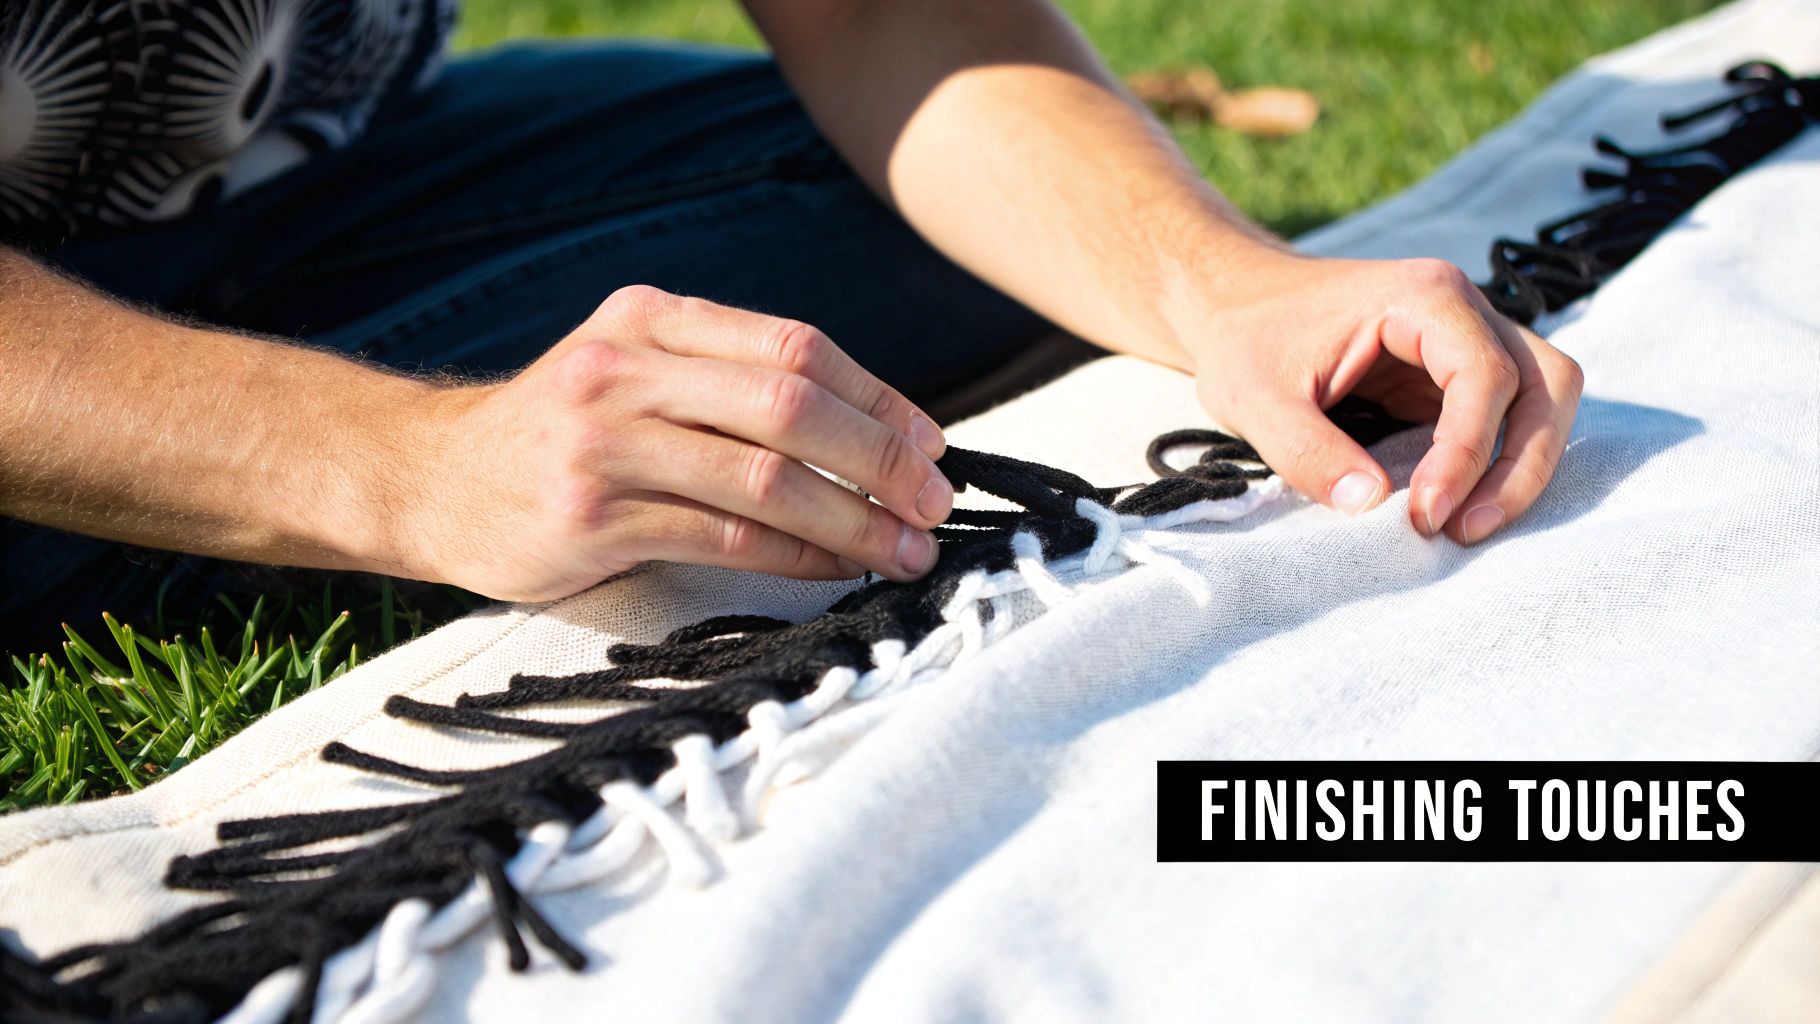
The last step is to create the fringe. Cut through both layers—the edge of the t-shirt top and the fleece backing—to make strips that are about 1 inch wide and 4-5 inches deep. Go all the way around the blanket. Finally, take each pair of fringe strips (one from the top, one from the fleece) and tie them together in a tight double knot. Work your way around the entire edge, and you're done
Adding the Finishing Touches to Your Blanket
You’ve done the heavy lifting of piecing your T-shirt top together, and now you’re on the home stretch. These final steps are what turn your collection of shirts into a durable, treasured heirloom that can handle years of movie nights and couch snuggles.
For a sewn T-shirt blanket, this final stage involves building what quilters call a "quilt sandwich." It sounds a little funny, but it’s just three layers stacked together: the backing fabric on the bottom, the batting in the middle, and your finished T-shirt top right on top.
Creating and Basting Your Quilt Sandwich
First things first, find a big, clean patch of floor where you can really spread out. Lay your backing fabric down with the wrong side facing up. I like to use painter's tape to secure the corners and edges to the floor—you want it smooth and taut, but be careful not to stretch the fabric out of shape.
Next, lay your batting down over the backing, smoothing it out from the center to get rid of any wrinkles. Finally, place your completed T-shirt quilt top over the batting, right side up. A pro tip: make sure your backing and batting are at least 4 inches larger on all sides than your quilt top. This extra fabric gives you plenty of wiggle room for quilting and binding.
With all three layers stacked, the next crucial step is basting. This is just a temporary way to hold the layers together so nothing shifts or puckers while you do the final quilting.
You have a few options for this:
- Safety Pins: The old-school, reliable method. Use curved basting pins specifically made for quilting and place one every 4-6 inches across the entire blanket.
- Basting Spray: This is my go-to for a quick finish. It’s a temporary spray adhesive that you apply to the batting before smoothing your quilt top and backing onto it.
- Fusible Batting: This stuff is a fantastic time-saver. You can learn more about how fusible batting packages use the heat of an iron to adhere the layers together.
Key Insight: Whatever you do, don't skip the basting step. It might feel a little tedious, but it's the single best way to guarantee your finished blanket lies flat without any frustrating tucks or wrinkles on the back. A well-basted quilt is an absolute joy to finish.
Quilting and Binding for a Professional Finish
Quilting is simply the stitching that goes through all three layers of your sandwich. It’s what locks everything together permanently and adds that lovely quilted texture. For a T-shirt blanket, simpler is often better—you want the shirt graphics to be the star of the show.
A really popular and easy technique is "stitching-in-the-ditch." This just means you sew directly in the seam lines—the "ditches"—between your T-shirt blocks. It’s nearly invisible and provides plenty of stability. If you’re feeling a bit more adventurous, you could always try straight-line quilting across the blocks or even get into decorative free-motion designs.
The very last step is the binding. This is the fabric border that wraps around the raw edges of your blanket, giving it a clean, durable frame. You’ll create long strips of fabric, typically cut 2.5 inches wide, and sew them to the front edge of your quilt. Then, you simply wrap the binding around to the back and stitch it down, either by hand for an invisible finish or by machine for speed.
Getting those sharp, mitered corners is what really gives a quilt that professional look. The trick is to stop sewing a quarter-inch from the corner, fold the binding strip up and away from the quilt, then fold it back down along the next side before you start stitching again. This simple fold creates a perfect 45-degree angle that looks incredibly neat.
Finishing a No-Sew Blanket
If you opted for a no-sew tie blanket, your finishing touches are much simpler but just as important for a polished look.
Go around the entire blanket and give your fringe a quick "haircut." Just trim any pieces that are noticeably longer than the others to create a more uniform, clean edge. It makes a surprising difference!
Finally, double-check all of your knots to make sure they're tight and secure. This is what will help your blanket hold up through wash cycles and years of use. And with that, your cozy, memory-filled blanket is officially done
Answering Your Top T-Shirt Blanket Questions
Even with the best tutorial, you're bound to have questions, especially when you're making your first T-shirt blanket. I've been there! Getting these common questions answered upfront can save you a ton of frustration and help you sidestep those little mistakes that can throw a wrench in your project.
Let's get right into the things people ask me the most.
How Many T-Shirts Do I Need?
This is always the first question, and the honest answer is: it depends. The final number hinges on two things—the size of the blanket you want and the size of the squares you cut from your shirts. There's no single magic number, but I can give you some solid estimates to get you started.
For a classic throw blanket, which usually ends up around 50" x 60", you’ll probably need about 20 shirts. That's assuming you’re cutting standard 12x12 inch squares. This size is perfect for draping over the back of a couch or for a dorm room bed.
Thinking bigger? Here’s a rough guide to help you plan:
- Twin Size: You'll want to gather 30-35 shirts.
- Full/Double Size: Aim for somewhere in the range of 30-40 shirts.
- Queen Size: Be ready with 40-50 shirts, and maybe a few extras just in case.
My single best piece of advice? Always, always gather more shirts than you think you need. Having a few extras on hand gives you way more freedom when you're arranging your layout. Plus, it’s a lifesaver if you miscut a square—and trust me, it happens.
Do I Really Have to Use Interfacing?
If you plan on sewing your blanket, the answer is a hard yes. You absolutely do. Think of fusible interfacing as your secret weapon for a professional-looking, long-lasting quilt.
Here’s why it’s so important: T-shirt material is a knit fabric, which means it’s designed to stretch. That’s great when you're wearing it, but it’s a total headache for sewing. Without interfacing to stabilize it, you'll end up with wavy seams, puckered fabric, and a quilt top that refuses to lay flat. Interfacing stops the stretch cold, making each T-shirt square behave just like a piece of quilting cotton. It might seem like an extra step during prep, but I promise you, it's the most critical part of getting a high-quality result. Don't skip it!
What's the Best Fabric for the Backing?
The backing fabric you choose really sets the tone for the entire blanket. It determines the weight, the warmth, and the overall cozy-factor.
Fleece is a hugely popular choice, and for good reason. It’s incredibly soft, warm, and thick enough that you often don’t need a separate layer of batting inside, which simplifies the whole process. Flannel is another fantastic choice if you’re going for that soft, snuggly vibe.
If you’re aiming for a more traditional quilt, then standard quilting cotton is the way to go. With this method, you'll create a "quilt sandwich"—your t-shirt top, a layer of cotton or polyester batting in the middle, and the cotton backing. When you're picking out your backing fabric, find a color or a subtle pattern that pulls everything together. It's a great chance to complement the colors on the front of your blanket.
Can I Use Sweatshirts or Other Kinds of Shirts?
Absolutely! I love mixing in different types of clothing. Adding sweatshirts, jerseys, or even pieces of an old flannel shirt can give your blanket amazing texture and make it so much more interesting. The key is to be mindful of the different fabric thicknesses you're working with.
A heavy sweatshirt is obviously much bulkier than a thin t-shirt, so you might not even need to apply interfacing to those thicker pieces. When you start sewing different weights together, switch to a strong, sharp needle (a 90/14 universal or jersey needle is perfect for this) and just sew a little slower to keep things from shifting. I've also found that placing the heavier squares near the edges of the blanket can help the whole thing hang and lay more evenly when it's all done.
Ready to start your next creative project? Famcut.com has all the high-quality supplies, tools, and inspiration you need to bring your sewing and cosplay ideas to life. Visit us at https://famcut.com to explore our collection.