


Your Guide on How to Hand Sew a Quilt from Start to Finish
Learning how to hand sew a quilt comes down to a few fundamental skills: creating the "quilt sandwich" with your fabric and batting, marking out your pattern, and then joining it all together with a simple running stitch. It’s a beautifully simple process that lets you turn basic materials into a family treasure, one patient stitch at a time.
Embracing the Timeless Art of Hand Quilting
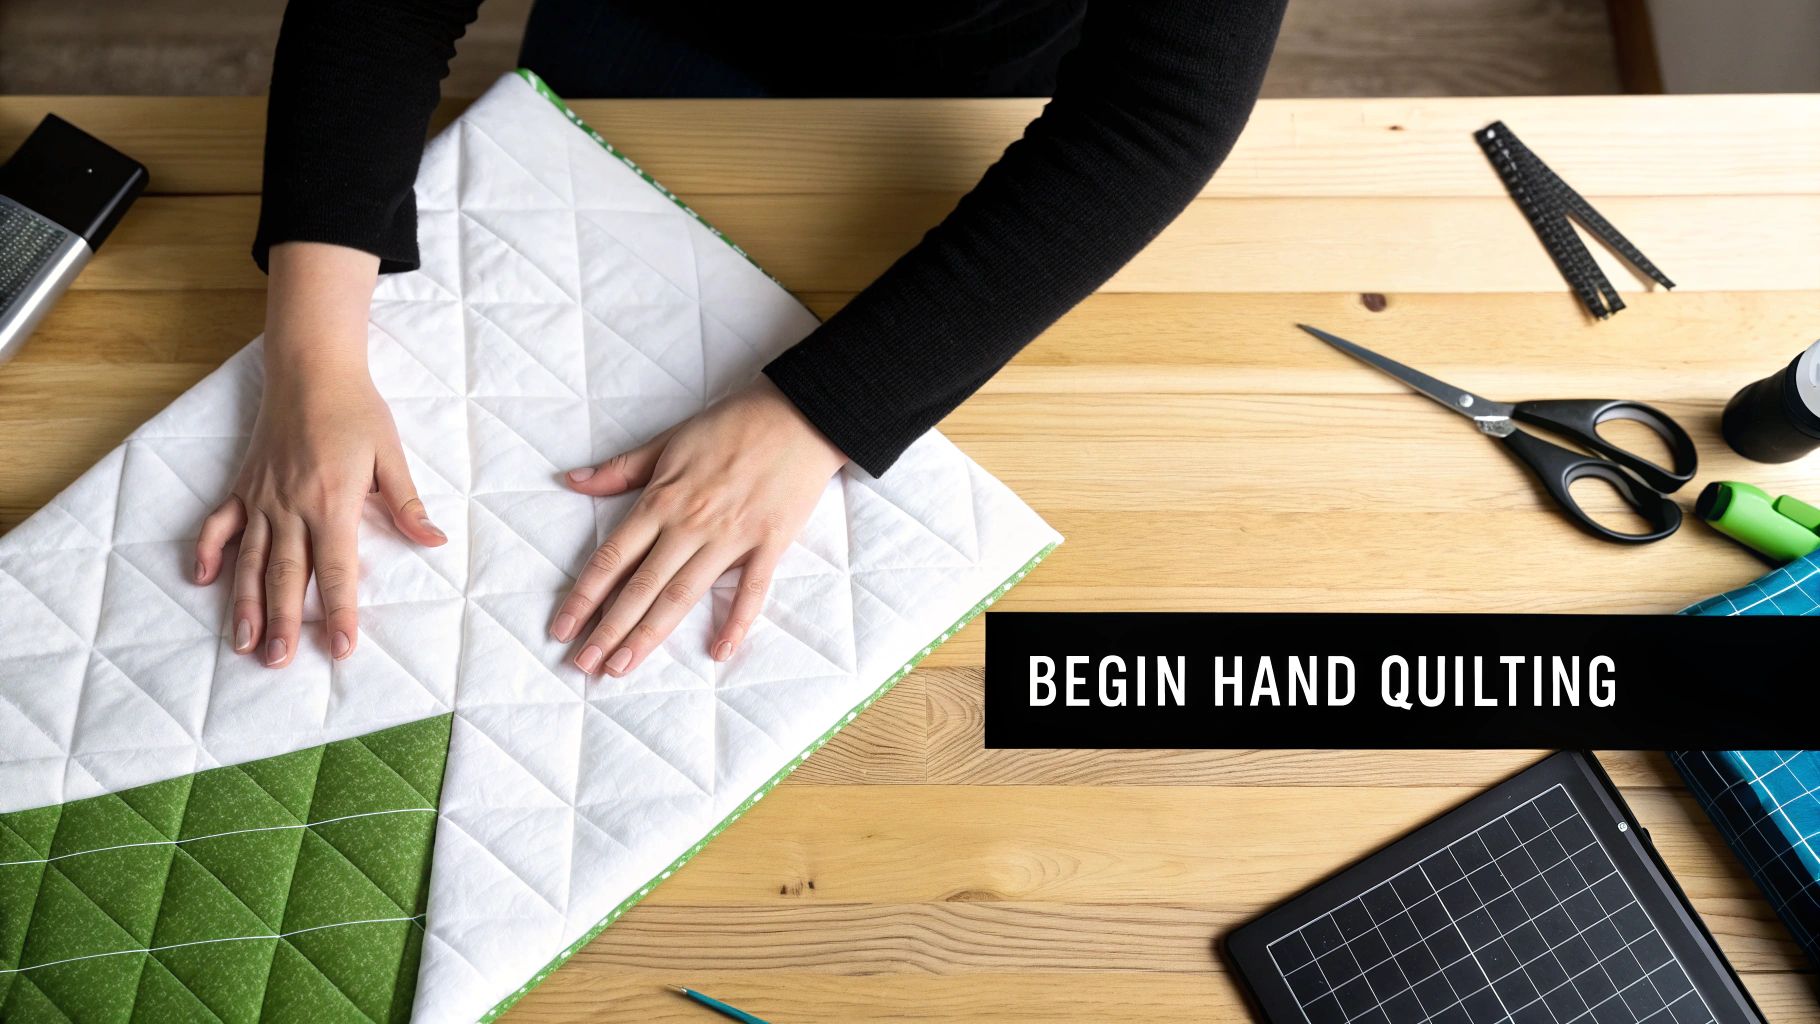
Starting a hand-sewn quilt is about so much more than just sewing. It’s a chance to slow down, disconnect, and create something truly meaningful with your own two hands. While machine quilting is fast and efficient, hand quilting is a completely different experience—it's meditative, tactile, and every single stitch adds a piece of you to the final work.
Think of this guide as your personal roadmap. We'll walk through everything you need to know, building your confidence from the very first stitch to the final binding.
Every quilt, no matter how complex, is built from three core layers. Getting these right is the foundation of your entire project.
- The Quilt Top: This is the star of the show—the decorative top layer. It’s often pieced together from different fabrics to create a beautiful pattern. If this is your first time, starting with a simple design made of squares is a fantastic way to learn the ropes.
- The Batting: This is the unsung hero tucked inside. It's the fluffy middle layer that gives your quilt its warmth, weight, and cozy texture. For beginners, I always recommend starting with a cotton or cotton-poly blend because it's stable and easy to work with.
- The Backing: This is the single, solid piece of fabric that makes up the bottom of your quilt. You'll want to choose a fabric that feels nice to the touch and complements the design on the front.
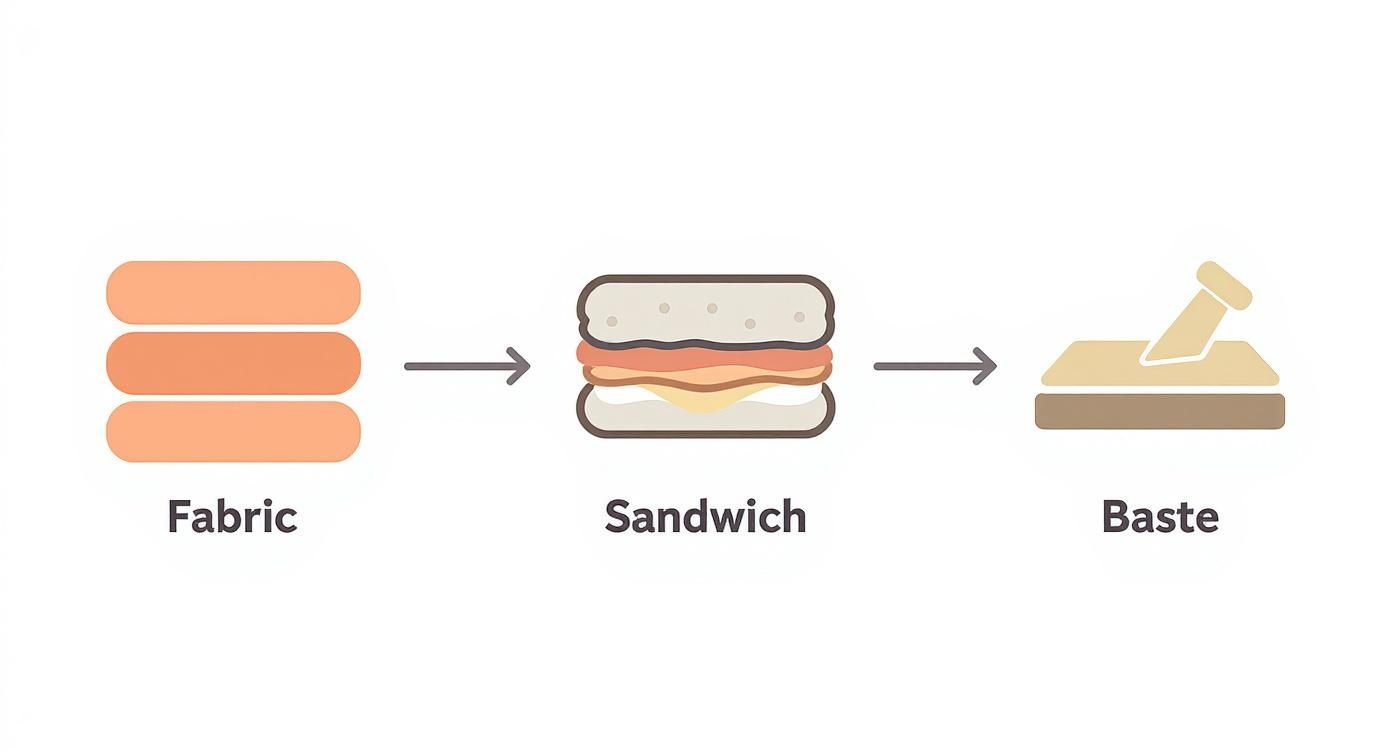
When you layer these three pieces together, you've created what quilters lovingly call the quilt sandwich. Getting this sandwich prepped and basted correctly is absolutely crucial. It prevents the layers from shifting around as you sew, which saves you a world of frustration later on.
A Craft Steeped In History
When you pick up a needle and thread, you're not just starting a project; you're connecting with a craft that has a rich and fascinating history. Hand quilting has evolved from a practical necessity into a beloved art form.
While the basic idea of quilting has been around for centuries, the techniques we recognize today really took hold in the 18th and 19th centuries. Quilting bees were common social events where women gathered to work together, turning a solitary chore into a vibrant, communal experience. Stories, friendships, and memories were woven into every seam. You can find more fascinating details about historical quilting on sites that catalog these traditions.
Key Takeaway: The real magic of a hand-sewn quilt isn't just in the finished blanket. It’s in the quiet moments of the process. Each stitch is made with intention, making the final piece a genuine reflection of your time, care, and creativity.
Preparing Your Quilt for Hand Sewing
Any seasoned quilter will tell you the real secret to a beautiful, pucker-free quilt isn’t just in the stitch work—it's all in the prep. Getting this initial stage right is like building a strong foundation for a house; a little extra care here prevents major headaches down the road.
Before you even touch a rotary cutter, your first job is to pre-wash your fabrics. I know, it feels like an extra step, but trust me, it's non-negotiable. Washing accomplishes two critical things: it preshrinks the cotton so your finished quilt doesn't get all wonky after its first trip through the laundry.
It also gets rid of any excess manufacturing chemicals and dyes, preventing a vibrant red from bleeding all over your crisp white fabric. Just a quick, gentle cycle and a good press with a hot iron will give you stable, colorfast fabric that’s a dream to work with. If you're looking to gather unique materials, check out these estate sale tips for sourcing vintage materials.
Creating the Quilt Sandwich
Once your fabrics are washed, pressed, and cut to size, it’s time to build the famous "quilt sandwich." This is simply the layered stack of your quilt top, the fluffy batting in the middle, and your backing fabric. The goal here is to get all three layers perfectly smooth and aligned, without a single wrinkle or bump.
First, you'll need a large, clean floor space. Lay your backing fabric down first, wrong side facing up. I like to use painter's tape to secure the corners and edges to the floor, pulling it just taut enough to be smooth without actually stretching the fabric. This gives you a fantastic, stable base.
Next, spread your batting over the backing, smoothing it out from the center toward the edges with your hands. Finally, carefully lay your quilt top, right side up, over the batting. Take your time with this part—getting every layer flat is the key to avoiding frustration later.
The Art of Basting
Basting is how we temporarily hold the quilt sandwich together while we quilt. It stops the layers from shifting around, which is the number one cause of those dreaded puckers and tucks on the back of your quilt. You’ve got a couple of tried-and-true methods to choose from.
- Safety Pin Basting: This is probably the most popular method, especially for beginners. You'll want to use special curved safety pins made for quilting—they’re much easier to open and close. Start pinning from the center of the quilt and work your way out, placing a pin every 4-6 inches, or about a hand's width apart.
- Thread Basting: This traditional technique involves using a needle and a contrasting color of thread to make long, running stitches through all three layers. It definitely takes more time than pinning, but it gives you an incredibly secure hold without any hard pins getting in your way as you quilt.
Pro Tip: If you go with thread basting, use a single strand of soft cotton thread that will be easy to pull out later. Instead of knotting the beginning, just leave a long tail and secure the end with a simple backstitch.
Choosing the right batting is also a huge part of this process. A quality batting provides the perfect loft and is easy to needle through. I've found that different projects call for different feels, and a deluxe cotton-poly blend batting can make a noticeable difference in the final texture and warmth. Once your quilt is basted, it becomes a single, stable unit, ready for the meditative process of adding your stitches.
Mastering The Essential Hand Quilting Stitches
Alright, your quilt sandwich is basted and ready. This is where the real magic happens—the quiet, rhythmic process of stitching that turns layers of fabric into a proper quilt. The stitches you choose are more than just thread holding things together; they add texture, create secondary patterns, and infuse your work with a personality that's all your own.
We’re going to walk through the fundamental stitches that every hand quilter should know. Each one has its place, and once you get a feel for them, you’ll know exactly which one to reach for on any given project.
As you can see, getting to this point required careful prep work. That same attention to detail now shifts from the layers to the stitches themselves.
Comparing Hand Quilting Stitches
Before we dive into the "how-to," let's get a bird's-eye view of the three core stitches. Understanding their strengths and weaknesses will help you decide which one is right for your project and your current skill level.
| Stitch Type | Best For | Appearance | Beginner Friendliness |
|---|---|---|---|
| Running Stitch | All-purpose quilting, covering large areas, traditional designs. | Classic, evenly spaced dotted line. | ★★★★★ (Easiest) |
| Backstitch | Outlining shapes, reinforcing seams, areas needing extra strength. | Solid, continuous line resembling machine sewing. | ★★★☆☆ (Moderate) |
| Stab/Seed Stitch | Thick quilts, dense batting, precise placement on tricky spots. | Small, individual stitches that create texture. | ★★★★☆ (Fairly Easy) |
Ultimately, the best way to learn is by doing. I recommend trying all three on a practice swatch to see how they feel in your hand before committing to a large quilt.
The Classic Running Stitch
This is the stitch everyone pictures when they think of hand quilting. The running stitch is efficient, beautiful, and creates that traditional dotted-line texture we all love. The key isn't just making one stitch at a time, but "loading" the needle.
You’ll use a gentle rocking motion, weaving the needle up and down through all three layers to gather 2-4 stitches on it before you pull the thread through. This technique is a game-changer for both speed and consistency. For this kind of work, most quilters swear by a "between" needle in a size 10 to 12. The goal for experienced quilters is often 8 to 12 stitches per inch, but don't obsess over that number when you're starting out.
The Sturdy Backstitch
Think of the backstitch as your reinforcement stitch. It creates a strong, unbroken line that looks almost identical to machine sewing, making it perfect for defining shapes or securing areas that will get a lot of wear and tear, like the edges of an appliqué.
To make it happen, you bring your needle up, take a small stitch backward, and then bring the needle up again a full stitch length ahead of your starting point. You're always stitching back to meet the end of the last stitch. It does use more thread and takes a bit more time, so save it for when you really need that solid line and extra strength.
The Practical Stab Stitch
Also known as the seed stitch, the stab stitch is your best friend when dealing with puffy batting or dense fabric. Instead of rocking the needle, this is a two-part motion.
You push (or "stab") the needle straight down through all the layers with one hand. Then, you bring your other hand underneath the quilt to push it straight back up. It’s slower, for sure, but it gives you incredible control and prevents any puckering on those thicker projects. Each stitch is perfectly placed and straight.
Expert Tip: Don't even think about hand quilting without a good thimble. It's not a suggestion; it's a necessity. It saves your finger, helps you push the needle with consistent force, and will make your stitches far more even with way less strain.
Tips For Perfect Stitches
No matter which stitch you choose, your mantra should be "consistency over speed." Focus on making your stitches—and the gaps between them—as uniform as you can.
Tension is everything. Your thread should be just tight enough to create a tiny dimple, or "pock," in the fabric. If the quilt starts to pucker, you're pulling too tight. If the stitches look loose, they need a little more tension.
Finding a needle you love can make all the difference. If you struggle with tiny needle eyes (and who doesn't?), check out options like John James Easy Threading Needles. They can make the process much more enjoyable. Over time, all this work will naturally boost your hand dexterity, leading to faster, more precise quilting.
Designing Your Quilting Pattern and Path
Your stitches are so much more than just thread holding fabric together. They're a design element in their own right, adding texture, depth, and a whole new layer of pattern to your quilt. Planning your quilting path is where the real artistry shines through, letting you decide exactly how your stitching will play with and enhance the pieced top you've worked so hard on.
The goal here is to complement your quilt, not overpower it. You'd be surprised how often the simplest patterns make the biggest impact, creating a subtle, beautiful texture that just makes the entire piece feel complete.
Starting With Simple and Effective Patterns
When you're just dipping your toes into hand quilting, it’s a good idea to start with patterns that are straightforward and forgiving. These foundational designs are perfect for building your confidence and getting the hang of even stitch length without having to worry about complex curves right away.
Here are two of my favorite patterns for beginners:
- Stitching in the Ditch: This is exactly what it sounds like. You quilt right inside the "ditch" created by the seams where your fabric pieces meet. It’s a brilliant way to make your patchwork pop, and since the stitches are nestled in the seams, it’s incredibly forgiving if your stitches aren't perfectly uniform just yet.
- Grid Quilting: This classic technique involves quilting straight lines across your quilt to form a grid of squares or diamonds. A 2-inch grid is a really common and manageable size for a first project. It adds a lovely, consistent texture and does a fantastic job of securing all three layers together.
Don't think of these as just "beginner" options, though. They are timeless designs that experienced quilters return to again and again for their clean, classic appeal.
Accurately Marking Your Quilting Lines
To get those clean, straight lines or gentle, swooping curves, you’ll need to mark your path on the quilt top before you pick up a needle. A little precision here goes a long way. When you have a clear guide to follow, you can relax and focus on your stitching rhythm and tension instead of constantly worrying about whether you're sewing in a straight line.
There are a few great tools for the job, and each has its place:
- Disappearing Ink Pens: These are a lifesaver for light-colored fabrics. The ink is usually blue or purple and vanishes on its own within 24-48 hours—or you can make it disappear instantly with a little spritz of water. Just be sure to test it on a scrap of your project fabric first to make sure it fades completely.
- Hera Marker: This is my personal go-to for its sheer simplicity. It's a smooth plastic tool that doesn't leave any ink or chalk at all. Instead, you press it firmly along a ruler to create a sharp crease in the fabric. The line is easy to see and stitch along, and you never have to wash it out.
- Chalk Pencils: A classic for a reason. Chalk pencils are perfect for marking on darker fabrics where ink might not show up. They come in a few different colors and simply brush away when you're done.
A Quick Tip on Marking: Try to mark your quilt in smaller sections as you go. If you mark the entire thing at once, you run the risk of the lines fading or rubbing off before you can get to them. Working in more manageable zones keeps your guidelines fresh and clear.
Planning Your Quilting Direction
Thinking about your "quilting path" isn't just about the pattern—it’s also about the physical process of moving the needle through the fabric. A well-planned path makes the quilt easier to handle and is the secret to avoiding puckers and bumps.
The golden rule is to start quilting from the center of the quilt and work your way outwards. This method systematically smooths out any fullness in the fabric, pushing it toward the edges instead of trapping it in the middle.
For instance, if you're quilting a grid, you would stitch all the lines going in one direction first, starting with the centermost line and working out. Then, you'd rotate the quilt and do the same for the perpendicular lines, again starting from the center. This strategic approach is absolutely crucial for a smooth, professional-looking finish.
For more complex shapes, like those beautiful "Grandmother's Flower Garden" quilts, a specialized tool like a 1952 hexagon stencil can be a huge help for both marking and planning your path efficiently.
Putting the Finishing Touches on Your Quilt
The final steps are where your quilt truly comes to life. This is the moment your project transforms from a collection of stitched layers into a polished, durable heirloom. Taking your time here protects all your hard work and gives your quilt that beautifully handcrafted look you’ve been working toward.
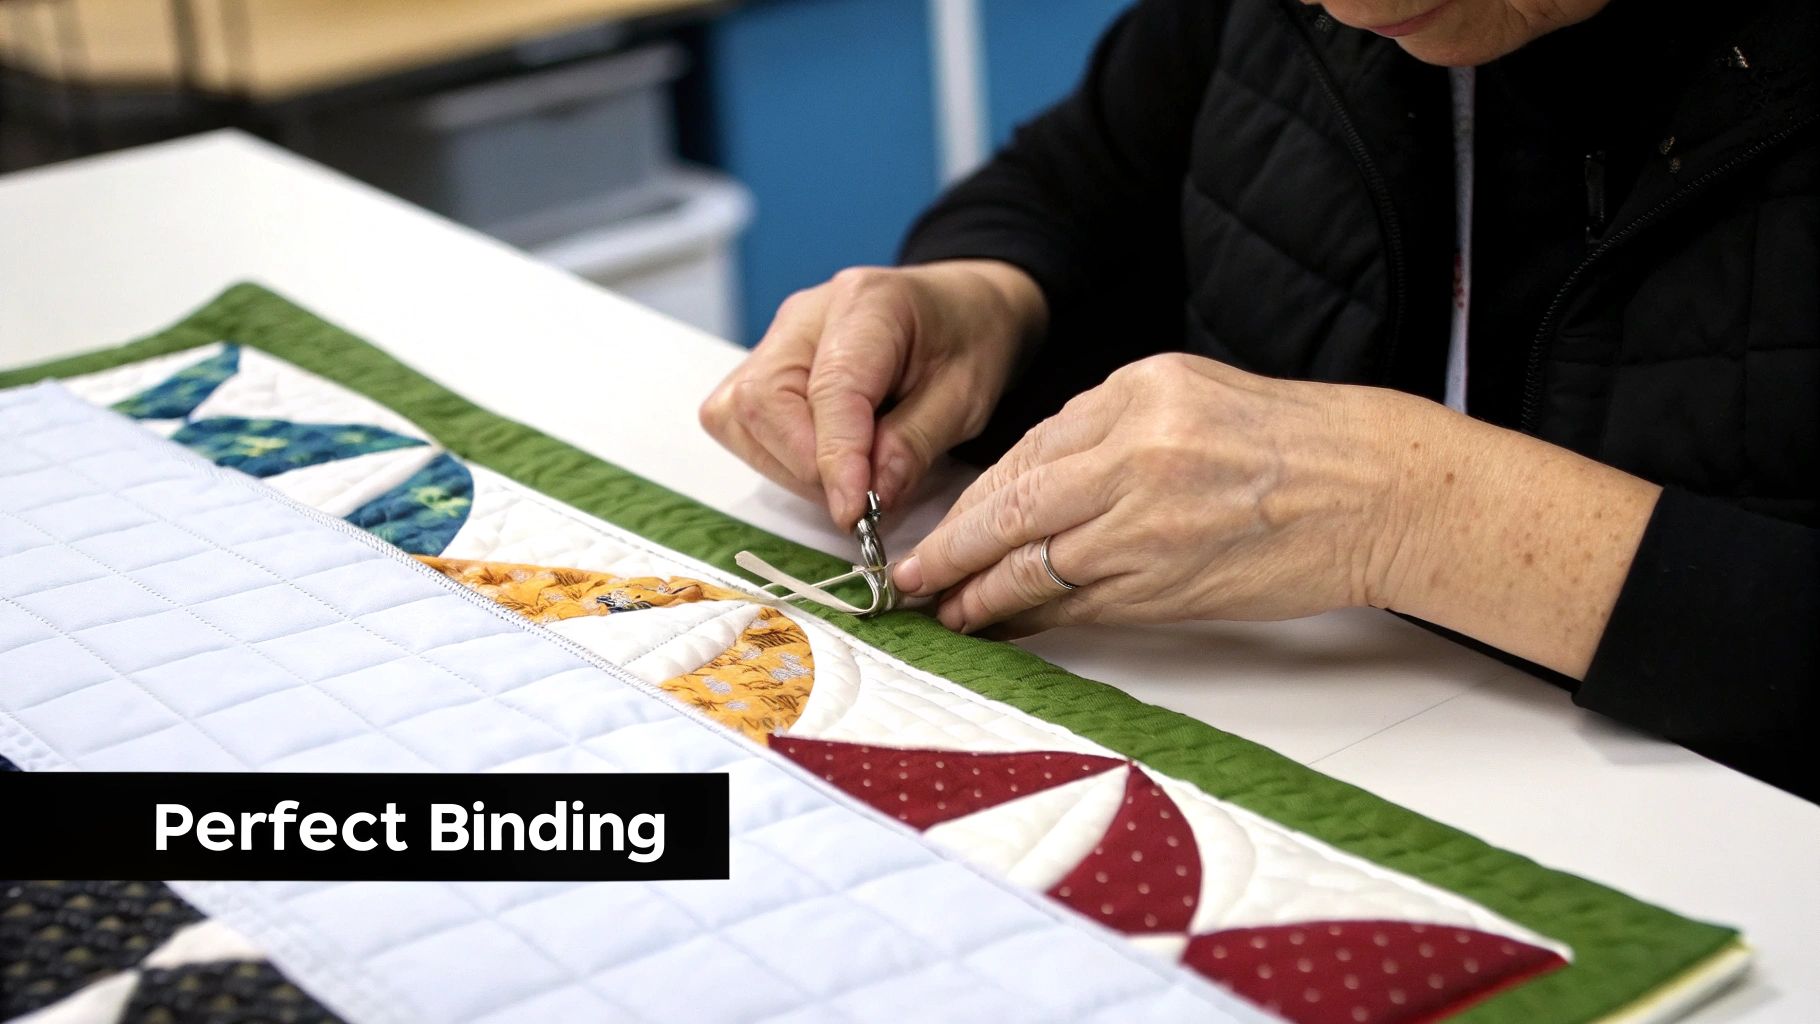
Binding is more than just a pretty border. It’s a vital structural piece that encases the raw edges of your quilt sandwich, shielding them from fraying over time. While there are plenty of ways to bind a quilt, a completely hand-sewn binding offers a seamless finish that perfectly honors your hand-stitched work.
Creating and Attaching Your Binding
First things first, you need to create one long, continuous strip of fabric. For most quilts, a binding width of 2.5 inches is a great standard to work with. To figure out the length, just measure the full perimeter of your quilt and add about 12 extra inches—this gives you enough wiggle room to neatly join the ends.
You'll create this long piece by cutting several 2.5-inch strips from your chosen fabric and joining them on a diagonal. Why the diagonal seam? It distributes the bulk, so you don't end up with a lumpy, thick spot in one place on your binding.
Here's how to create that seamless join:
- Place two strips right sides together, forming a 90-degree angle.
- Draw a diagonal line from one corner to the other.
- Stitch right on that line.
- Trim away the excess fabric, leaving a neat ¼-inch seam allowance.
- Press the seam open to keep it flat.
Just keep repeating this process until all your strips are connected. Once you have your long strip, press the whole thing in half lengthwise (wrong sides together) to create your double-fold binding. This can be a bit tedious with a long strip, which is where a good Oliso M3 Pro Mini Iron with trivet comes in handy. A mini iron gives you precise heat exactly where you need it, making the job much faster.
With your binding prepped, it's time to attach it to the front of your quilt. Line up the raw edges of your folded binding with the raw edge of the quilt, leaving an 8-inch "tail" loose at the beginning. Stitch the binding down using a ¼-inch seam allowance, but be sure to stop ¼ inch from each corner. This is key for creating those perfect mitered corners.
Mastering Mitered Corners: As you approach a corner, stop stitching exactly ¼ inch from the edge. Lift your presser foot and fold the binding strip straight up, away from the quilt, creating a 45-degree angle. Then, fold it back down along the next side of the quilt you're about to sew. This creates a tiny, neat pleat that will fold into a perfect mitered corner when you flip the binding to the back.
Once the binding is sewn all the way around the front, flip it over to the back. The folded edge should now cover the machine stitching line you just made. Using a needle and a thread that matches your binding, use a slip stitch (also called a ladder stitch) to sew the binding down by hand. This stitch is practically invisible and gives you a strong, beautiful finish.
The First Wash and Blocking
After that last binding stitch is knotted, it's time for the quilt's first wash. This is such a satisfying step! It washes away any lingering marking lines, softens the fabric, and gives your quilt that classic, crinkly texture we all love.
Wash your quilt on a gentle cycle with cold water and a mild detergent. You can tumble dry it on low heat, but laying it flat to air dry also works beautifully.
Sometimes, a quilt can come out of the wash just a little bit wonky. This is where blocking comes in. Blocking is simply the process of gently coaxing the quilt back into a perfect square. To do this, lay the damp quilt on a flat, protected surface (foam mats work great) and gently stretch it into a perfect rectangle. Use a T-square or a large quilting ruler to make sure your corners are true 90-degree angles, and you can use pins to hold it in place as it dries.
The enduring appeal of handmade quilts has fueled a thriving craft economy. In fact, the quilting industry has seen incredible interest, with North American revenues growing from $1.8 billion in 2000 to a projected $4.5 billion by 2025. This really speaks to the deep appreciation for the unique quality and heart that goes into handmade items.
Finishing your quilt is a huge milestone. It’s the culmination of hours of patience and creativity. By taking care with these final steps, you're ensuring your beautiful work will be loved and enjoyed for years to come.
Answering Your Top Hand-Quilting Questions
As you get comfortable with hand quilting, you're bound to run into questions. It’s all part of the process! Having some clear answers handy can keep your project moving forward and your confidence high. Let’s tackle some of the most common things quilters ask.
How Long Does It Take to Hand Sew a Quilt?
This is the big one, isn't it? The honest-to-goodness answer is: it depends. A simple lap quilt with basic, straight-line quilting might take you around 40-60 hours. But a sprawling, intricately stitched king-sized quilt? You could easily pour 200 hours or more into that kind of project.
The timeline really comes down to a few key things:
- The Quilt's Size: It’s a no-brainer—a baby quilt will come together much faster than a queen.
- Your Design's Complexity: Stitching in the ditch is way faster than working through complex, curved motifs.
- How Dense Your Stitches Are: The closer your stitches, the longer it takes. Many quilters aim for 8-12 stitches per inch, and believe me, that adds up!
My best advice is to stop thinking about the finish line. Hand quilting is a marathon, not a sprint. Try to enjoy the slow, meditative rhythm of the work and the simple joy of watching it all come together, one stitch at a time.
What’s the Best Thread for Hand Quilting?
Using the right thread can make or break your entire experience. You're looking for something strong enough to last but smooth enough to pull through three layers of fabric without turning into a tangled mess.
For most projects, you can't go wrong with a 100% cotton thread. It has a lovely matte finish that just melts into cotton fabrics and holds up beautifully over time. Another fantastic choice is Perle cotton, especially in size 8; it’s a bit thicker and gives your stitches a gorgeous, decorative texture. Just be sure to avoid regular machine-sewing thread—it's usually too fine and will likely snap from the tension of hand quilting.
How Do I Fix Puckers or Tucks?
That sinking feeling when you flip your quilt over and see a pucker... we've all been there. Thankfully, it's usually fixable. Puckers happen when the layers of your quilt sandwich shift around as you're stitching.
The best defense is a good offense. Baste your quilt thoroughly, always start quilting from the center, and work your way out to the edges. This prevents most shifting issues from the get-go.
If you do spot a pucker, don't panic. If it's a small one, you can often just gently smooth the fabric with your fingers as you quilt toward it. For a more significant pucker, the best solution is to take a deep breath, snip the stitches in that area, and re-smooth everything before quilting it again. It feels like a setback, but it’s absolutely worth it for a flat, beautiful finish. If you need a refresher on the basics of fabric handling, brushing up with some free sewing lessons can be a huge help.
Can I Combine Hand and Machine Quilting?
Absolutely! This is a brilliant strategy for getting the best of both worlds. A lot of quilters use their sewing machine to "stitch in the ditch," which just means quilting along the main seam lines of the pieced top.
Doing this quickly secures the entire quilt sandwich and gives it stability. From there, you can slow down and add all the beautiful, decorative hand quilting you want. This hybrid approach is a popular, practical way to balance the speed of a machine with the unique artistry of hand stitching.
At Famcut.com, we're passionate about supporting your creative journey, whether you're a seasoned quilter or just starting out. We offer a wide range of high-quality fabrics, notions, and tools to bring your vision to life. Explore our collection and find everything you need for your next project at https://famcut.com.