


How to Bind a Quilt for a Flawless Finish
Binding a quilt is the final, satisfying step that pulls your entire project together. It's how you frame your masterpiece, wrapping the raw edges in fabric strips to give it a clean, durable, and polished look. The basic idea is simple: create one long strip of fabric, sew it to the front of your quilt, then wrap it around to the back and stitch it down.
Your Guide to a Flawless Quilt Binding
The binding is so much more than a functional edge; it’s the last artistic touch you'll add to your quilt. Think of it like the frame on a painting. It can echo the colors in your quilt top, add a surprising pop of contrast, or blend in quietly to let your piecing take center stage. A beautifully done binding is a sign of true craftsmanship, protecting your quilt from wear and tear while showing off your attention to detail.
My goal here is to take the intimidation out of this final step and turn it into a process you can actually enjoy.
This final touch is part of what keeps this craft so well-loved. The global quilting market was valued at around USD 5.32 billion in 2024, which shows just how much people appreciate both handmade and manufactured quilts. No matter how it's made, a solid binding is non-negotiable for a quilt that looks great and lasts for years.
Setting the Stage for Success
Before you even think about cutting your fabric, let's talk about a few key concepts. Getting these right from the start will save you a world of headaches later. The choices you make right now have a direct impact on how your binding turns out.
We'll walk through:
- Fabric Selection: Choosing the right fabric and, just as importantly, understanding the grain is your first big decision.
- Essential Tools: Having the right gear on hand makes the whole process smoother and much more precise.
- Binding Styles: Will you finish by machine or by hand? Your answer changes how you'll approach the final steps.
Making thoughtful choices about materials can completely change the look and feel of your finished quilt. It's always a good idea to compare fabric qualities such as bamboo vs Tencel to see what works best for your specific project.
A great binding starts with thoughtful preparation. The most common frustrations—like wavy edges or bulky corners—can often be traced back to the initial steps of fabric selection and cutting.
We’ll dig into the 'why' behind each recommendation, from deciding between straight-grain and bias binding to gathering the tools that genuinely make a difference. This foundational knowledge is what will give you the confidence to bind any quilt. By the time we're done, you'll have the skills to create a finish you'll be truly proud of.
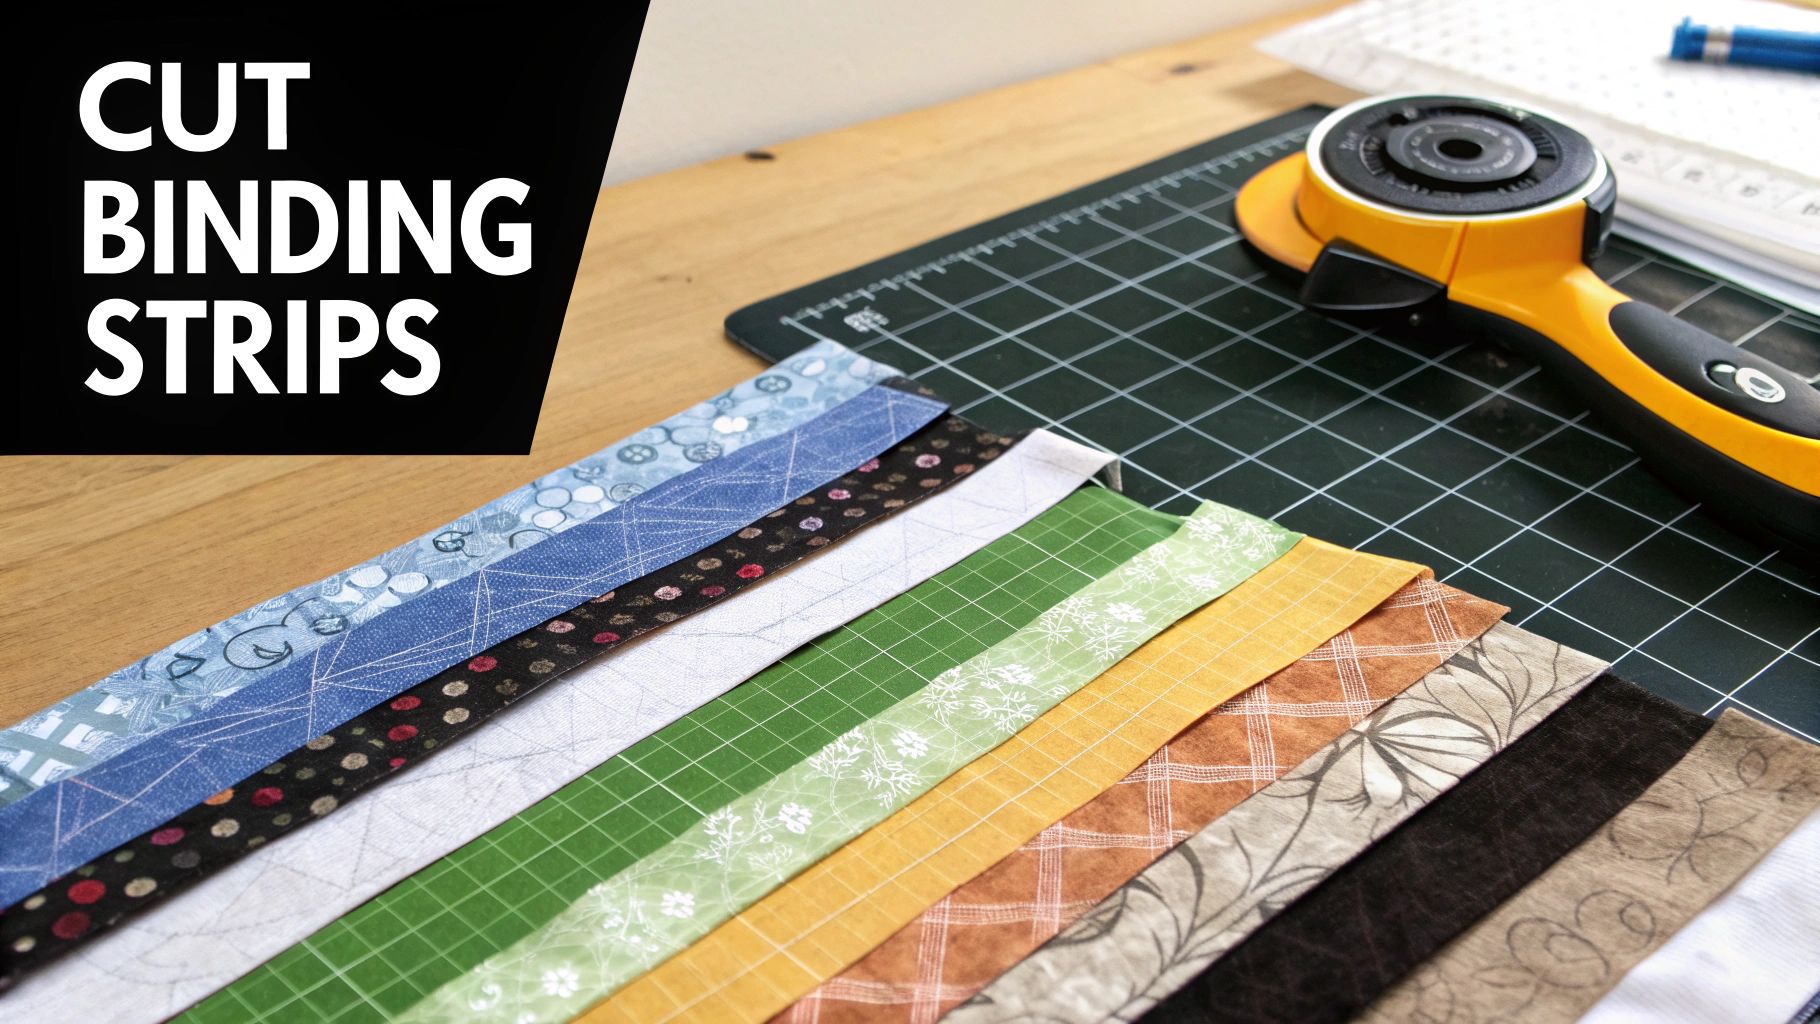
Preparing and Cutting Your Binding Strips
A great finish starts long before you sit down at the sewing machine. Getting your binding strips prepped and cut correctly is probably the most important part of the whole process. It's all about precision here—taking a few extra minutes to get it right will save you a massive headache later.
First things first, let's figure out how much fabric you actually need. Just measure the perimeter of your quilt (all four sides added together) and then toss in an extra 10 to 15 inches. This little bit of insurance gives you enough slack to join the ends and create those perfect mitered corners without the stress of running out.
For a 50" x 60" quilt, you'd calculate (50 + 50 + 60 + 60) + 15, which means you need 235 inches of binding strip. Easy.
Choosing Your Strip Width
The width you cut your strips to really changes the final look of your quilt's edge. While there's no hard-and-fast rule, a quarter-inch can make a surprising difference.
The two most common widths you'll see are:
- 2.25 inches: This is my go-to for a slightly more delicate finish. It creates a narrower frame around the quilt, but be warned: it requires a very accurate ¼" seam allowance to catch properly on the back.
- 2.5 inches: This is the gold standard and what I always recommend if you're just starting out. It's much more forgiving and gives you plenty of fabric to wrap around the edge, creating a full, sturdy binding that's easier to stitch down by hand or machine.
For nearly every quilt I make, I use a double-fold binding, sometimes called a French-fold binding. It’s the workhorse of quilt binding—incredibly durable and perfect for quilts that will see a lot of love and washing. All this means is you’ll fold your long, joined strip in half lengthwise before you even think about attaching it to the quilt.
Deciding on the right width is a key step that influences both the look and feel of your finished quilt. Here's a quick breakdown to help you pick the perfect size for your project.
Binding Strip Width Guide
| Strip Width | Finished Look | Best For | Skill Level |
|---|---|---|---|
| 2.25" | Narrow, delicate frame | Wall hangings, modern quilts, experienced quilters | Intermediate |
| 2.5" | Standard, full, and sturdy | All quilts, especially bed quilts and baby quilts | Beginner-Friendly |
| 2.75" | Extra-full, chunky edge | Quilts with thick batting, hand-quilting projects | Beginner-Friendly |
Ultimately, the best width is the one you feel most comfortable working with and that best complements your quilt's design.
Joining Strips for a Seamless Finish
Now that your strips are cut, you need to turn them into one long, continuous piece. The trick to a professional-looking binding is to join them with a diagonal seam. Why? Because a straight seam creates a noticeable bump, but a diagonal seam distributes that bulk so it practically disappears.
Here’s how to do it:
- Lay two of your strips right sides together, forming a 90-degree angle.
- Using a ruler and a fabric marker, draw a line from the top-left corner to the bottom-right corner of the overlapping area.
- Sew right on that line.
Once it's sewn, grab your scissors and trim the excess fabric, leaving about a ¼" seam allowance. When you open up the strips, you'll have a perfect, flat diagonal join.
Pro Tip: Press your diagonal seams open, not to one side. This is a game-changer. It makes the seam lie incredibly flat, which is exactly what you want for a smooth binding that doesn’t have any weird lumps.
Keep joining your strips this way until you have one long piece. The very last step is to take your finished binding to the ironing board and press the entire length in half with the wrong sides together. Now you're officially ready to start attaching it to your quilt
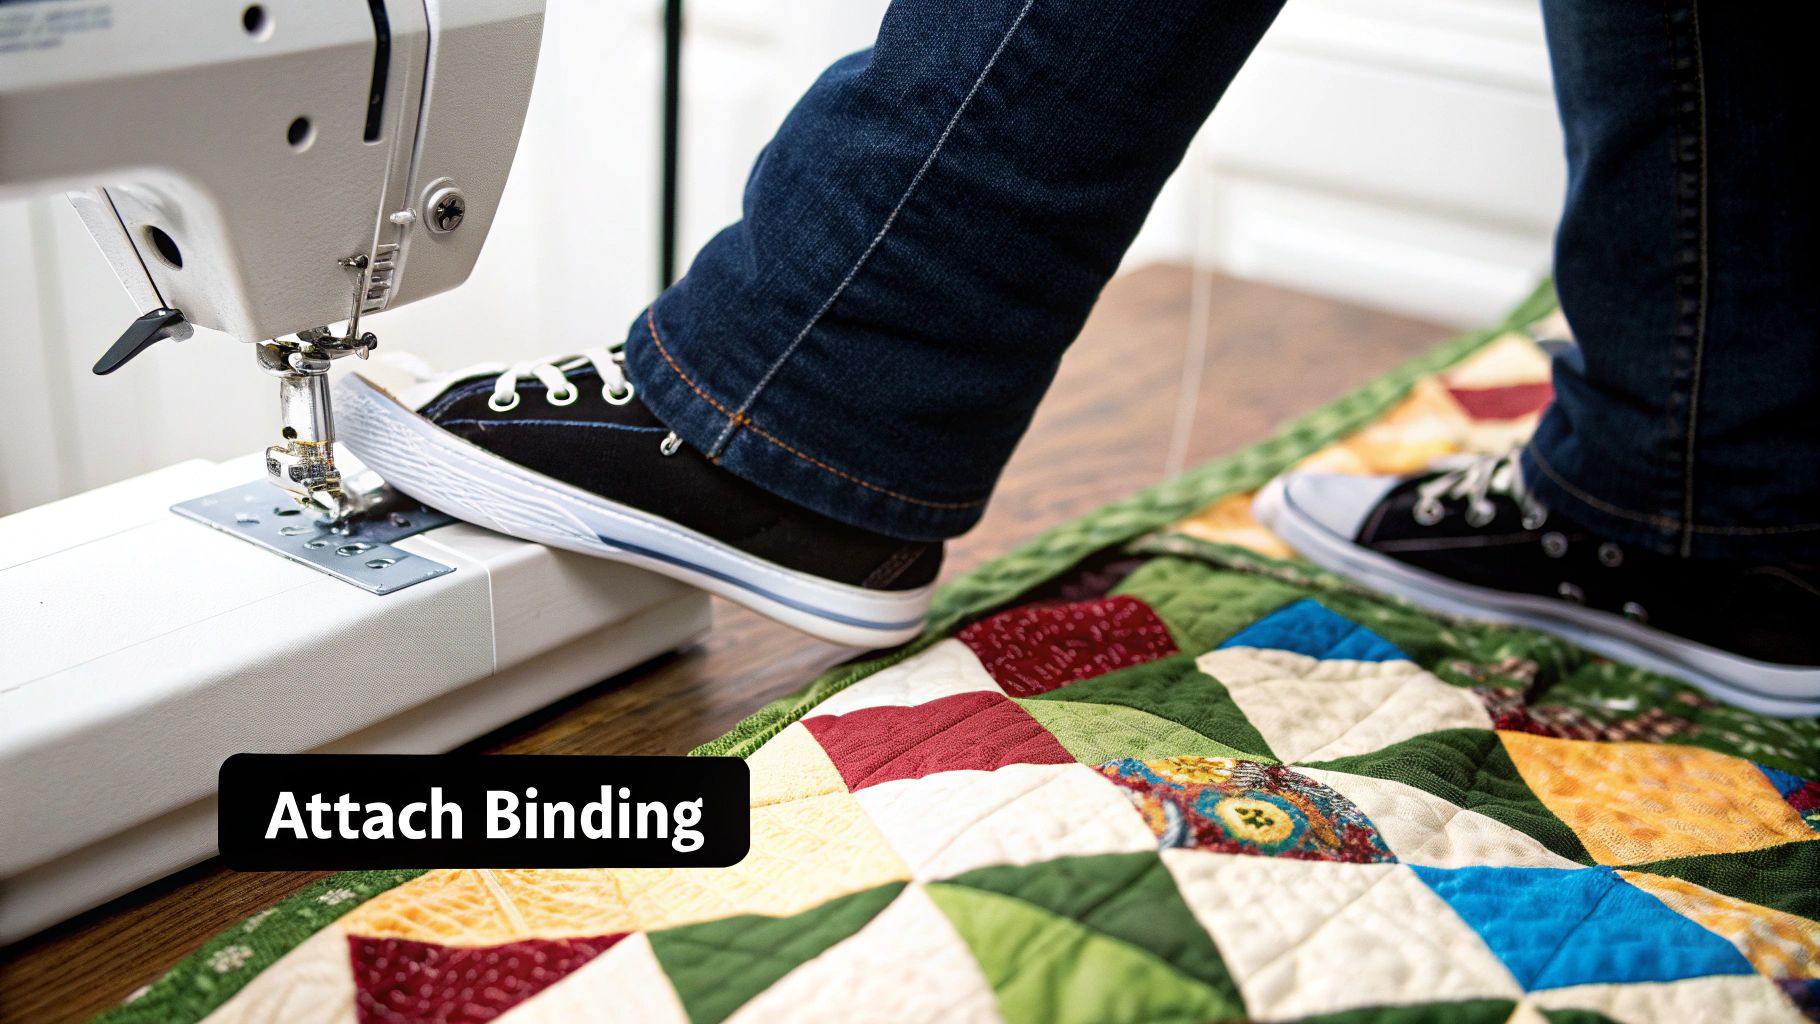
Attaching the Binding to Your Quilt
Alright, your binding strip is pressed and ready to go. This is where the magic really happens—the moment your quilt gets its final frame. Attaching the binding is all about patience and precision. It’s what transforms that quilt sandwich into a beautiful, finished piece.
We’re going to start by sewing the binding to the front of the quilt. Just lay the raw edge of your folded binding strip right along the raw edge of the quilt.
Now, before you even think about putting your needle down, make sure to leave a long tail of binding—about 10 to 12 inches—at the beginning. Don't sew this part down yet! Trust me, you’ll need this extra length later to join the ends together for a seamless finish. It's a crucial little detail that makes all the difference.
Your Most Valuable Tool The Walking Foot
If I could recommend one tool to make binding a joy instead of a chore, it would be a walking foot. Seriously, it's a game-changer. Your standard presser foot only pulls the bottom fabric through, and with a bulky quilt, that’s a recipe for shifting, stretching, and puckering.
A walking foot, on the other hand, has its own set of feed dogs. It grabs the top layer and moves it at the exact same speed as the bottom layer. This is exactly what you need when you're sewing through a quilt top, batting, and backing all at once. The result? A perfectly flat, smooth binding without any of those frustrating waves.
Maintaining a Consistent Seam Allowance
Consistency is everything when it comes to a professional-looking binding. The seam allowance you use here dictates how much fabric you'll have to wrap around to the back. For a standard 2.5-inch binding strip, a ¼-inch seam allowance is the sweet spot. If you opted for a slightly narrower 2.25-inch strip, hitting that quarter-inch mark is even more important.
Here are a few tricks I’ve picked up for keeping that seam straight:
- Use a guide: Your machine probably has markings on the plate, but a magnetic seam guide or even a stack of sticky notes gives you a physical edge to follow. It’s a huge help.
- Slow down: This isn't a race. A nice, controlled speed gives you way more accuracy and keeps the fabric from stretching out of shape.
- Look ahead: Don't stare at the needle! Keep your eyes focused a few inches ahead of it to guide the fabric in a much straighter line.
A quick tip from my own experience: After you've sewn down one side, take a moment to press the binding strip away from the quilt top before you move on. This sets a really crisp, sharp fold that makes wrapping it to the back so much neater.
A couple of other small details matter, too. I always recommend a good quality, 50-weight cotton thread. It’s strong enough to hold up but doesn't add a lot of bulk. For your stitch length, go a little longer than usual—somewhere around 2.5 to 3.0 mm works beautifully for sewing through all those layers without causing puckers.
Find a spot in the middle of one of the longer sides of your quilt, and let’s get started. Begin sewing the binding down, remembering to leave that initial tail hanging free. Stitch all the way down the first side, and get ready for the next fun part: turning the corner.
Mastering the Perfect Mitered Corner
Nothing says "I'm a quilter" quite like a crisp, perfect mitered corner. It’s that final touch that takes a quilt from looking simply handmade to beautifully handcrafted. It might seem intimidating, but once you get the hang of the rhythm, it's actually quite simple. The entire technique hinges on creating a clean 45-degree fold that looks just as good on the back as it does on the front.
The secret is all in the timing—specifically, knowing exactly when to stop sewing as you approach a corner. Getting this right is what prevents those frustrating, bulky folds and ensures your binding lays perfectly flat.
The Stop, Fold, and Pivot Method
Let’s break down how to create that gorgeous fold. As you're sewing your binding along the first side of the quilt, start to slow down as you get close to the corner.
You need to stop stitching precisely ¼-inch before you hit the raw edge of the quilt. I always do a quick backstitch or two right here to lock it in, then I pull the quilt out from under the needle. This stopping point is critical—it's the magic number that gives you the space you need for the fold.
Now, take the binding strip and fold it straight up, away from the quilt. This should create a neat 45-degree angle. You'll know you've got it right when the raw edge of your binding strip lines up perfectly with the raw edge of the quilt side you just finished sewing.
This simple infographic breaks down the three key moves for a perfect mitered corner.
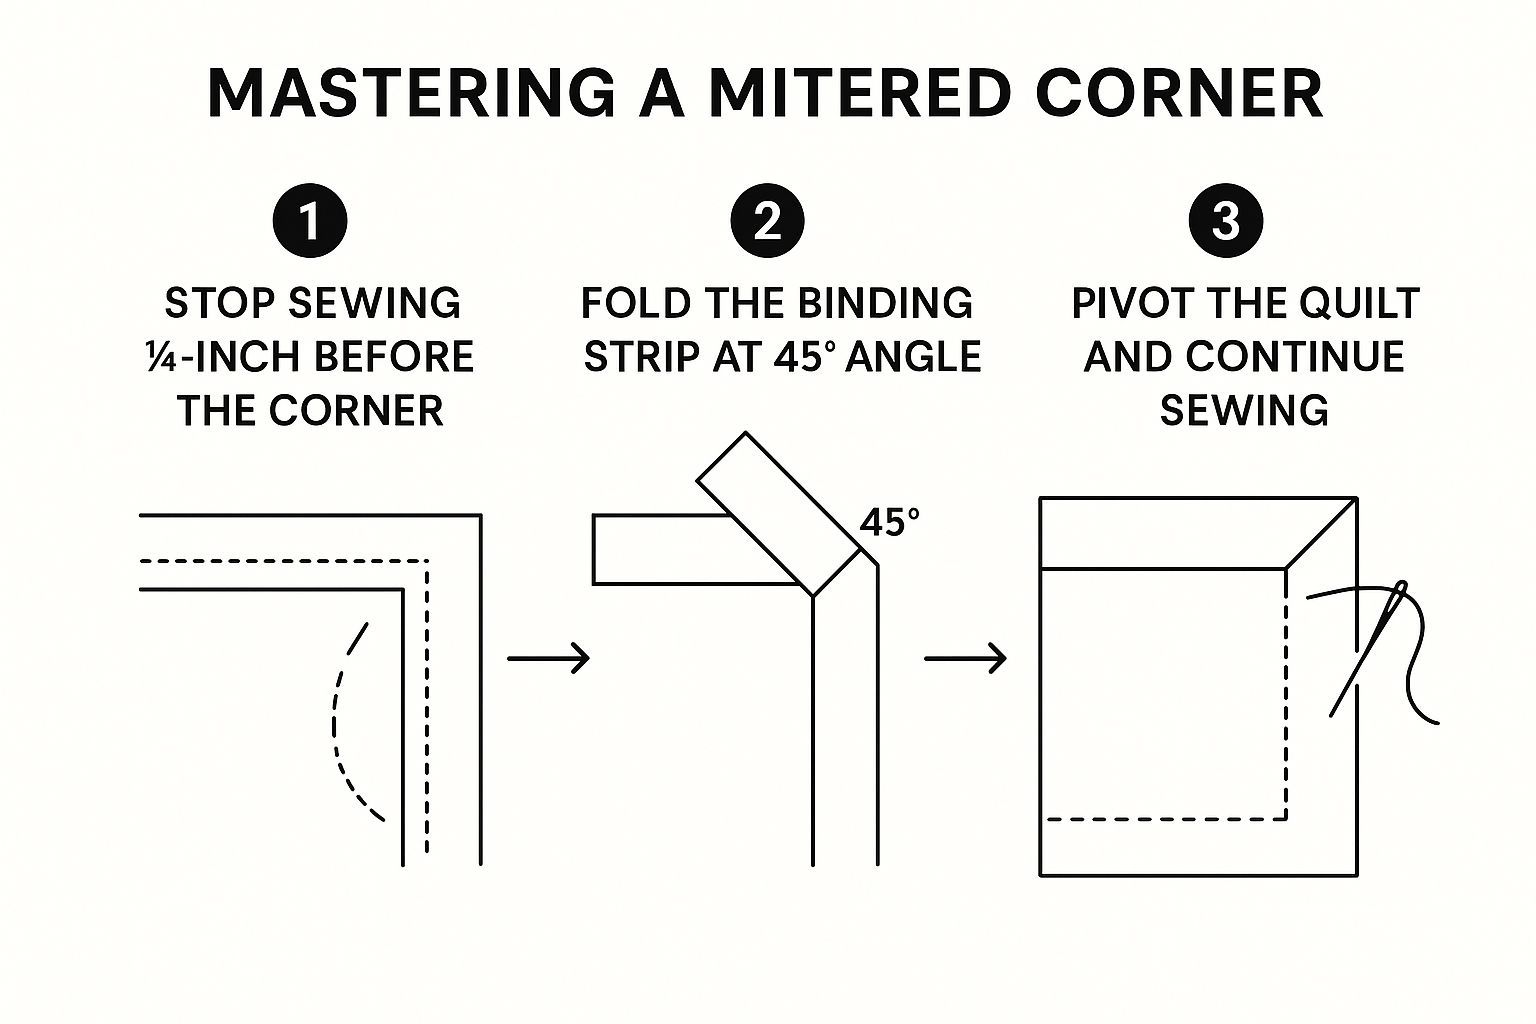
As you can see, it all flows from a precise stop, to a specific fold, and finally to a pivot that gets you ready for the next side.
Executing the Final Steps
While holding that first fold in place, bring the binding strip straight back down over itself. The new top folded edge should now line up perfectly with the quilt's raw edge. At the same time, the raw edge of the binding strip should be flush with the raw edge of the next side you're about to sew. Pin it right there to hold everything in place.
My Personal Tip: When you fold the binding strip back down, you should feel a little triangle of folded fabric tucked underneath. That tiny triangle is the whole secret to getting a sharp, perfect miter on the front of your quilt.
Pop your quilt back under the machine's needle and start sewing from the very top edge of this new side. You'll be sewing right over the folded corner you just pinned down. Just keep stitching until you get to the next corner, and then do the exact same thing.
It's this combination of machine stitching and careful hand-folding that makes quilting so rewarding. While the quilting world has certainly evolved, the love for timeless techniques like mitered corners is stronger than ever, especially with a global community sharing tips online. If you're curious about the industry's growth, you can read the full report on the quilt market.
Once you repeat this on all four corners, your quilt will be beautifully framed and ready for the final step: joining the binding tails.
Joining and Finishing Your Binding
Alright, you've made it around the entire quilt, and your mitered corners are looking sharp. Now for the grand finale: connecting the beginning and end of your binding strip into one perfect, continuous loop. This is the step that gives your quilt that polished, professional look.
As you sew the binding on, make sure to stop sewing about 15 inches from where you first started. This will leave you with two long "tails" of binding fabric. We're going to join these tails together so seamlessly, no one will ever know where the binding started or stopped.
First, lay the two tails flat along the edge of the quilt, overlapping them in the middle of that 15-inch gap. Now, trim one of the tails so that it overlaps the other by the exact width of your binding. For example, if you cut your strips 2.5 inches wide, the overlap needs to be precisely 2.5 inches. Getting this measurement right is the secret to a join that lies perfectly flat.
Creating That Invisible Seam
It's time to connect those two ends. Unfold both tails and place them right sides together, forming a 90-degree angle. This should look familiar—it's the exact same technique you used to piece the binding strips together in the beginning.
Grab a ruler and a fabric marker, and draw a diagonal line from corner to corner on that little overlapping square.
Take it over to your sewing machine and stitch directly on that line. But wait! Before you trim anything, do a quick "test fit." Fold the binding back into its proper position against the quilt's edge. It should lay down smoothly, with no puckering or saggy bits.
If it looks good, you're clear to trim the excess fabric, leaving a ¼-inch seam allowance. I always like to press this tiny seam open to help it lay as flat as possible.
Now, all that's left is to fold the binding back into place and sew down that last little section. Just like that, your binding is fully attached in a perfect loop.
How Will You Finish It?
The last decision you have to make is how you'll secure the folded edge of the binding to the back of your quilt. There's no right or wrong answer here; it really boils down to the look you want and how much time you have.
Most quilters choose one of two tried-and-true methods.
| Method | Best For | Key Benefit | Main Consideration |
|---|---|---|---|
| Hand Stitching | A traditional, heirloom finish | The stitches are completely invisible from the front | Slower and more labor-intensive |
| Machine Stitching | Durability and speed | Very fast and creates a strong, lasting edge | Stitches are visible on both front and back |
The Traditional Hand-Stitched Finish
For that classic, handmade feel, nothing beats a hand-stitched finish using a blind stitch or a slip stitch. You'll simply wrap the binding around the raw edge of the quilt, hold it in place with binding clips, and use a thread that matches your binding. The goal is to make tiny little stitches that just catch the backing fabric, making them practically disappear.
This artisanal touch is a true hallmark of a handmade quilt. It's a skill that's being kept alive by a passionate community, and with so many online tutorials available, it's easier than ever to learn. The quilting market continues to grow, and you can discover more insights about the quilt market and its modern trends.
The Fast and Durable Machine Finish
If you need a sturdy finish (especially for a quilt that will be washed a lot) or you're just short on time, finishing by machine is a fantastic option.
For this method, you'll wrap the binding to the back and clip it, just like you would for hand sewing. The trick is to sew from the front of the quilt. You'll want to "stitch in the ditch"—sewing directly in the seam line where the binding meets the quilt top. This line of stitching on the front will neatly catch the edge of the binding on the back, securing it with a strong, clean seam.
Answering Your Top Quilt Binding Questions
Even after you've bound a few quilts, certain little issues can pop up and throw you off your game. Let's walk through some of the most common questions I hear, so you can tackle any problem with confidence and get that perfect finish you're aiming for.
Why Does My Binding Look Wavy?
Ah, the dreaded wavy edge. Nine times out of ten, this happens because the binding strip was stretched while being sewn onto the quilt. It's an easy mistake to make, especially with bias-cut fabric that has a natural elasticity. You think you're holding it steady, but you're actually pulling it just a tiny bit taut as it feeds into the machine.
The absolute best fix for this is a walking foot. This amazing tool grips both the top and bottom layers of your quilt sandwich at the same time, feeding everything through evenly. No more stretching, no more waves. If you don't have one, just be incredibly mindful of your hands—your only job is to guide the fabric, not to pull it. Let the machine's feed dogs do all the work.
My best advice? Relax your grip and simply guide the fabric. Don't pull. Once you make that mental shift, you'll see those wavy edges disappear from your projects.
What’s the Difference Between Single and Double Fold Binding?
This really all boils down to how durable you need the edge of your quilt to be.
- Double-fold binding is the go-to standard for any quilt that will be used, washed, and loved. Sometimes called French-fold, you create it by folding a wider strip of fabric in half lengthwise before you even start attaching it. This gives you a super sturdy, two-layer edge that stands up to wear and tear.
- Single-fold binding is much thinner and less bulky, which can be nice, but it's not nearly as tough. I usually reserve this for projects that won't see a lot of action, like a decorative wall hanging or a table runner.
For pretty much any bed quilt or throw, always go with double-fold. You won't regret it.
Can I Get Away With Using My Regular Sewing Foot?
You can, but I wouldn't recommend it. A standard presser foot is designed to glide over the top fabric while the feed dogs pull the bottom fabric through. When you're dealing with a thick quilt sandwich plus a binding strip, this often leads to the top layers shifting, bunching, or puckering. This is another major cause of that wavy binding we just talked about.
Investing in a walking foot is one of the best things you can do for your quilting. It makes sure all those layers—the top, batting, backing, and binding—move together as one perfect unit. It’s a game-changer for achieving a flat, professional-looking binding.
Now that your binding is attached and looking fabulous, you'll want to keep your quilt in pristine condition. To learn everything about proper maintenance, check out this ultimate guide to caring for your quilt. A little bit of good care goes a long way in protecting all the hard work you’ve put in.
Feeling ready to tackle your next masterpiece? At Famcut.com, we stock all the quality materials and have the expert advice you need. Come explore our fabrics, tools, and tutorials today at https://famcut.com.