


How to Alter Sewing Patterns for a Perfect Custom Fit
Altering a sewing pattern simply means tweaking the paper pieces before you ever touch your fabric. The goal is to make the pattern match your unique body measurements, not the other way around.
This usually involves taking a good set of body measurements, comparing them to what the pattern envelope says, and then using proven techniques like slash-and-spread or pivot-and-slide to adjust the length and width right where you need it. Nailing this skill is what separates a homemade-looking garment from a truly custom-fit piece.
Why Pattern Alteration Is Your Sewing Superpower
Think about what it would feel like to make clothes that seem like they were professionally tailored just for you. That's the magic of learning to alter your sewing patterns. This guide is about moving past the basic instructions on the pattern envelope and really taking charge, turning that commercial pattern into a personal blueprint for your body.
Once you know how to adjust a pattern, you're free. You can finally say goodbye to the frustration of clothes that just don't fit right. No more gaping necklines, sleeves that are too tight, or waistbands that uncomfortably dig in. What you get instead is the confidence to tackle any pattern and make it work for you.
The Benefits of a Custom Fit
The desire for personalized clothing isn't just a niche interest; it's a massive trend. The global market for tailoring and alteration services is expected to jump from $9.4 billion in 2024 to almost $12 billion by 2029. That statistic tells a big story: people want clothes that actually fit their bodies, and you can achieve that same professional result right in your sewing room. You can read more about the growth of the tailoring market at Fashionating World.
Getting comfortable with pattern alteration brings some pretty great perks:
- A More Sustainable Wardrobe: When you create high-quality pieces you truly love to wear, they stay out of the landfill.
- Creative Empowerment: You're no longer stuck with standard sizing. You can adapt any design you fall in love with to your unique shape.
- Deep Satisfaction: Honestly, there’s nothing quite like the pride of sewing a garment that fits you perfectly. It’s one of the best feelings in this craft.
When you learn to alter patterns, you're doing more than just fixing fit problems. You become the architect of your wardrobe. You get to decide how a garment drapes and feels, making sure every single piece you create is a true reflection of your personal style.
In this guide, we'll walk through it all—from getting accurate measurements to solving the most common fit issues. My goal is to give you the skills you need to sew with absolute confidence.
Gathering Your Essential Pattern Adjustment Toolkit
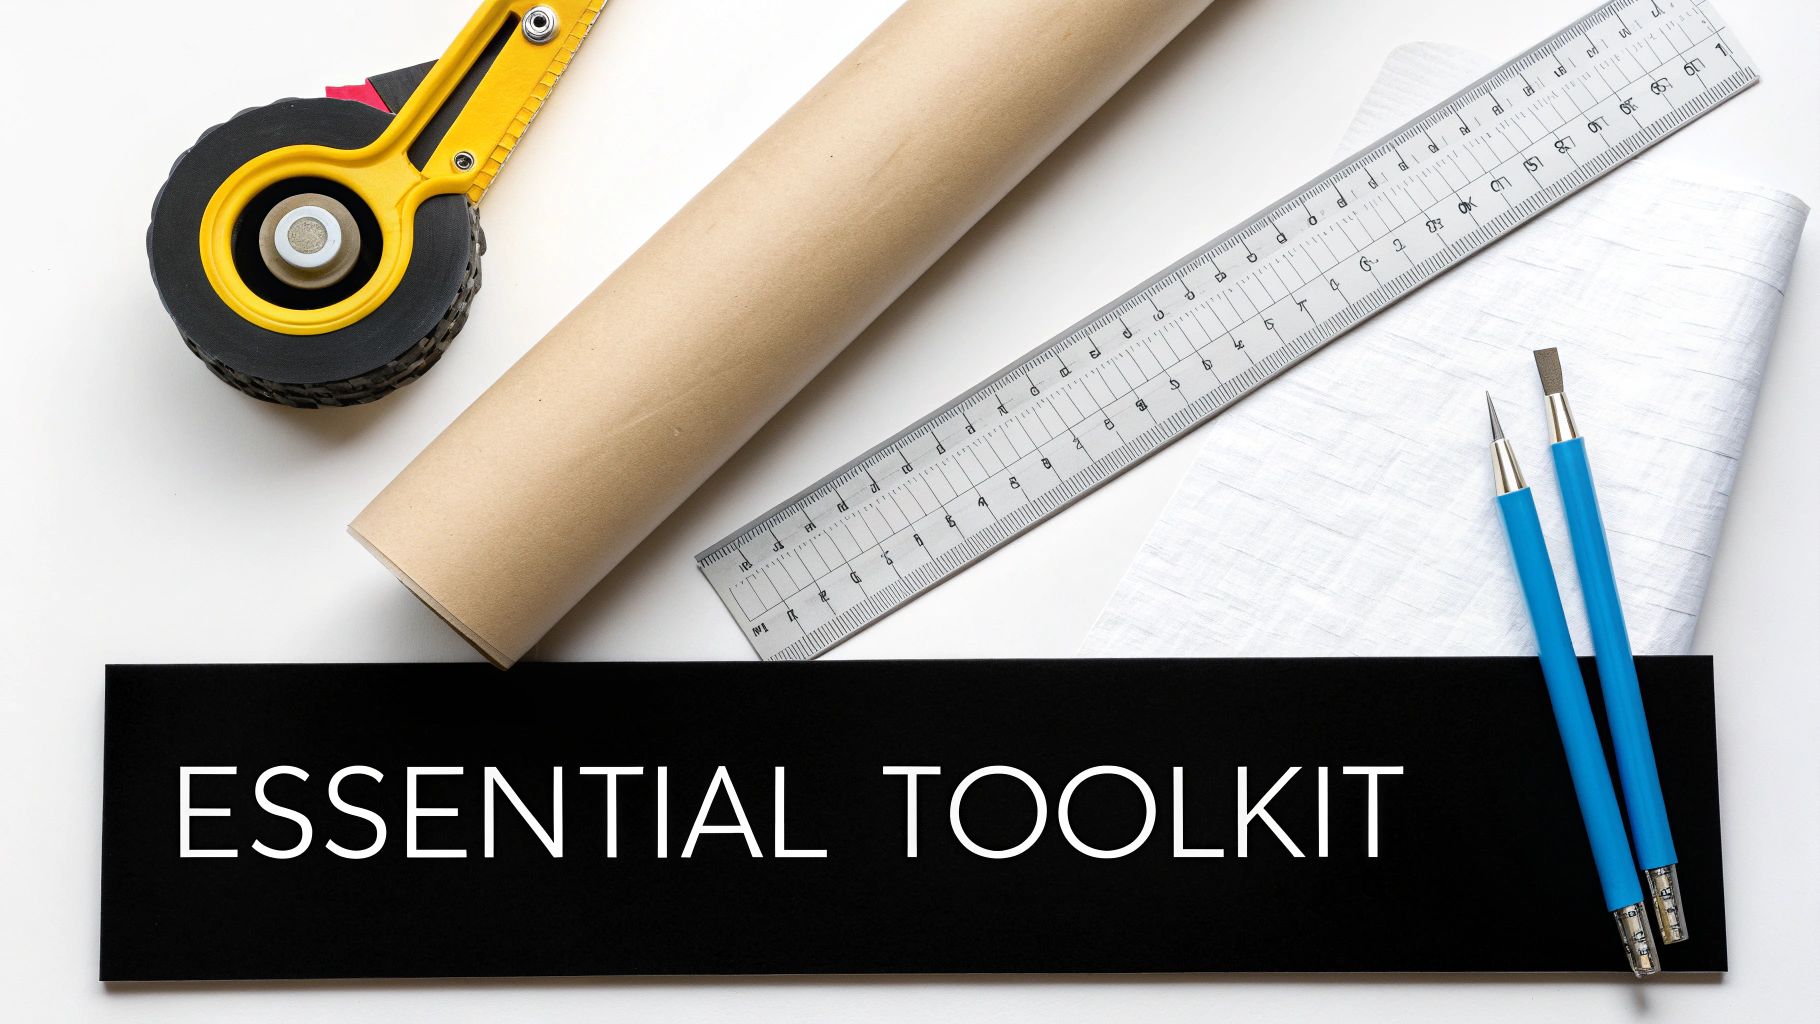
Before diving into how to alter sewing patterns, let’s get your workspace set up. Having the right tools on hand makes a world of difference, turning a potentially frustrating task into a smooth, creative process. This isn't about buying every gadget you see; it's about assembling a core kit of reliable items that will help you achieve precise, professional-looking results every single time.
Think of these as your trusted companions for a perfect fit. The right equipment is the foundation for accuracy, and without it, you're just guessing.
Measuring and Marking Tools
This is where it all starts. Every single adjustment you make hinges on accurate measurements, so your tools need to be spot-on. A stretched-out measuring tape or a wobbly ruler can throw off your entire project before you even touch the fabric.
- Flexible Measuring Tape: A good-quality, soft tape measure is non-negotiable for taking body measurements. I always double-check mine against a metal ruler every few months to make sure it hasn’t stretched out.
- Clear Gridded Ruler: I can't live without my transparent ruler. A long one, around 18-24 inches, is perfect for adding length, squaring up lines, and ensuring everything is straight. The grid lines are an absolute lifesaver.
- Marking Tools: You need something to draw your new lines on the pattern tissue. A simple pencil works just fine, but I also love using a chalk wheel or a water-soluble fabric pen for clear, temporary marks.
Here's a tip I wish I'd known sooner: get a big roll of medical exam paper or even just cheap craft paper. It's fantastic for tracing your original pattern. This way, you can slash, spread, and experiment all you want without ever cutting into your master pattern.
Cutting and Shaping Instruments
Once you've marked your changes, you’ll need the right tools to cut and reshape the pattern pieces. This is how you blend your new lines seamlessly into the old ones, creating graceful curves instead of awkward, pointy angles.
First, an absolute must-have: a dedicated pair of paper scissors. Whatever you do, never use your precious fabric shears on paper. It will dull them in a heartbeat, and trust me, that's a lesson you only want to learn once.
For redrawing those tricky curves, a couple of specialty rulers are invaluable. A French curve is the secret to perfect armholes and necklines, while a longer hip curve will help you draft a beautifully smooth line from the waist down. And of course, you'll need plenty of clear tape on hand to piece everything back together as you work.
To make it even clearer, here’s a quick-glance table of the tools I find myself reaching for over and over again during pattern alterations.
Essential Tools for Pattern Alteration
This table breaks down the key items you'll want in your kit and what makes each one so useful.
| Tool | Primary Use | Pro Tip |
|---|---|---|
| Flexible Measuring Tape | Taking accurate body measurements. | Compare it to a rigid ruler periodically to check for stretching. |
| Clear Gridded Ruler | Drawing straight lines and ensuring right angles. | An 18-24 inch length is the most versatile for pattern work. |
| Paper Scissors | Cutting pattern paper and tape. | Label them clearly so they never get mixed up with your fabric shears. |
| French Curve | Redrawing armholes, necklines, and other small curves. | Slide it along the curve until it matches the existing line for a smooth blend. |
| Hip Curve Ruler | Shaping the side seams from waist to hip. | Perfect for creating a natural, gradual curve rather than a sharp angle. |
| Tracing Paper | Preserving the original pattern while making changes. | Medical exam table paper is a cheap and effective alternative. |
| Pencil & Eraser | Marking adjustments on the pattern paper. | A mechanical pencil provides a consistently fine line for better accuracy. |
| Clear Tape | Securing pattern pieces after cutting and spreading. | Use a tape that you can easily write on for making quick notes. |
Having these essentials ready to go will empower you to tackle any fit issue with confidence, knowing you have the right tool for the job.
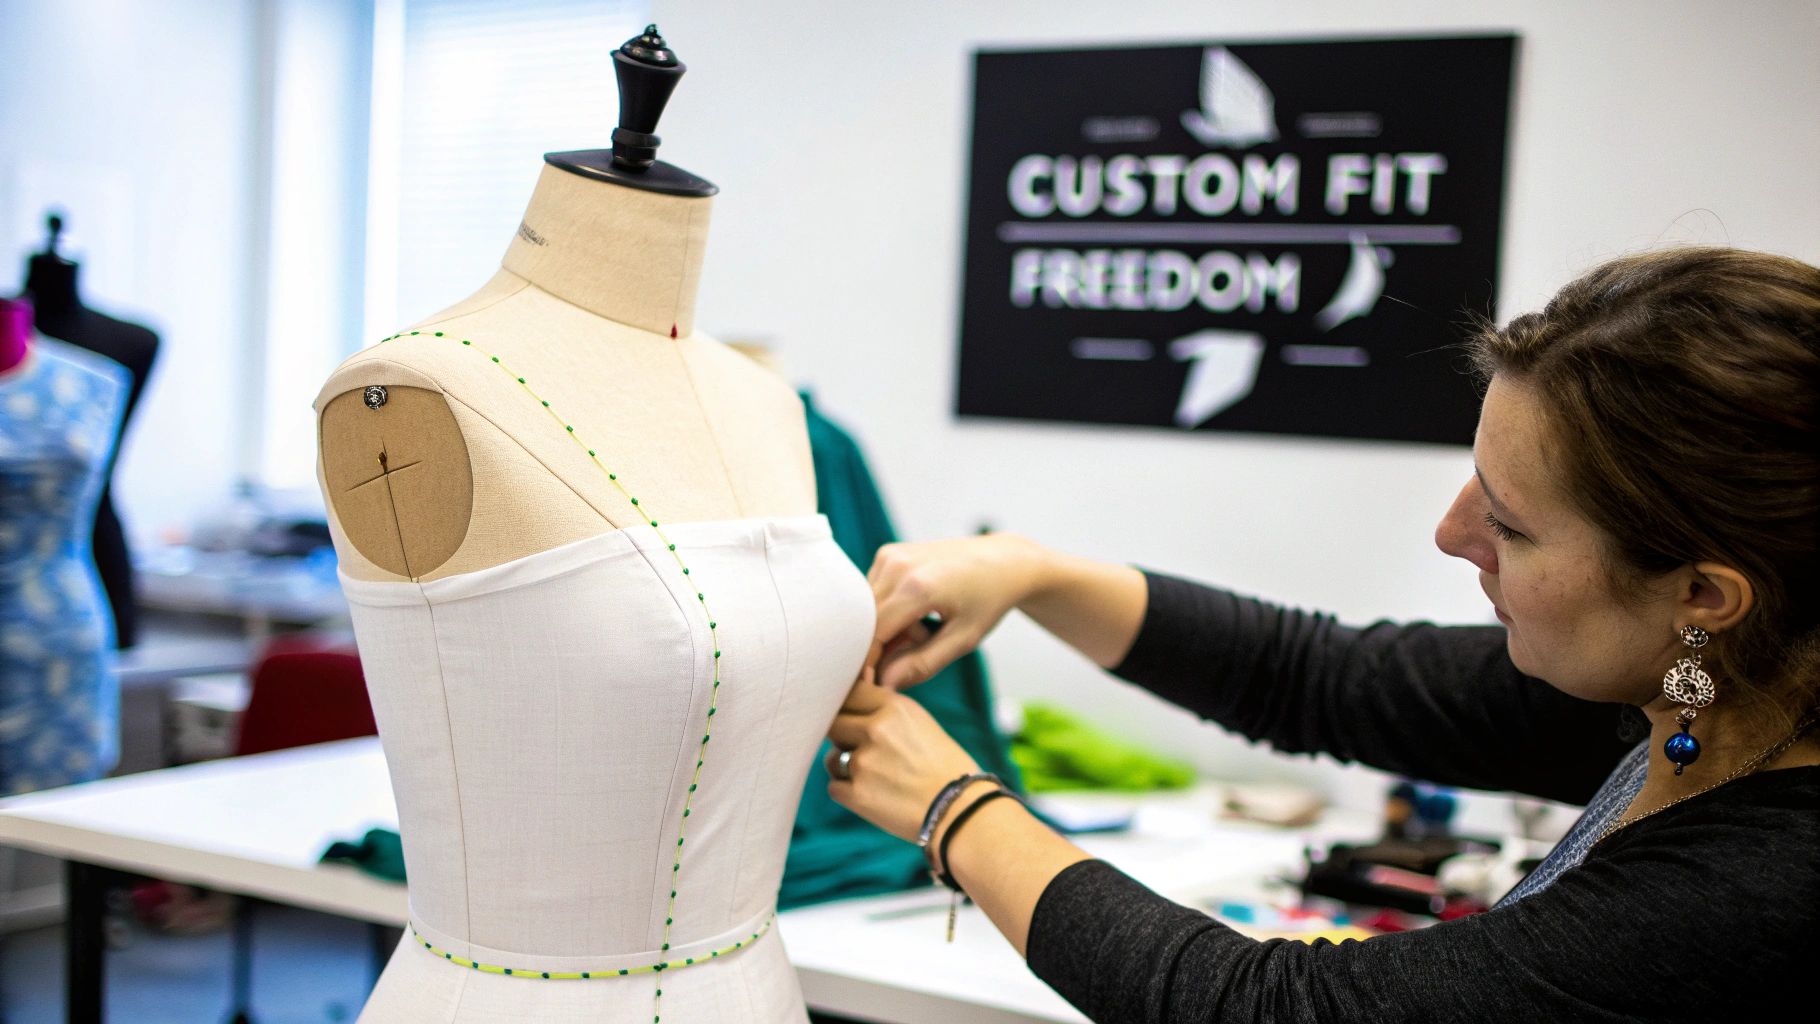
Getting Your Measurements Right: The Foundation of a Perfect Fit
Before you even think about touching a pattern, you have to know your numbers. Seriously. Any alteration you make is only as good as the measurements you start with. This isn't just a quick once-over with a tape measure; it's about getting an accurate map of your body that will guide every single adjustment.
First things first, wear the right gear. That means either your underwear or something very form-fitting, like leggings and a tank top. Measuring over your favorite baggy sweatshirt will add inches where they don't exist and completely derail your project before you even start.
As you measure, hold the tape measure snug, but not tight. It should lay flat against your skin without cutting in. A good rule of thumb is that you should just be able to slide one finger underneath it. For any measurements that go around your body, like your bust or hips, make sure that tape is perfectly parallel to the floor.
The Measurements You Absolutely Need
For most sewing projects, there are a handful of key measurements that will give you the best starting point. These are the same measurements that pattern companies use for their sizing charts, which makes it much easier to see how your body compares to their "standard."
- Full Bust: Wrap the tape around the fullest part of your chest. Keep it level all the way around, making sure it goes straight across your shoulder blades.
- High Bust: This one is taken right up under your armpits, above your full bust. The difference between this and your full bust measurement is the secret to figuring out if you need a full bust adjustment (FBA) or a small bust adjustment (SBA).
- Waist: To find your natural waist, just bend to one side. The little crease that forms? That's it. It’s usually the narrowest part of your torso.
- Hips: This is another "fullest part" measurement. Make sure you're measuring around the widest point of your hips and bum—it's often lower than people think.
- Back Waist Length: This is a tricky one to do yourself. It's a vertical measurement from that bony bump at the base of your neck down to your natural waistline. Getting this right is a total game-changer for fixing bodices that are either too long or too short.
If you can, grab a friend to help you take these. It's almost impossible to get an accurate back waist length on your own, and having a second pair of hands keeps everything else honest.
Here's a little mindset shift: Think of your body measurements as the truth. The pattern is just a suggestion. Your job is to make the suggestion fit your truth, not the other way around. Once you embrace that, altering patterns becomes a whole lot less intimidating.
Let's Talk About Ease
Okay, you've got your measurements. Now what? The next concept you need to master is ease. Ease is simply the extra room in a garment that goes beyond your body measurements. It’s what lets you breathe, move, and actually live in your clothes. It’s the difference between the pattern’s final measurements and your body's measurements.
There are two kinds of ease, and knowing the difference is key:
- Wearing Ease: This is the non-negotiable minimum. It’s the small amount of extra space you need for basic movement. A fitted woven dress, for example, might have 2-3 inches of wearing ease at the bust so you can lift your arms without ripping a seam.
- Design Ease: This is the fun part. It’s all the extra volume a designer adds to create a specific look. Think of a flowy, oversized top—it might have 8 inches or more of design ease. A sharply tailored blazer, on the other hand, will have very little.
Most patterns will list the "finished garment measurements" right on the envelope or instruction sheet. By comparing your body measurements to those numbers, you can see exactly how much total ease the designer intended. This is your power. It tells you exactly where you might need to add a little room or take some away to get the fit and the style you're after.
Tackling Common Fit Issues with Pattern Adjustments
Alright, you've taken your measurements and you understand ease. Now for the fun part—actually making the pattern fit you. This is where the magic happens, turning that flat piece of paper into a garment that feels like it was made just for you.
Forget abstract diagrams for a moment. Let's think about real-world fitting headaches. We're going to walk through how to fix things like a gaping bust on a dress, a waistband that digs in, or pants that are too snug across the thighs. Every adjustment you learn is another tool in your sewing toolkit.
This little decision tree is a great starting point for figuring out which size to even begin with.
The big takeaway here? Always start with the pattern size that corresponds to your largest measurement. For tops and dresses, that's usually your bust. For skirts and pants, it's your hips. You can always make things smaller, but adding room is much trickier.
Bodice Adjustments: The Bust
The bust area is probably the number one spot where fit goes wrong. Most commercial patterns are designed for a standard B-cup, but let's be honest, very few of us fit that mold. This is why learning a Full Bust Adjustment (FBA) or a Small Bust Adjustment (SBA) is a complete game-changer.
You'll likely need an FBA if your full bust measurement is more than 2 inches larger than your high bust measurement. Telltale signs include a gaping neckline, tight armholes, or a front waist seam that rides up.
An SBA is for the opposite scenario. If your full bust is smaller than what the pattern is drafted for, you'll often see weird vertical or horizontal wrinkles across your chest where there's just too much fabric.
A bust adjustment isn't just about making the pattern wider or narrower. It's about strategically adding or removing both length and width to create space for your body's curves, all while keeping the side seams and armholes from getting distorted.
Both of these adjustments rely on a classic technique called the slash-and-spread method. It sounds dramatic, but it's quite logical:
- Find Your Apex: First, you mark the fullest point of your bust on the front bodice pattern piece.
- Draw the Lines: From that apex point, you'll draw a few lines out to the side seam and the waistline. These are your alteration paths.
- Slash the Pattern: You’ll carefully cut along these lines, but not all the way through—you leave tiny paper "hinges" at the seam allowances.
- Spread or Overlap: For an FBA, you pivot the cut pieces apart to add room. For an SBA, you overlap them to remove the excess fabric.
- True the Seams: After taping everything down, you'll use a ruler and a French curve to redraw and smooth out the seam lines.
Lengthening and Shortening Pattern Pieces
Sometimes the problem isn't width, but height. If you're taller or shorter than the 5'6" standard that most patterns are drafted for, you’ll probably need to adjust the length.
Luckily, most patterns come with lengthen/shorten lines printed right on the pieces. These are your best friends. They're placed in spots where you can add or remove length without messing up the garment's overall shape, like through the middle of the torso or across the thigh on a pants pattern.
How to Lengthen a Pattern:
- Cut the pattern piece right across the designated line.
- Slide a piece of tracing paper underneath the two halves.
- Spread the sections apart by the exact amount you need, making sure the grainline stays perfectly straight.
- Tape the pieces down and use a ruler to blend the side seams back into a smooth, continuous line.
How to Shorten a Pattern:
- Draw a second line parallel to the lengthen/shorten line, equal to the amount you want to remove.
- Fold the pattern along the first line and bring that fold up to meet your new line, creating a little pleat.
- Tape the pleat in place and true up the side seams so they are straight and clean again.
This simple fix keeps critical areas like the armholes, crotch curve, and neckline properly shaped.
Grading Between Sizes for a Perfect Blend
What happens when your measurements span multiple sizes? Maybe your bust is a size 14, your waist is a 12, and your hips are a 16. This is incredibly common, and the answer is grading between sizes. It's simply the art of smoothly connecting the lines of different sizes to create a single, custom pattern for your body.
Let's say you're making a fitted dress. Here's how you'd tackle it:
- Start by tracing the size 14 lines around the shoulders and bust.
- As you move down toward the waist, grab a hip curve ruler and gently redraw the side seam, blending it inwards to meet the size 12 line at the waist.
- From the waist, you'll curve that line back out, creating a smooth transition to the size 16 line at the hip.
You’ve just created a single, fluid new side seam. The trick is to make the transition gradual. Sharp, abrupt angles will look strange on the final garment, so always use your curved rulers to make it look graceful and professional.
Taking Your Fit to the Next Level
Once you’ve got the basics down, you can really start dialing in the fit. This is where you move beyond simple measurements and begin addressing the subtle nuances that take a garment from “homemade” to truly custom. We’re talking about tackling those tricky issues like weird fabric pooling, persistent drag lines, and that feeling of restricted movement.
Think of it like learning to read the language of the fabric on your body. Instead of just making something wider or narrower, you start to diagnose why a wrinkle is showing up and know exactly which pattern piece to tweak. This is the secret to creating clothes that don’t just hang on you, but genuinely flatter your unique shape.
Accounting for Posture and Body Shape
A lot of nagging fit problems have less to do with your chest or waist size and more to do with your posture. Those wrinkles and folds you see are often just signs that the pattern was drafted for a different stance than yours.
For instance, do you often find extra fabric pooling in the small of your back? That’s a classic sign you need a swayback adjustment. Instead of just yanking the center back seam tighter, the real fix is to remove a small horizontal wedge from the back pattern piece, right below the waist. This little trick shortens the center back length just where you need it, letting the fabric skim smoothly over your curves without affecting the side seams.
Another common one is the rounded shoulder adjustment. If you find that blouses and jackets always feel tight across your upper back, or the sleeves seem to be pulling backward, your shoulders are likely more forward than what the pattern assumes. The solution here is to slash the back pattern piece near the shoulder and spread it just a tiny bit. This adds that crucial extra room right where you need it, giving you a much more comfortable and natural drape.
I always tell my students to think of a diagonal drag line as an arrow pointing directly to the problem. See a line pulling from your hip up toward your stomach? That’s the fabric practically screaming for a full tummy adjustment. It’s showing you exactly where it’s being stretched too tight.
Nailing the Fit on Sleeves and Trousers
After you get the torso fitting beautifully, sleeves and trousers can throw their own set of challenges at you. A full bicep adjustment is a game-changer if sleeves always feel constricting on your upper arm, even when the rest of the shirt fits perfectly. It’s a simple fix—you just slash the sleeve pattern down the middle and spread it to add that extra width without making the whole sleeve baggy.
Trousers can be a whole other can of worms, with all sorts of frustrating drag lines. Here are a few advanced fixes I use all the time:
- Full Thigh Adjustment: If you see diagonal lines pointing toward your inner thigh, the pattern needs more room there. The fix is to add a little bit of width to both the front and back inseam.
- Flat Seat Adjustment: A common complaint for those with a flatter posterior is baggy fabric right under the bum. The best way to solve this is to remove a small vertical wedge from the center of the back crotch curve, which neatly scoops out that excess fabric.
- Low Seat Adjustment: Getting horizontal wrinkles just under your seat? That usually means the curve of your bottom is lower than the pattern’s. The fix is to “scoop” the crotch curve, essentially redrawing it into a deeper L-shape, which drops the curve to match your body.
Getting a handle on these kinds of adjustments completely changes how you approach sewing. You stop seeing fit issues as failures and start seeing them as interesting puzzles. And once you know how to solve them, you unlock a whole new level of polish and professionalism in everything you make.
Common Questions About Altering Sewing Patterns
Even with a solid plan, it's easy to hit a snag when you start altering patterns. Getting stuck is just part of the process, especially when you're learning. Let's walk through some of the most common questions that come up.
My Measurements Don't Match One Size. Which One Should I Pick?
This happens to almost everyone! The golden rule is to always choose the pattern size that fits your largest measurement for whatever you're making. For a top or a dress, that's almost always your full bust. For skirts or pants, you’ll want to go with your hip measurement.
Think of it this way: it’s much, much easier to take a garment in than it is to let it out. You can’t add fabric that isn't there! For example, grading a waist from a size 16 down to a 14 is simple. Starting with the larger size ensures you have enough fabric to work with right where you need it most.
What's a Muslin? Do I Really Have to Make One?
A muslin (or a toile, if you're feeling fancy) is simply a practice version of your garment made from cheap fabric. It's the dress rehearsal for your real project. While you can probably get away without one for a simple hem, making a muslin is absolutely essential for any major fit changes.
A muslin lets you see how your pattern adjustments work on an actual body before you cut into your beautiful fashion fabric. It's the single best way to check tricky alterations like a Full Bust Adjustment or a swayback fix, saving you a world of frustration (and money!) in the end.
Can I Alter Patterns from Any Company, or Just the Big Ones?
Yep, you sure can. The core techniques for pattern alteration are universal. It doesn't matter if you're working with a classic Simplicity pattern or a PDF from a small indie designer you found online.
The real secret is to completely ignore the size number on the pattern envelope. Sizing and the amount of built-in ease (the roominess of a garment) vary wildly from one company to the next.
Instead, always trust two things:
- Your own body measurements.
- The "finished garment measurements" usually printed on the pattern pieces or in the instructions.
Your measurements are your personal roadmap to a great fit, no matter who designed the pattern.
At Famcut.com, we're passionate about helping you create clothes you can't wait to wear. From fabrics and patterns to hands-on sewing classes, we have everything you need to start your next project with confidence. Visit us at Famcut.com to learn more.