


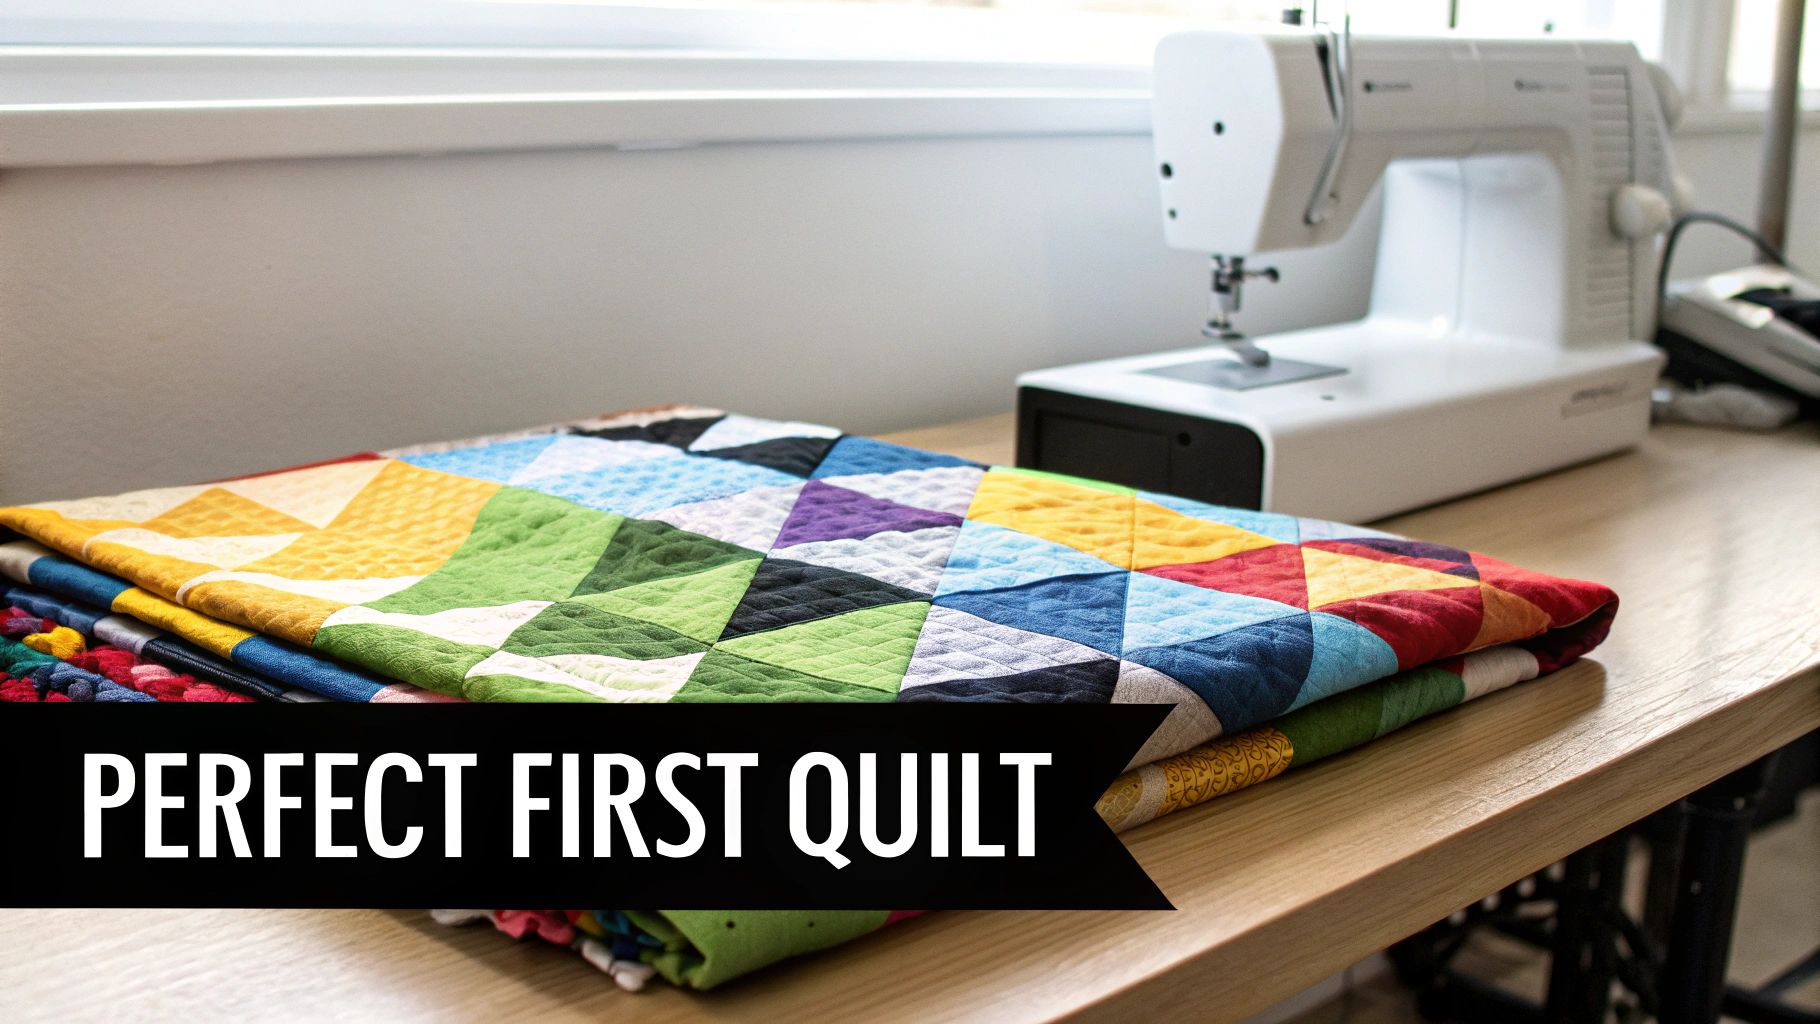
The Easiest Quilt to Make for Beginners A Simple Guide
So, you're ready to make your first quilt and wondering where to start? I get asked this all the time, and my answer is always the same: start with a simple patchwork square quilt. It’s hands-down the easiest quilt to make for beginners.
This classic design is the perfect entry point because it strips away all the complicated stuff. You get to focus entirely on learning the two most fundamental skills in quilting: cutting accurately and sewing a consistent straight line.
Why a Patchwork Square Quilt Is the Perfect First Project
Starting a new craft should be fun, not frustrating. The patchwork square quilt is designed to give you that amazing "I made this!" feeling without the headache. Forget about wrestling with tricky triangles or fussy curved pieces for now. This project is all about getting comfortable with the basics.
By working with just one simple shape, you get plenty of practice where it counts. You'll get the hang of your rotary cutter and mat, and you’ll quickly learn to master that all-important quarter-inch seam allowance. Trust me, these two skills are the absolute bedrock of quilting. Once you have them down, you can make almost anything.
Building Confidence with Simplicity
The beauty of a square-based quilt lies in its wonderfully straightforward construction. You just cut your fabric into squares, sew them into rows, and then sew the rows together to create your quilt top. That's it! There are no complicated points to match or intricate blocks to assemble, which dramatically lowers the chances of feeling overwhelmed.
This is exactly why it’s the go-to recommendation for new quilters. Often celebrated as a 'basic farmhouse style' project, the simple squares quilt is a proven winner. In fact, data from Missouri Star Quilt Company suggests that a whopping 75% of viewers choose squares for their first project, with an incredible 92% success rate thanks to the simple construction. You can easily finish a small lap quilt in a single weekend, from the first cut to the final stitch.
For more inspiration on easy starter projects, check out these beginner-friendly quilt patterns.
Why Simple Squares is the Easiest Beginner Quilt
If you’re still not convinced, this quick breakdown shows why starting with squares sets you up for success and makes the whole learning process a joy.
| Feature | Benefit for Beginners |
|---|---|
| Focus on Fundamentals | You get tons of practice on the two most critical skills: cutting and sewing straight seams. |
| Quick Gratification | Watching your quilt top come together so quickly is hugely motivating and keeps you excited. |
| A Forgiving Design | Small mistakes in your seam allowance are much less noticeable than in more complex patterns. |
| Creative Freedom | It’s a perfect canvas to experiment with colors and prints without worrying about design rules. |
Ultimately, this project lets you focus on the fun parts of quilting while building a solid foundation of skills.
The goal of your first quilt isn't perfection; it's completion. A finished quilt, no matter how simple, is a huge accomplishment that will inspire you to keep going.
Making a patchwork square quilt gives you a beautiful, cozy result while teaching you everything you need to know for whatever project you decide to tackle next.
Getting Your Quilting Gear Ready
Before you can make that first satisfying slice into your fabric, you need to set up your quilting toolkit. Think of this less as a rigid shopping list and more like a friendly chat about what really helps make the process smooth and fun. You don't need every gadget under the sun; a few quality essentials will get you much further than a drawer full of things you'll barely use.
Let's walk through the core items you'll want on hand to create the easiest quilt to make for beginners.
The "Big Three" for Cutting
This is where the magic begins. Getting your cuts right is the foundation of a quilt that fits together beautifully, and these three tools are your non-negotiable partners in crime.
- Rotary Cutter: This is a total game-changer. A sharp 45mm rotary cutter will feel like a hot knife through butter, giving you clean, straight edges that scissors just can't match. Just remember to always, always close that safety guard when you set it down.
- Self-Healing Cutting Mat: This is the other half of your cutting duo. A self-healing mat protects your table (and your sanity) while helping your rotary blade stay sharp. For a beginner, a mat around 18" x 24" is a fantastic starting size—big enough for most cuts without being overwhelming.
- Quilting Ruler: You can't just eyeball it! A clear acrylic ruler is your guide for the rotary cutter. The workhorse for almost any project is the 6" x 24" ruler. It’s perfect for cutting long strips of fabric and squaring up your blocks later on.
If I could give just one piece of advice, it would be this: don't skimp on your rotary cutter, and always have fresh blades. A dull blade is a quilter's worst enemy. It will snag your fabric, give you jagged edges, and start your project off on a frustrating note.
Sewing Supplies and Fabric Essentials
With your pieces perfectly cut, these are the items that will help you stitch them all together. A little bit of thought here goes a long way in avoiding common hiccups.
Choosing and Prepping Your Fabric For a first quilt, make your life easy and stick with 100% quilting cotton. It behaves beautifully, presses well, and the color and pattern options are endless.
Now, let's talk about the great debate: to pre-wash or not to pre-wash? For your first go, I absolutely recommend it. Popping your fabric in the wash first gets all the shrinkage out of the way before you sew, which prevents your finished quilt from getting distorted later. It also takes care of any loose dyes that might bleed.
Needles and Thread A good, sturdy thread is a must. Look for a 50-weight 100% cotton thread in a neutral color like cream, gray, or white. It’s strong enough to last but won't add extra bulk to your seams. And please, do yourself a favor and start with a fresh needle in your machine! A universal 80/12 needle is the perfect match for piecing quilting cotton.
Other Key Players You'll need a few more things to round out your setup:
- A Sewing Machine: No need for a fancy, computerized model. Any reliable machine that can sew a straight line will get the job done beautifully.
- A Good Iron & Ironing Board: You'll be surprised how much time you spend pressing. A hot iron is critical for getting those seams to lay perfectly flat.
- Straight Pins or Fabric Clips: Whether you prefer classic pins or modern clips, you'll need something to hold your fabric pieces together so they don't shift while you're sewing.
From Squares to a Quilt Top: Let's Get Sewing
Alright, you've got your squares all cut and your sewing space is prepped. This is where the magic really starts to happen—watching those individual fabric pieces come together to form your quilt top. We're going to build this thing methodically, first by sewing squares into long rows, and then by joining those rows to create the final grid.
The whole process boils down to a simple, satisfying rhythm: cut, sew, and press. Once you get a feel for this flow, you’ll see how quilting can be incredibly relaxing and fun.
This little visual sums it up perfectly. It’s the core loop you’ll follow from here on out.
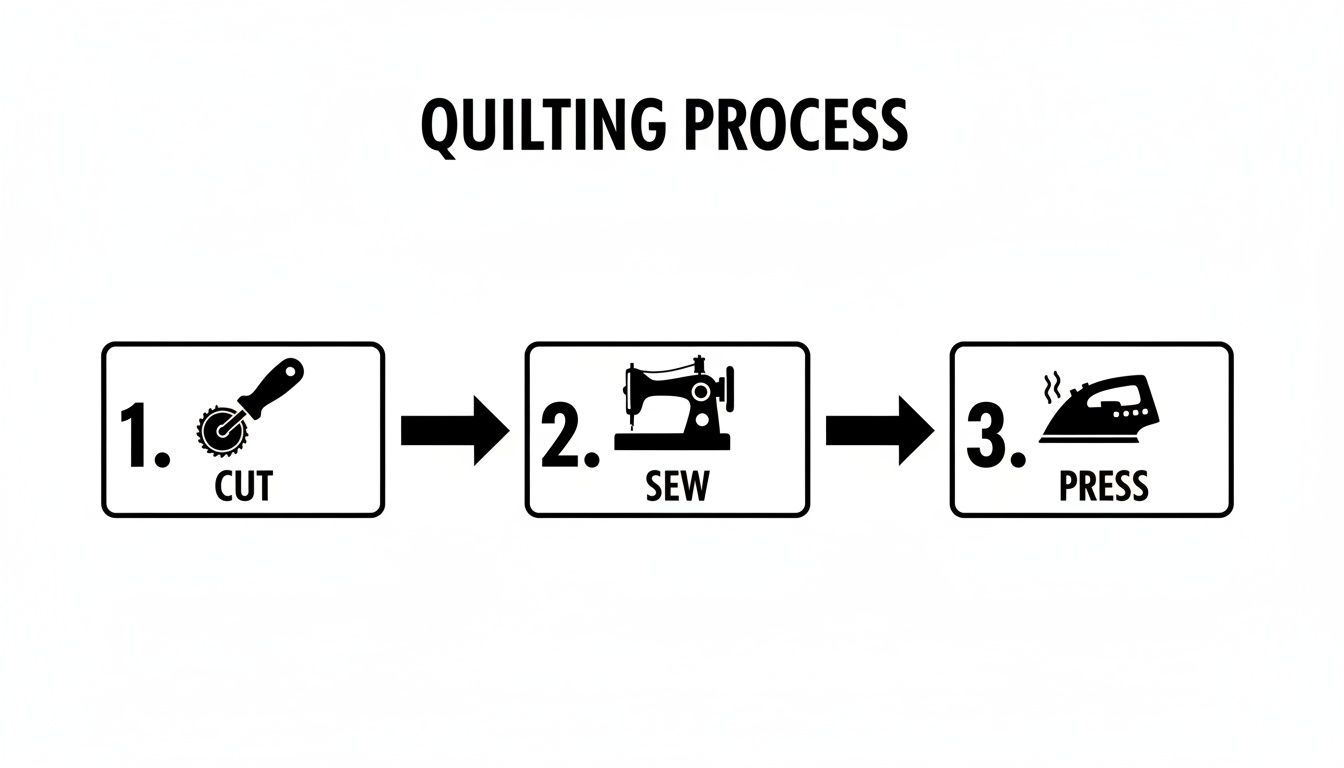
This cut-sew-press workflow is the heart of patchwork. It’s what ensures every piece fits together neatly and lays beautifully flat, giving you that professional finish even on your first try.
The Most Important Rule: The Quarter-Inch Seam
Before you touch that foot pedal, we need to talk about the golden rule of quilting: the quarter-inch seam allowance. This is the non-negotiable distance from the raw edge of your fabric to your stitch line. Keeping it consistent is the secret to making all your points and corners line up perfectly.
Think of it this way: if your seam is too wide, your squares will shrink, and your finished quilt will be smaller than planned. If it’s too narrow, the opposite happens. A consistent 1/4 inch is the standard for a reason—it makes everything work.
How to Find Your Quarter-Inch Guide Most modern sewing machines come with a "quarter-inch foot," which is a special presser foot with a little metal guide on the side. You just keep the edge of your fabric butted up against that guide as you sew. Easy.
Don't have one? No worries at all. You can make your own guide in a minute:
- Grab your clear quilting ruler and place it under the presser foot.
- Lower the needle by hand until it lands exactly 1/4 inch away from the ruler's edge.
- Without moving the ruler, stick a few layers of painter's tape or a seam guide right up against its edge on the machine bed. Voila! You now have a foolproof visual guide to follow.
Step 1: Sew Your Squares into Rows
First things first, lay out your squares on the floor or a large table. This is your design wall! Play around with the colors and prints until you have a layout that makes you happy.
Once you’ve settled on the design, you’ll work one row at a time. Take the first two squares in your top row and place them with their right sides facing each other. Line up the edges perfectly and secure them with a pin or a sewing clip.
Now, sew along one edge using your trusty quarter-inch seam. A quick tip: you don’t need to backstitch at the beginning or end. These seams will be crossed by other seams later, which locks them in place. Keep adding squares this way until your first row is complete.
Repeat this for all your other rows. Before long, you'll have a neat stack of finished rows, ready for the next step.
My Favorite Timesaving Trick: To speed things up and save thread, give chain piecing a try. After you finish sewing the first pair of squares, don’t clip the threads or lift the presser foot. Just feed the next pair of squares right behind it. You'll create a long "chain" of connected pairs that you can snip apart when you're done.
Step 2: The Art of Pressing
Pressing is not the same as ironing. When you iron, you slide the iron back and forth, which can stretch your fabric and distort your carefully sewn seams. Instead, you want to press—lift the iron and set it down firmly on the seam, hold for a second, and then lift it up to move to the next section. This keeps everything square.
The big question for quilters is always which way to press the seams. For this beginner quilt, we’re going to use a classic technique that makes lining up your corners a breeze.
Here’s the trick:
- Row 1: Press all the seam allowances to the right.
- Row 2: Press all the seam allowances to the left.
- Row 3: Press them all back to the right.
- Row 4: You guessed it—all to the left.
Continue alternating the pressing direction for every single row. Trust me, this little bit of prep work is about to make the next step incredibly easy.
Step 3: Nesting Seams for Perfect Corners
With your rows all sewn and pressed, it’s time to join them together. This is where you get the big payoff from that alternating pressing.
Take your first two rows and place them right sides together. As you line them up, you’ll notice that where the vertical seams meet, they want to lock together. One seam allowance is pointing up, and the one below it is pointing down. This is what quilters call nesting your seams. You can literally feel them click into place with your fingertips.
This technique is a game-changer. It almost forces the corners of your squares to line up perfectly, giving you those crisp points without any struggle. Pin each nested seam to make sure it doesn't shift while you sew.
Sew the rows together, maintaining that consistent quarter-inch seam. Once you've joined a pair of rows, take it back to the ironing board and press this new, long seam open. Pressing the row seams open helps reduce bulk and ensures your finished quilt top lies incredibly flat.
Keep joining your rows this way, nesting the seams at every intersection. Before you know it, you'll have a finished quilt top! Step back and take it all in. You just turned a stack of fabric squares into a beautiful grid and mastered the fundamental skills of quilting.
Making the Quilt Sandwich and Stitching the Layers
You’ve finished your beautiful grid of squares, and now it’s time to turn that quilt top into an actual quilt. This is where we create what quilters affectionately call the "quilt sandwich"—a three-layer stack of your backing fabric, the fluffy batting, and your pieced top.
We’ll assemble this sandwich in a process called basting, which just means temporarily holding everything together for the quilting part. And don't worry, you don’t need a huge, dedicated quilting frame. A clean kitchen or living room floor works perfectly for this.
The goal here is to get all three layers smooth and secure, without any wrinkles or puckers, so you can stitch through them with confidence. Getting this step right is a huge part of achieving a professional-looking finish.
Choosing Your Batting for the Perfect Feel
The batting is the heart of your quilt; it's what gives it warmth, weight, and that wonderfully crinkly texture after it’s been washed. The options can feel a little overwhelming at first, but for your first project, we can narrow it down to the most common and beginner-friendly choices.
The two main things to think about are loft (thickness) and fiber (what it's made of).
- Loft: This is just a fancy word for how thick or thin the batting is. A low-loft batting is thin and creates a flatter, more traditional-looking quilt. A high-loft batting is thick and puffy, more like a comforter. For machine quilting, low loft is your best friend.
- Fiber: The material itself affects the quilt's drape and warmth. Cotton is breathable and classic, polyester is lightweight, and an 80/20 cotton/poly blend offers the best of both worlds. Honestly, it's my personal go-to.
For your first quilt, I can't recommend an 80/20 cotton/poly blend batting with a low loft enough. It's stable, easy to work with, and gives you that soft, crinkled look after the first wash that makes a quilt feel like home.
Creating a Pucker-Free Quilt Sandwich
This basting process is all about getting your three layers perfectly smooth before you start sewing. Find the largest, cleanest floor space you have and grab some painter's tape and safety pins.
- Tape Down the Backing: Lay your backing fabric down first, with the wrong side facing up. Starting from the center and working your way out, use painter's tape to secure the edges to the floor. You want it taut, but not stretched—think smooth like the surface of a drum.
- Add the Batting: Unroll your batting and center it right on top of the backing. Gently smooth it out with your hands, again working from the center outwards to get rid of any wrinkles.
- Position the Quilt Top: Finally, place your beautifully pieced quilt top on top of it all, right side up. Center it and smooth it out one last time. Your backing and batting should extend about 3-4 inches beyond the quilt top on all sides. This extra bit is crucial.
Now it's time to pin. Using curved basting safety pins (they’re much easier to handle), start pinning in the very center of the quilt and work your way to the edges. Place a pin every 4-5 inches, or roughly a fist's-width apart, across the entire quilt. Once it's fully pinned, you can carefully remove the tape and lift your quilt sandwich off the floor.
Simple Straight-Line Quilting With a Walking Foot
With your sandwich basted, the real fun begins. We're going to use a technique called straight-line quilting, which looks modern, clean, and is incredibly beginner-friendly. To do this, you’ll definitely want to use a walking foot on your sewing machine.
This special foot has its own set of feed dogs on the bottom that grip the top layer of fabric. This moves it in perfect sync with the bottom layer being pulled by the machine's own feed dogs, preventing the layers from shifting and creating those dreaded puckers. It makes sure all three parts of your sandwich move together as one.
A fantastic starting point for your quilting design is to stitch lines 1/4 inch away from both sides of each seam line. This creates a simple, elegant grid that reinforces your seams and adds beautiful texture without being complicated at all.
Many quilters have found success starting with patterns that are forgiving by nature. Imagine diving into quilting as a complete beginner back in the early 2000s when online patterns first exploded in popularity. According to quilting experts, the Rail Fence Quilt has been a top recommendation since at least 2010, teaching strip piecing to over 500,000 novice quilters worldwide. This pattern's forgiving nature means seams don't have to be perfect; a 1/4-inch allowance tolerance of up to 1/8 inch still yields professional results, building confidence fast. You can learn more about how easy quilt patterns support new quilters.
Finishing Your Quilt With a Clean, Professional Binding
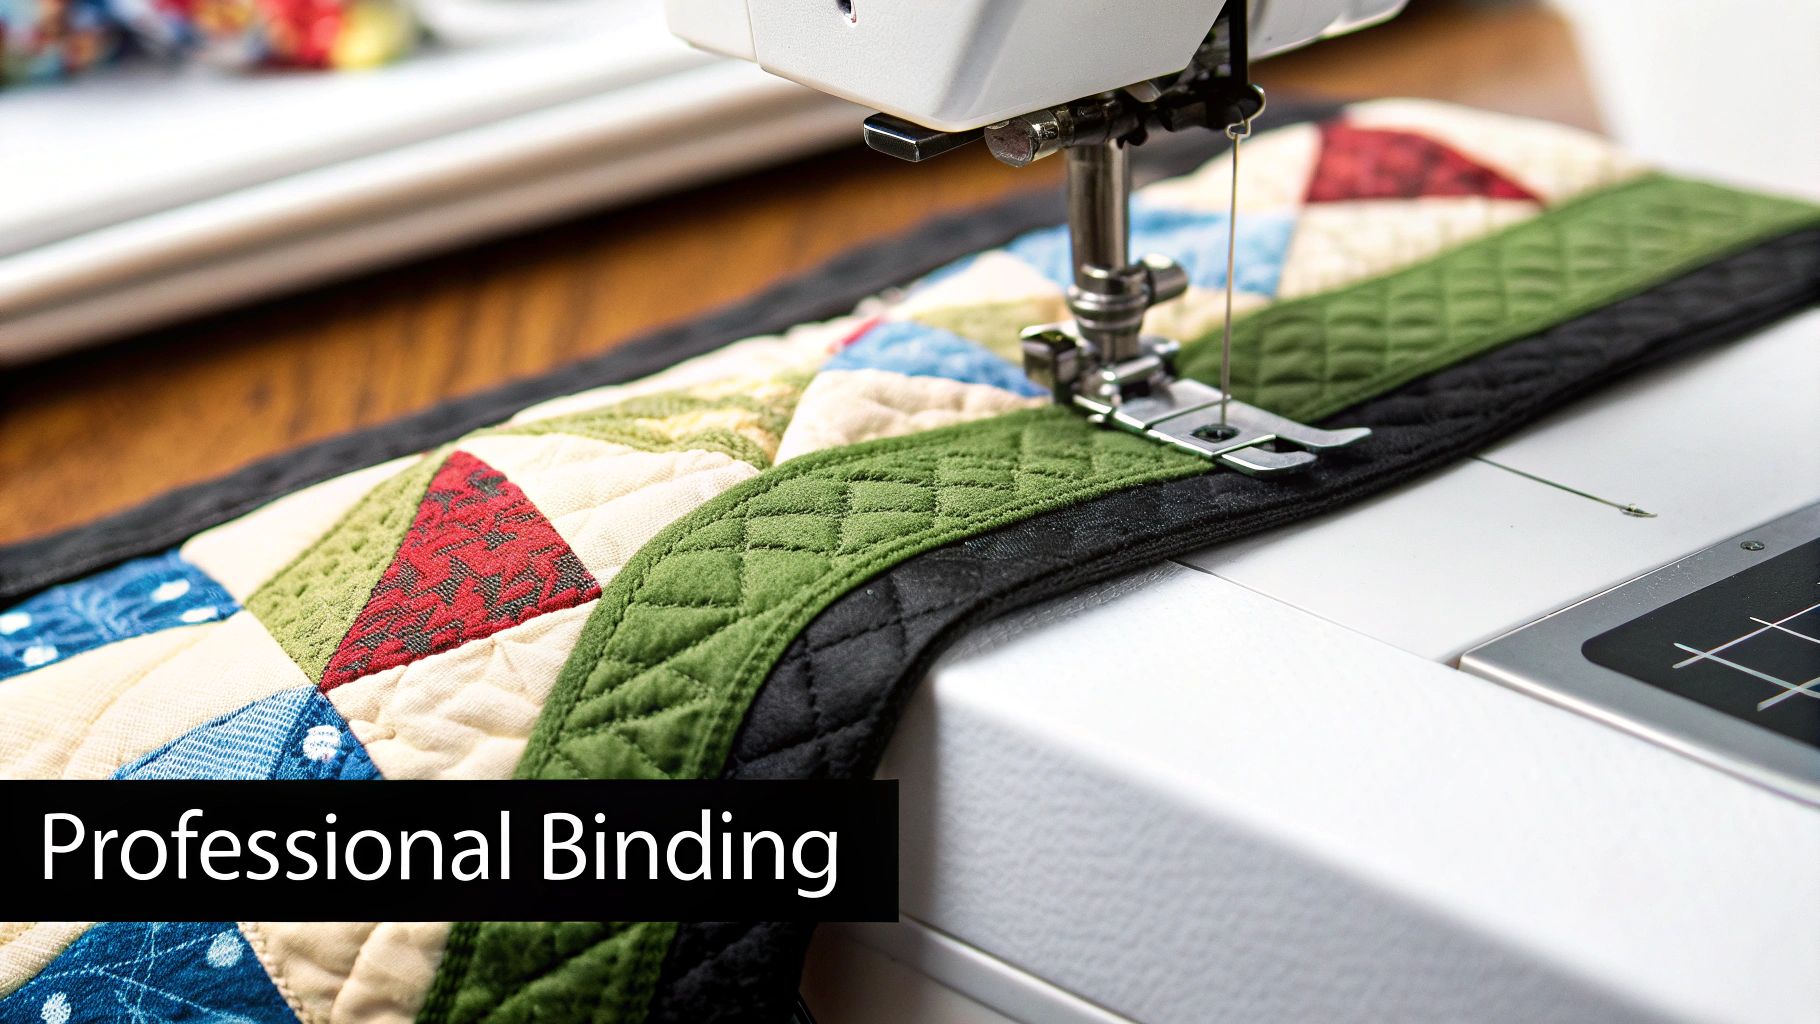
You're on the home stretch! The final, triumphant step is adding the binding—that neat fabric frame that encloses all the raw edges and gives your quilt a durable, finished look. This part might seem fussy, but trust me, it’s incredibly satisfying.
We’re going to tackle a machine binding method that's perfect for beginners. It's fast, strong, and ideal for a quilt that’s meant to be used, loved, and washed for years to come. This process will give you a beautiful finish without the hours of hand-stitching.
Calculating and Preparing Your Binding Strips
First things first, let's figure out how much fabric you'll need. It’s a simple calculation: measure the perimeter of your quilt (that’s length + length + width + width) and add about 10-15 extra inches just to be safe. This little bit of extra gives you room to breathe when joining the strips and finishing the end.
For the width of the strips, 2.5 inches is the gold standard for machine binding. It’s wide enough to work with comfortably and creates a perfectly proportioned frame for your quilt top.
Once you have your total length, just cut enough 2.5-inch strips from your binding fabric to meet that number.
A quick tip from my own experience: Cut your binding strips across the width of the fabric (from selvage to selvage). This cross-grain cut has a slight amount of stretch, which is exactly what you need to ease the binding smoothly around the corners without any puckering.
With your strips cut, you’ll join them into one long, continuous piece. To do this, place two strips right sides together at a right angle. Then, sew diagonally from the top left corner to the bottom right. Trim the excess fabric about a quarter-inch from your seam line—this gets rid of unnecessary bulk and helps the join lay flat.
After joining all your strips, press the entire long binding in half lengthwise with the wrong sides together. You should now have a crisp, double-layered 1.25-inch strip, ready to go.
Attaching the Binding to Your Quilt
Time to bring your walking foot back into the picture. It’s a huge help here, managing the layers and preventing any stretching as you sew the binding on.
Start sewing about halfway down one side of your quilt, leaving an unsewn "tail" of about 8-10 inches. Line up the raw edges of your folded binding strip with the raw edge of your quilt top. Using a 1/4-inch seam allowance, begin stitching the binding to the quilt.
As you approach a corner, stop sewing a quarter-inch away from the edge and do a little backstitch. Pull the quilt out from your machine. This little gap is the secret to getting sharp, professional corners.
Creating Perfect Mitered Corners
This is the technique that makes your binding look so polished. It might feel a little like fabric origami at first, but once you get it, you’ll never forget it.
- Fold Up: Take your binding strip and fold it straight up and away from the quilt. This should create a neat 45-degree angle with the corner.
- Fold Down: Keeping that first fold in place, fold the binding strip straight back down so its top edge aligns with the raw edge of the next side of the quilt. The raw edge of the binding will now be lined up perfectly with the raw edge of this new side.
- Start Stitching Again: Begin sewing right from the very top edge of this new side, which will lock that folded corner into place as you go.
Just repeat this process at all four corners. When you get back around to your starting side, stop sewing about 10-12 inches away from where you began. You should now have two long "tails" of binding ready to be joined.
To finish it all up, overlap the two tails and trim them so they meet perfectly. Unfold the ends, place them right sides together, and sew them to create one final, seamless join. Refold the binding, lay it flat against the quilt edge, and stitch that last open section closed.
Finally, wrap the folded edge of the binding around to the back of the quilt and stitch it down. A popular method is to "stitch in the ditch" from the front, which means sewing right in the seam line. This cleverly catches the binding edge on the back for a clean, secure finish. And just like that, you’ve completed your amazing first quilt
So, What's Next? Taking Your Quilting Skills to the Next Level
You did it! You finished your first quilt. Take a moment to appreciate that beautiful, cozy thing you made. That feeling of pulling a finished quilt out of the dryer is exactly what got so many of us hooked on this craft.
Now that you've got the hang of cutting and sewing basic squares, you're probably wondering what comes next. The secret is to build on what you already know without biting off more than you can chew. You want to choose projects that introduce just one new skill at a time. It's the best way to keep quilting fun and avoid that feeling of being completely overwhelmed.
From Squares to Strips and Simple Blocks
A fantastic next step is to move from simple squares to working with strips. This is where a Rail Fence quilt comes in. For this pattern, you sew long strips of fabric together first and then cut them down into blocks. It’s a brilliant way to practice keeping a consistent seam allowance over a longer distance, and you can create some really cool zig-zag designs.
Another classic you're ready to tackle is the Nine Patch block. People have been making this one since the 1800s for a good reason! In fact, a 2023 analysis showed it's a top pick for 65% of new quilters. You just sew nine small squares together to form a larger block, which is great practice for nesting your seams and getting those corners nice and crisp. A Nine Patch throw quilt is a quick and satisfying project, usually taking only 15-25 hours from start to finish.
If neither of those strikes your fancy, there are tons of other beginner-friendly patterns and tutorials out there just waiting to be discovered.
Your quilting journey is a marathon, not a sprint. Each new pattern is a chance to add another tool to your creative toolbox, building your confidence one stitch at a time.
Projects like these are the perfect bridge from feeling like a total newbie to becoming a more confident quilter. They gently introduce new ideas like strip piecing and block construction, but they’re still incredibly forgiving. This all but guarantees your second quilt will be just as successful as your first.
Got Questions? Let's Talk Quilting
Jumping into your first quilt is exciting, but it's totally normal to have a few questions swirling around. Let's tackle some of the most common ones I hear from beginners, so you can start your project feeling ready and confident.
How Big Should I Go for My First Quilt?
My best advice? Start small. Seriously. Aim for a baby quilt (around 36" x 42") or a lap quilt (something like 50" x 60").
These sizes are just perfect for learning the ropes. They're big enough to teach you every step of the process—cutting, piecing, quilting, and binding—but not so big that you feel overwhelmed. Plus, getting a quick win with a finished project is a huge confidence booster! Trust me, wrestling a queen-sized quilt through a regular sewing machine is a workout you don't need on your first try.
Is Pre-Washing Fabric Really Necessary?
For your first quilt, my answer is a firm yes. I know it feels like an extra, tedious step when you're itching to start cutting, but it's so important.
Pre-washing does two key things: it pre-shrinks the fabric, preventing your quilt from getting all wonky and distorted after its first real wash. It also gets rid of any excess dyes that could bleed onto your lighter fabrics, which would be heartbreaking.
Think of it this way: spending an hour washing and pressing your fabric now is cheap insurance. It protects all the hard work you're about to put in.
Down the road, you might decide you love the crinkly, vintage vibe that un-washed fabric creates. But for now, let's play it safe and avoid any unwelcome surprises.
What's the Biggest Mistake Beginners Make?
Hands down, the most common pitfall for new quilters is an inaccurate quarter-inch seam allowance. It sounds like such a tiny detail, but it's everything in quilting.
If your seams are a little too wide here and a little too narrow there, your squares just won't fit together properly. Your points won't match, and the whole quilt top can end up looking wavy instead of lying flat. Before you sew a single piece, take a few minutes to test your seam allowance and find a reliable guide on your machine. This one tiny habit is the foundation of making the easiest quilt to make for beginners.
Here at Famcut.com, we're passionate about helping new quilters find their footing with great supplies and friendly advice. From beautiful fabrics to beginner classes, you can find everything you need to get started on https://famcut.com.