


Easiest Beginner Quilt to Make A Simple Guide
If you're just starting your quilting journey, you might be wondering which pattern to tackle first. My top recommendation, without a doubt, is the Rail Fence quilt. It's the one I suggest to all my beginner students because its simple fabric strips and forgiving construction let you dive right in.
This pattern is all about mastering the fundamentals—like cutting accurately and sewing a straight line—without the headache of complex shapes or tricky piecing.
What Really Makes a Quilt Easy for Beginners
Starting your first quilt can feel a little intimidating, but the secret to a great first experience is picking a pattern that builds your skills, not your frustration. An "easy" quilt isn't just about using squares; it's about using smart, simple techniques that help guarantee a beautiful finish. That’s exactly why the Rail Fence is a new quilter's best friend.
At its heart, a Rail Fence quilt is made by sewing long strips of fabric together. You then cut these larger, pieced strips into individual blocks. This technique is called strip piecing, and it's a game-changer for speed and accuracy. It’s the perfect way to practice sewing a consistent quarter-inch seam, which is the most critical skill in all of quilting.
By sticking to straight lines and avoiding tiny pieces or complicated angles, you can really nail the basics. The magic of the Rail Fence quilt comes alive when you start arranging the blocks. You can create all sorts of dynamic zigzag or stair-step designs just by rotating simple, straight-line blocks.
Why Simple Patterns Are So Effective
The easiest beginner quilt patterns, like the Rail Fence or the Nine Patch, are classics for a reason. They rely on basic geometric shapes that are straightforward to cut and sew. In fact, it's estimated that around 70% of new quilters begin with patterns like these because they deliver a huge visual punch with minimal fuss. When you remove the complexity, you set yourself up for a successful and, most importantly, fun first project.
This approach is fantastic for building confidence. Each block you finish is a small win that keeps you motivated. You get a feel for handling fabric, learn how to press seams properly, and see your color choices come to life, all in a low-stress environment.
A great beginner project should teach you the core skills you'll use for every quilt you ever make: accurate cutting, a consistent quarter-inch seam, and proper pressing techniques.
Preparing for Success
Beyond just the pattern, your materials can make or break the experience. To make things even easier, look for pre-cut fabric bundles. "Jelly rolls," which are bundles of 2.5-inch strips, are absolutely perfect for a Rail Fence quilt and save you a ton of time on cutting.
Choosing the right batting is also key for a professional-looking finish. I often recommend a product like Hobbs Heirloom 80/20 Fusible Batting to beginners. It's a fusible cotton-blend batting that you can iron to your quilt top and backing, which completely simplifies the layering process. The goal here is to set yourself up for a win right from the start.
Comparing Top Beginner-Friendly Quilt Patterns
To help you visualize the differences, here's a quick look at two of the easiest quilt patterns for beginners. Both are fantastic starting points, but they teach slightly different skills.
| Pattern Feature | Rail Fence Quilt | Nine Patch Quilt |
|---|---|---|
| Primary Skill | Sewing long, straight seams (strip piecing) | Nesting seams and sewing small squares |
| Cutting | Very simple; mostly long strips | Requires cutting accurate squares |
| Construction | Fast and efficient due to strip piecing | Slower, block-by-block piecing |
| Best For | Practicing seam allowance and speed | Learning precision and point matching |
| Fabric Use | Excellent for using pre-cut "jelly rolls" | Great for using up scraps or "charm packs" |
Ultimately, both the Rail Fence and the Nine Patch are designed to be achievable and rewarding. The Rail Fence gets a slight edge for absolute beginners because of the efficiency of strip piecing, but you can't go wrong with either one for your first project.
Building Your Quilting Starter Kit
Before you even think about cutting fabric, let's talk tools. Getting a few key pieces of gear will make your first quilting project a joy instead of a headache. You don't need to buy out the entire craft store, just a handful of essentials that set you up for success right from the start.
The holy trinity for any quilter is a rotary cutter, a self-healing mat, and a clear acrylic ruler. I know it's tempting to just grab your sewing scissors, but trust me on this—a rotary cutter is a game-changer. It glides through fabric and gives you those perfectly straight, accurate cuts that are crucial for getting your quilt blocks to line up perfectly.
This infographic gives you a great visual of how these first steps all fit together.
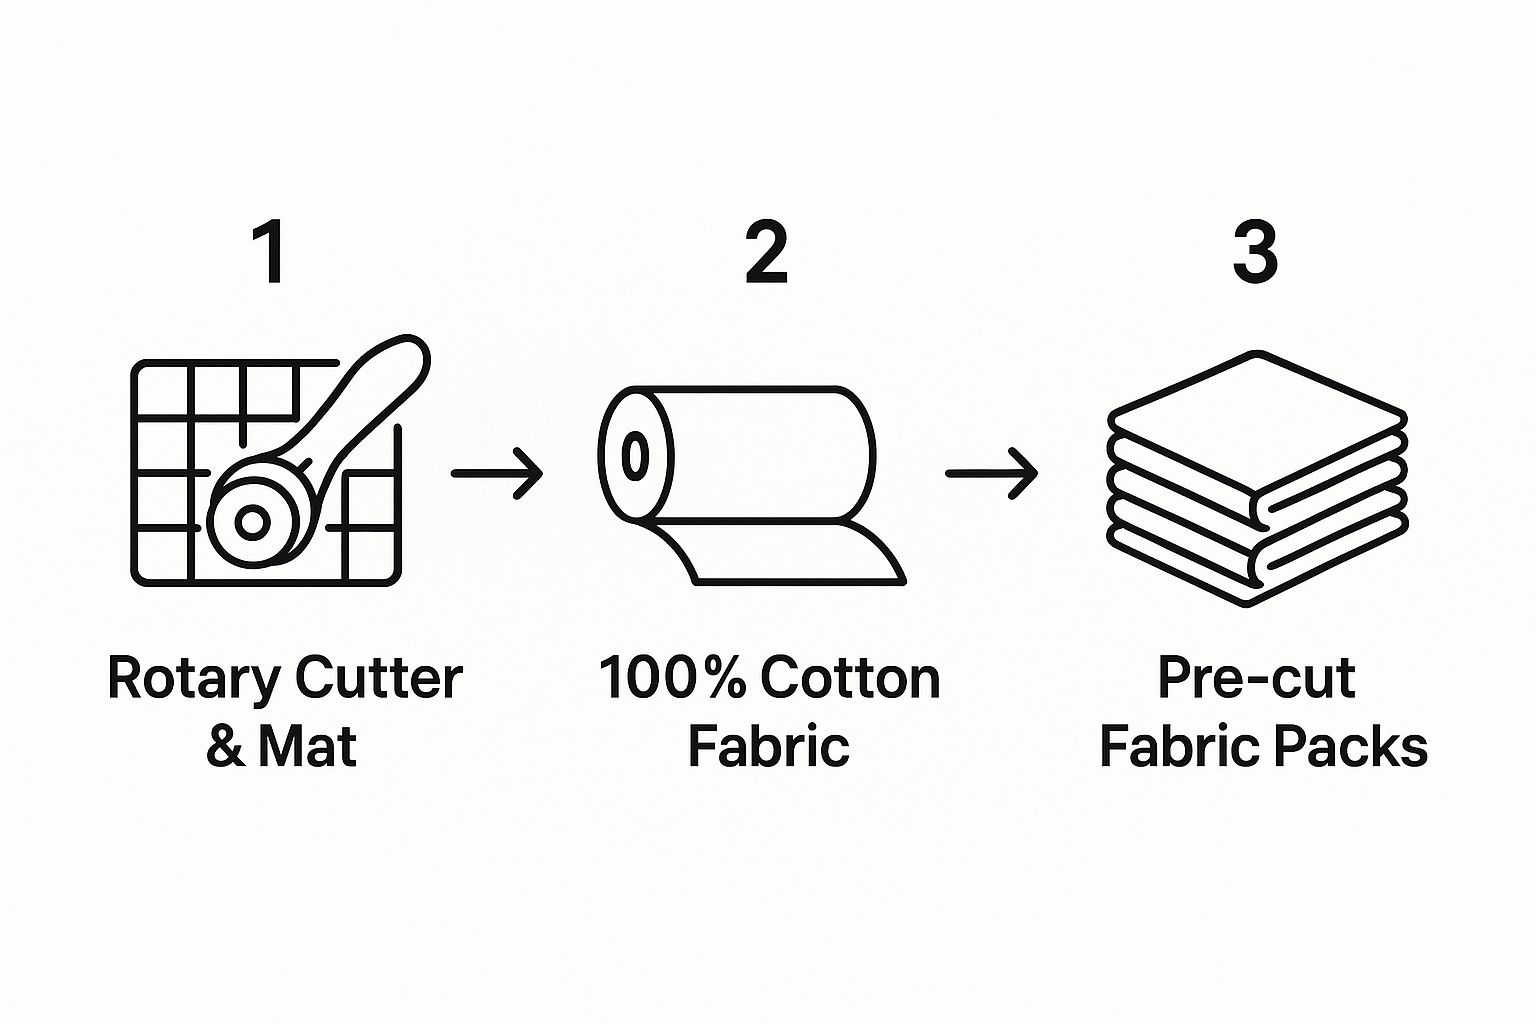
As you can see, the right tools and materials create a workflow that makes the whole process smoother and much more fun.
Choosing Your Fabric and Thread
Okay, now for the best part: the fabric! For your first quilt, do yourself a huge favor and stick with 100% high-quality quilting cotton. It's wonderfully stable, presses like a dream, and is just incredibly forgiving for a beginner. Trying to wrestle with slippery synthetics like polyester will only lead to puckered seams and frustration.
Want a pro tip to make life even easier? Look for pre-cut fabric bundles.
- Jelly Rolls: These are my go-to for patterns like the Rail Fence. They're just bundles of 2.5-inch strips, ready to sew.
- Charm Packs: These are little stacks of 5-inch squares, perfect for simple patchwork.
Pre-cuts save a massive amount of cutting time, which is often the most tedious part. Plus, they come in curated color palettes, so you already know the fabrics will look amazing together.
Finally, don't forget the thread. A good quality, 100% cotton 50wt thread is the standard for a reason. It's strong enough to hold your masterpiece together for years but fine enough that it won’t create bulky seams. If you're looking to build up more of these foundational skills, you might find these free sewing lessons really helpful.
Creating Your First Quilt Block with Confidence
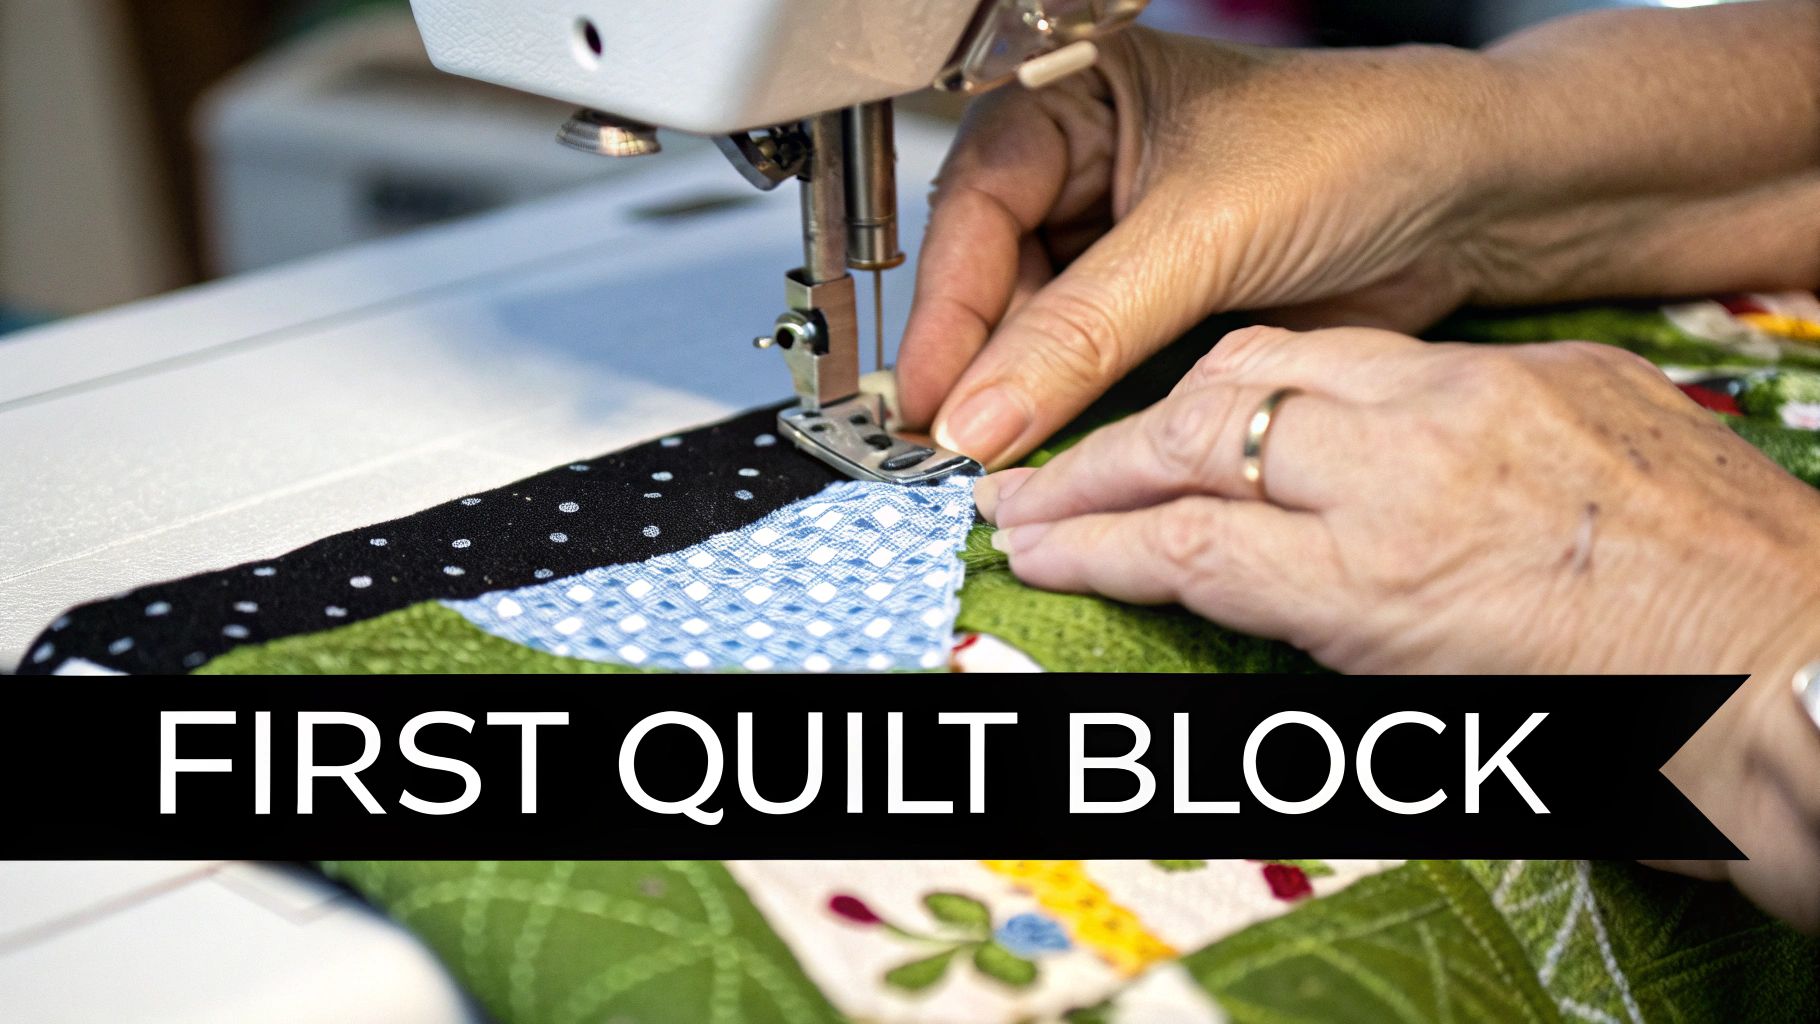 This is where the magic really starts to happen. You've picked your fabric, and now you get to turn those beautiful pieces into the building blocks of your first quilt. Making that first block is such a rewarding milestone, and thankfully, the Rail Fence pattern makes it a satisfying and simple process.
We're going to zero in on the two skills that are the bedrock of all quilting: cutting accurately and sewing a consistent quarter-inch seam. Get these right, and you're well on your way.
Let’s say you have three different fabric strips, each cut 2.5 inches wide. The first thing you'll do is sew them together along the long edges to create what's called a "strip set." Your main goal here is to maintain a perfect quarter-inch seam allowance. Most modern sewing machines come with a special foot just for this, but don't worry if yours doesn't. A little piece of painter's tape on your machine bed makes a fantastic guide.
Trust me, consistency is everything in quilting. A seam that’s just a tiny bit too wide or narrow might not look like much, but those little variances compound across a whole quilt top, which can throw off the final size of your blocks.
Cutting Your Strips and Blocks
After you've sewn your three strips together into a wider panel, it’s time to head to the ironing board. Pressing your seams the right way is a non-negotiable step; it’s what makes your blocks lie flat and join together without any fuss later on.
My go-to rule is to always press the seams toward the darkest fabric. This simple trick keeps the darker seam allowance from peeking through your lighter fabrics. I like to press the seams in one direction from the back first, then flip the whole strip set over and give it one more good press from the front. The result is a beautifully crisp, flat panel.
Now that your strip set is perfectly pressed, you're ready to cut it into the individual blocks. This is where a good rotary cutter and ruler are your best friends. To keep everything perfectly straight and accurate, a tool like a Quilter's Select non-slip ruler makes a world of difference. For a classic Rail Fence block, you'll be cutting this strip set into 6.5-inch segments.
Pro Tip: Always "square up" your strip set before you start cutting your blocks. This just means making one clean, straight cut across the short end to create a perfect 90-degree edge. It guarantees that every single block you cut from that set will be perfectly square.
Nailing the Quarter-Inch Seam
The quarter-inch seam is the unsung hero of quilting. It’s the universal standard that allows pattern pieces to fit together like a puzzle. Getting this right from your very first block will save you so many headaches and build a solid foundation for every quilt you make from here on out.
Here are a few pointers to get that perfect seam every time:
- Use the Right Foot: If you have a quarter-inch sewing foot, use it! It’s designed to make your life easier.
- Make a DIY Guide: If not, just measure 1/4 inch from your needle and lay down a strip of tape. Keep the edge of your fabric aligned with the tape, and you're golden.
- Guide, Don't Shove: Your job is to simply guide the fabric. Let the machine’s feed dogs do all the work of pulling it through.
Even with a simple pattern, you can always look for creative inspiration in unexpected places. Checking out something like Mothers Day Quilt Pattern drawing ideas can spark some really cool ideas for how to arrange your colors and blocks.
From Blocks to a Beautiful Quilt Top
You’ve done the hard work of piecing your blocks, and now you have a neat little stack ready to go. This next part is pure magic—it's where all those individual squares finally come together to create your finished quilt top. The Rail Fence pattern is especially fun at this stage because you're in the driver's seat for the final design.
Before you even think about touching your sewing machine, take some time to play. Spread your blocks out on the floor or a large table and just start arranging them. You’ll be surprised how simply turning a block can completely change the look of the entire quilt.
Give a few of these layouts a try:
- A Classic Zigzag: Orient the stripes in your blocks to create a dynamic, chevron-like pattern.
- A Boxy, Geometric Look: Turn the blocks to form larger squares or a stair-step design.
- Totally Random and Scrappy: Mix them up without any set pattern for an energetic, improvisational feel.
There’s no "right" way to do this. It’s all about what looks good to you. This is the moment your quilt gets its personality and becomes uniquely yours.
Building the Quilt Sandwich
Once you've landed on a layout you love, you'll sew your blocks together into rows, and then join those rows to complete the quilt top. Now, it's time to build the "quilt sandwich." It sounds a little funny, but it's just the term for the three layers that make up a quilt: the backing fabric, the soft batting, and your pieced quilt top.
For this step, a big, flat surface is non-negotiable. Using something like a spacious dual-side cutting mat can really help you keep everything flat and under control.
Start by laying down your backing fabric, wrong side facing up. Smooth it out completely—no wrinkles! Then, center the batting on top of it, followed by your quilt top, right side facing up. The goal here is to have each layer perfectly smooth, with the backing and batting extending a few inches beyond the quilt top on all sides.
Why Basting is So Important Basting is simply the way we temporarily secure these three layers together so they don't wiggle around while you're quilting. For beginners, curved safety pins are the easiest and most reliable method. Just place a pin every 4-6 inches across the entire quilt, making sure each one goes through all three layers.
Simple and Clean: Quilting in the Ditch
Your quilt sandwich is basted and ready for the final touch: the quilting itself. A fantastic technique for your first quilt is called quilting in the ditch. It’s exactly what it sounds like—you stitch directly inside the seam lines where your fabric pieces or blocks are joined together.
This method gives your quilt beautiful texture and stability without drawing attention away from your lovely fabric choices and piecing. It’s clean, effective, and very forgiving for newcomers.
While the Rail Fence is a perfect first project, another popular gateway pattern is the Disappearing Nine Patch. In fact, an estimated 40% of new quilters in the U.S. gravitate toward it because it teaches simple variations without getting too complicated. If you're eager to see what other beginner-friendly designs are out there, you can explore beginner quilt patterns and techniques to find your next project.
Finishing Your Quilt With a Beautiful Binding
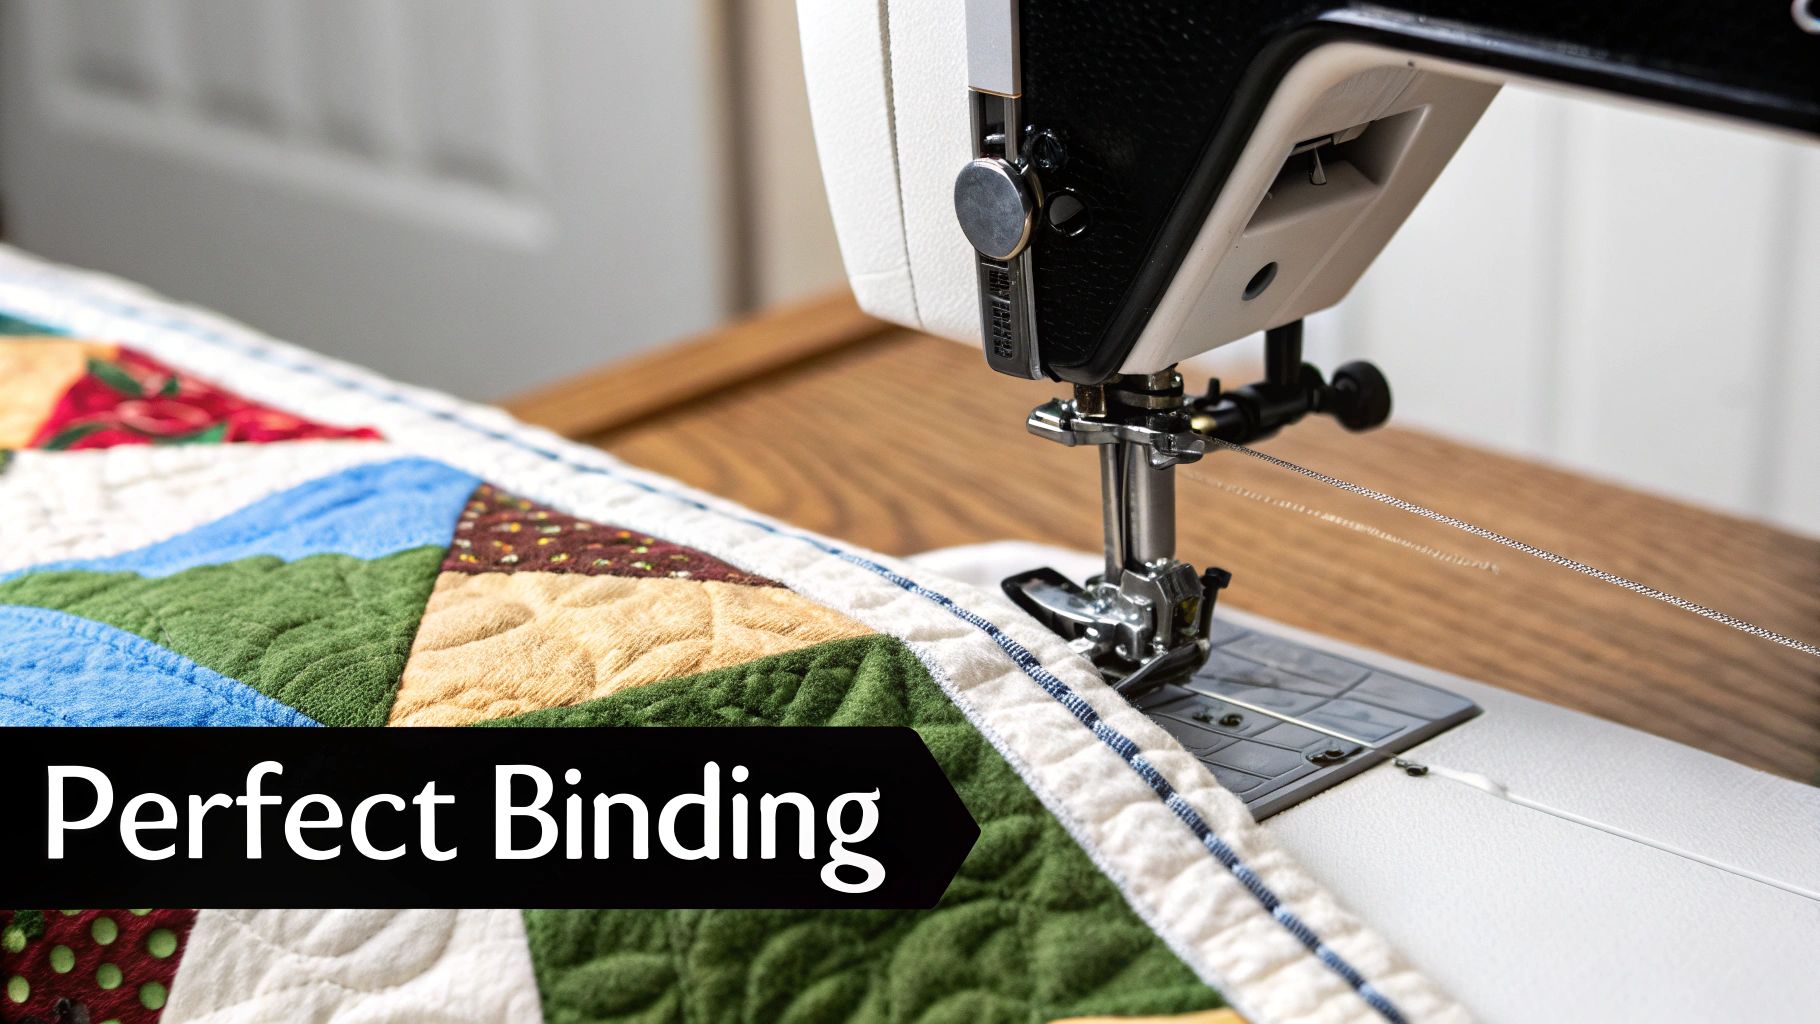
The binding is the final frame for your quilt, and honestly, getting it right is one of the most satisfying parts of the whole process. A clean, sturdy edge just makes everything look professional and polished. Don't let this final step intimidate you—it’s much simpler than it looks, even for your first quilt.
First things first, you need to create one long, continuous strip of fabric. The go-to width for binding is 2.5 inches, which you'll cut from your chosen fabric. To get a piece long enough to go all the way around your quilt, you'll sew these strips together end-to-end.
The trick here is to join them on a diagonal (a 45-degree angle). This little detail is a game-changer because it distributes the bulk of the seam, preventing any awkward lumps or bumps along the edge of your finished quilt.
Getting the Binding on the Quilt
Once your long strip is ready, fold it in half lengthwise with the wrong sides together and give it a good press with your iron. This folded piece is your binding, all set to go.
Start somewhere in the middle of one side of your quilt—never right at a corner! Line up the raw edges of your folded binding strip with the raw edge of your quilt top. You can use clips or pins to hold it in place as you go. I find that good, sturdy easy grasp pins are perfect for wrangling the fabric without a fuss.
Now, you’ll sew the binding to the quilt top using a standard quarter-inch seam allowance.
Mitered corners look fancy, but they're surprisingly simple. When you get to a corner, stop sewing a quarter-inch from the edge. Fold your binding strip straight up, creating a 45-degree angle. Then, fold it back down along the next side of the quilt. This little fold creates a neat fabric flap that magically becomes a perfect mitered corner once you turn the binding to the back.
After you've sewn the binding all the way around your quilt, the very last step is to wrap the folded edge around to the back and stitch it down. You can do this by hand for a nearly invisible finish (my personal favorite) or use your machine if you want a quicker, super-durable edge.
This final detail is what gives your quilt that truly professional touch.
Common Questions from New Quilters
Even the simplest quilt pattern can leave you with a few questions. That's a completely normal part of learning something new! Having the right answers handy helps keep the frustration at bay and your project humming along.
Before we dive in, here's a quick reference table with some of the most common questions I hear from beginners.
Quick Answers for Your First Quilt Project
| Question | Quick Answer |
|---|---|
| What's the best sewing machine stitch length? | For piecing, use a 2.0 to 2.5 straight stitch. For quilting, a longer 3.0 to 3.5 stitch looks great. |
| How do I wash my finished quilt? | Use a gentle cycle with cold water and mild detergent. A color-catcher sheet is your best friend! |
| What fabric should I use? | 100% cotton is the gold standard for quilting. It's easy to work with and holds up well. |
| Do I need to pre-wash my fabric? | It's a personal choice, but pre-washing helps prevent shrinking and color bleeding later. |
Think of these as your go-to cheat sheet. Now, let's explore some of these topics a little more deeply.
Getting Your Machine Settings Just Right
Your sewing machine's stitch length is more important than you might think. When you're piecing the quilt top, you want a secure seam. A stitch length between 2.0 and 2.5 is perfect for this—it holds everything together tightly but isn't impossible to unpick with a seam ripper if you make a mistake (and we all do!).
Once you get to the quilting stage—stitching through all three layers—you can lengthen that stitch. Bumping it up to 3.0 or 3.5 makes the stitches more visible and adds a beautiful texture to your finished quilt.
The First Wash and Finding Your Next Project
That first wash can feel a little scary. You've poured so much effort into your quilt! To keep it looking its best, always use a gentle cycle with cold water and a gentle soap. I always toss in a color-catcher sheet, especially when I’ve used vibrant fabrics like red or navy, just to be safe. You can tumble dry it on a low setting, but if you have the space, laying it flat to air dry is even better.
After that first successful project, the quilting bug will likely have bitten you. The big question is: what's next?
The quilting community is incredibly generous with its knowledge. Don’t be afraid to look online for tutorials and patterns. About 80% of quilters in major markets rely on these resources for their initial projects.
You don't have to spend a fortune to keep learning. There are so many amazing free patterns out there that let you explore new techniques without a big investment. In fact, you can easily find over 200 free beginner quilt patterns that are perfect for building your confidence.
Once you're comfortable with basic squares, you could try a simple Nine Patch block or even a beginner-friendly Log Cabin. Each new project will teach you something new, letting you grow your skills one stitch at a time. The key is to pick something that genuinely excites you and keeps that creative energy flowing.
At Famcut.com, we have all the high-quality fabrics, tools, and expert advice you need to bring your quilting ideas to life. Explore our collection at https://famcut.com to get started on your next beautiful project.