


The Best Sewing Machine for Quilting Beginners Revealed
For a beginner quilter, the best sewing machine isn't the one with a million fancy stitches. It’s a sturdy, reliable workhorse with plenty of room to work, a walking foot to handle bulky layers, and speed control that lets you set your own pace. The single most important thing? A perfect, consistent straight stitch. That’s the stitch that will hold every quilt you make together.
Your First Stitch: Finding the Right Quilting Machine
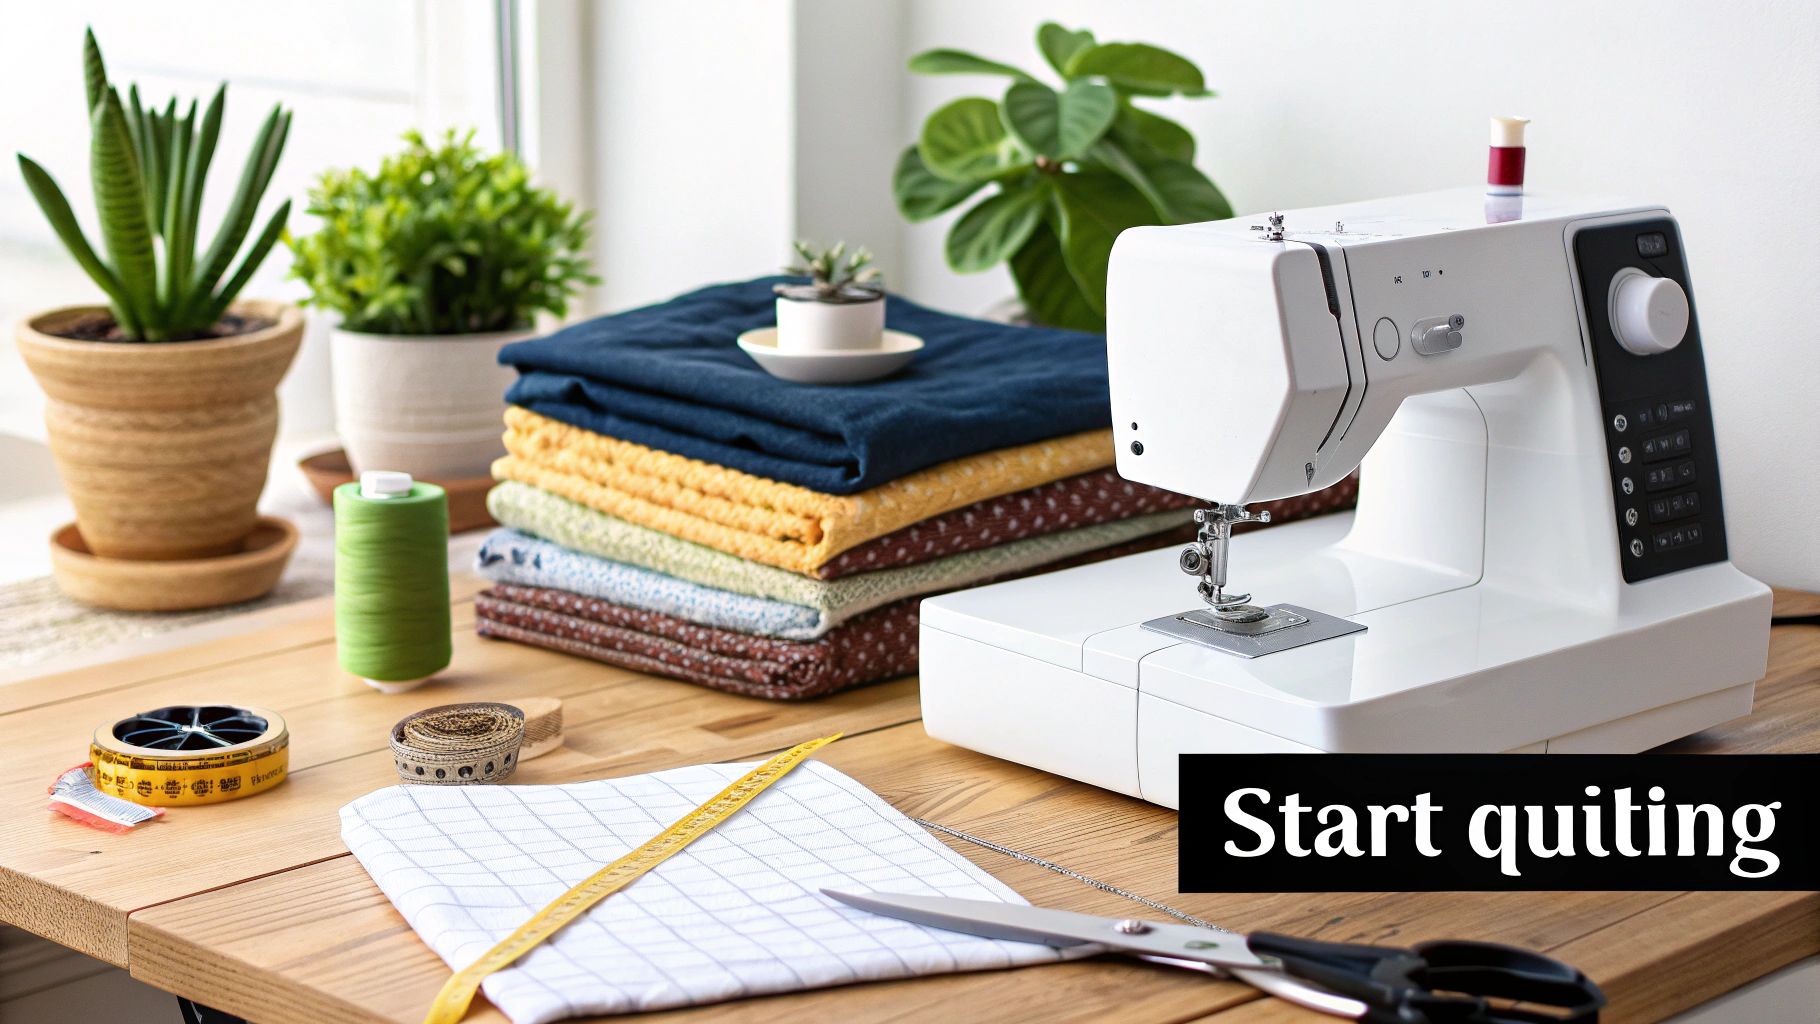
Welcome to the wonderful world of quilting! I know that walking into a sewing machine shop—or browsing online—can feel like a lot. All those buttons, features, and price tags can be intimidating. But don't worry, we're going to cut through the noise.
Think of it this way: when you learn to cook, you don't start with a sous-vide machine. You start with a good, sharp knife. Your sewing machine is your knife. The right one will feel like an extension of your hands, making every cut of fabric and every seam a pleasure. The wrong one will just lead to frustration.
This guide is here to be your friendly expert, pointing you toward the features that genuinely matter for a beginner. We’ll skip the confusing jargon and focus on what will help you turn those beautiful fabric stacks into your very first quilt.
Why the Right Machine Matters
If you're just starting out, you're in great company! We're seeing a huge resurgence in hands-on crafts. In fact, a recent study found that 18% of quilters in 2025 are new to the hobby. This boom means that manufacturers are finally making fantastic household machines that can handle what quilting asks of them—namely, stitching through a thick "quilt sandwich" of top, batting, and backing.
A standard garment-sewing machine will often choke on that thickness. For more details, you can check out the full 2025 Quilting Trends Survey on Craft Industry Alliance.
The right machine saves you from classic beginner headaches like bunched-up fabric, skipped stitches, and wobbly seams. It lets you focus on learning the art of quilting, not wrestling with your equipment.
Your first machine doesn't need to be the most expensive, but it does need to be reliable. Consistency is the key that unlocks your creative potential and makes quilting a fulfilling journey rather than a frustrating chore.
To get us started, here’s a quick look at the non-negotiable features you should look for. Think of this as your cheat sheet for finding a great quilting machine.
Must-Have Features for a Beginner Quilting Machine
We'll dive into each of these in more detail, but this table gives you a clear snapshot of the core features that will make your quilting journey smooth and successful right from the start. These are the elements that separate a good machine from a great one for a new quilter.
| Essential Feature | Why It Matters for Beginners | What to Look For |
|---|---|---|
| Generous Throat Space | Gives you room to maneuver your quilt without bunching it up. | 7 inches or more from the needle to the inside of the machine. |
| Superior Feed System | Pulls the fabric layers through evenly, preventing puckering. | Look for terms like box feed or systems with 7-point feed dogs. |
| Walking Foot Included | A must-have attachment that acts like a second set of feed dogs on top. | Make sure a walking foot comes with the machine or is easily available. |
| Quality Straight Stitch | The foundation of quilting. It needs to be consistent and strong. | Test the machine to ensure it produces even, balanced stitches every time. |
| Speed Control | Lets you set a maximum speed so you can focus on accuracy, not a lead foot. | A physical slider or dial on the machine’s body is ideal. |
| Needle Up/Down Setting | A huge time-saver that lets you pivot fabric at corners with the needle down. | A dedicated button on the machine, often with a needle icon. |
Getting a machine with these key features sets you up for success. It ensures you have the right tools for the job, allowing your skills and creativity to grow without being held back by your equipment. We'll explore each of these features in the sections ahead.
Key Machine Features Every Beginner Quilter Needs to Know
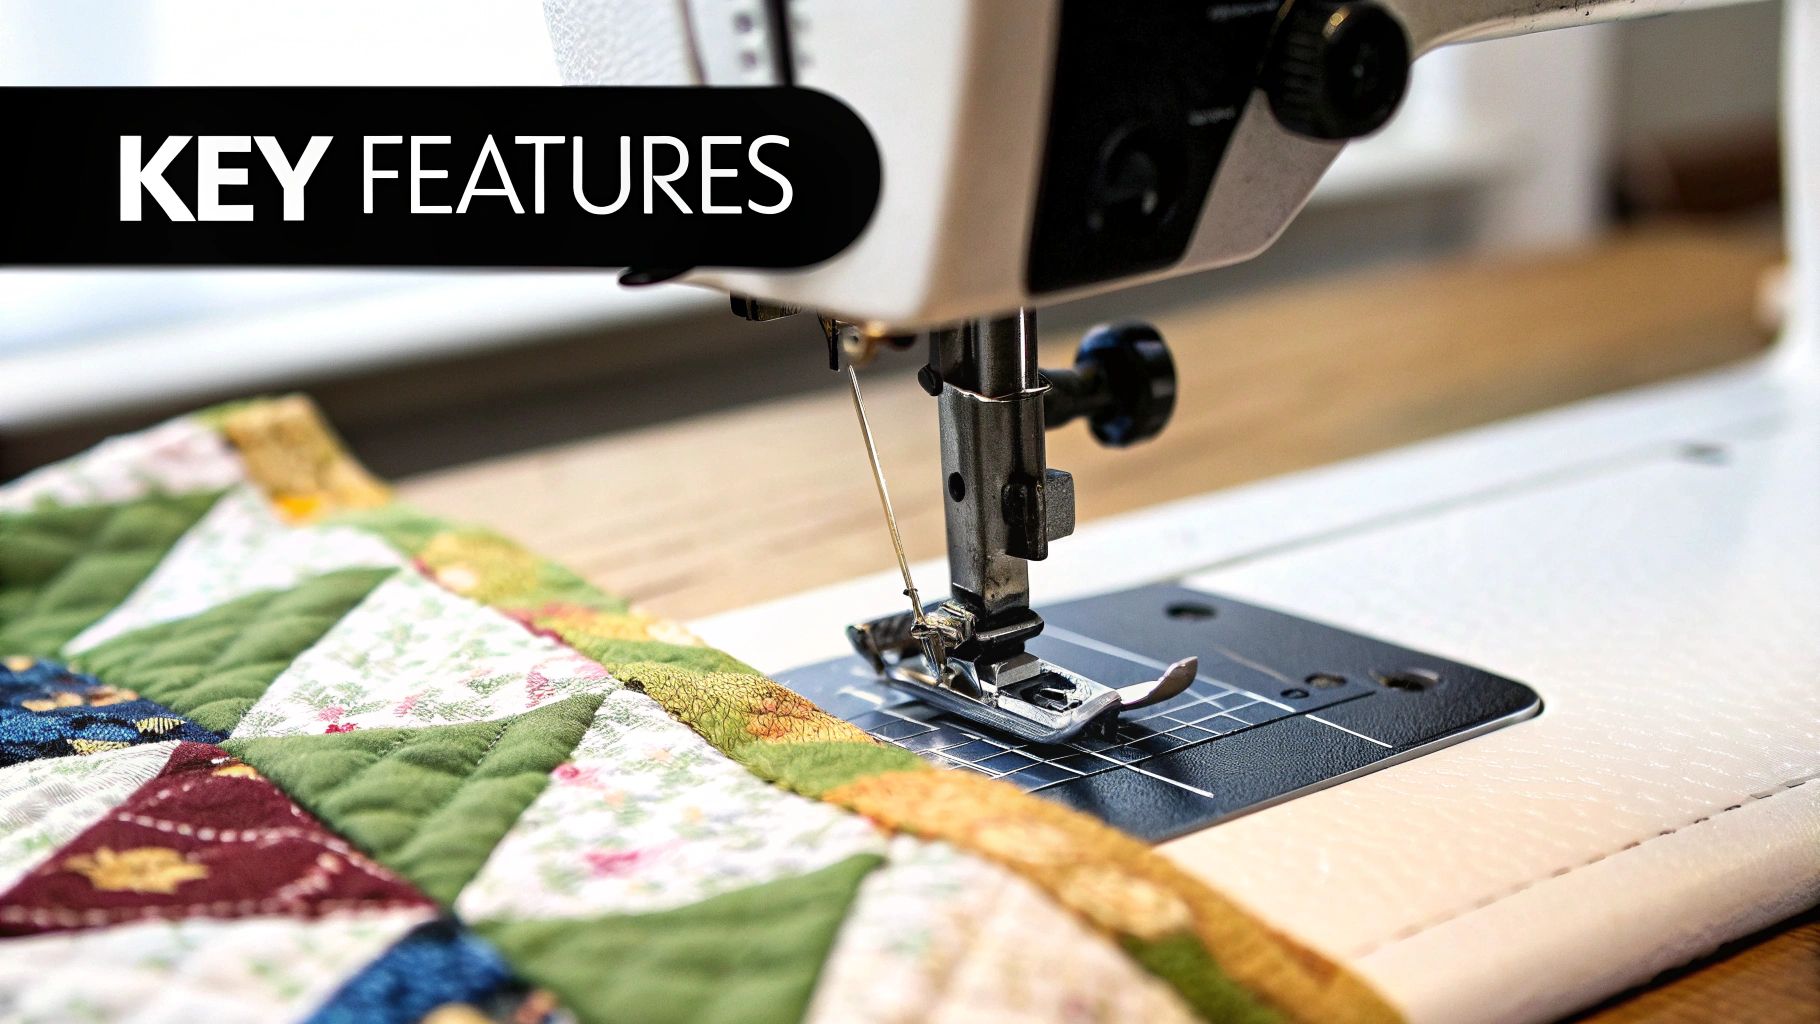
When you start shopping for your first quilting machine, it can feel like you’re learning a whole new language. You'll hear terms like "throat space" and "feed dogs" thrown around, but what do they actually mean for the quilt you want to make?
Let’s cut through the jargon. This section breaks down the essential features you really need, explaining what they do in plain English. Getting a handle on these key components is the single most important step in finding the best sewing machine for quilting beginners. It’ll help you see past the flashy marketing and focus on what will make your quilting journey fun, smooth, and successful.
The Importance of Throat Space
Imagine trying to frost a giant sheet cake on a tiny saucer. That's what it feels like to quilt with a small "throat space." The throat space (sometimes called the harp) is simply the open area to the right of your needle. It's your workspace—the room you have to manage the bulk of your quilt as you stitch.
When you're just piecing together small fabric blocks, a little bit of space seems fine. But the game changes completely when you start quilting the actual "sandwich"—your quilt top, batting, and backing all layered together.
A cramped throat forces you to constantly bunch, roll, and wrestle with your project. That struggle often leads to uneven stitches, sore shoulders, and a whole lot of frustration.
Why It Matters
- Easier Maneuvering: More room lets you guide the quilt smoothly without fighting its weight.
- Better Stitch Quality: When the fabric can lie flatter, the machine feeds it more evenly, which means your stitches look much more consistent.
- Less Physical Strain: Trust me, wrestling a queen-sized quilt through a tiny opening is exhausting. Ample space saves your hands, arms, and shoulders.
What to Look For
- Try to find a machine with at least 7 inches of throat space.
- Anything over 8.5 inches is fantastic for a beginner machine and gives you plenty of room to grow into bigger projects.
A Reliable Feed System and the Walking Foot
Next up is how your machine actually moves the fabric. See those little metal teeth under your needle? Those are the feed dogs, and their job is to grip the bottom layer of fabric and pull it through. For everyday sewing with two layers of fabric, this system works like a charm.
But a quilt sandwich has three layers, and they love to shift around. The top layer can get pushed by the presser foot while the bottom layer gets pulled by the feed dogs, leading to puckers and pleats.
This is exactly where a walking foot becomes your absolute best friend. Think of it as adding a set of feed dogs to the top of your fabric. It grips the top layer and moves it in perfect sync with the bottom feed dogs, ensuring all three layers of your quilt move together as a single, happy unit.
A walking foot is non-negotiable for quilting. It's the single most effective tool for preventing puckers and stretched seams. It’s what keeps your finished quilt beautifully flat instead of wavy.
Many machines designed for quilting will include a walking foot right in the box. If your top contender doesn't, just make sure you can buy one for that specific model. This one accessory will make the biggest difference in the quality of your finished quilting.
The Non-Negotiable Straight Stitch
A sewing machine might brag about having hundreds of decorative stitches, but as a quilter, you really only need one of them to be perfect: the humble straight stitch.
From piecing intricate blocks to stitching long lines across the quilt top, over 95% of your time will be spent sewing straight. If that one core stitch is weak, uneven, or inconsistent, the structural integrity of your entire quilt is at risk.
What to Look For
- Consistency: When you test a machine, look for stitches that are perfectly even in length and tension. No skipped stitches allowed!
- Lock Stitch Function: A button that sews a few tiny stitches in place to lock a seam is a huge time-saver. It's much cleaner than backstitching.
- Adjustability: You need to be able to easily change your stitch length. For quilting, you'll often want a slightly longer stitch, around 2.5 to 3.0 mm.
The Little Features That Make a Big Difference
Finally, a few convenience features can make the quilting process so much more enjoyable. They seem small, but by removing tiny annoyances, they let you stay in your creative flow.
- Speed Control Slider: This is an absolute lifesaver for beginners. It’s a physical slider on the machine that sets a maximum speed. This means you can press the foot pedal all the way down without the machine taking off like a rocket. It’s like cruise control for your sewing, giving you control and boosting your accuracy.
- Needle Up/Down Button: This button lets you tell the needle to always stop in the "down" position, piercing the fabric. Why is this so great? When you need to pivot at a corner, the needle acts like an anchor, holding your work perfectly in place while you lift the presser foot and turn the fabric. No more wobbly corners or losing your spot
Matching Your Machine to Your Budget
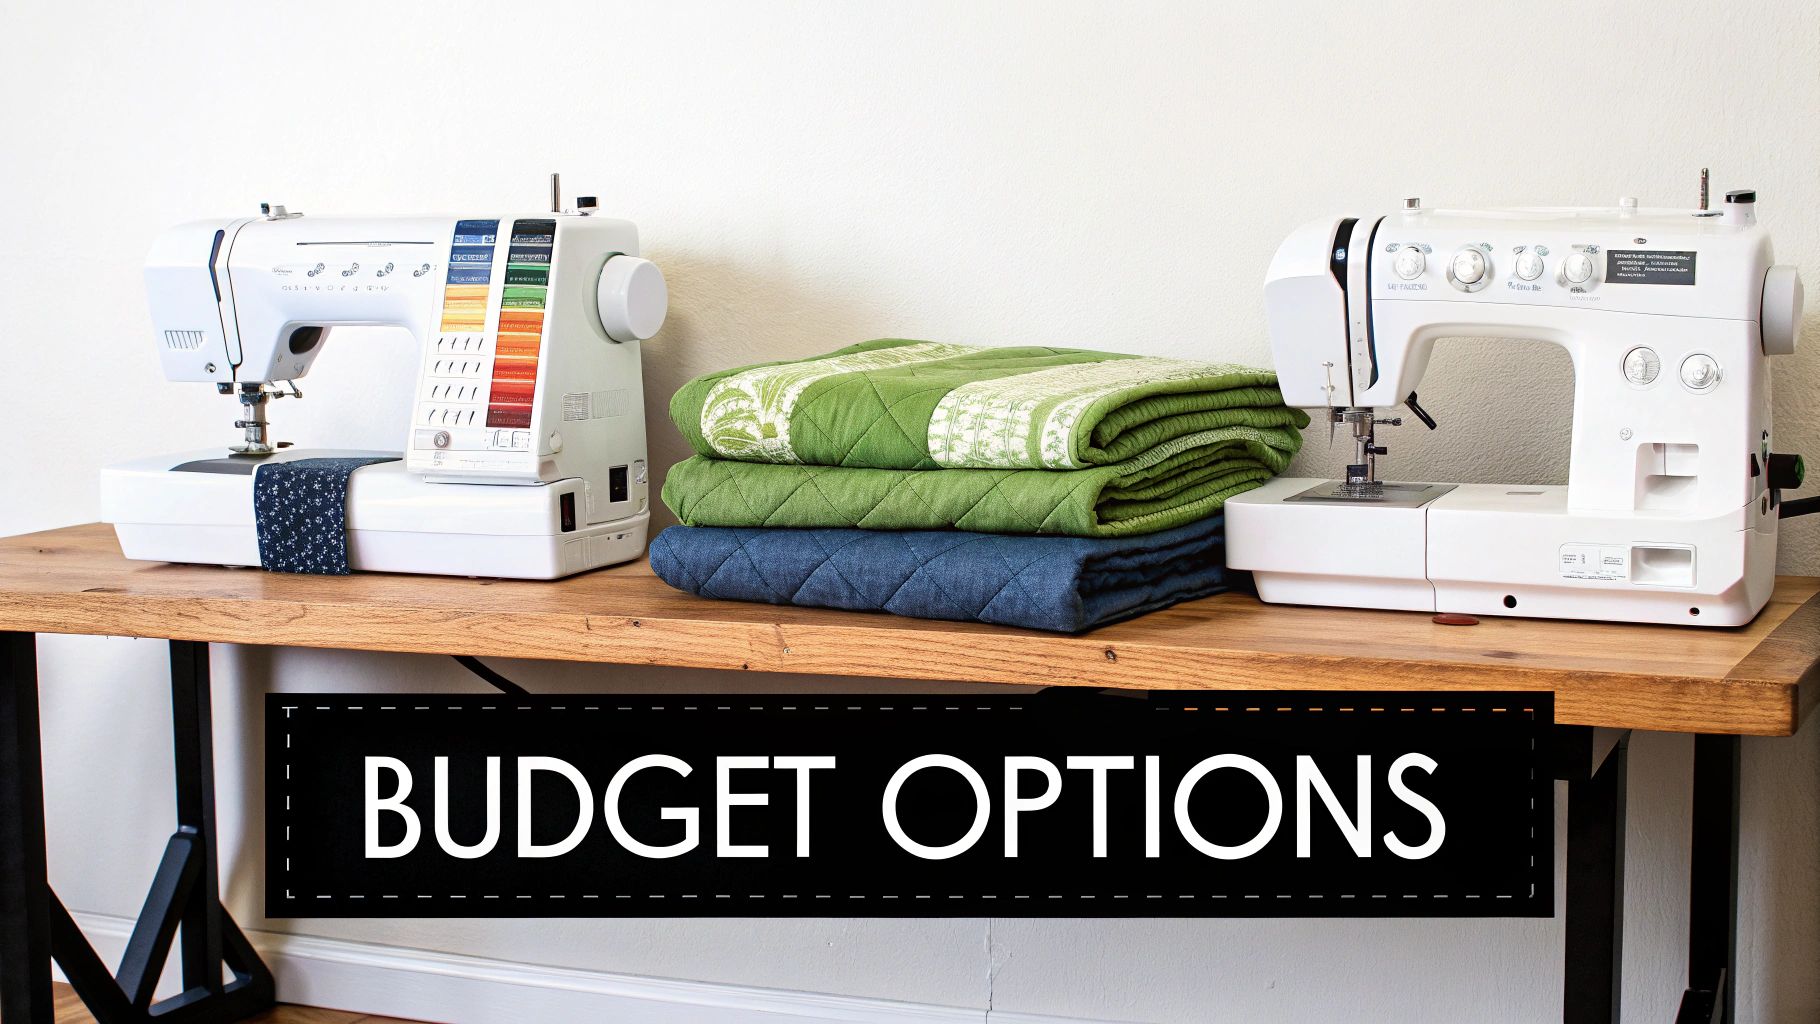
Let's talk about one of the biggest hurdles for any new quilter: money. It’s easy to feel like you need a top-of-the-line machine to make beautiful quilts, but I’m here to tell you that’s simply not true. A stunning quilt is born from your creativity and skill, not the price tag on your sewing machine.
The key is to find the sweet spot where your budget meets the features you genuinely need to get started. By understanding what you can expect at different price points, you can make a smart choice that supports your quilting dreams without breaking the bank.
And honestly, it's a great time to be in the market for a new machine. The home sewing machine market is booming—it's expected to jump from $4,841.62 million in 2022 to a staggering $8,752.75 million by 2034. This fierce competition means that brands like Brother, Singer, and Janome are constantly packing more value and beginner-friendly features into their machines. You can read more about this expanding market on NextMSC.com.
To help you navigate your options, I've broken down the choices into a few common budget tiers. Think of this as a roadmap to finding the perfect quilting partner for your sewing room.
Beginner Quilting Machine Budget Tiers
| Budget Tier | Price Range | Key Features | Best For |
|---|---|---|---|
| Entry-Level | Under $300 | Solid straight stitch, basic utility stitches, and smaller throat space (5-6.5 inches). | Beginners testing the waters, piecing small projects, and learning the fundamentals without a big investment. |
| Mid-Range | $300 - $700 | Larger throat space (7-8.5 inches), speed control, needle up/down, and often includes a walking foot. | Committed beginners who want a machine that will grow with them, offering quality-of-life features for larger projects. |
| Investment | Over $700 | Expansive throat space (9+ inches), advanced feed systems, high stitching speed (1,000+ SPM), and automatic features. | Dedicated hobbyists ready to invest in a long-term machine with premium features for complex quilting. |
This table gives you a quick snapshot, but let's dive a little deeper into what each of these tiers really means for your quilting experience.
Entry-Level Machines (Under $300)
This is where most of us start, and for good reason! Machines in this price range are the workhorses of the beginner world. They’re often sturdy mechanical models or simple computerized units that do the basics exceptionally well.
- What you get: A machine with a fantastic straight stitch (which is 90% of what you do in quilting) and a handful of other useful stitches.
- The trade-off: The throat space is smaller, usually around 5 to 6.5 inches. This is perfectly fine for piecing blocks and quilting smaller projects like table runners or baby quilts.
- The verdict: These machines are a low-risk way to see if you love quilting. You might eventually want more space, but you can’t beat the value.
Mid-Range Workhorses ($300 - $700)
This is the sweet spot. If you're pretty sure quilting is going to be your thing, stepping into the mid-range gives you the most bang for your buck. This is where you start to see features that make quilting less of a chore and more of a joy.
This price point is where you get those game-changing features. Things like an automatic thread cutter or a needle up/down button might seem small, but they save you so much time and frustration, letting you stay in your creative flow.
You'll find fantastic, reliable machines from Janome and some of Brother’s quilting-specific lines here.
- Key upgrades: The throat space opens up to 7 to 8.5 inches, which makes a huge difference when you're wrestling a larger quilt.
- Convenience is king: Speed control sliders, needle position buttons, and included accessories like a walking foot are common here.
- The verdict: A mid-range machine is a smart investment. It’s powerful and versatile enough to take you from your first quilt all the way to a complex, queen-sized masterpiece.
Investment-Worthy Machines (Over $700)
Once you cross the $700 mark, you’re looking at machines built for the serious, dedicated quilter. These are long-term creative partners, designed for precision, speed, and handling massive projects with ease.
You’ll see giant throat spaces of 9 inches or more and stitch speeds topping 1,000 stitches per minute. The feed systems are incredibly advanced, pulling fabric through with perfect, even tension. While these features are incredible, they're often overkill for someone just starting out.
Ultimately, the goal isn't to buy the most expensive machine—it's to buy the right machine for you, right now. Whether it’s a simple starter model or a feature-packed workhorse, the best machine is the one that makes you excited to sit down and create something beautiful.
Setting Up Your Machine for Quilting Success
There's nothing quite like unboxing a new sewing machine. It’s a box brimming with pure creative potential! But let’s be honest, that initial thrill can quickly fade when you’re staring at a bag of mysterious accessories and a manual the size of a novel.
Don't let it intimidate you. Think of this section as your friendly guide, here to get you from the box to your first quilt block, one simple step at a time. Getting this initial setup right is a huge confidence booster, and it ensures your machine is perfectly tuned before you even touch that beautiful fabric.
We’ll walk through the essentials together: picking the right needle and thread, attaching the all-important walking foot, and dialing in the perfect stitch settings for piecing. Let's build a rock-solid foundation for your quilting journey.
Step 1: Choose Your Needle and Thread
Your needle and thread are like an artist's pencil and paper—the right combo makes all the difference. When you’re quilting, you're asking that tiny needle to punch through multiple layers of fabric and batting. A standard needle just isn't up for the challenge.
Let me introduce you to your new best friend: the 90/14 Quilting needle. These have a special tapered point designed to glide through those layers without snagging fibers or causing damage. Trust me, a dull or incorrect needle is the number one culprit behind skipped stitches and massive headaches.
When it comes to thread, consistency is king. A high-quality 100% cotton thread in a 50-weight is the gold standard for both piecing and quilting. It’s strong enough to create durable seams but fine enough to avoid adding unnecessary bulk.
Pro Tip: Always start a new quilt with a fresh needle. It's probably the cheapest, easiest "insurance policy" you can get for guaranteeing beautiful, consistent stitches right from the start.
Step 2: Thread Your Machine and Install the Walking Foot
Threading a machine for the first time can look like a complex puzzle, but nearly every modern machine has handy numbered guides printed right on the body to show you the way. Just take a deep breath and follow the path, making sure the thread clicks securely into every guide, especially the tension discs.
Next up is the single most important accessory for a new quilter: the walking foot. This amazing little gadget has its own set of feed dogs on top that move in sync with the machine's feed dogs below. This creates an even "pulling" action that feeds all three layers of your quilt sandwich—the top, batting, and backing—through the machine at the exact same rate.
Putting it on is usually pretty simple:
- Use the handwheel to raise the needle to its highest point.
- Unscrew your current presser foot and pop it off.
- Position the walking foot so its C-shaped arm rests on top of the needle bar screw.
- Lower the presser foot lever to line everything up, then tighten the screw to secure it.
This one tool is the secret to preventing the puckers, shifting, and waves that can drive a beginner crazy. It’s absolutely essential for the final quilting stage and a huge help for sewing on your binding, too.
Step 3: Dial In Your Stitch Settings
Okay, your machine is threaded and the walking foot is on. It's time to choose your stitch. Your machine might boast dozens of fancy decorative options, but for quilting, the humble straight stitch is your workhorse. When you're piecing quilt blocks, accuracy is everything.
You’ll want to adjust your stitch length slightly from the default setting. A typical stitch length is a little too short for quilting; a slightly longer one looks neater and is much, much easier to remove with a seam ripper if you make a mistake (and we all do!).
Recommended Stitch Settings for Piecing:
- Stitch Selection: Straight Stitch
- Stitch Length: 2.0 mm to 2.5 mm. This creates a seam that's secure but not impossible to unpick.
- Stitch Width: Set to 0.
Once you have these settings dialed in, grab a scrap piece of fabric from your project and run a few test seams. Flip it over and check the tension. You want the top and bobbin threads to meet perfectly between the layers of fabric, with no little loops showing on either side. Taking a minute to test now will save you hours of frustration later.
Caring for Your New Quilting Partner
Your sewing machine is the heart of your craft. It’s less of an appliance and more of a creative partner, and a little bit of care will keep it humming along for years. Think of it like a car—you wouldn’t skip oil changes, right? A few simple tune-ups will save you from a world of frustrating breakdowns.
Getting into a good maintenance rhythm right from the start is one of the best things you can do. This routine will head off the most common beginner headaches, like skipped stitches and tangled thread nests, making sure your machine is always ready to go when creativity strikes.
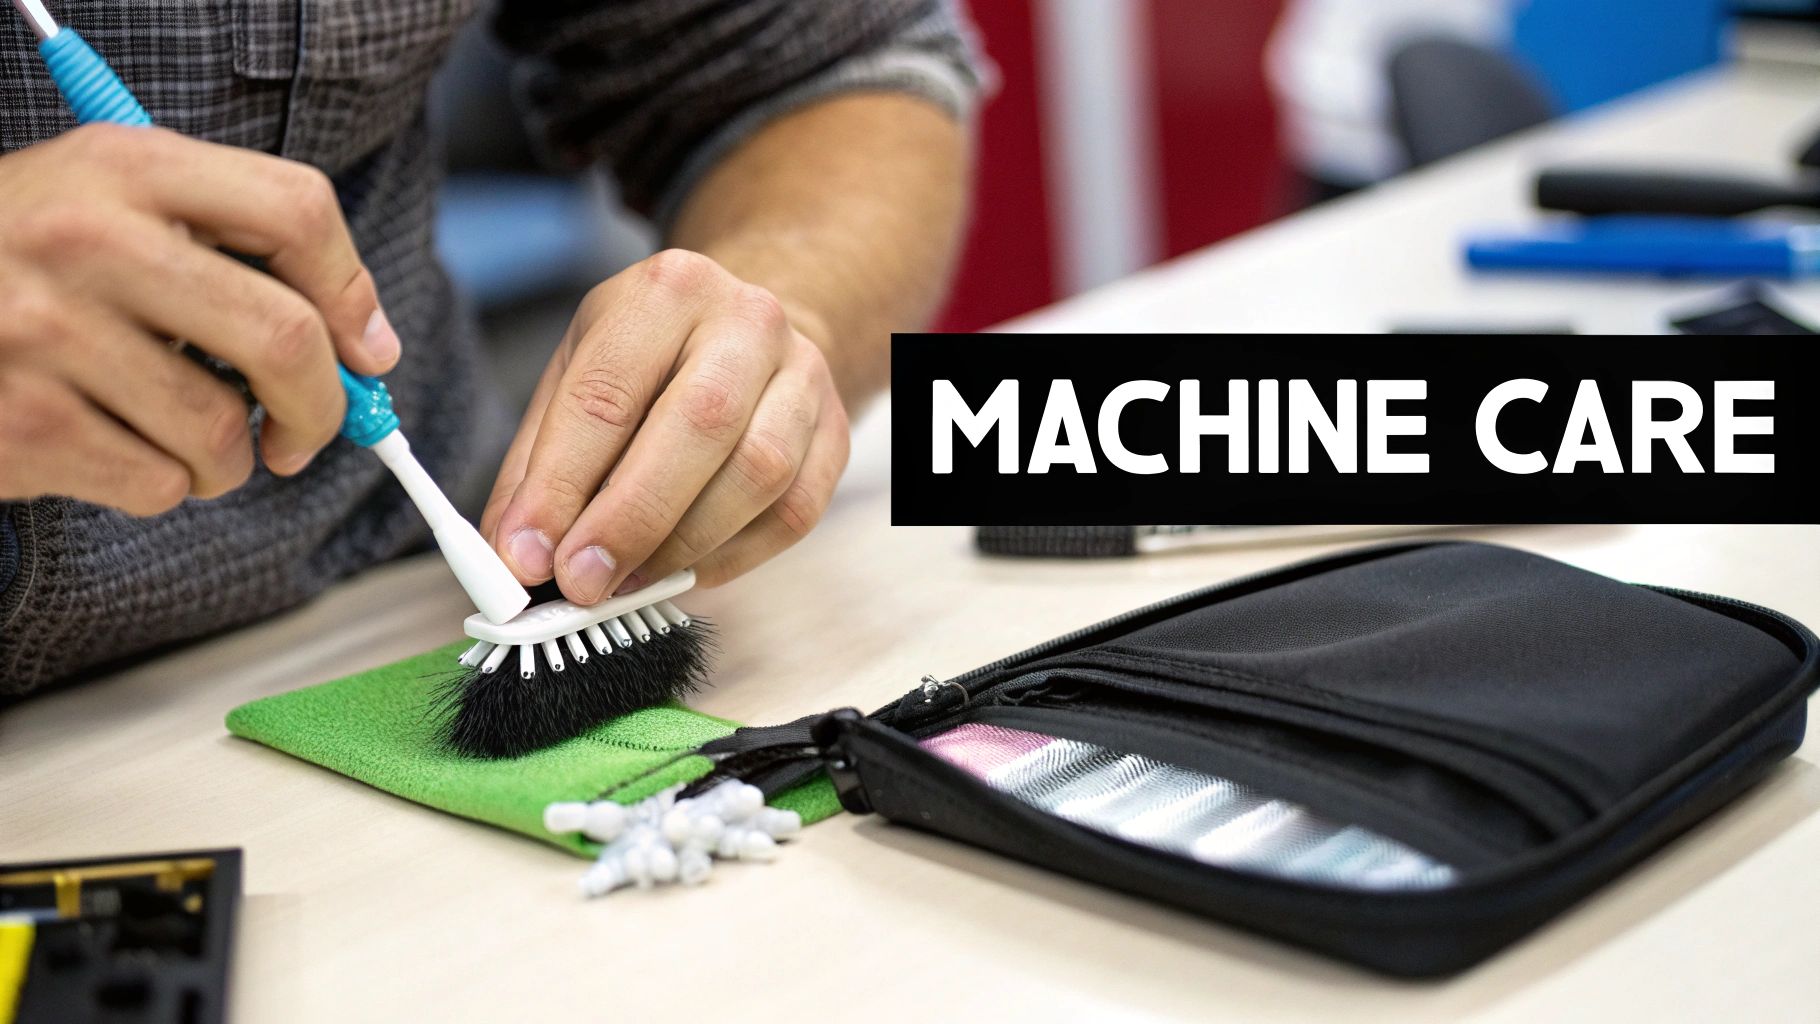
The Most Important Task: Banish the Lint Bunnies
Every stitch you sew creates tiny fibers from your thread and fabric. Over time, these fibers gather inside your machine, forming what quilters lovingly call "lint bunnies." And let me tell you, they are the number one enemy of a happy sewing machine.
The most critical area to keep clean is the bobbin case. When lint gets packed in there, it can throw off your machine's timing, block important sensors, and cause all kinds of stitch problems. Cleaning it out after every few bobbins or every new project is non-negotiable if you want consistent results.
- How to Clean: First things first, always turn off and unplug your machine. Pop off the needle plate and take out the bobbin case. Use the little brush that came with your machine to gently sweep out all the fluff. A word of caution: resist the urge to use canned air! It can blow lint deeper into the gears where it can do real damage.
Oiling and Professional Servicing
Just like any machine with moving parts, some sewing machines need a drop of oil now and then to keep everything running smoothly. But—and this is a big but—it’s completely model-specific. Many modern computerized machines are self-lubricating and should never be oiled by you.
Always, always, always check your manual first. Oiling a machine that doesn't need it can cause serious, expensive damage. If your manual does call for oiling, it will point out the exact spots that need a single drop of high-quality sewing machine oil.
Even if you're a diligent cleaner, it’s a great idea to take your machine in for a professional service every one to two years. A good technician will give it a deep clean, check the timing and tension, and lubricate all the internal parts you can't see or reach.
Simple Habits for a Long Machine Life
Beyond the deep cleans, a few daily habits can make a huge difference in your machine’s lifespan. These small things protect your investment and keep your machine humming along. With the household sewing market making up 40-50% of sales, it's clear that home crafters are a powerful force, and a well-cared-for machine is our most important tool. For more on the growing craft community, you can check out industry insights at Market Growth Reports.
Protective Best Practices:
- Cover It Up: When you’re not sewing, keep your machine covered. It’s a simple step that stops dust and pet hair from getting into its delicate mechanics.
- Change Needles Often: A good rule of thumb is to start every new quilt with a fresh needle. A dull or bent needle is the top culprit for skipped stitches and damaged fabric.
- Use Quality Thread: Bargain-bin thread creates a shocking amount of lint and can cause all sorts of tension headaches. Sticking with reputable brands is one of the easiest ways to be kind to your machine.
Your Quilting Journey Begins Today
So, there you have it. We’ve walked through all the essential features and insider tips you need to find the perfect creative partner for your quilting adventures. From understanding why throat space and a walking foot are non-negotiables to figuring out how to match your budget with the right machine, you’re now ready to shop with real confidence.
The search for the best sewing machine for quilting beginners is a personal one. The goal isn't to snag the most expensive, feature-heavy model out there. It’s about finding a reliable, sturdy machine that fits your needs and, most importantly, gets you excited to sit down and create something beautiful.
Key Takeaways for Your Search
As you start looking at different machines online or in a shop, just keep these core ideas in mind. They’re the foundation for a smart purchase that will serve you well for many quilts to come.
- Prioritize the Basics: A perfect, straight stitch is everything. It's the one thing you simply can't compromise on as a quilter.
- Space is Your Friend: Try to find a machine with a generous throat space—at least 7 inches is a great starting point. Trust me, you'll thank yourself later when you're not wrestling a big quilt under the needle.
- The Walking Foot is Essential: Make sure the machine either comes with a walking foot or that you can easily buy one for it. It's the secret to smooth, pucker-free quilting.
- Convenience Features Matter: Don't brush off things like a speed control slider or a needle up/down button. These little helpers make a huge difference in your control and precision, especially when you're just starting out.
You’re not just buying a machine; you’re investing in your own creativity. Pick the one that feels right in your hands, the one that makes you want to learn and grow without adding a bunch of frustration to the process.
Your Next Stitch Awaits
The final step is the most exciting one: taking action. This guide has given you the map, but now it’s time to start the adventure. Start by looking up some of the models we’ve mentioned, read what other quilters are saying in reviews, and if you can, swing by a local shop—like ours here in the Atlanta area—to get a feel for a machine in person.
There’s a whole world of color, texture, and design waiting for you. That first beautiful, handmade quilt isn't just a dream—it's a project just waiting to happen. And it all begins with that very first stitch on the right machine.
Go find yours.
Got Questions? We’ve Got Answers.
Stepping into the world of quilting machines can feel a bit overwhelming, and it's natural to have a few questions swirling around. We hear them all the time from folks just starting out! Let's tackle some of the most common ones to help you feel confident as you choose your new creative partner.
Think of this as the final chat before you bring home the machine that’s going to help you create something amazing.
Can I Just Use a Regular Sewing Machine to Start Quilting?
Absolutely! You don't need to hunt down a machine with the word "quilting" plastered all over it. Most standard home sewing machines are more than capable of piecing together a gorgeous quilt top.
The trick is knowing what to look for. As long as your machine can produce a solid, consistent straight stitch and you can attach a walking foot to it, you're in business. If the feed dogs can be lowered, that’s a fantastic bonus for when you feel adventurous enough to try free-motion quilting down the road. A trusty everyday machine is a perfect place to begin.
What's the One Feature I Absolutely Can't Skimp On?
If you can only focus on one thing, make it this: a flawless, consistent straight stitch. That's the bedrock of all quilting. Your entire quilt is built on tiny, precise seams, and a machine that lays down a perfect stitch every time will make your piecing accurate, strong, and a joy to do.
A very close second is the ability to use a walking foot. Trust us, this attachment is non-negotiable for quilting the layers together without turning your project into a puckered mess. But it all starts with that beautiful straight stitch. Get that right, and everything else falls into place.
Should I Get a Computerized or a Mechanical Machine?
This is a classic "it depends" question, and a great one to ask. There’s no single right answer because it really comes down to your personality and how you like to work. Do you prefer straightforward simplicity or push-button convenience?
- Mechanical Machines: These are the workhorses. They’re often less expensive, built like tanks, and dead simple to operate. They are perfect for learning the core mechanics of sewing without getting distracted by a screen full of options.
- Computerized Machines: These machines offer some incredible perks that can make quilting feel less intimidating. Features like speed control, push-button stitch selection, and the needle up/down function (a quilter’s best friend!) handle some of the fiddly bits for you.
You can’t go wrong with a reliable mechanical model. But if your budget allows, an entry-level computerized machine offers conveniences that can really build a new quilter's confidence.
Seriously, How Often Do I Need to Change the Needle?
This is the cheapest insurance you can buy for your quilt. The golden rule is to swap in a fresh needle after every 8-10 hours of sewing time.
When you're quilting, you're asking that tiny needle to punch through three layers at once—the top, the batting, and the backing. It gets dull a lot faster than you’d think. A dull needle is the number one culprit behind skipped stitches, pulled threads, and frustrating tension issues.
Get into the habit of starting every new quilting project with a brand-new needle. It's a tiny step that ensures your machine performs beautifully from the first stitch to the last.
Ready to find the machine that will kickstart your creative journey? At Famcut, we're passionate about helping quilters in the Atlanta area and beyond. Explore our curated selection of beginner-friendly sewing machines and find your perfect quilting partner today at https://famcut.com.